Generate an OVH OKMS Access Certificate
1
Open the OKMS dashboard
Log in to the OVHcloud Control Panel and navigate to Identity, Security & Operations > Key Management Service.
2
Create a OKMS Domain
Click on Order an OKMS Domain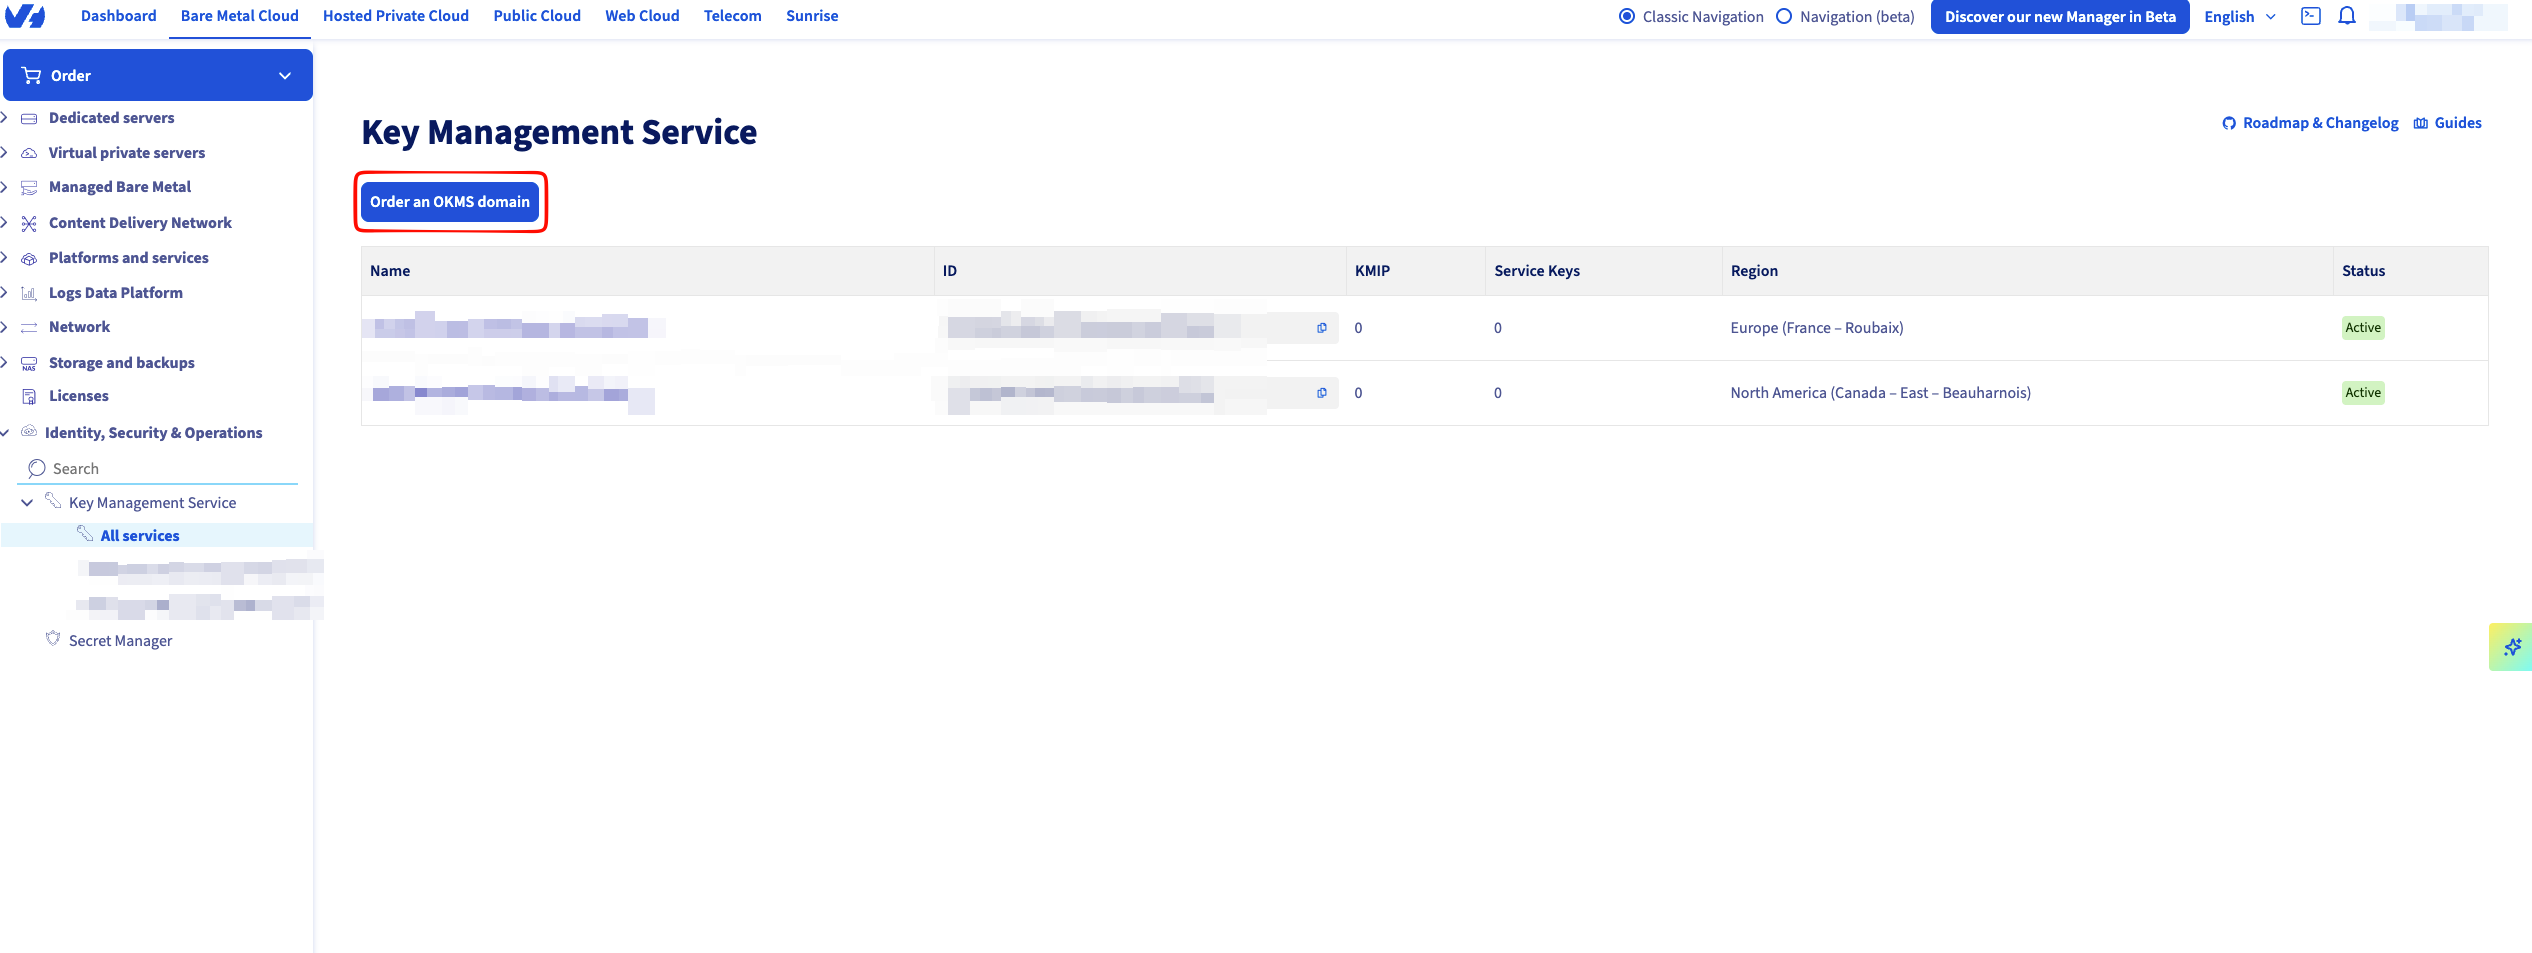
3
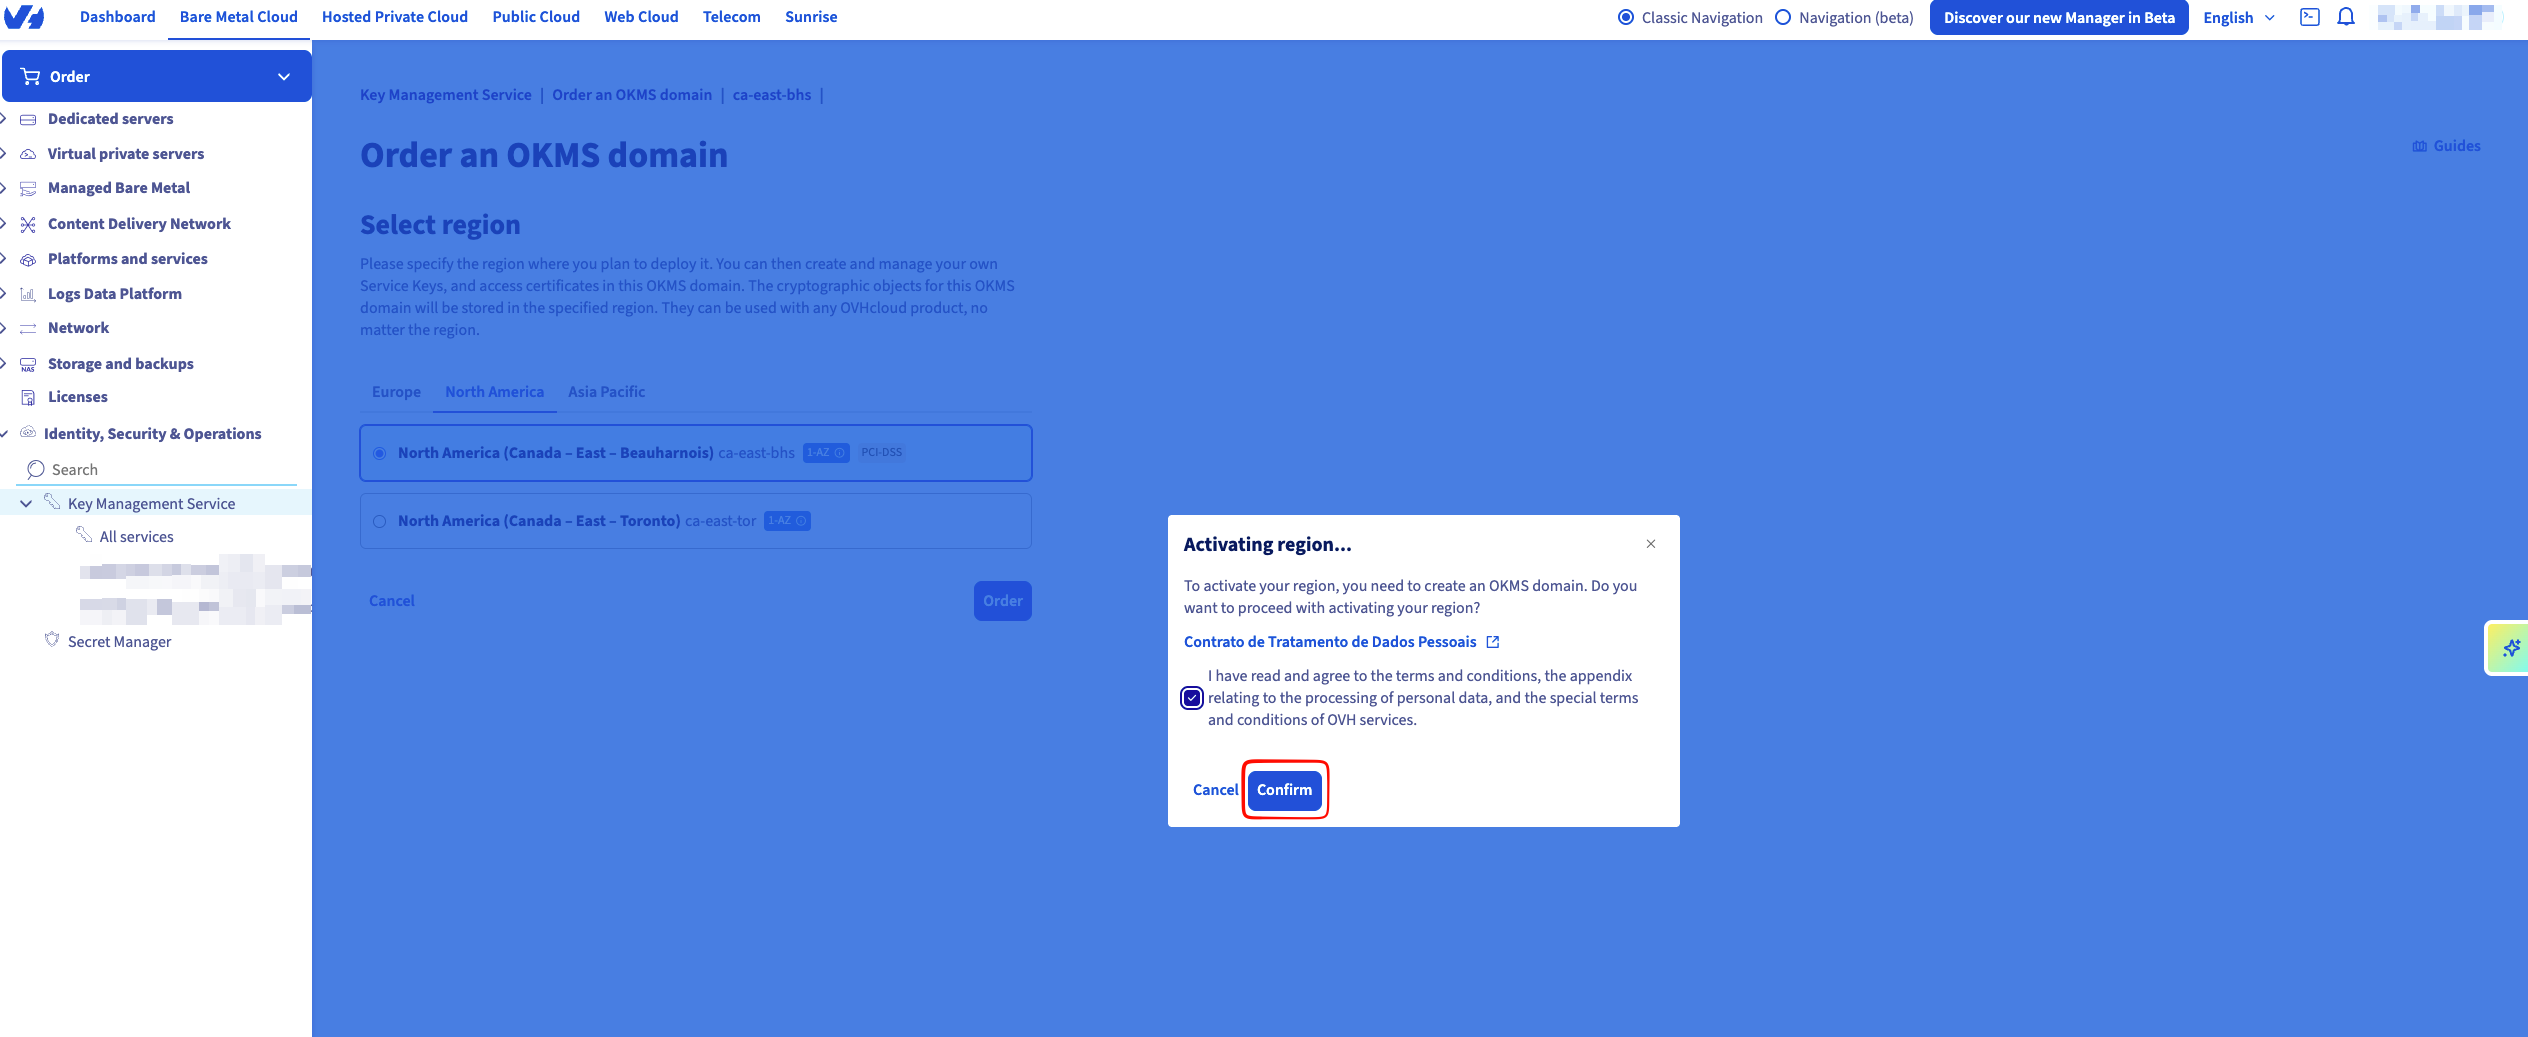
Select your OKMS region
Select the OKMS region that you want to use. You will also need to confirm by accepting the terms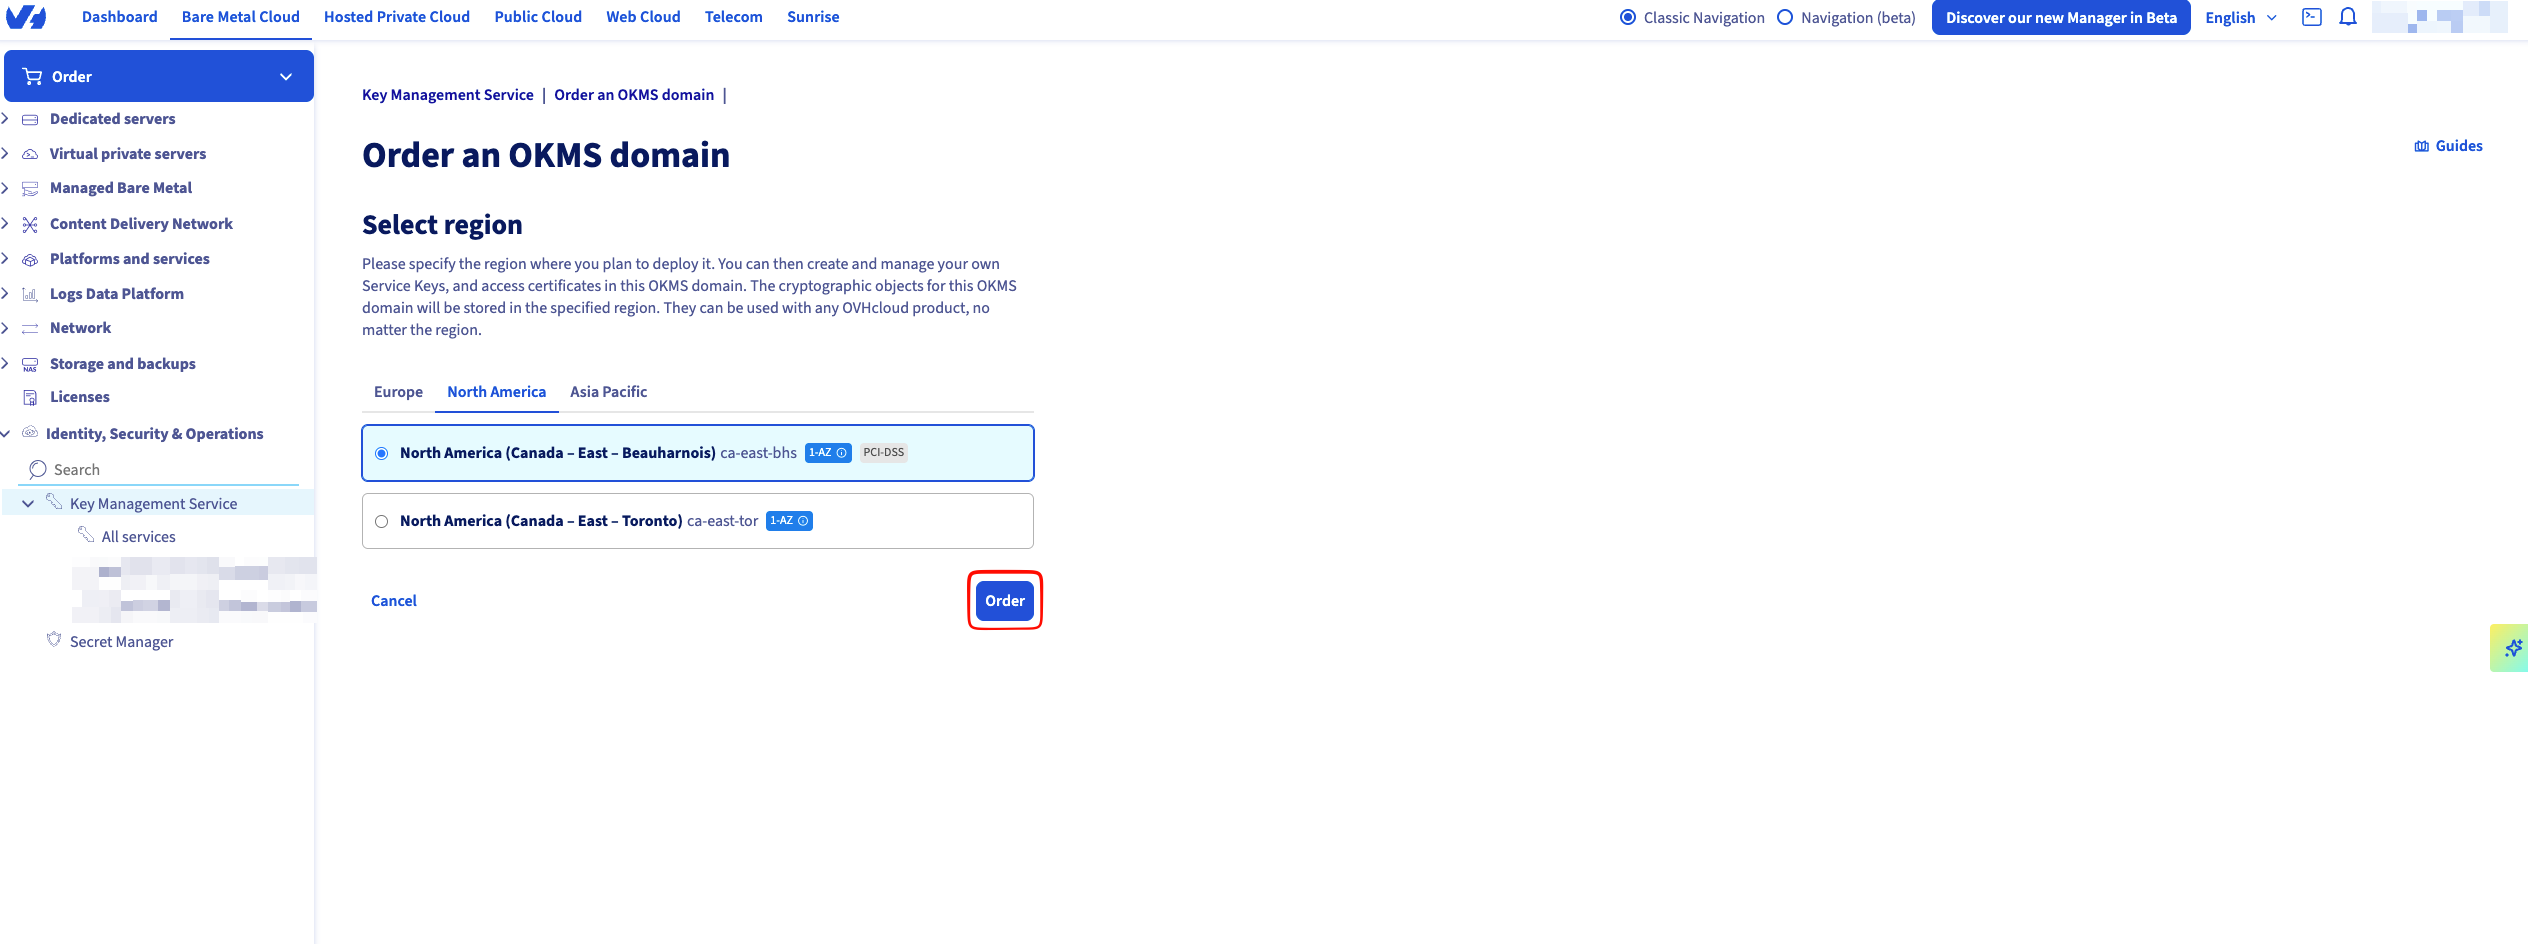
4
Check your summary
On your summary, the desired domain by clicking on it.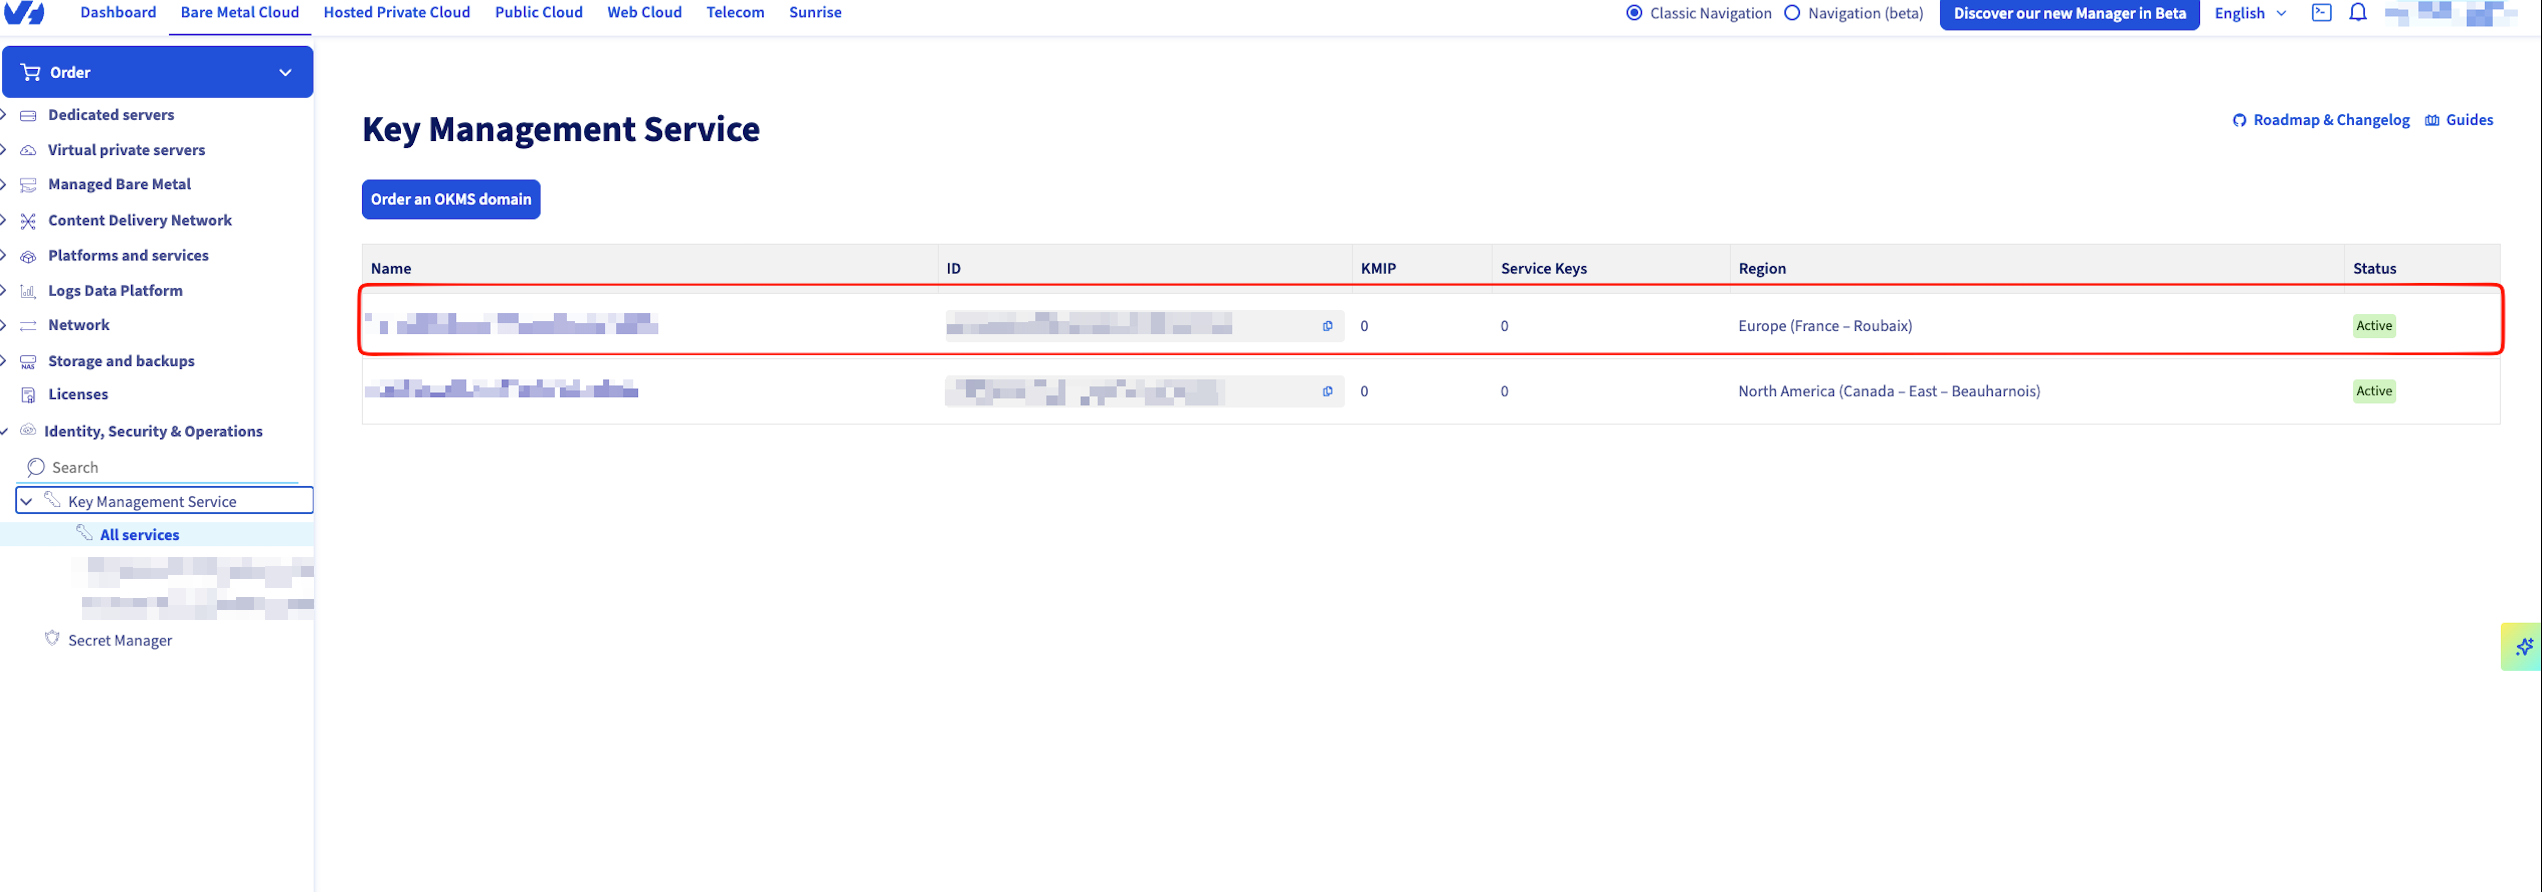 You will need to get the following values to create a connection.
You will need to get the following values to create a connection.- OKMS ID — the UUID-style identifier shown on the OKMS summary page.
-
REST API endpoint — the base URL of the OKMS instance (e.g.
https://ca-east-bhs.okms.ovh.net). This is the OKMS Domain value in Infisical.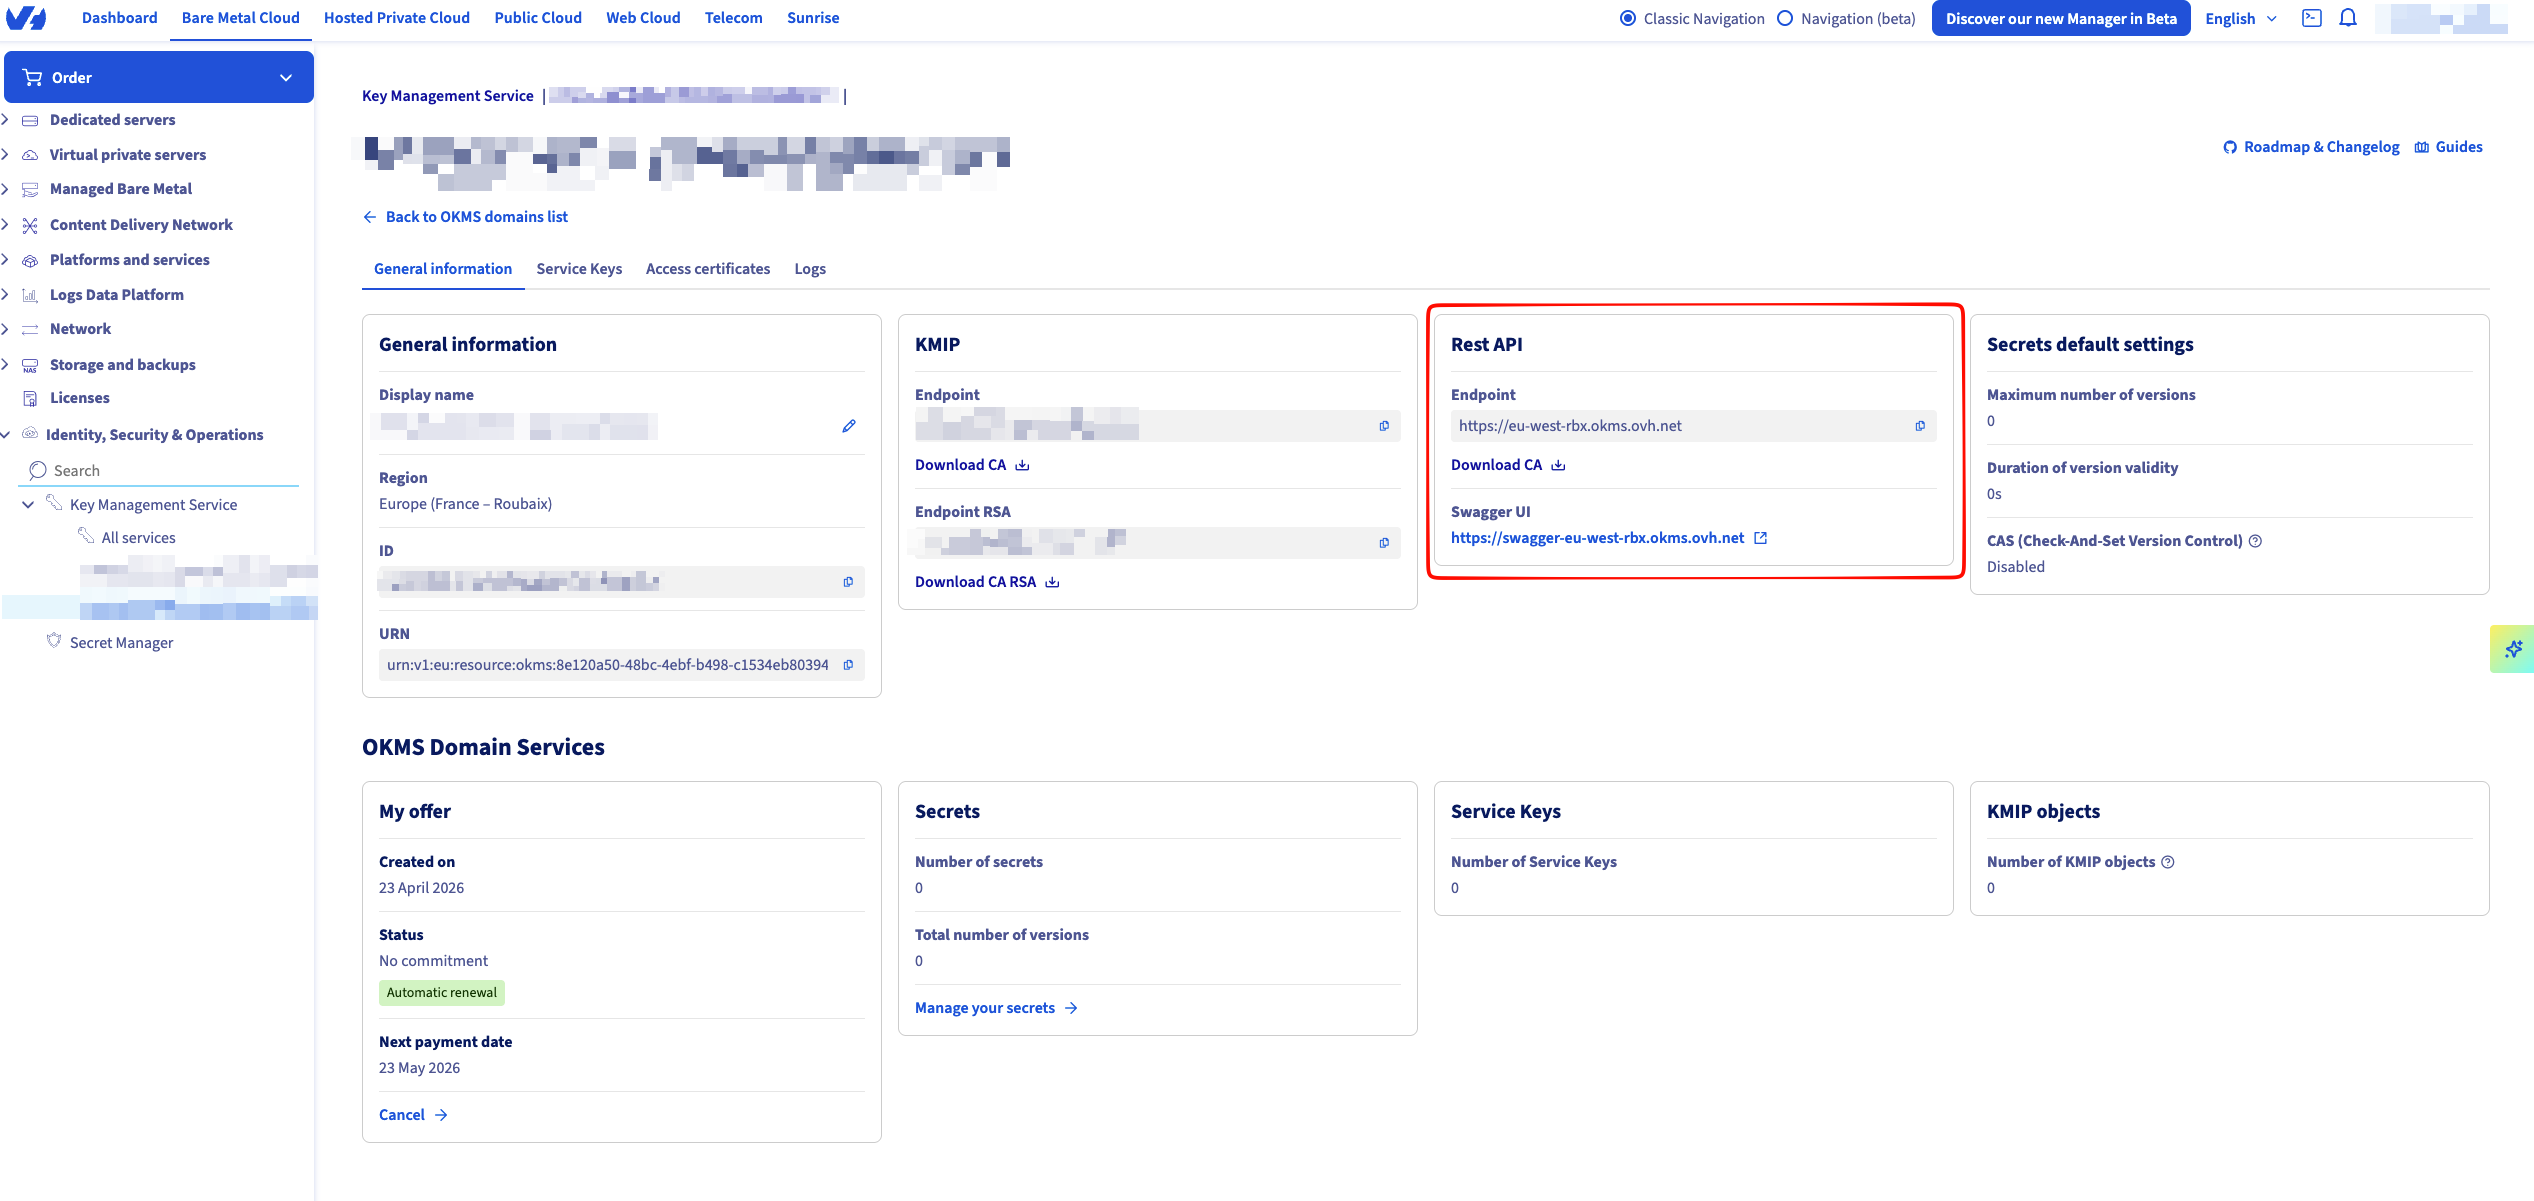
5
Generate an access certificate
Open the Access certificate tab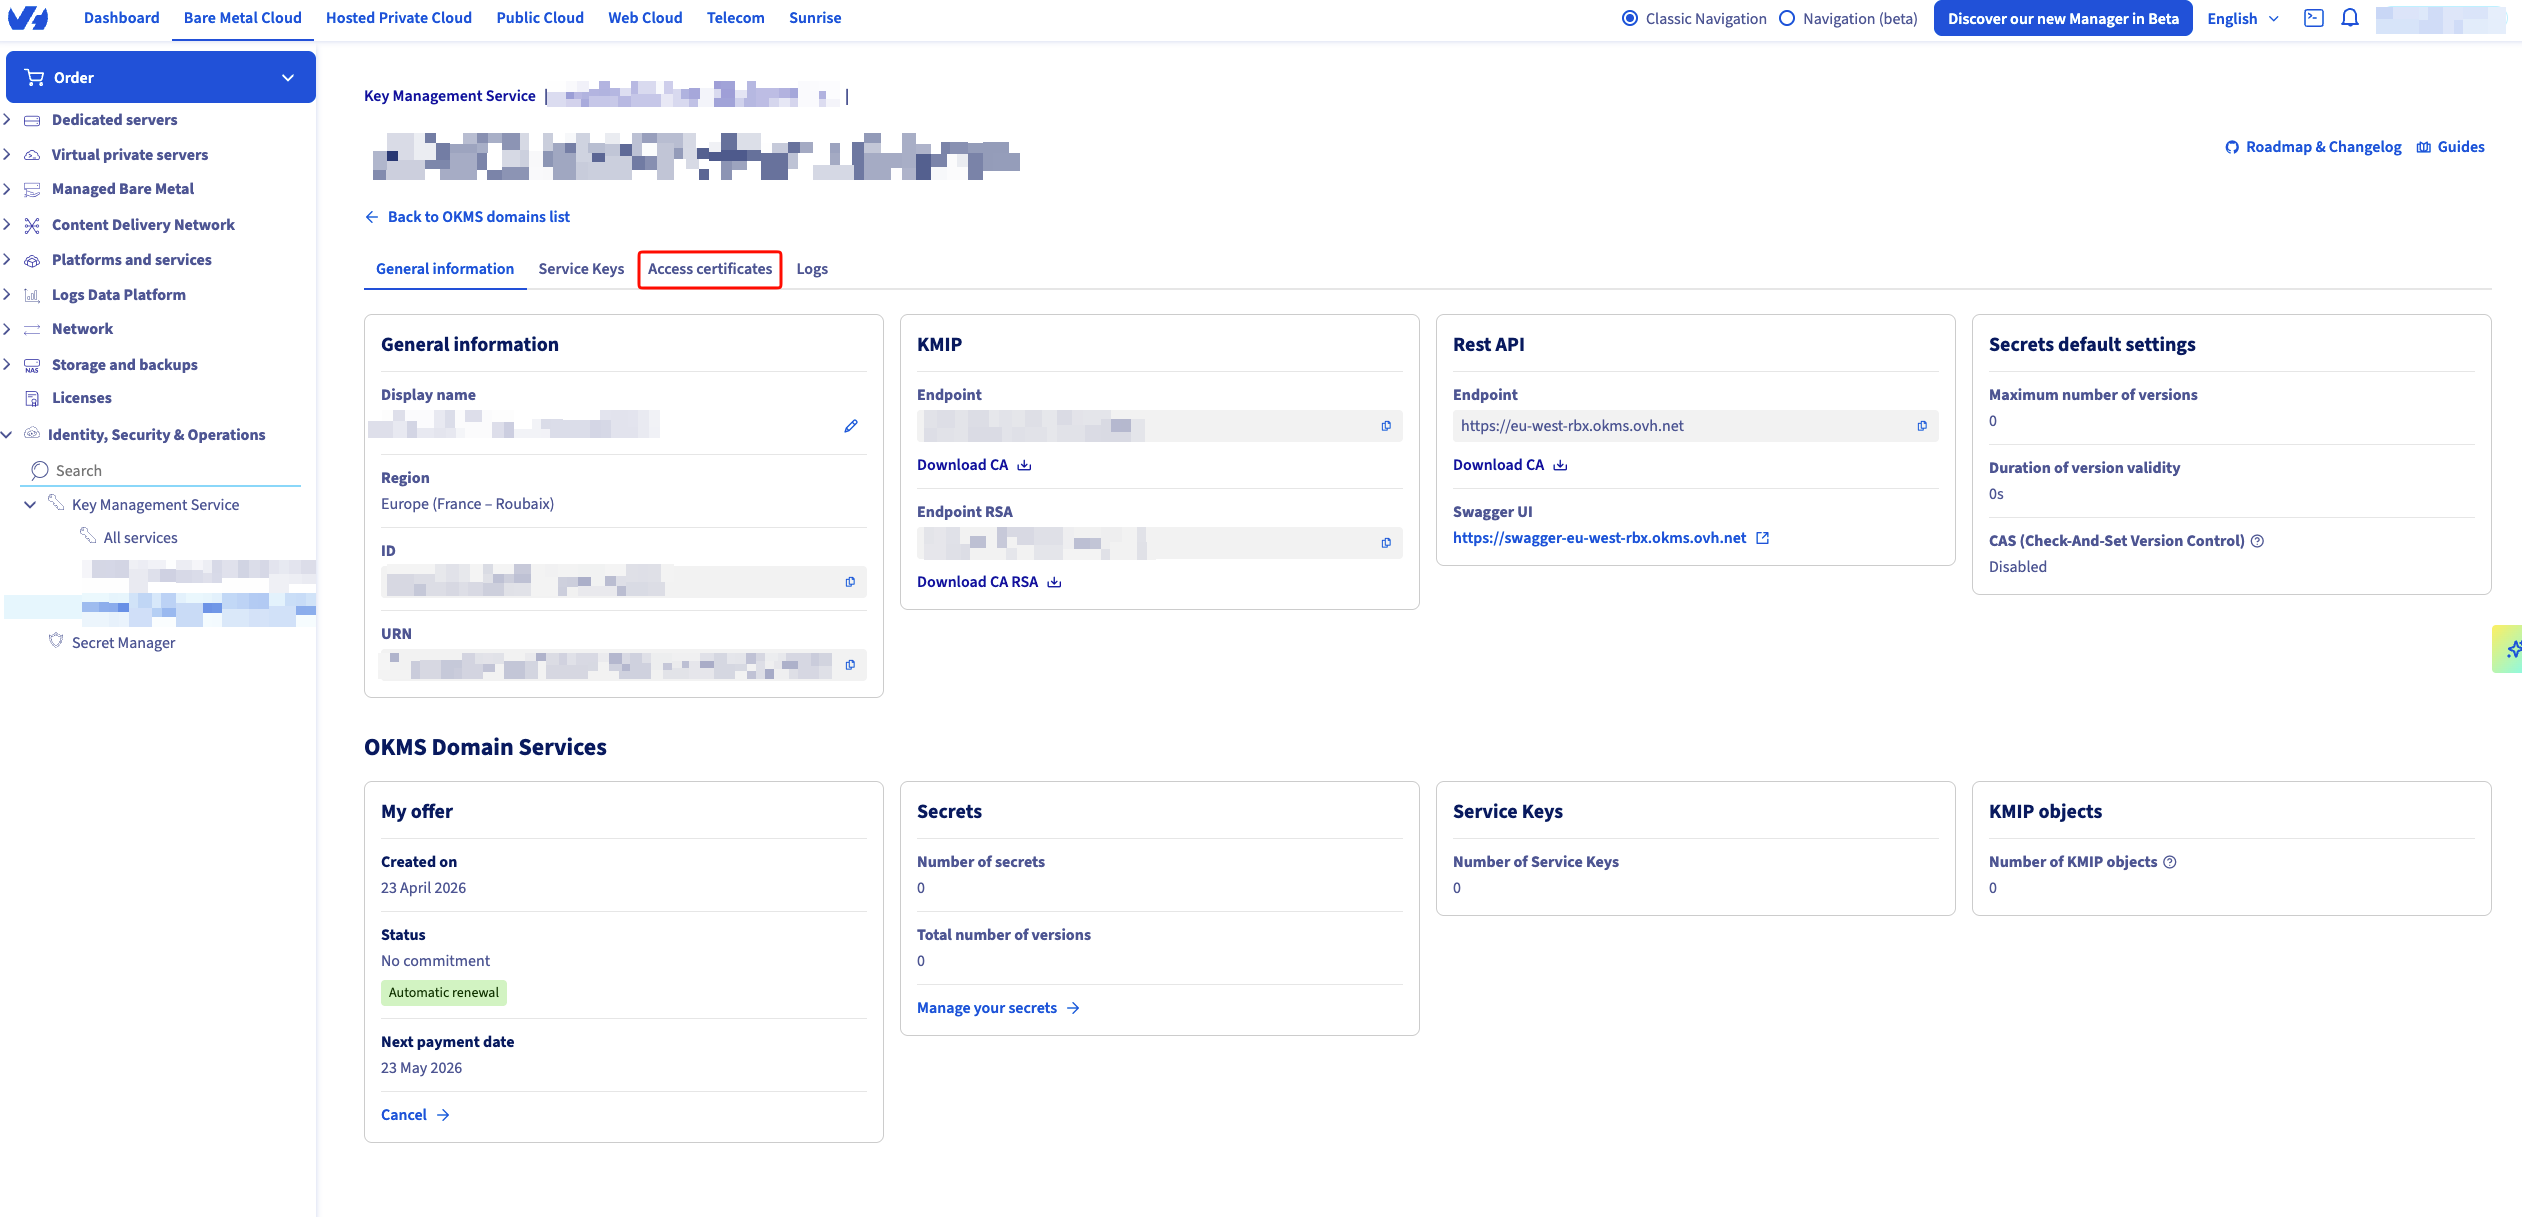 Click on Generate an access certificate.
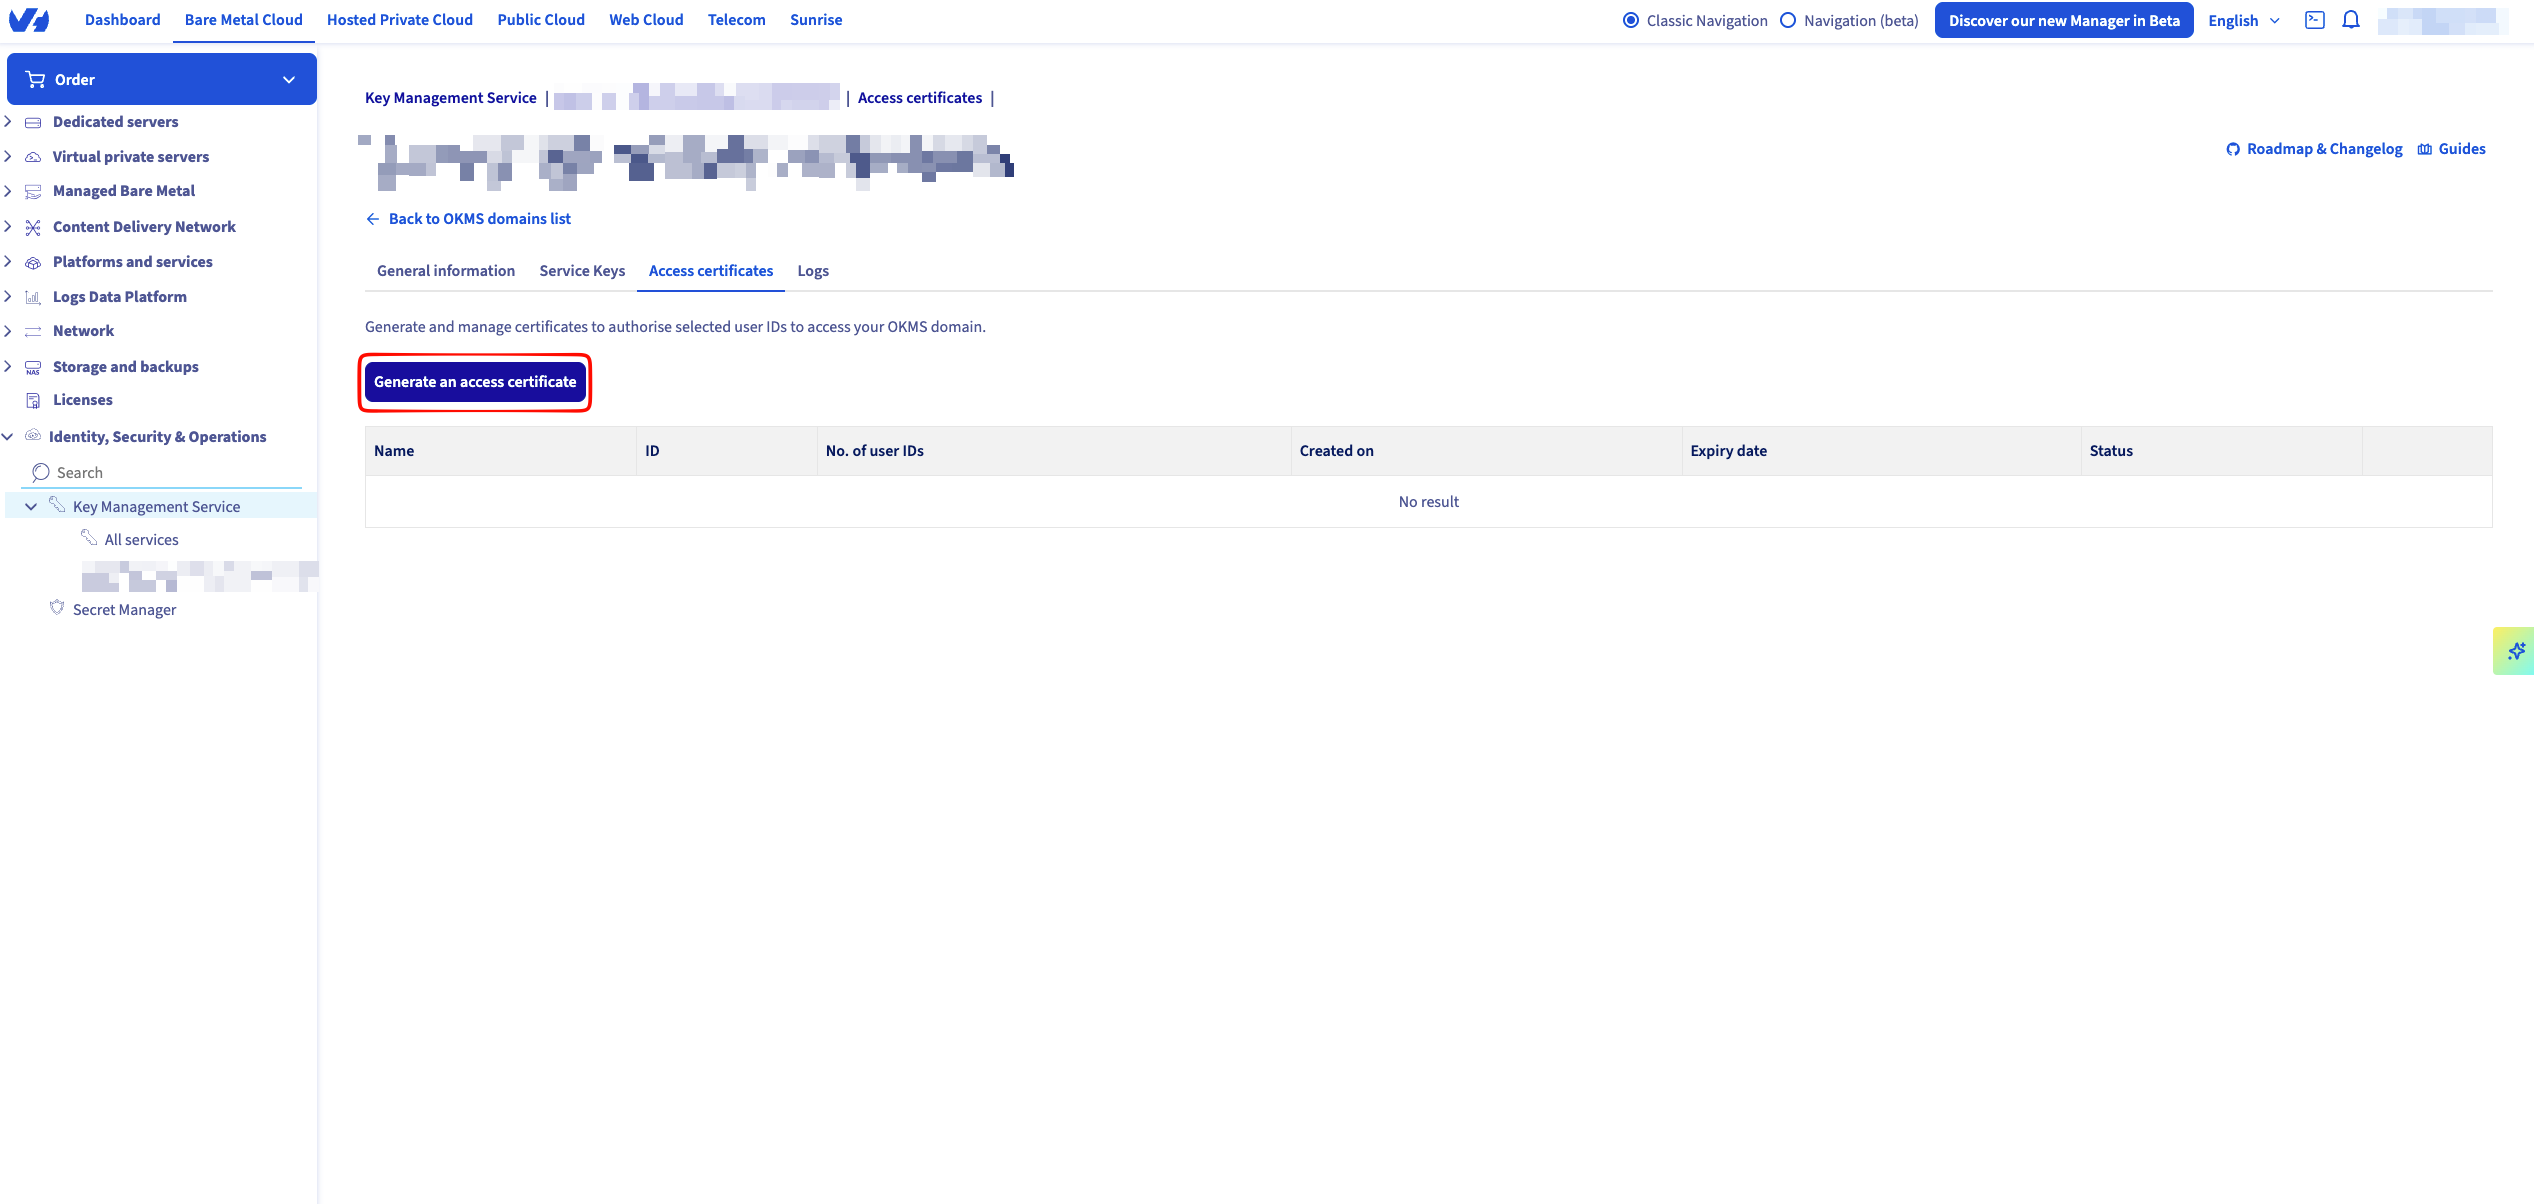 Define the validity of the certificate and download the two PEM files offered:
Click on Generate an access certificate.Define the validity of the certificate and download the two PEM files offered:-
*_privatekey.pem— the private key. -
*_certificate.pem— the public certificate.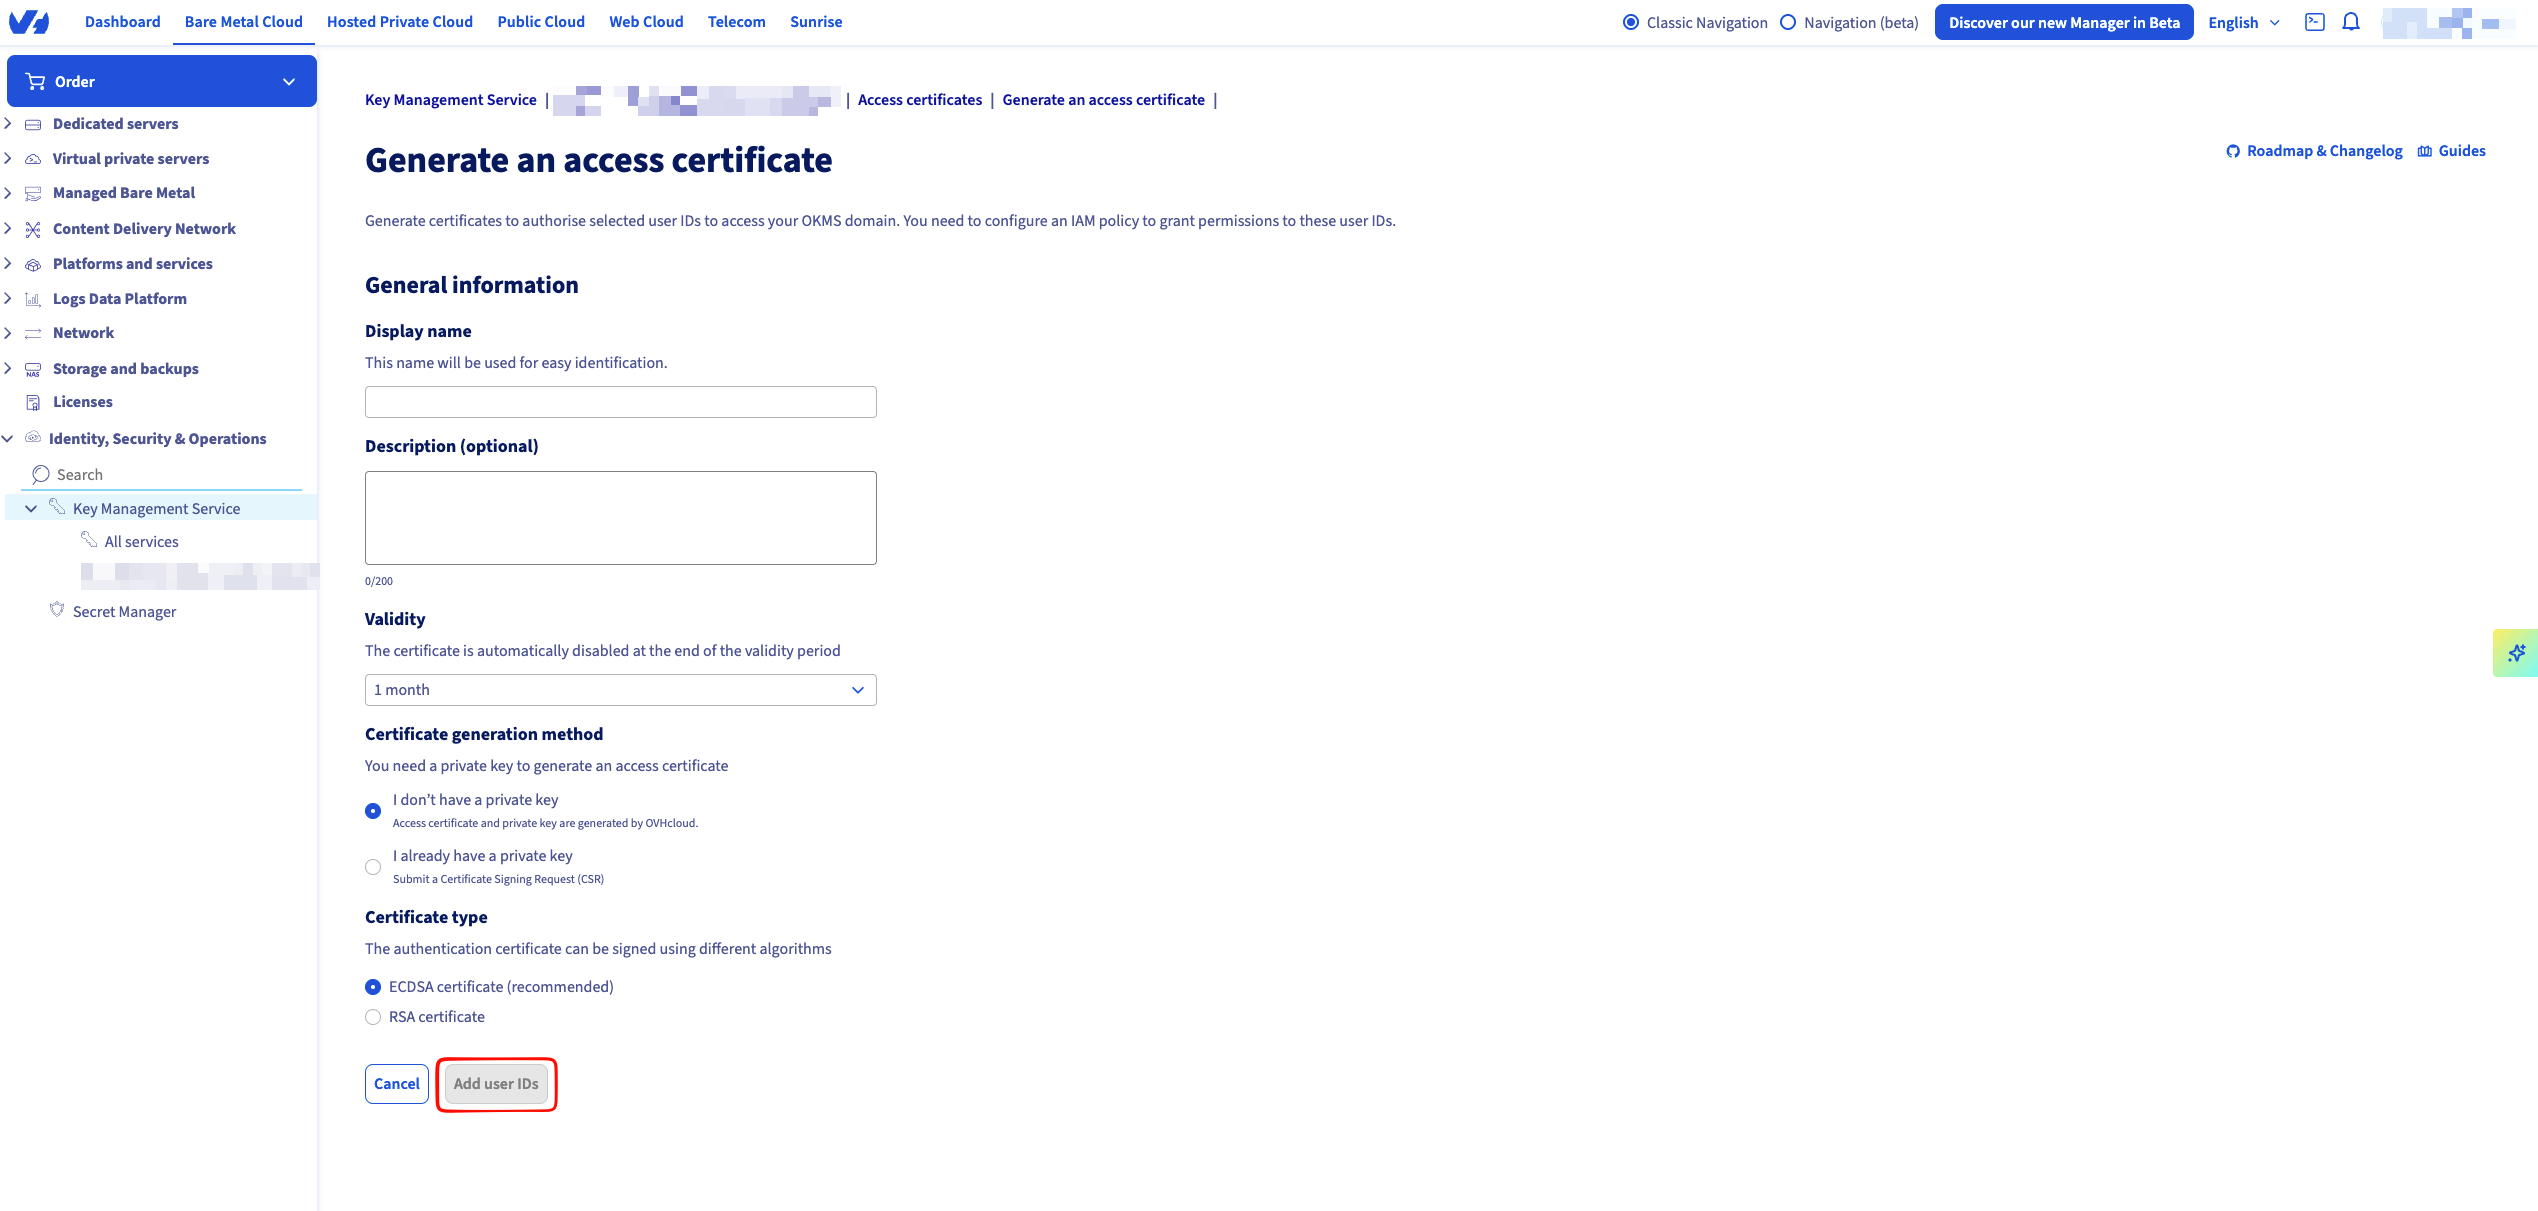
Create an OVH Cloud Connection in Infisical
- Infisical UI
- API
1
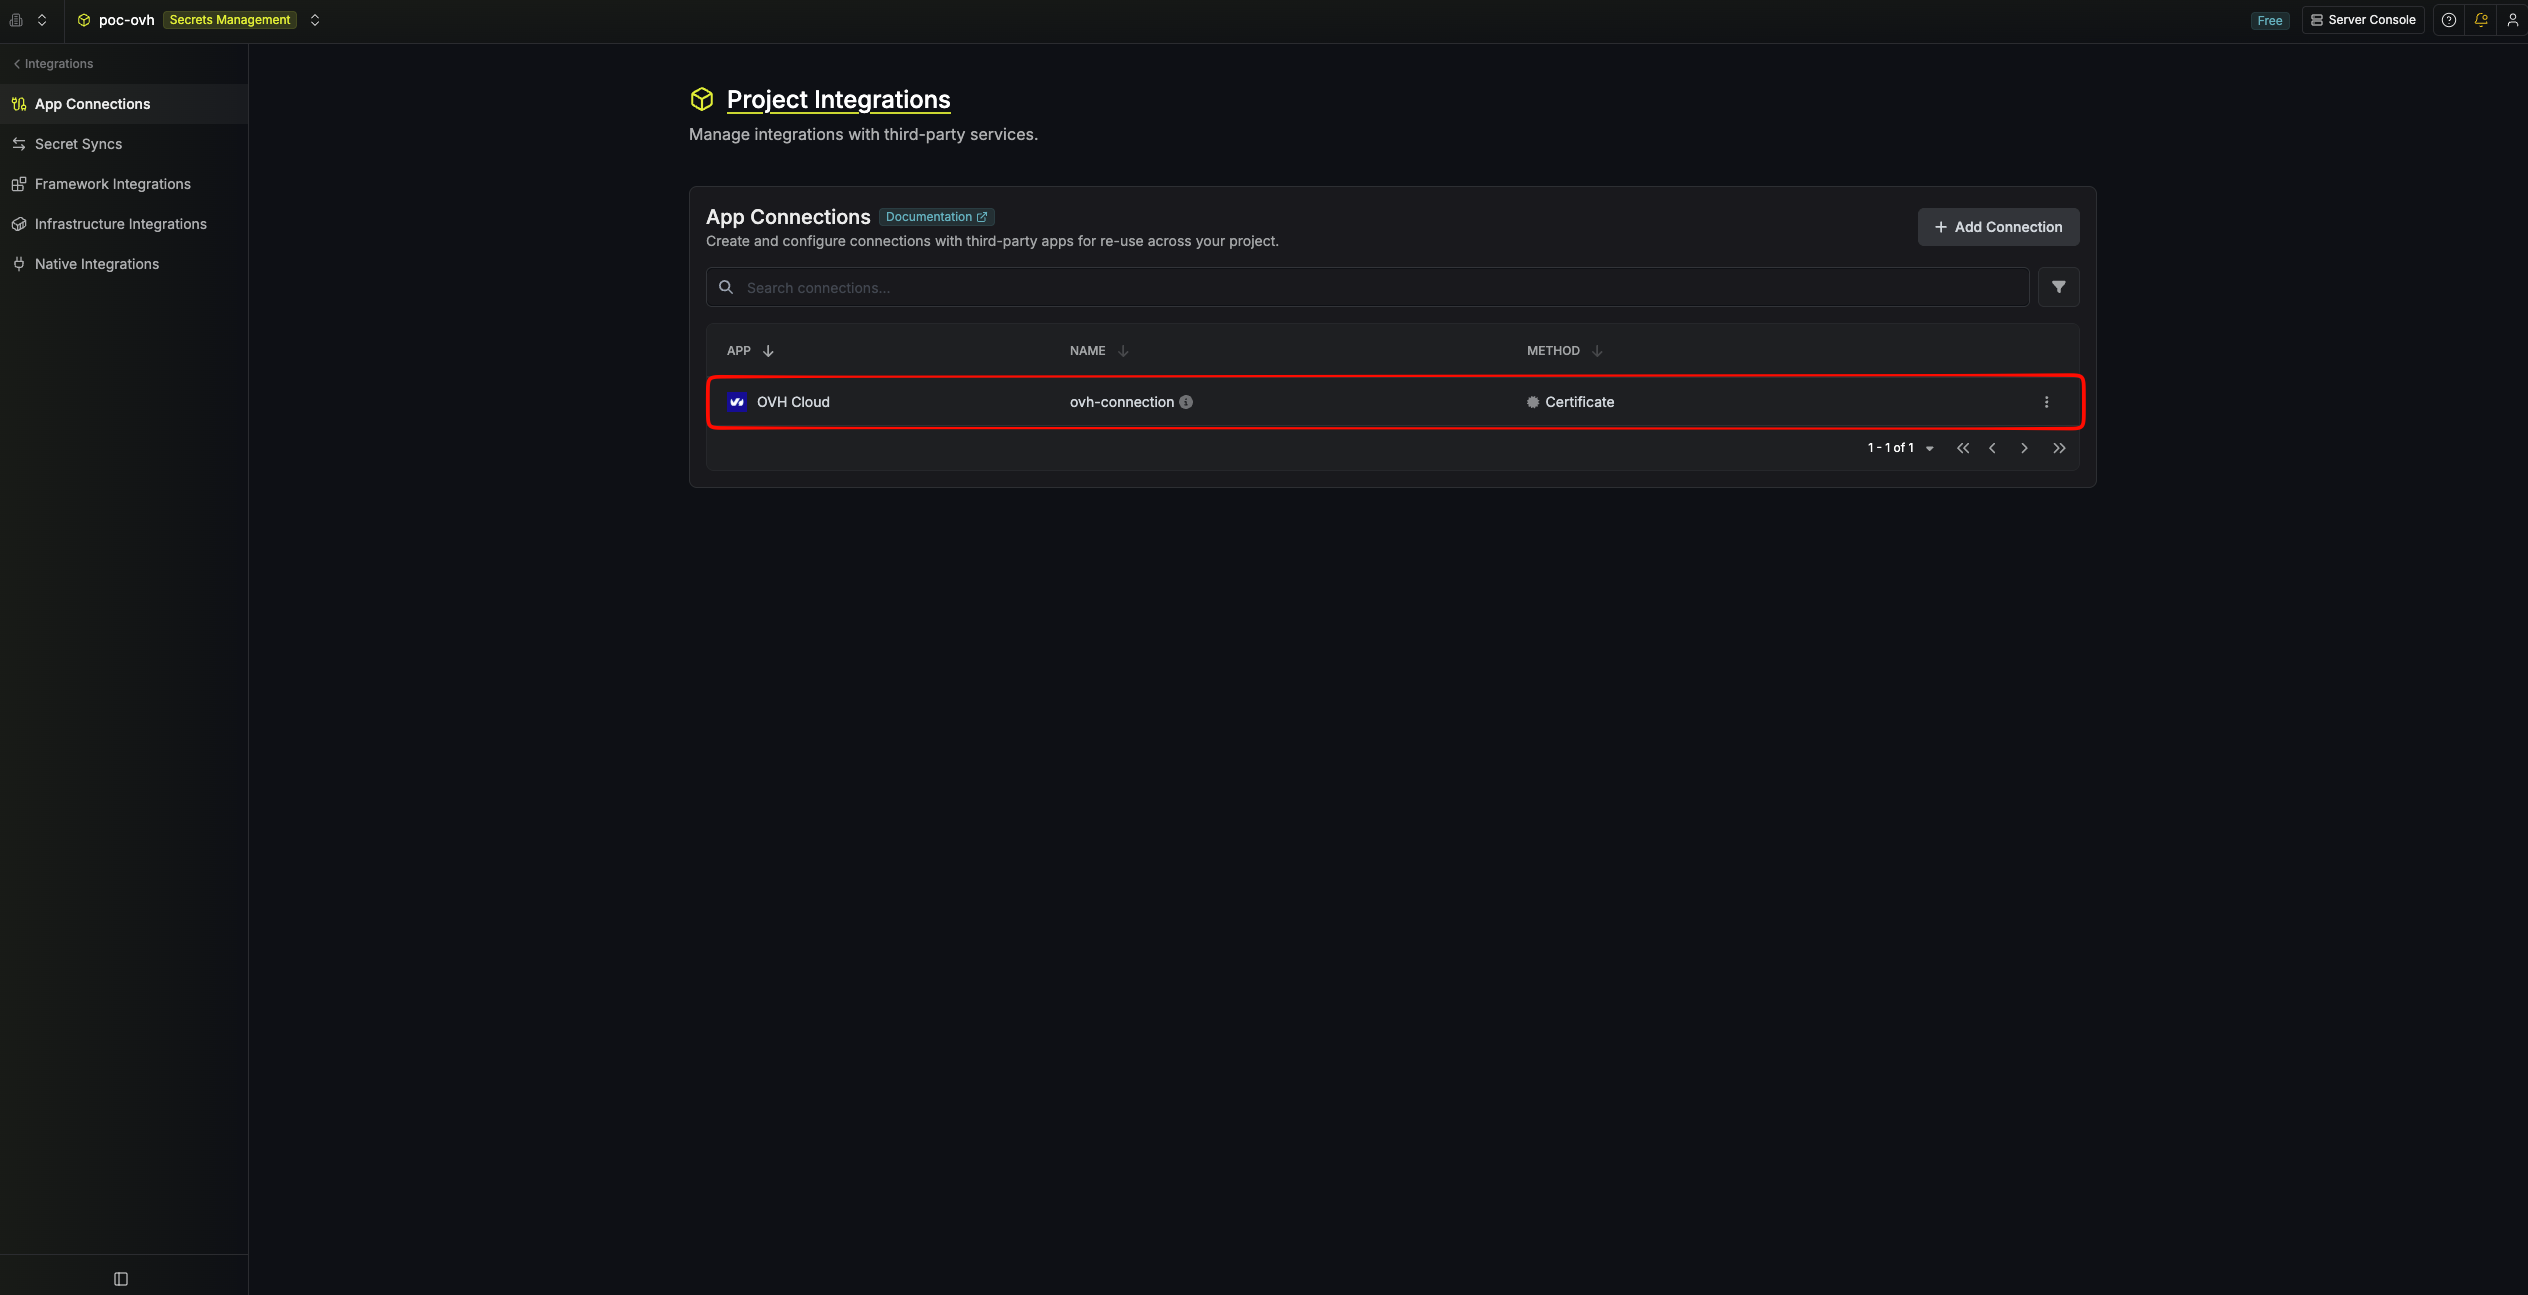
Navigate to App Connections
In your Infisical dashboard, navigate to the Integrations tab in the desired project, then select App Connections.
2
Select OVH Cloud Connection
Click + Add Connection and choose OVH Cloud Connection from the list of integrations.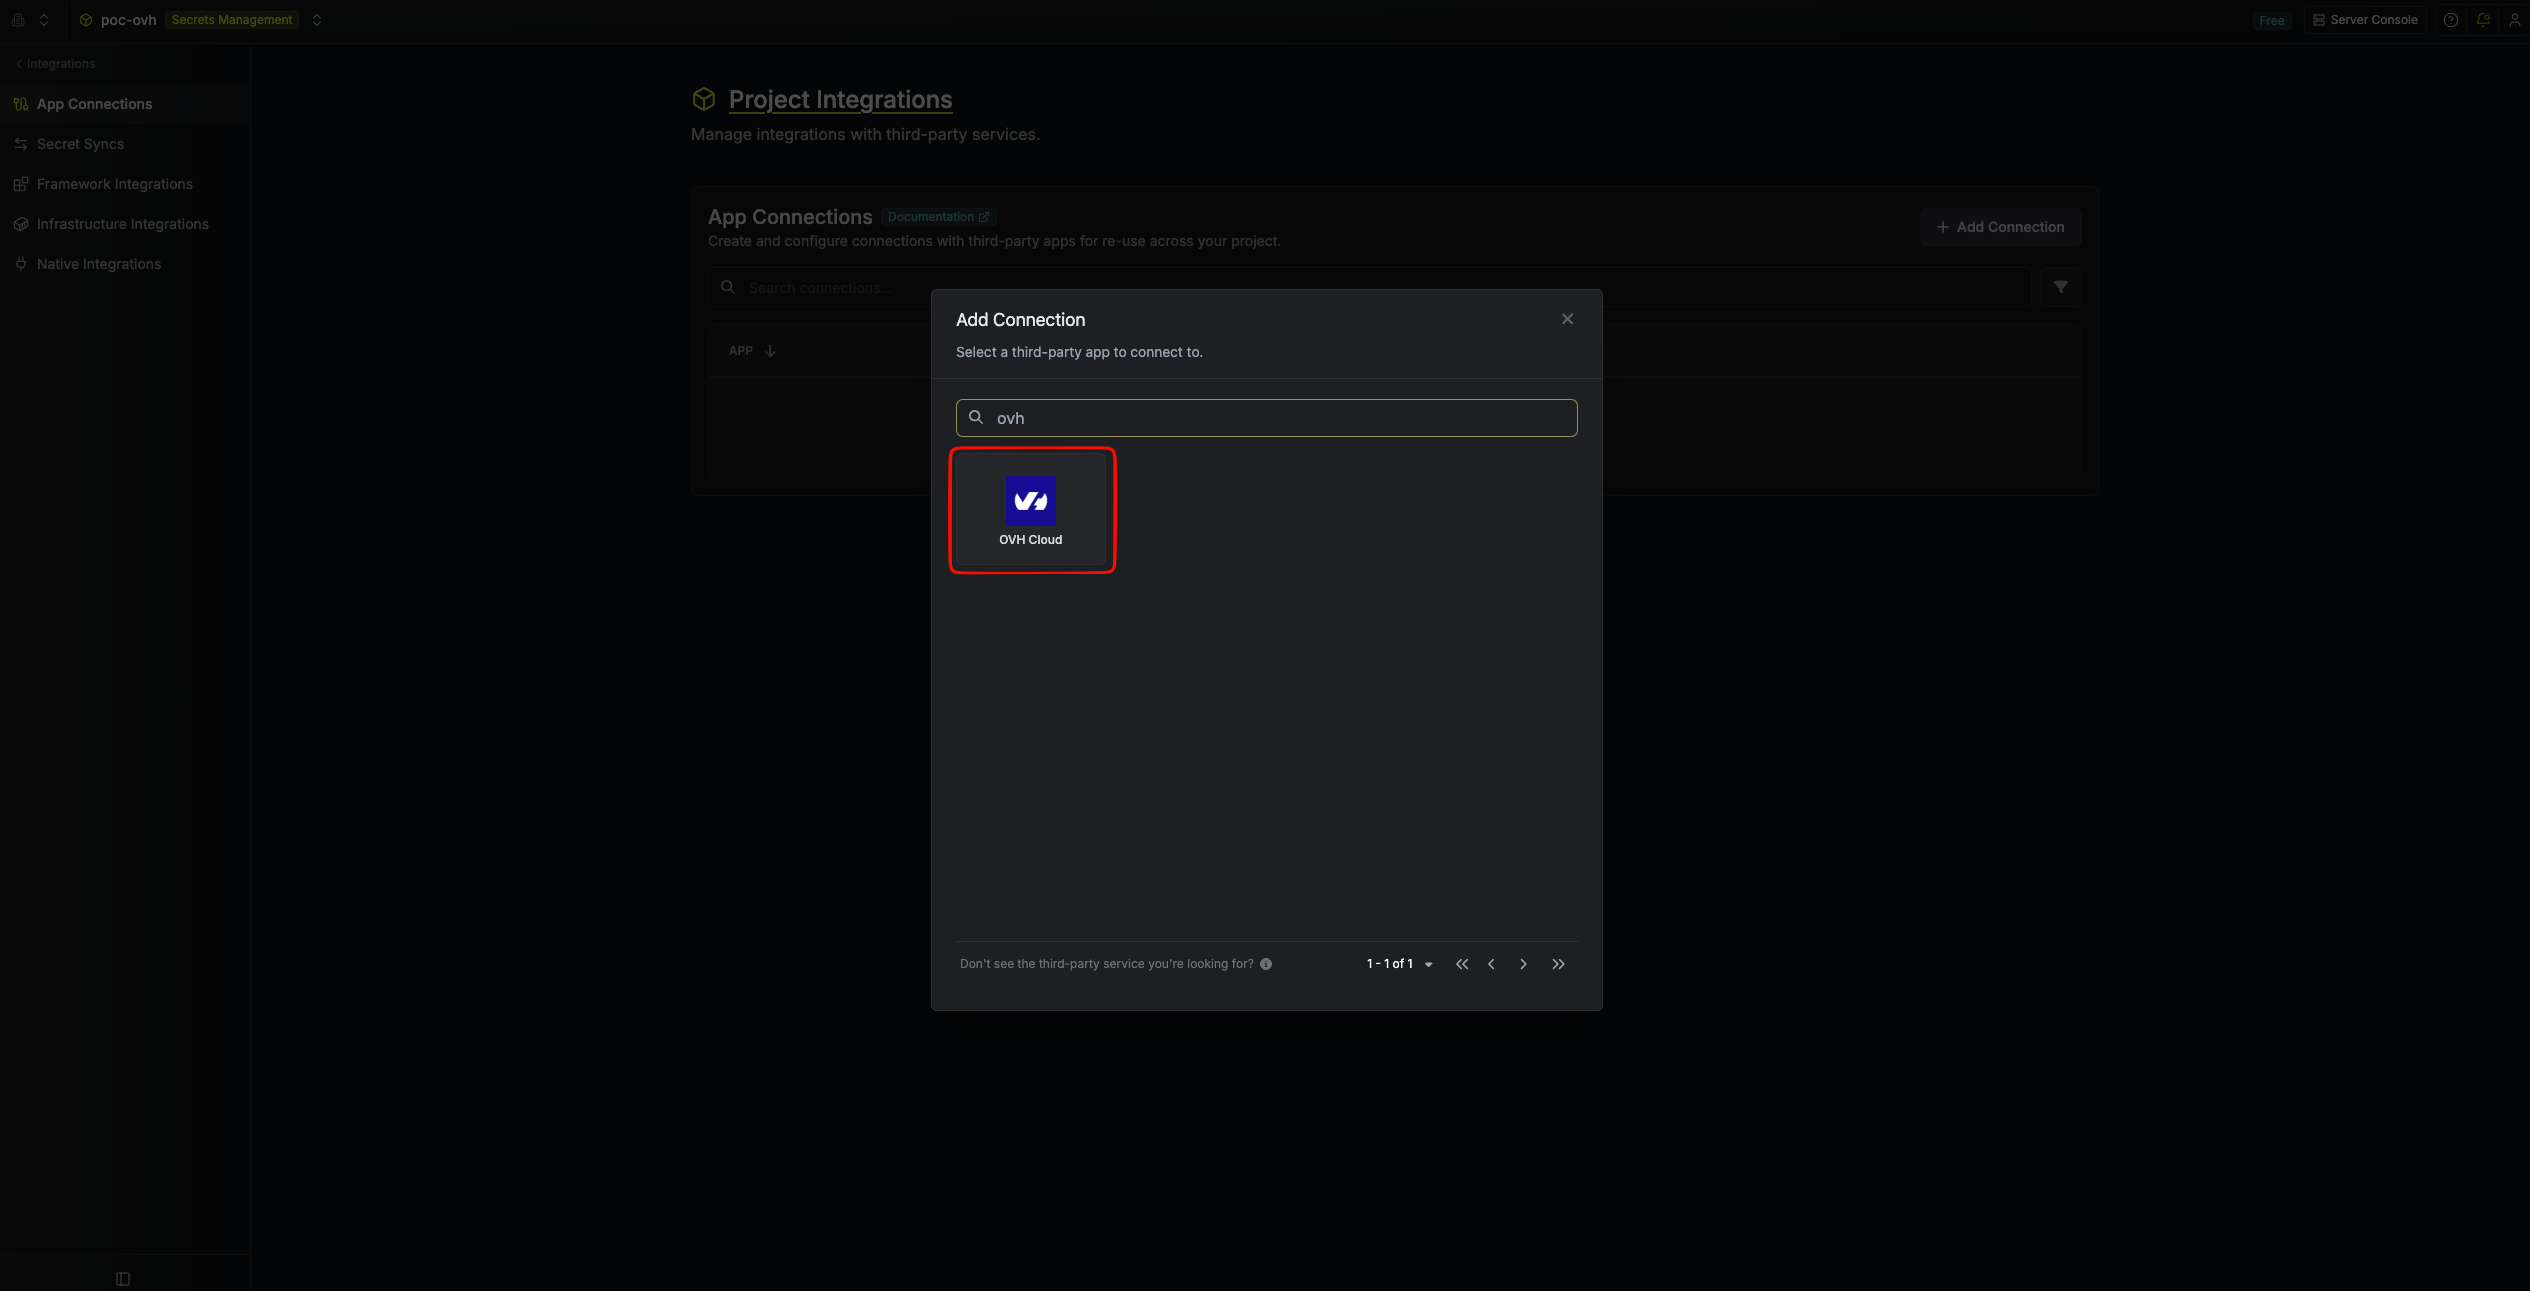
3
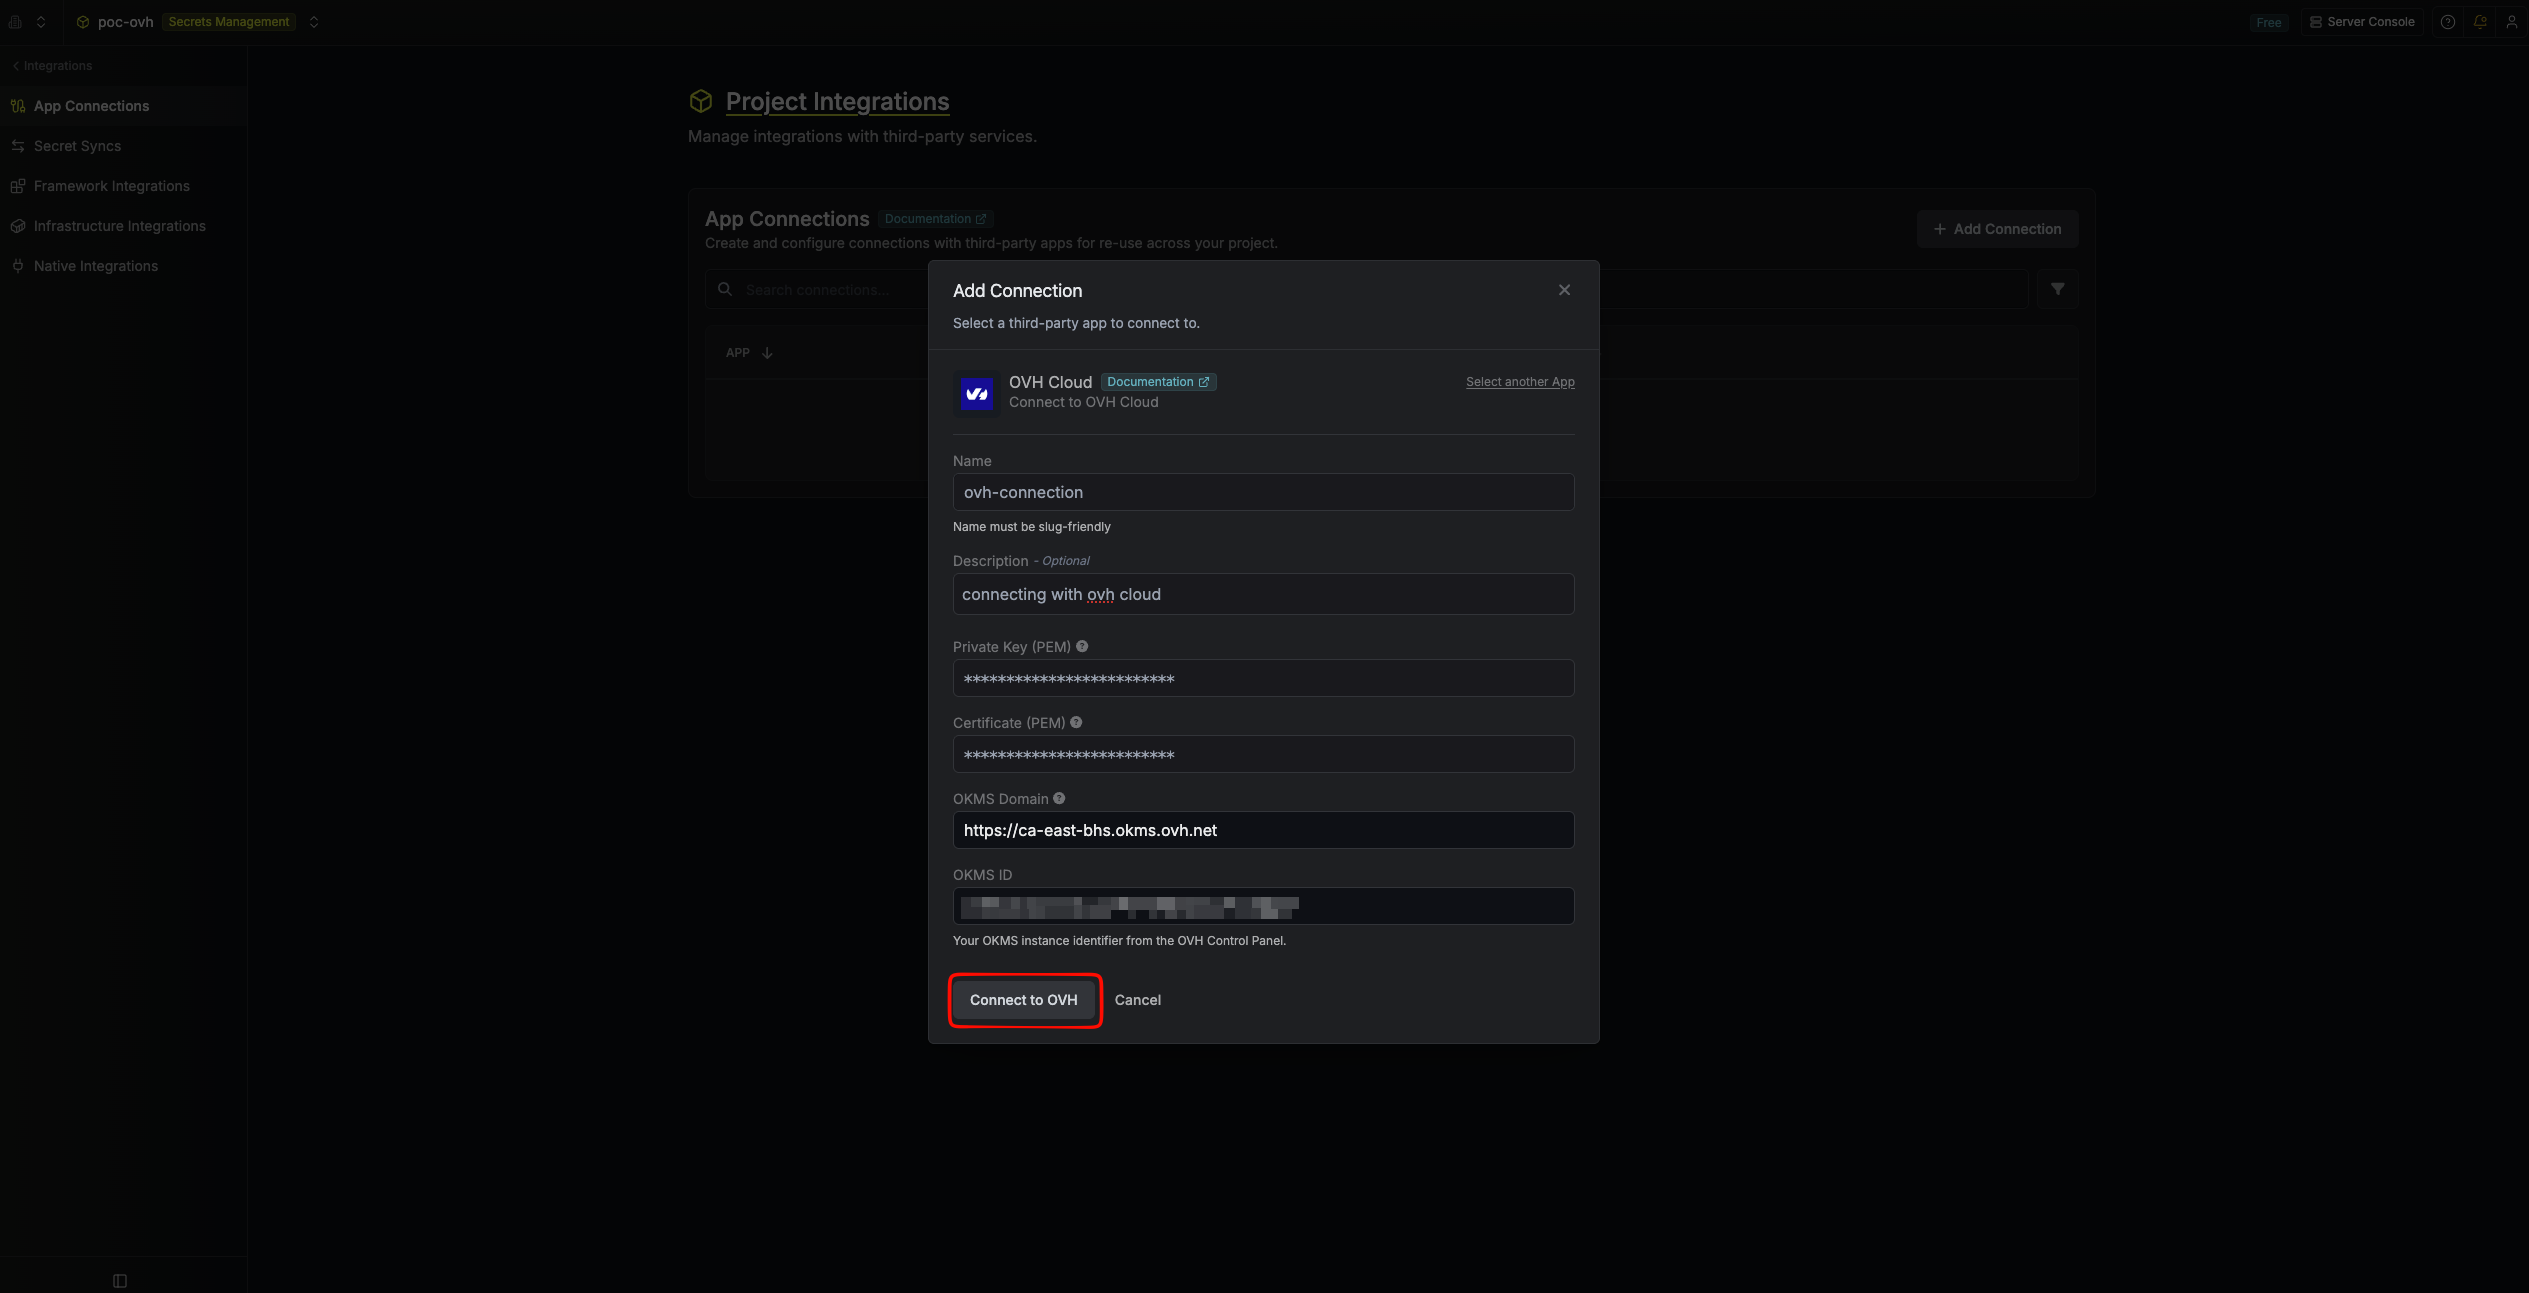
Fill out the OVH Cloud Connection form
Complete the form by providing:
- A descriptive Name for the connection.
- An optional Description.
-
Private Key (PEM) — paste the full contents of
*_privatekey.pem, including the-----BEGIN PRIVATE KEY-----and-----END PRIVATE KEY-----markers. -
Certificate (PEM) — paste the full contents of
*_certificate.pem, including the-----BEGIN CERTIFICATE-----and-----END CERTIFICATE-----markers. -
OKMS Domain — the OKMS base URL (e.g.
https://ca-east-bhs.okms.ovh.net). Do not include the/apisuffix; Infisical appends it automatically. -
OKMS ID — the OKMS instance identifier from the OVHcloud Control Panel.
GET {OKMS Domain}/api/{OKMS ID}/v1/servicekey with mTLS. A successful 200 response means the PEM pair is trusted by your OKMS instance.4
Connection created
After submitting the form, your OVH Cloud Connection is created and ready to use with Secret Syncs.