Heroku Connection
Learn how to configure a Heroku Connection for Infisical using OAuth or Auth Token methods.
Infisical supports two methods for connecting to Heroku: OAuth and Auth Token. Choose the method that best fits your setup and security requirements.
The OAuth method provides secure authentication through Heroku’s OAuth flow.
Self-Hosted Instance Setup
Using the Heroku Connection with OAuth on a self-hosted instance of Infisical requires configuring an API client in Heroku and registering your instance with it.
Prerequisites:
- A Heroku account with existing applications
- Self-hosted Infisical instance
Create an API client in Heroku
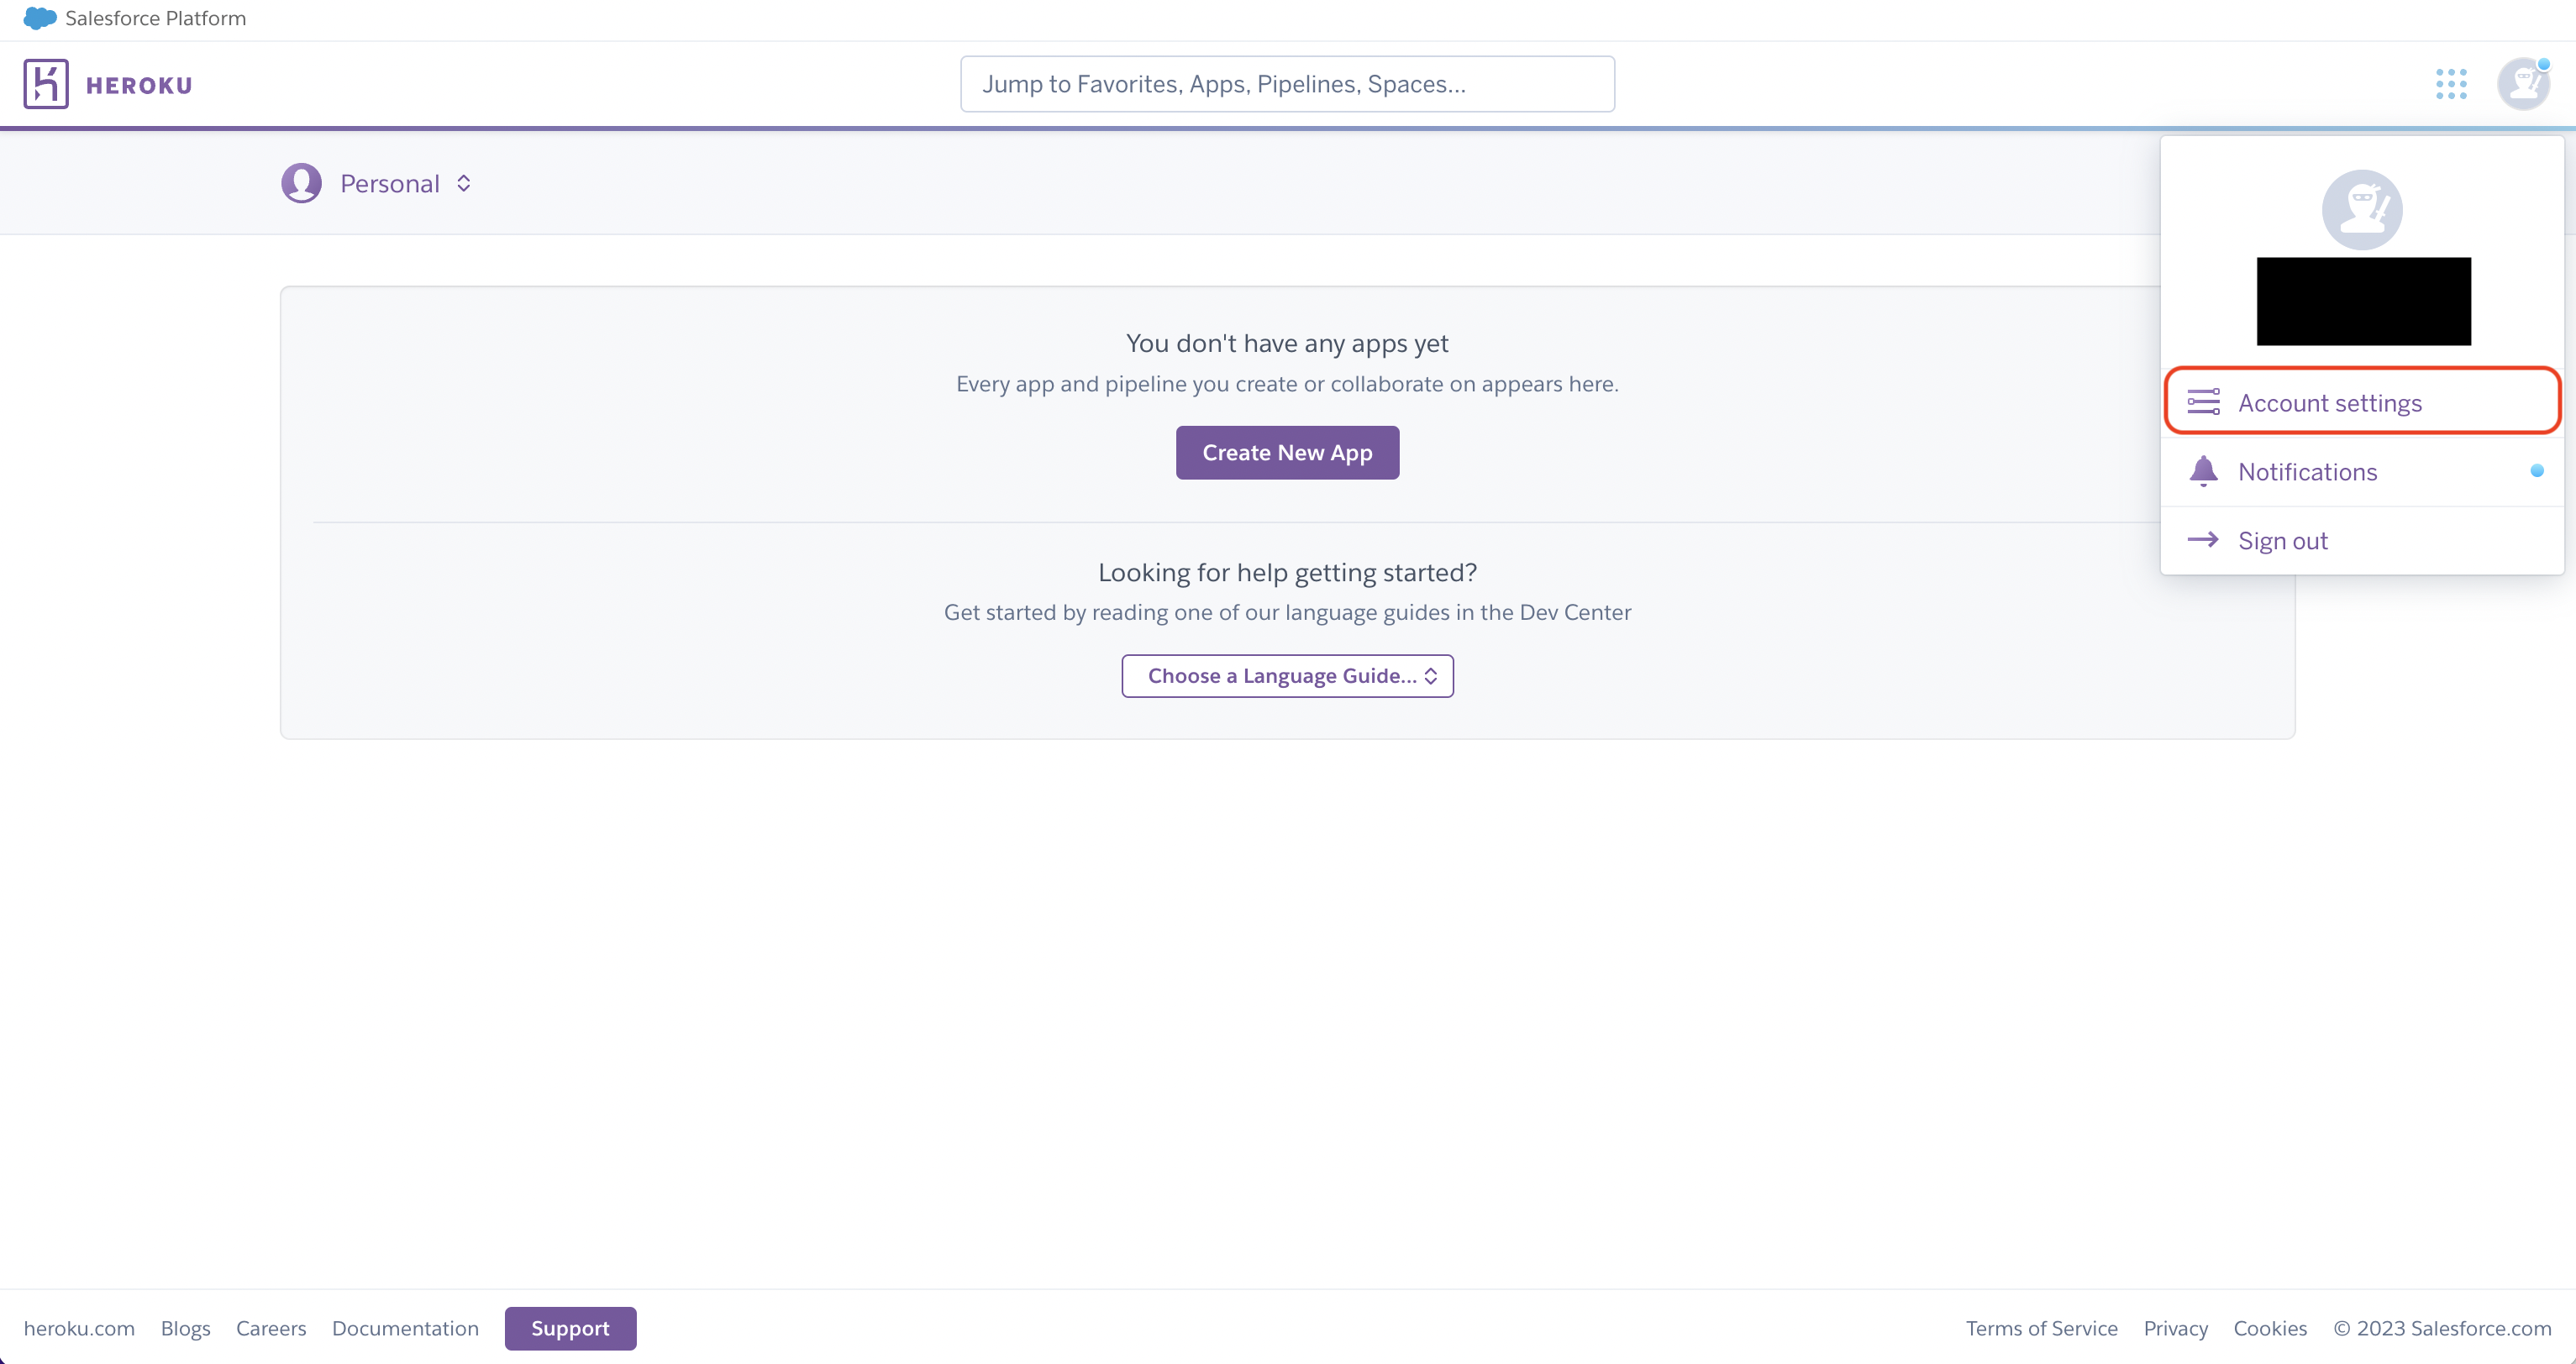
Navigate to your user Account settings > Applications to create a new API client.
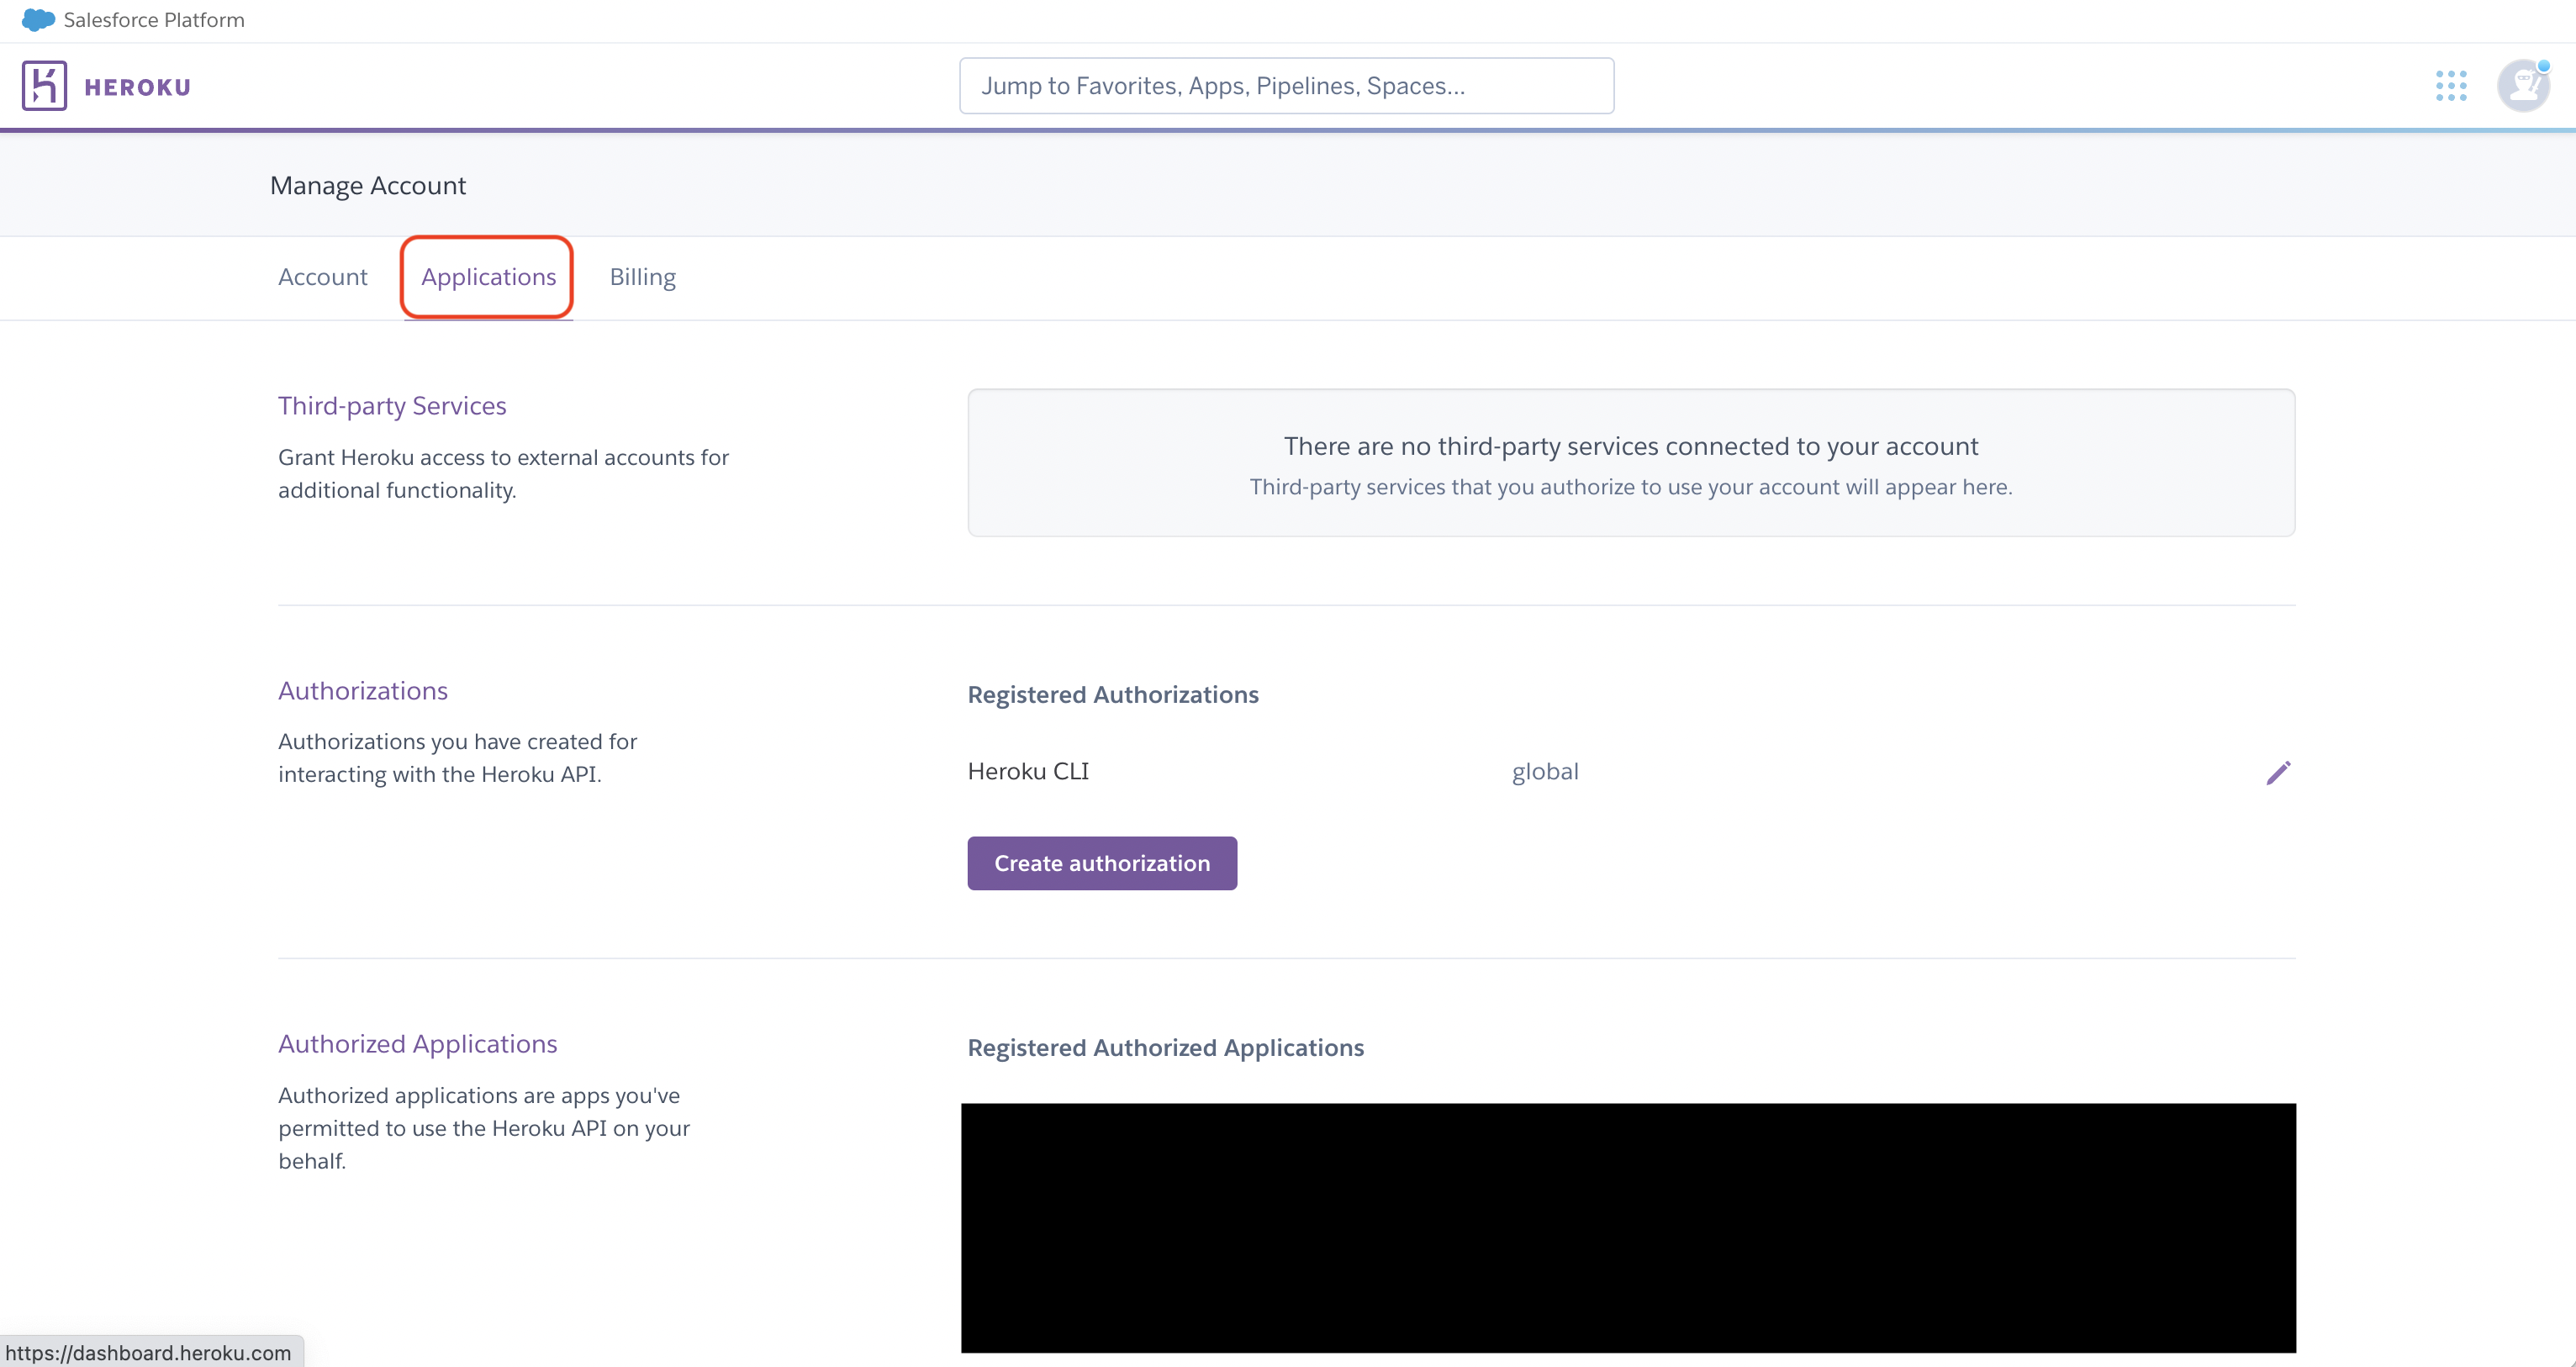
Create the API client. As part of the form, set the OAuth callback URL to https://your-domain.com/integrations/heroku/oauth2/callback
.
The domain you defined in the OAuth callback URL should be equivalent to the SITE_URL
configured in your Infisical instance.
Add your Heroku API client credentials to Infisical
Obtain the Client ID and Client Secret for your Heroku API client.
Back in your Infisical instance, add two new environment variables for the credentials of your Heroku API client:
CLIENT_ID_HEROKU
: The Client ID of your Heroku API client.CLIENT_SECRET_HEROKU
: The Client Secret of your Heroku API client.
Once added, restart your Infisical instance and use the Heroku Connection.
Setup Heroku OAuth Connection in Infisical
Navigate to App Connections
Navigate to the App Connections tab on the Organization Settings page.
Add Connection
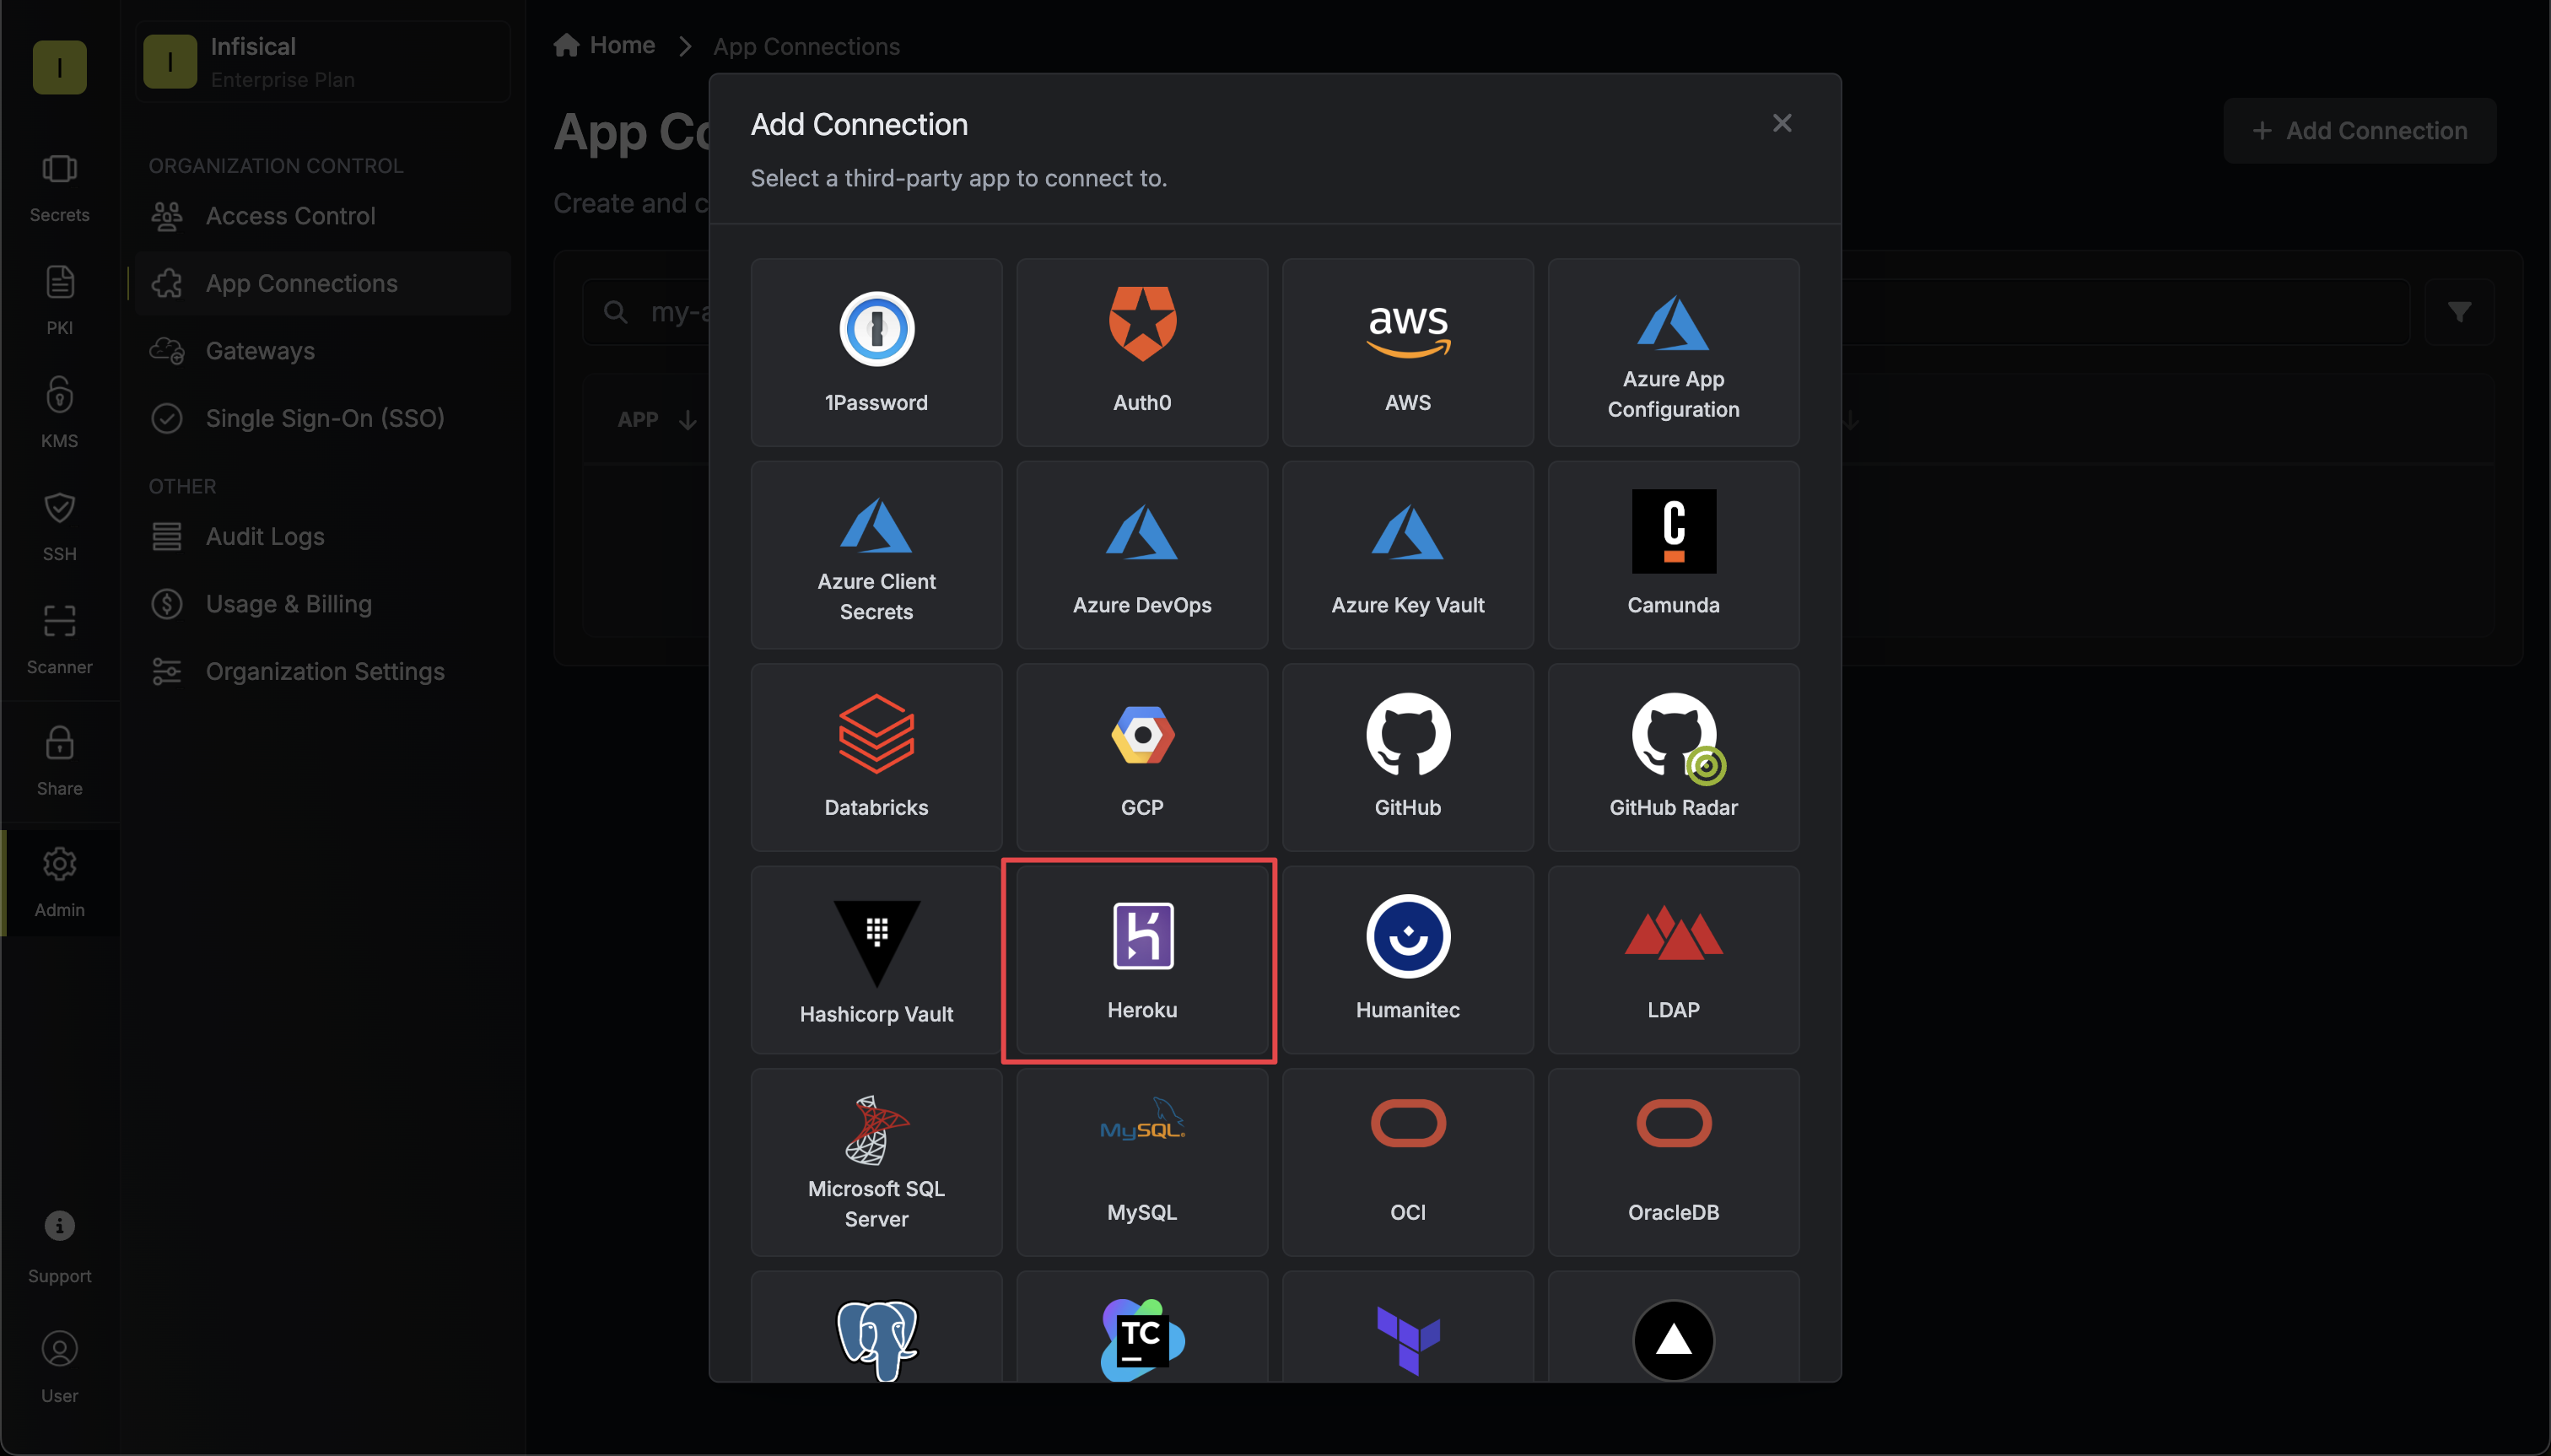
Select the Heroku Connection option from the connection options modal.
Choose OAuth Method
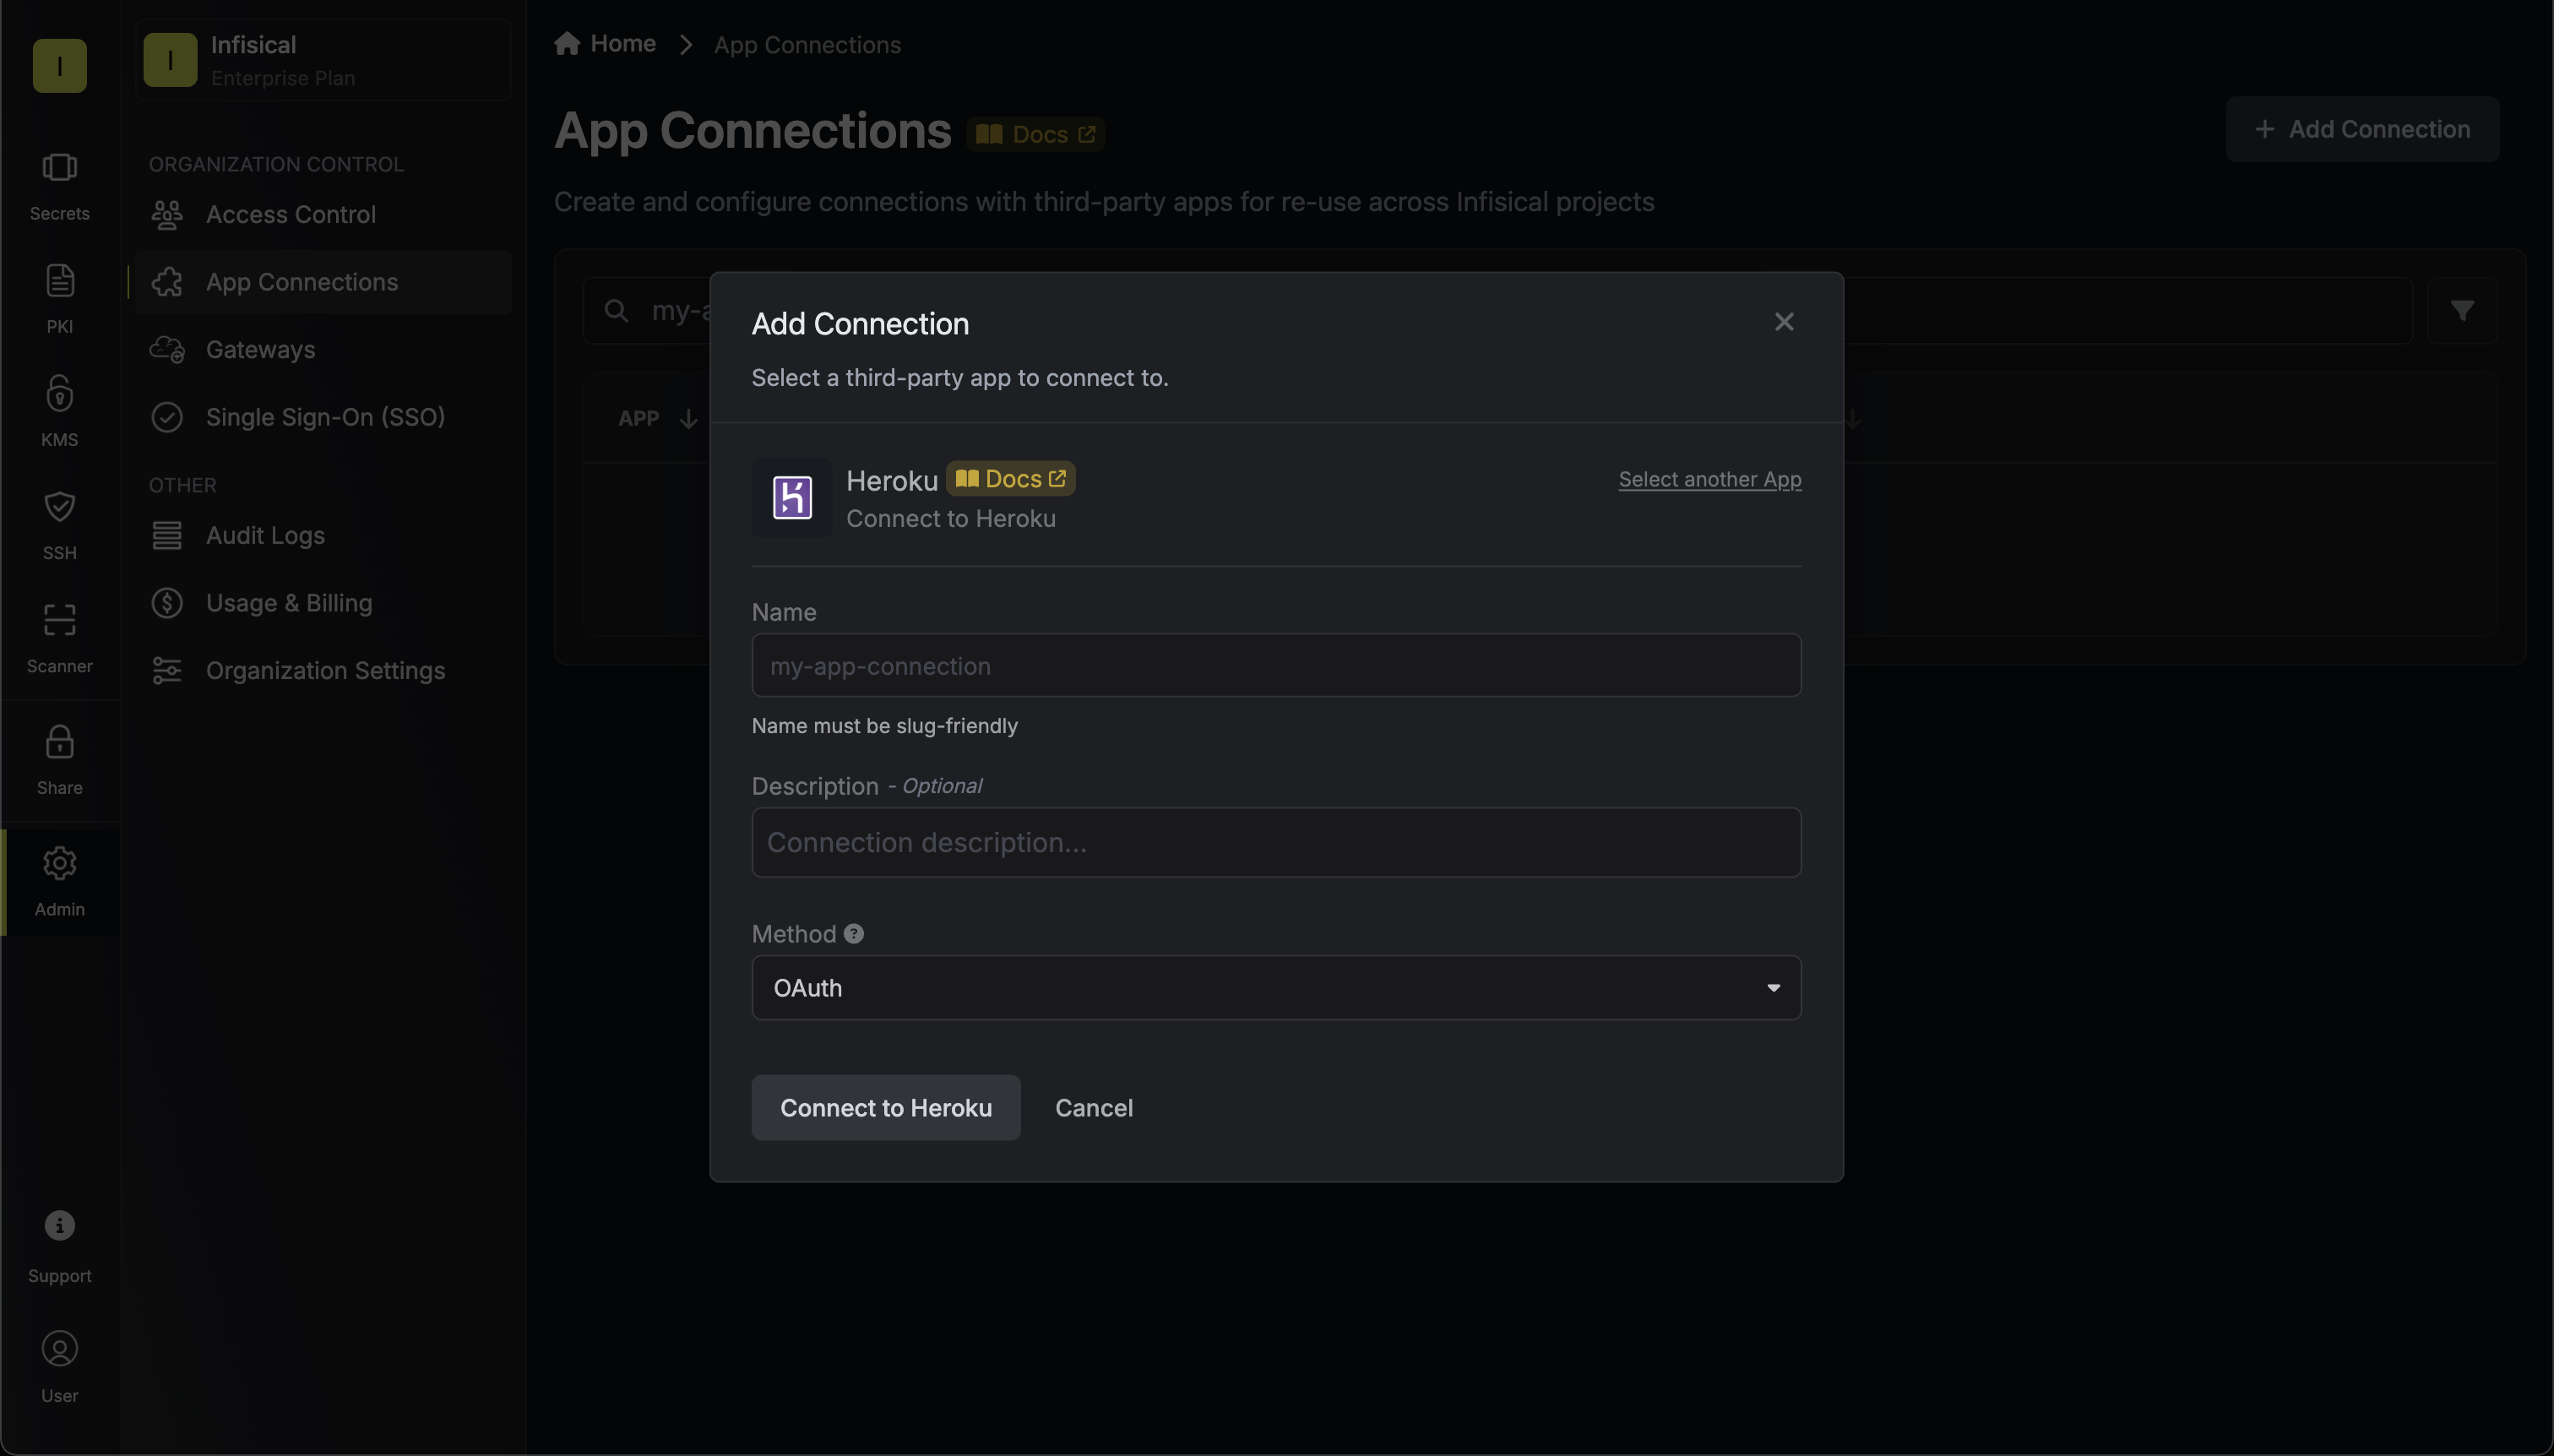
Select the OAuth method and click Connect to Heroku.
Grant Access
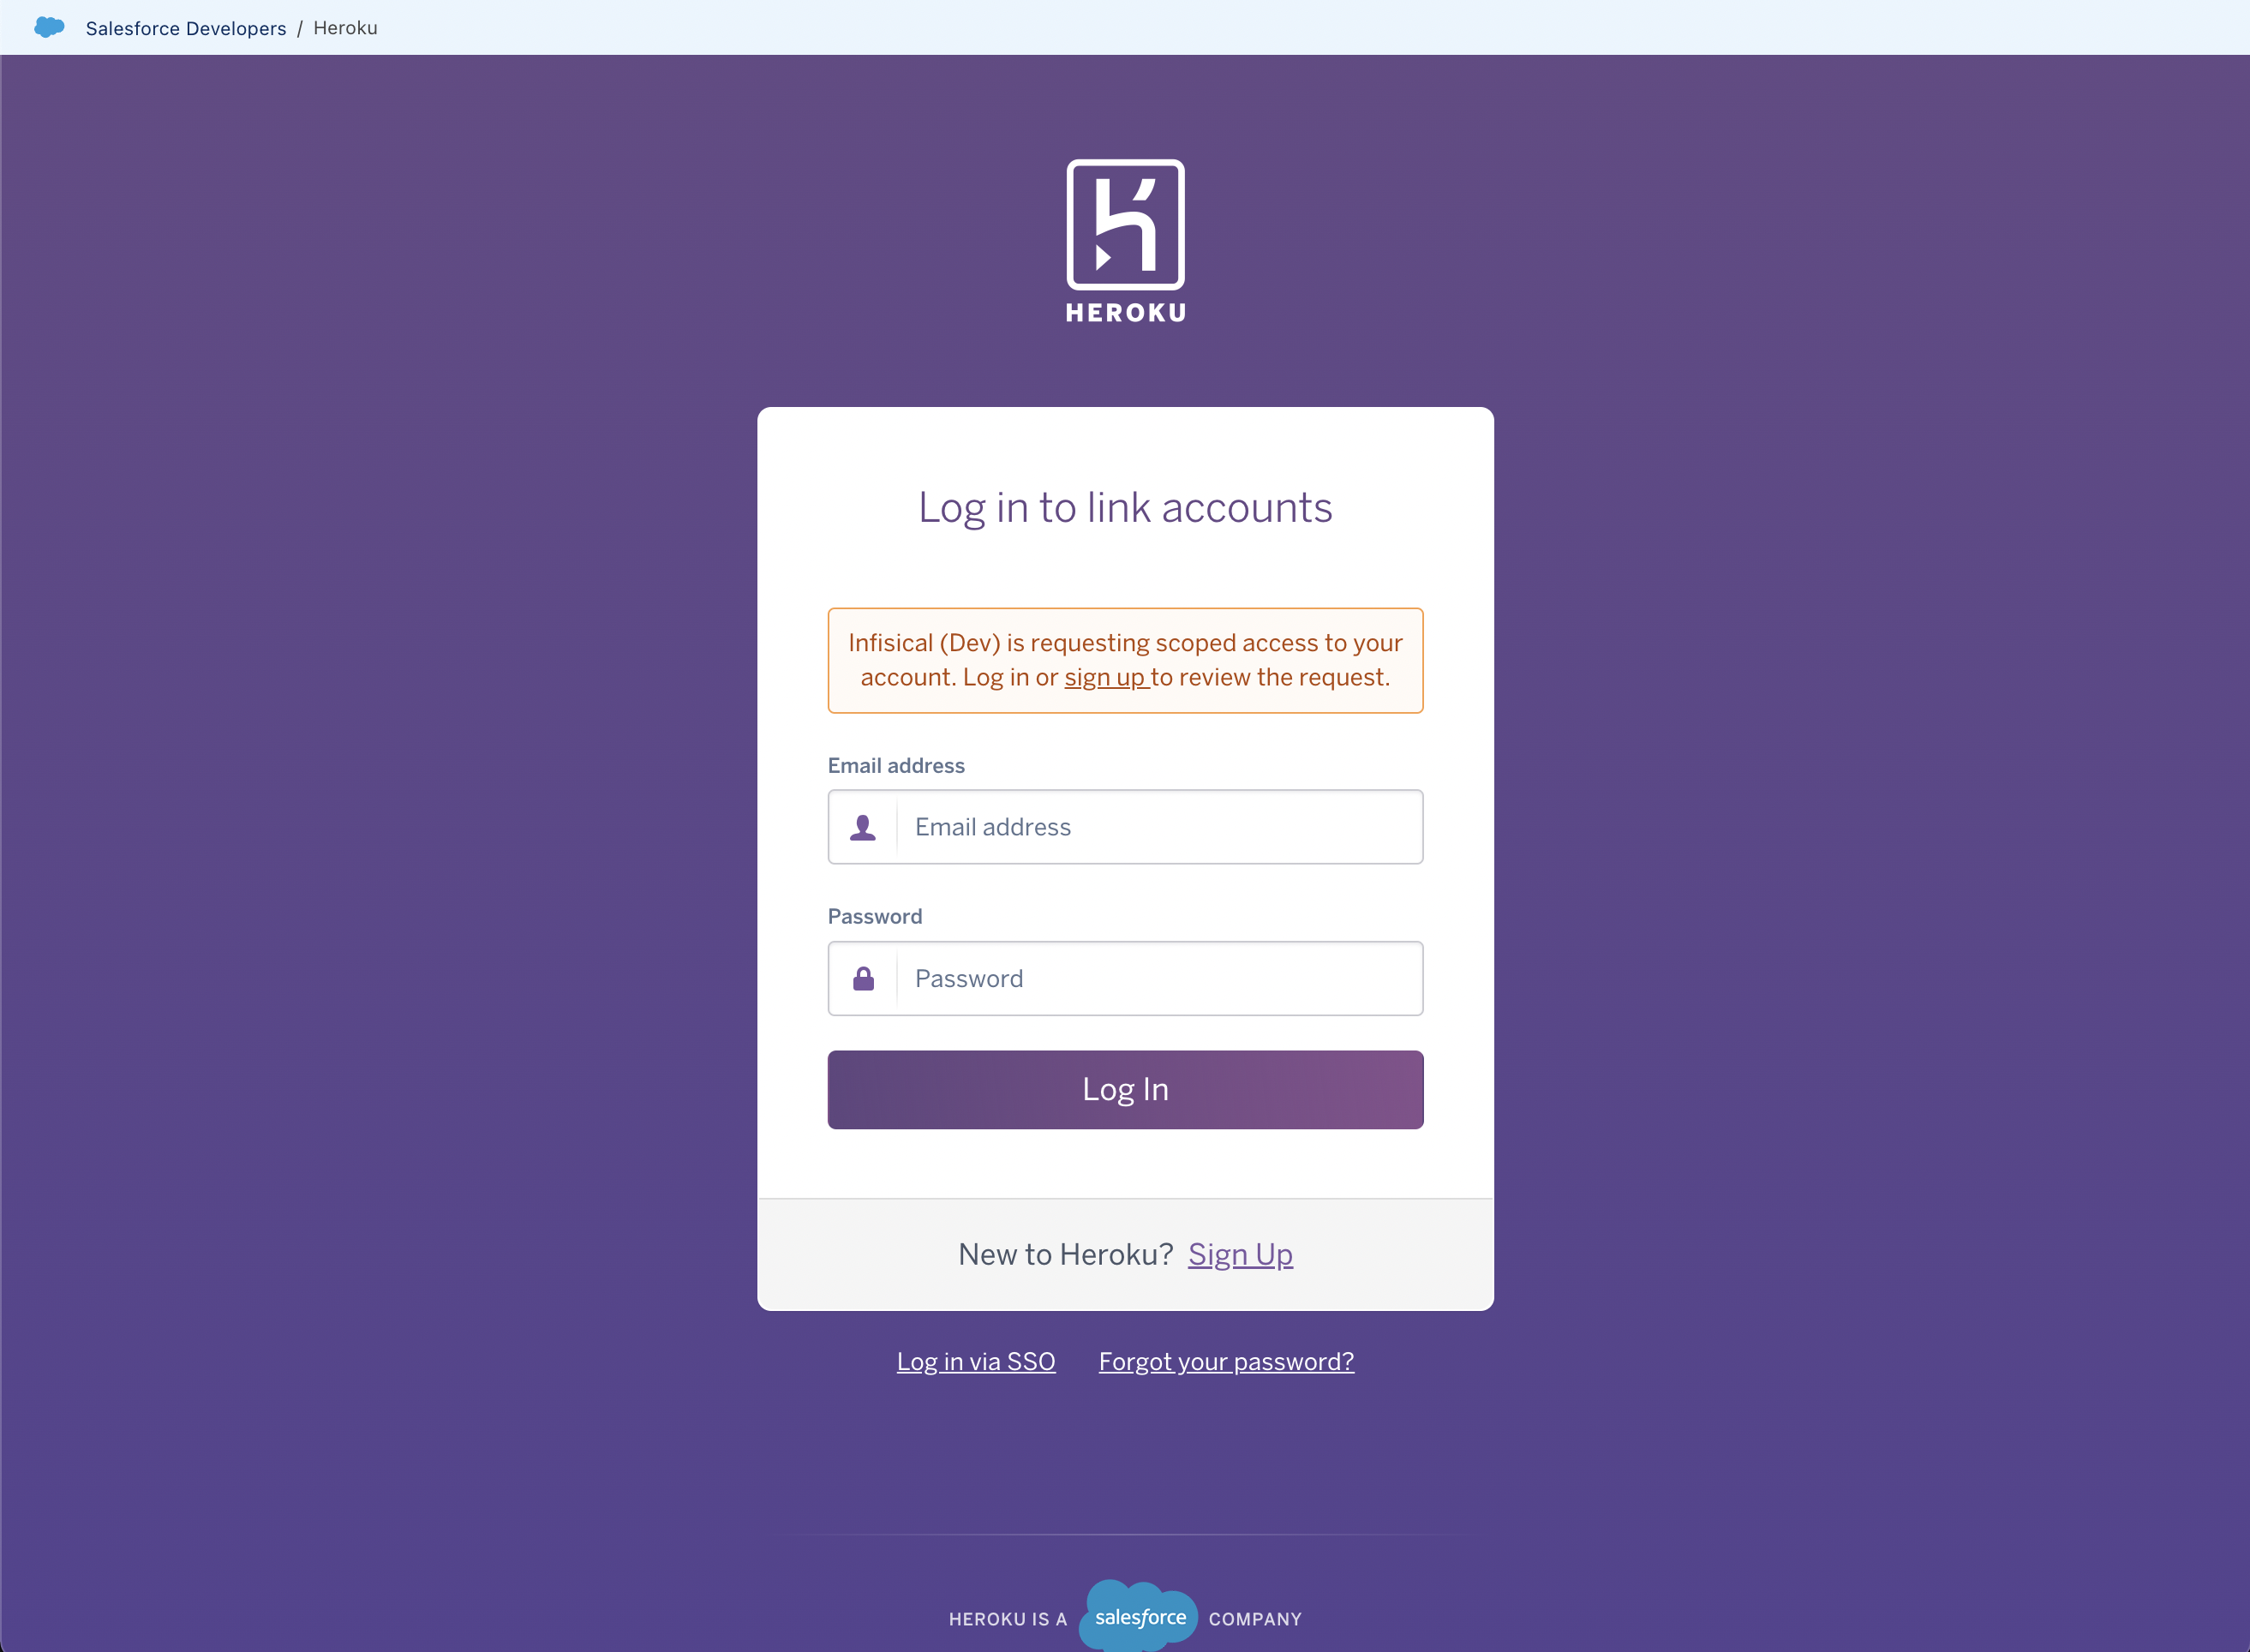
You will be redirected to Heroku to grant Infisical access to your Heroku account. Once granted, you will be redirected back to Infisical’s App Connections page.
Connection Created
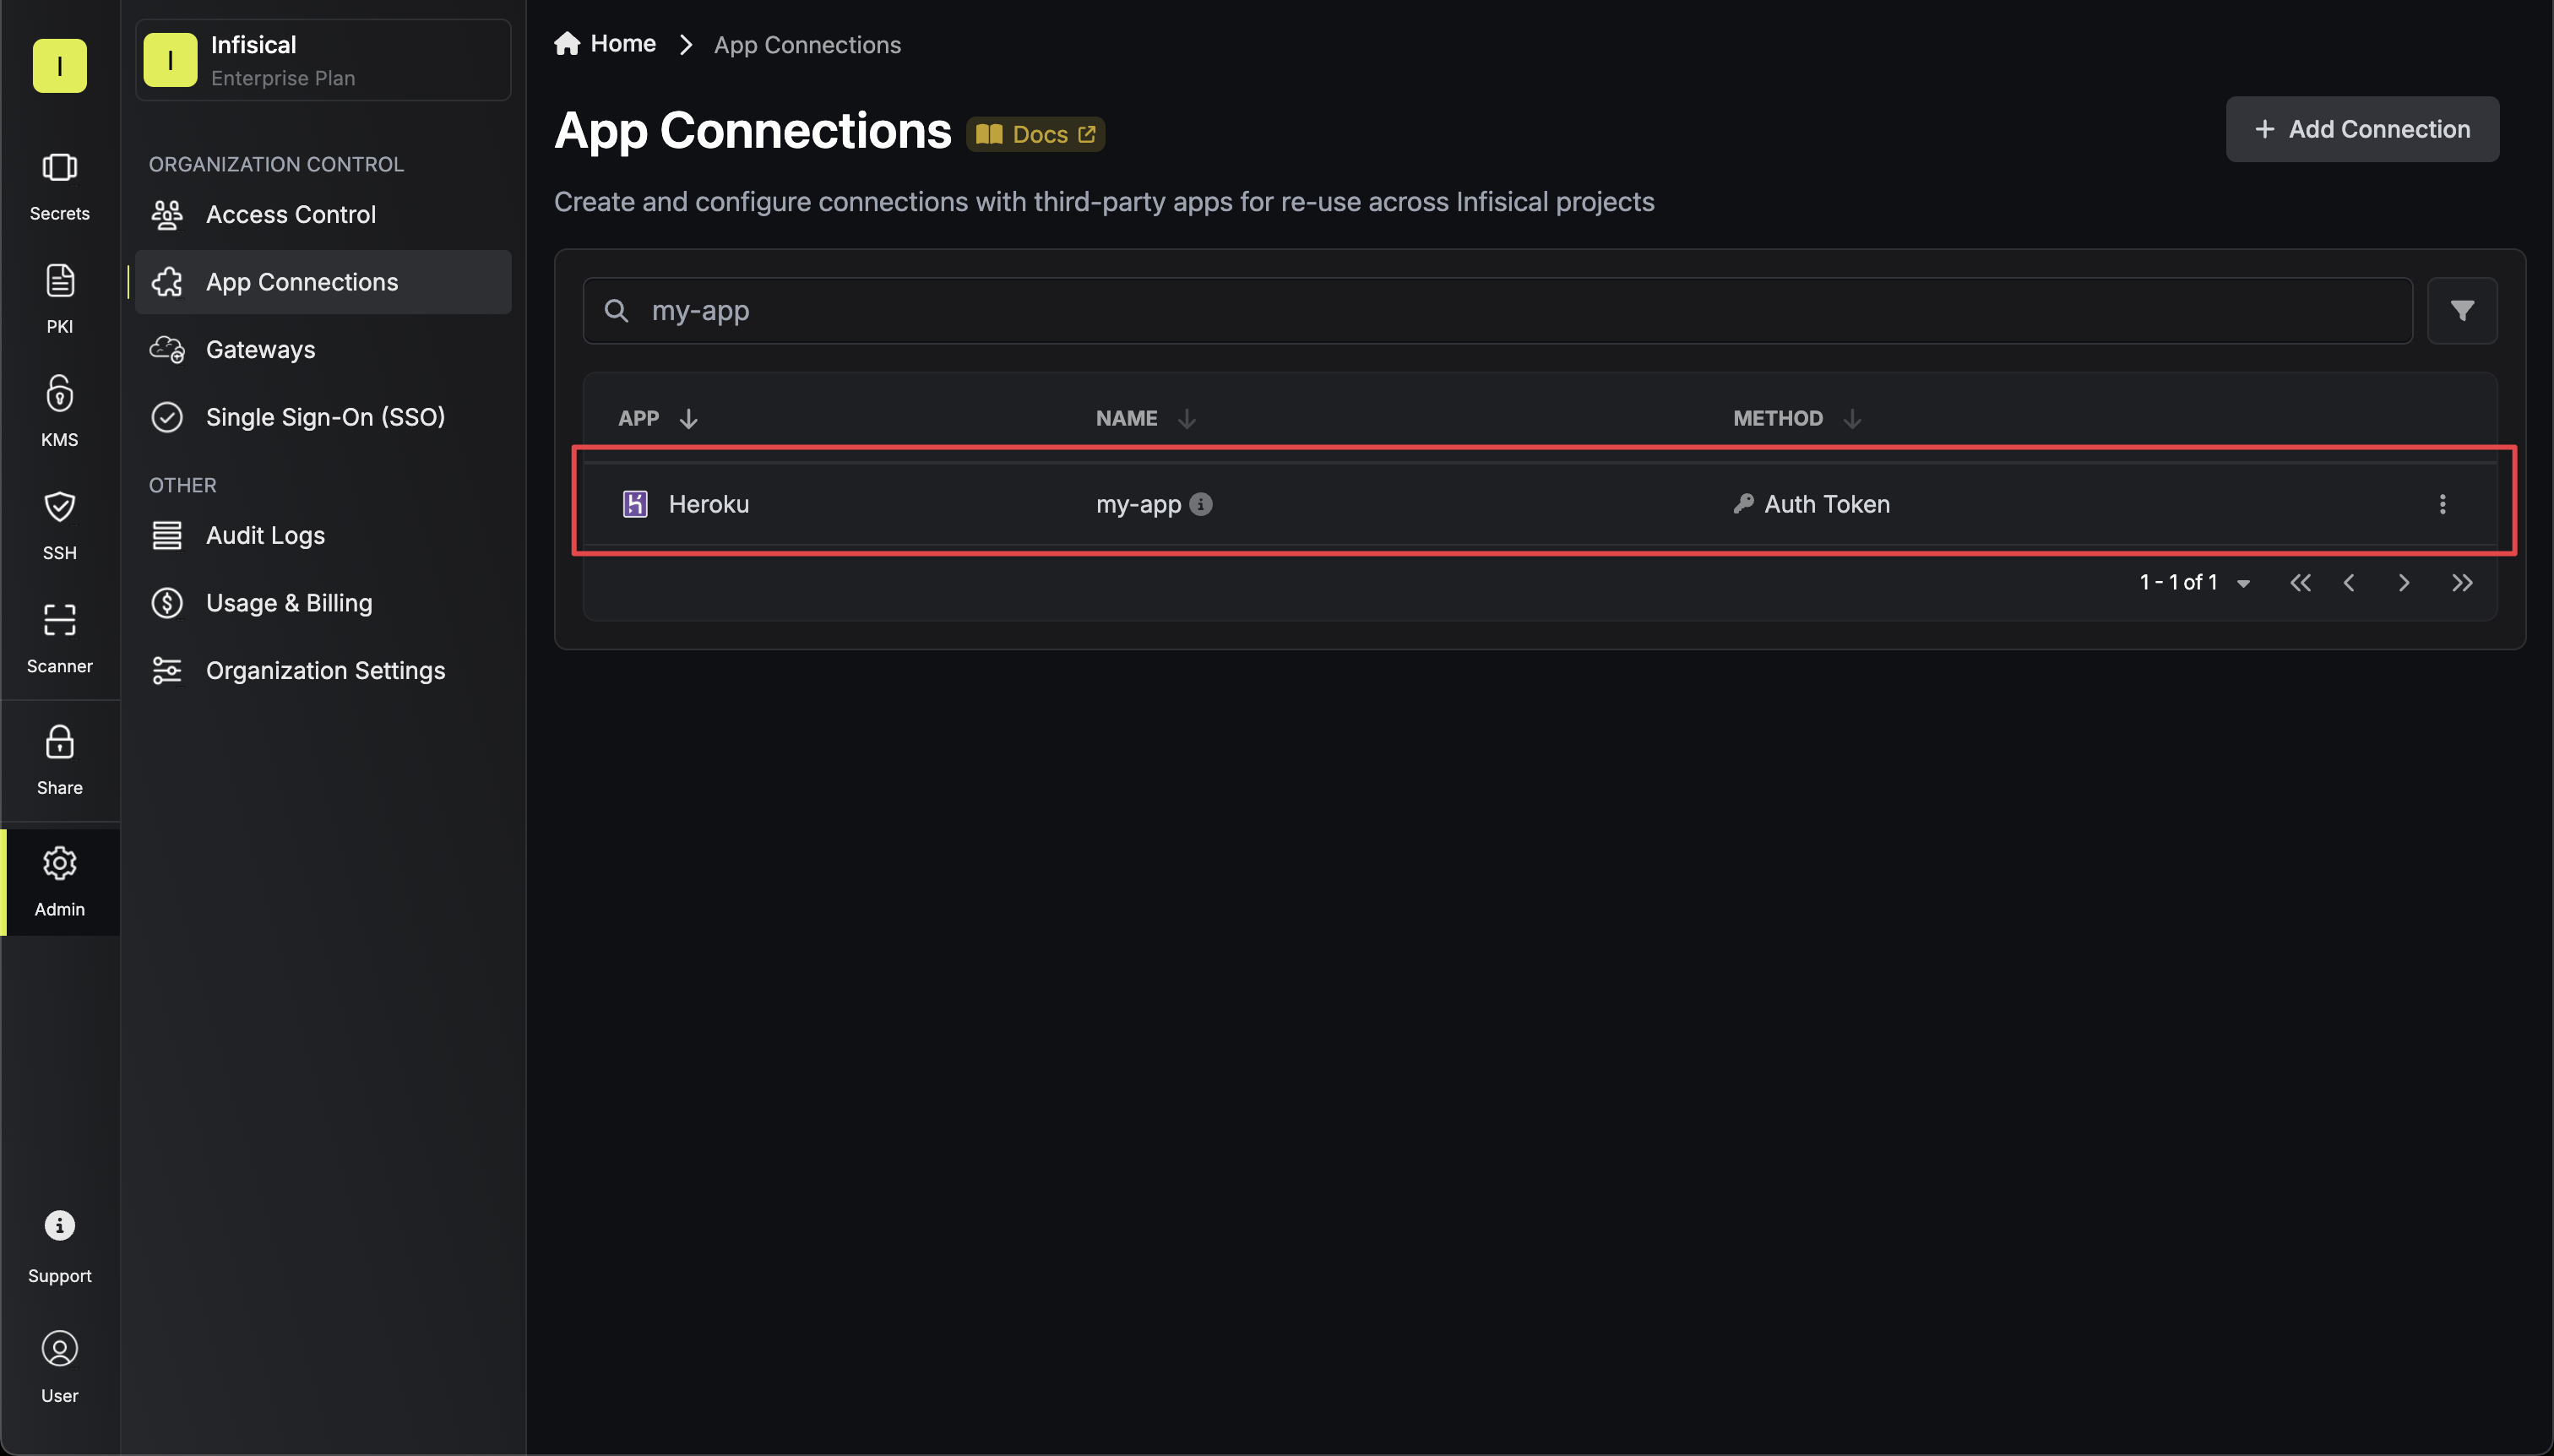
Your Heroku Connection is now available for use.
The OAuth method provides secure authentication through Heroku’s OAuth flow.
Self-Hosted Instance Setup
Using the Heroku Connection with OAuth on a self-hosted instance of Infisical requires configuring an API client in Heroku and registering your instance with it.
Prerequisites:
- A Heroku account with existing applications
- Self-hosted Infisical instance
Create an API client in Heroku
Navigate to your user Account settings > Applications to create a new API client.
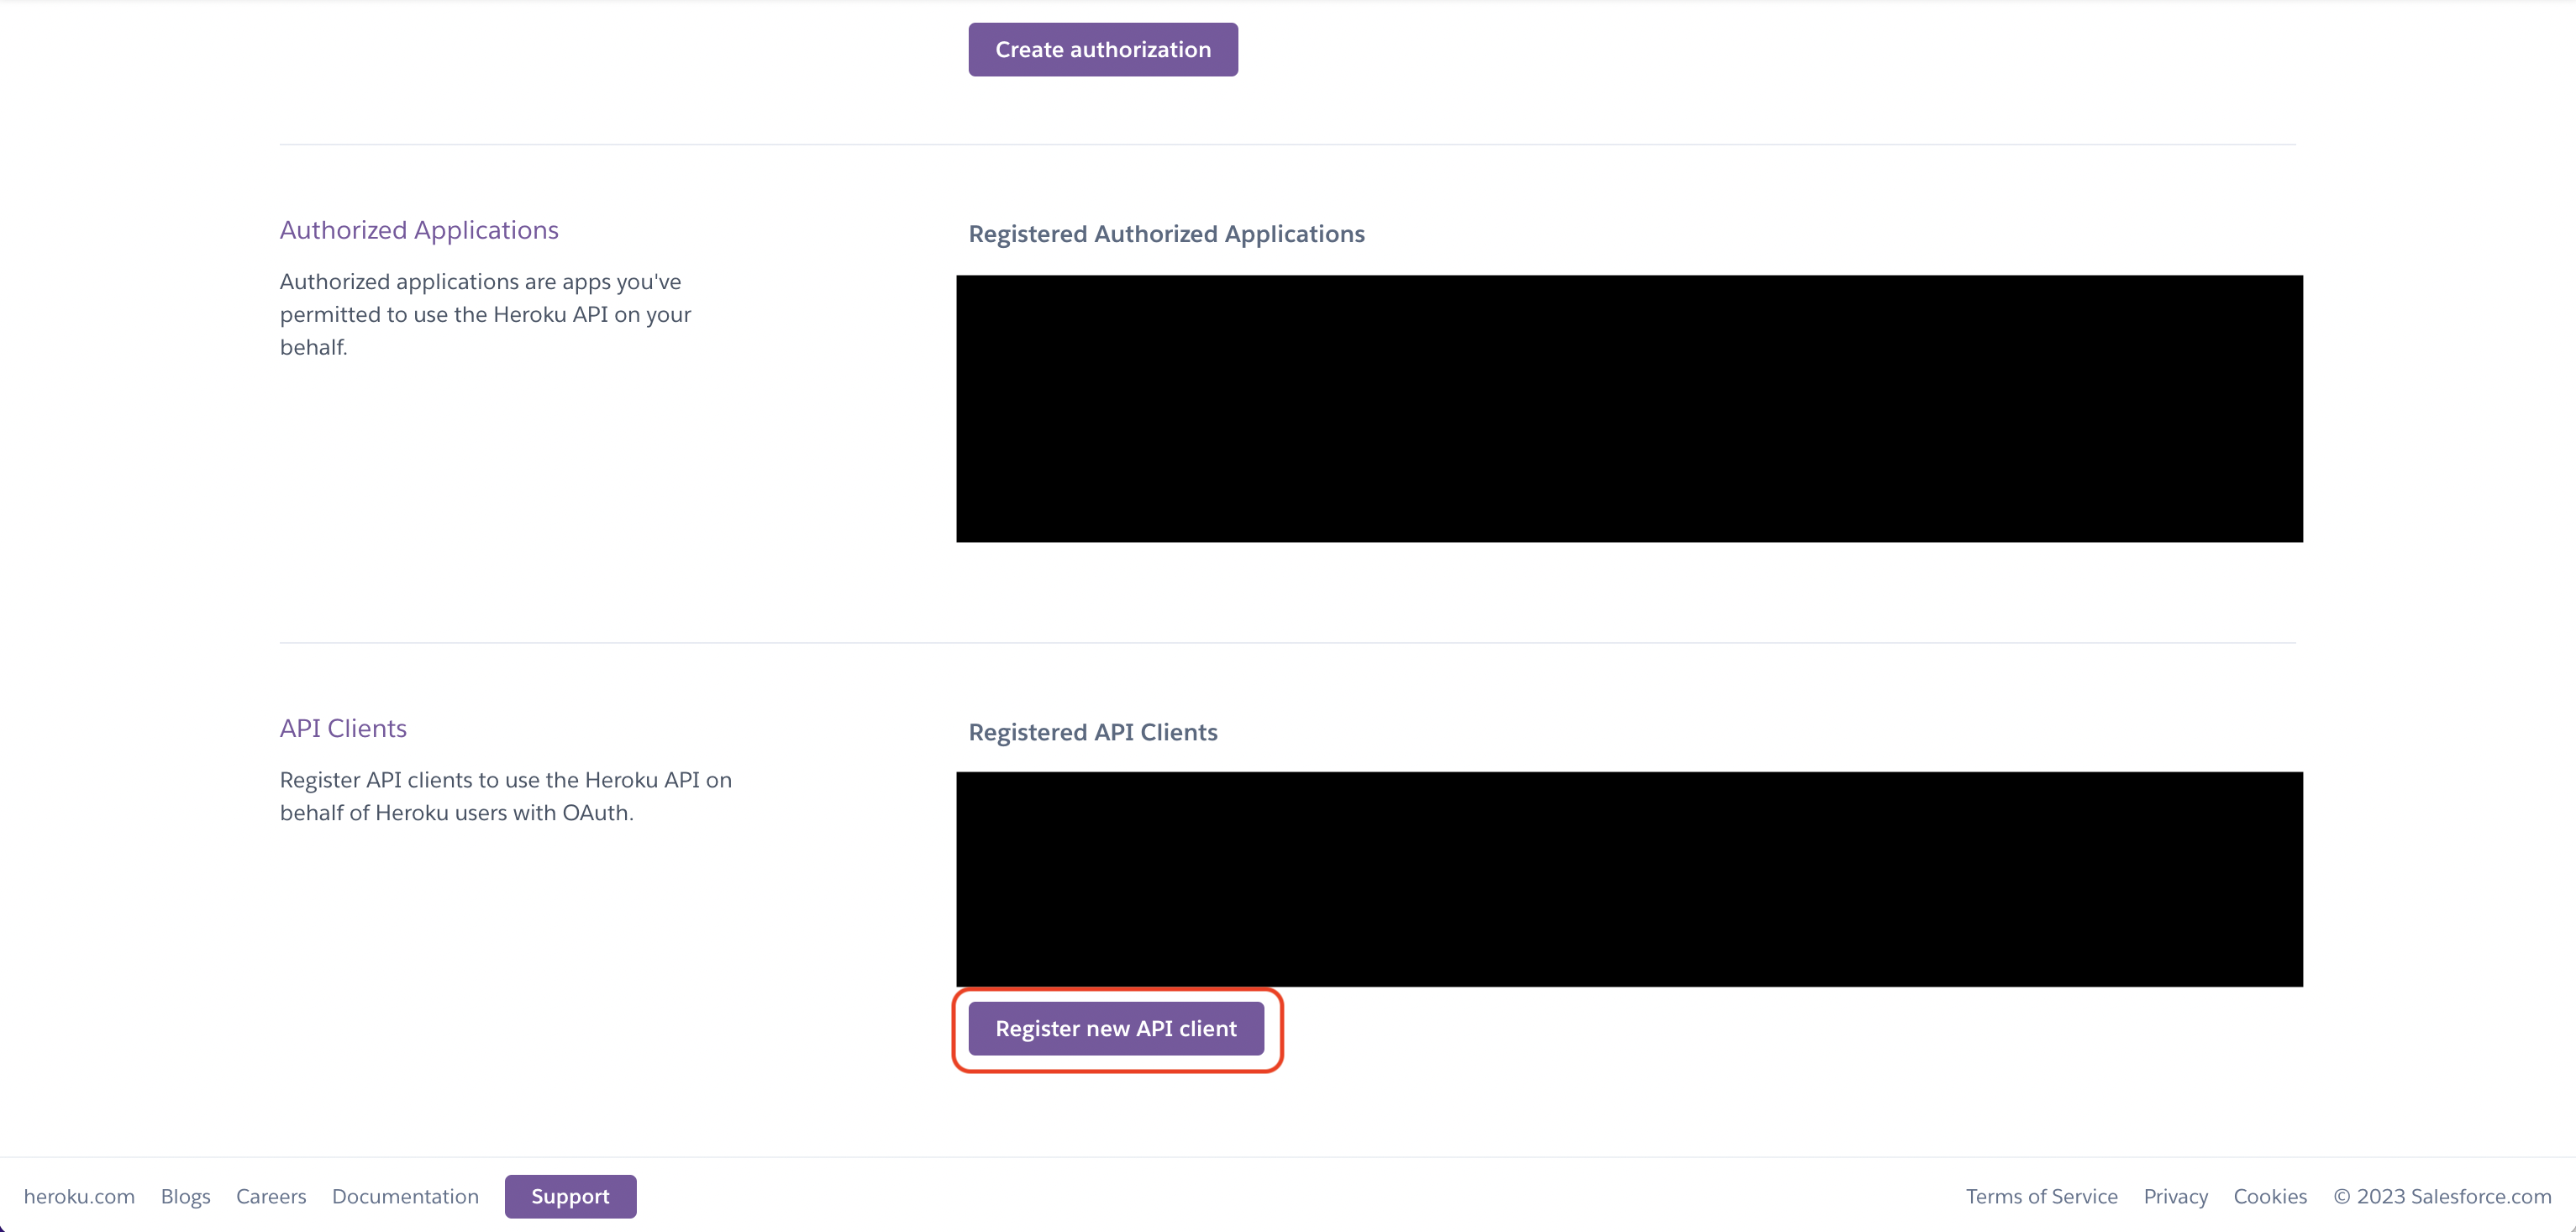
Create the API client. As part of the form, set the OAuth callback URL to https://your-domain.com/integrations/heroku/oauth2/callback
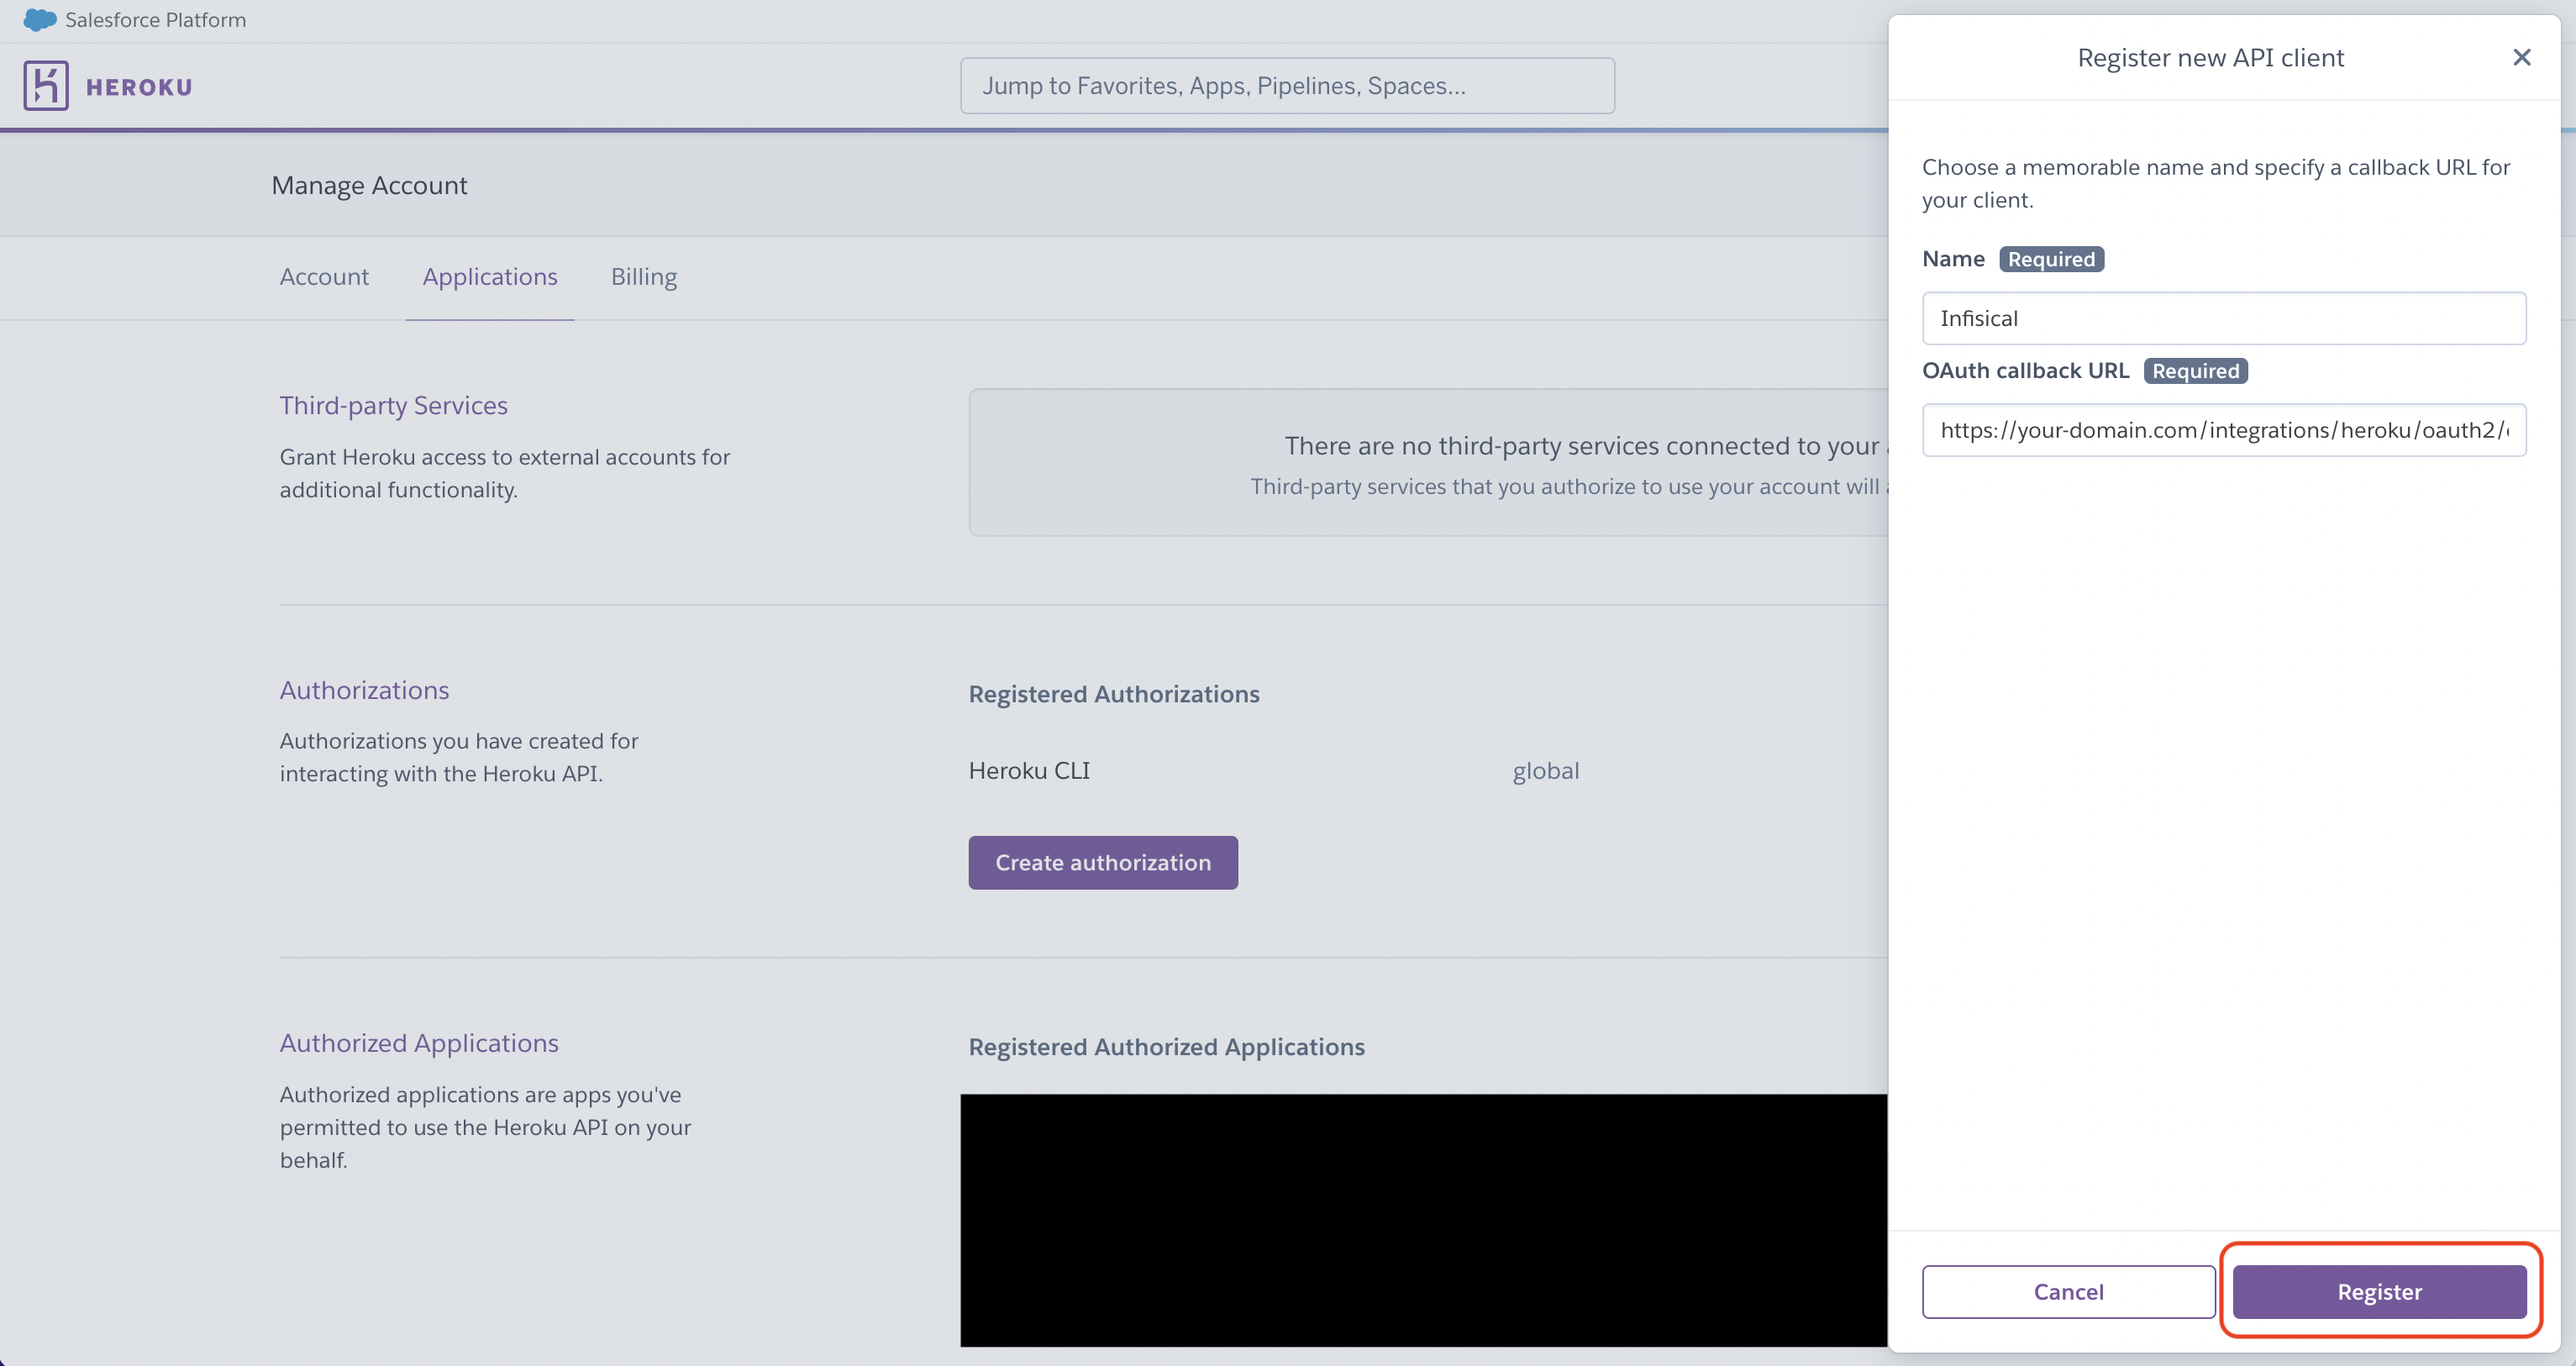
.
The domain you defined in the OAuth callback URL should be equivalent to the SITE_URL
configured in your Infisical instance.
Add your Heroku API client credentials to Infisical
Obtain the Client ID and Client Secret for your Heroku API client.
Back in your Infisical instance, add two new environment variables for the credentials of your Heroku API client:
CLIENT_ID_HEROKU
: The Client ID of your Heroku API client.CLIENT_SECRET_HEROKU
: The Client Secret of your Heroku API client.
Once added, restart your Infisical instance and use the Heroku Connection.
Setup Heroku OAuth Connection in Infisical
Navigate to App Connections
Navigate to the App Connections tab on the Organization Settings page.
Add Connection
Select the Heroku Connection option from the connection options modal.
Choose OAuth Method
Select the OAuth method and click Connect to Heroku.
Grant Access
You will be redirected to Heroku to grant Infisical access to your Heroku account. Once granted, you will be redirected back to Infisical’s App Connections page.
Connection Created
Your Heroku Connection is now available for use.
The Auth Token method uses a Heroku API token for authentication, providing a straightforward setup process.
Setup Heroku Auth Token Connection in Infisical
Generate Heroku API Token
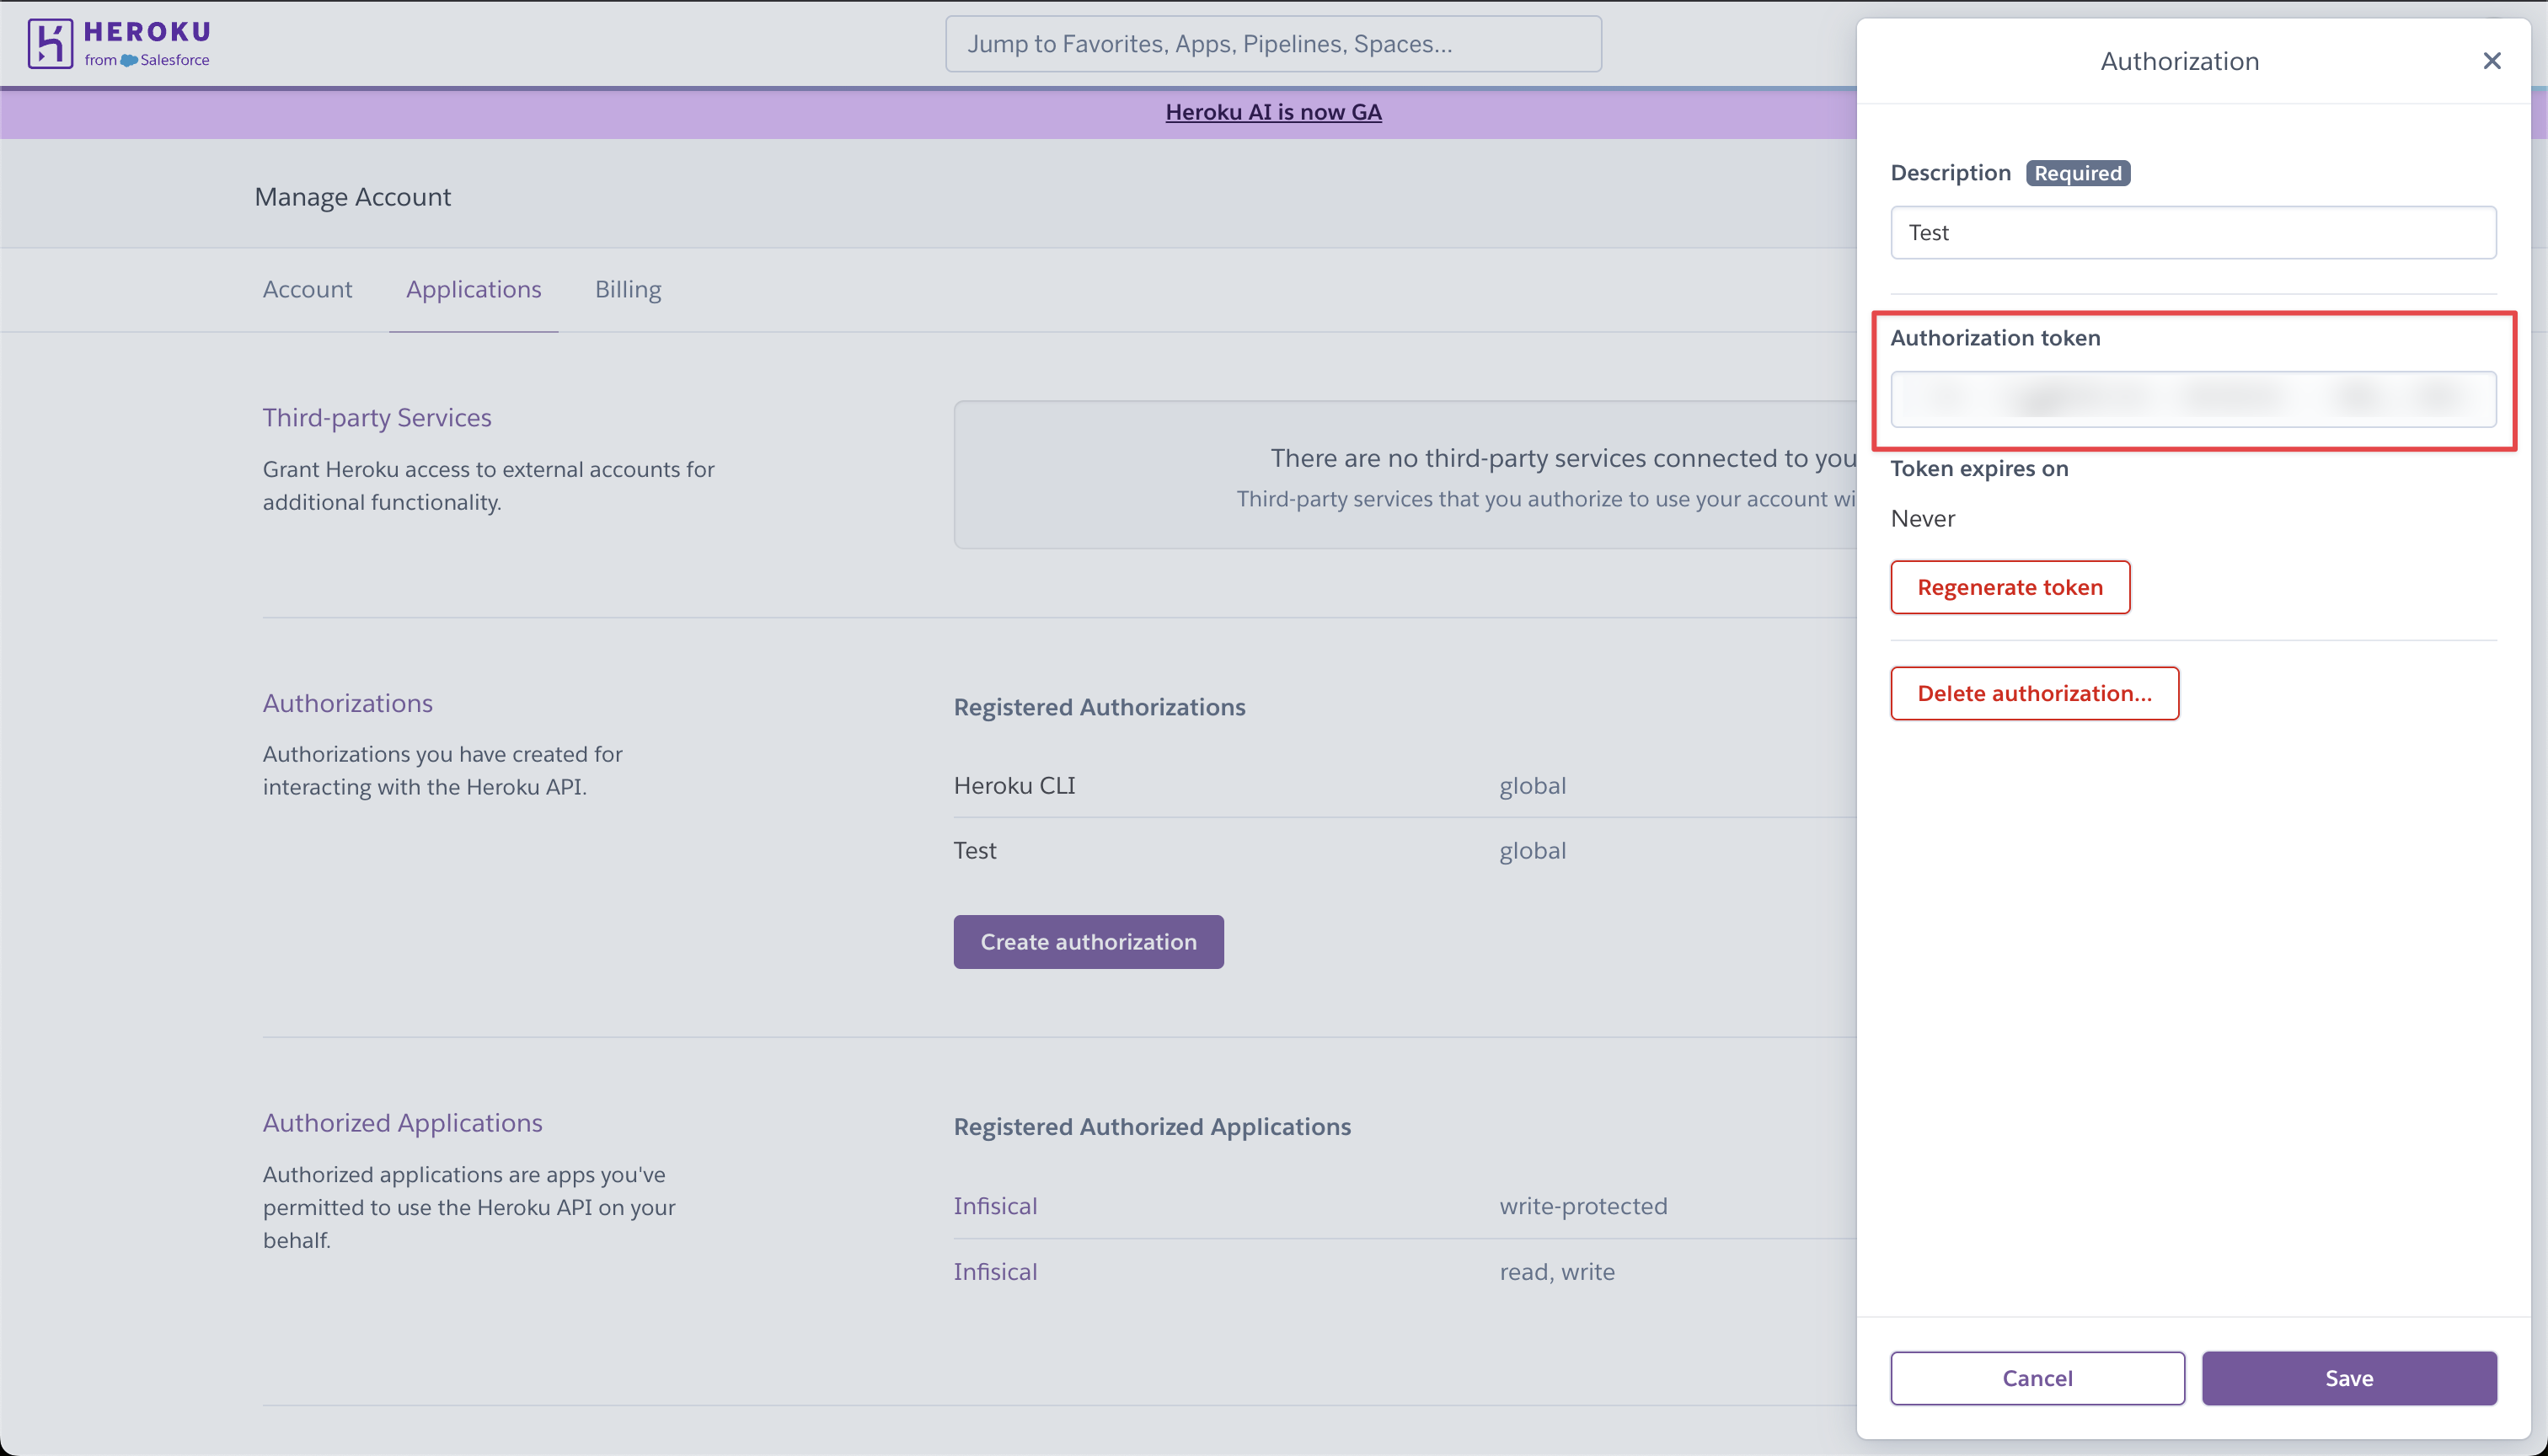
Log in to your Heroku account and navigate to Account Settings.
Under the Authorizations section on the Applications tab, reveal and copy your Authorization token. If you don’t have one, click Create Authorization to create a new token.
Keep your Authorization token secure and do not share it. Anyone with access to this token can manage your Heroku applications.
Navigate to App Connections
Navigate to the App Connections tab on the Organization Settings page.
Add Connection
Select the Heroku Connection option from the connection options modal.
Configure Auth Token
Select the Auth Token method and paste your Heroku Authorization token in the provided field.
Click Connect to establish the connection.
Connection Created
Your Heroku Connection is now available for use.
Auth Token connections require manual token rotation when your Heroku Authorization expires or is regenerated. Monitor your connection status and update the token as needed.