GitHub Radar Connections are specifically configured for Secret Scanning and require specific permissions and webhook configuration.Check out our GitHub Connection for secret management features such as Secret Syncs.
Self-Hosted Instance
Self-Hosted Instance
Using a GitHub Radar Connection with app authentication on a self-hosted instance of Infisical requires configuring an application on GitHub
and registering your instance with it.
1
Create an application on GitHub
Navigate to the GitHub App Settings here. Click New GitHub App.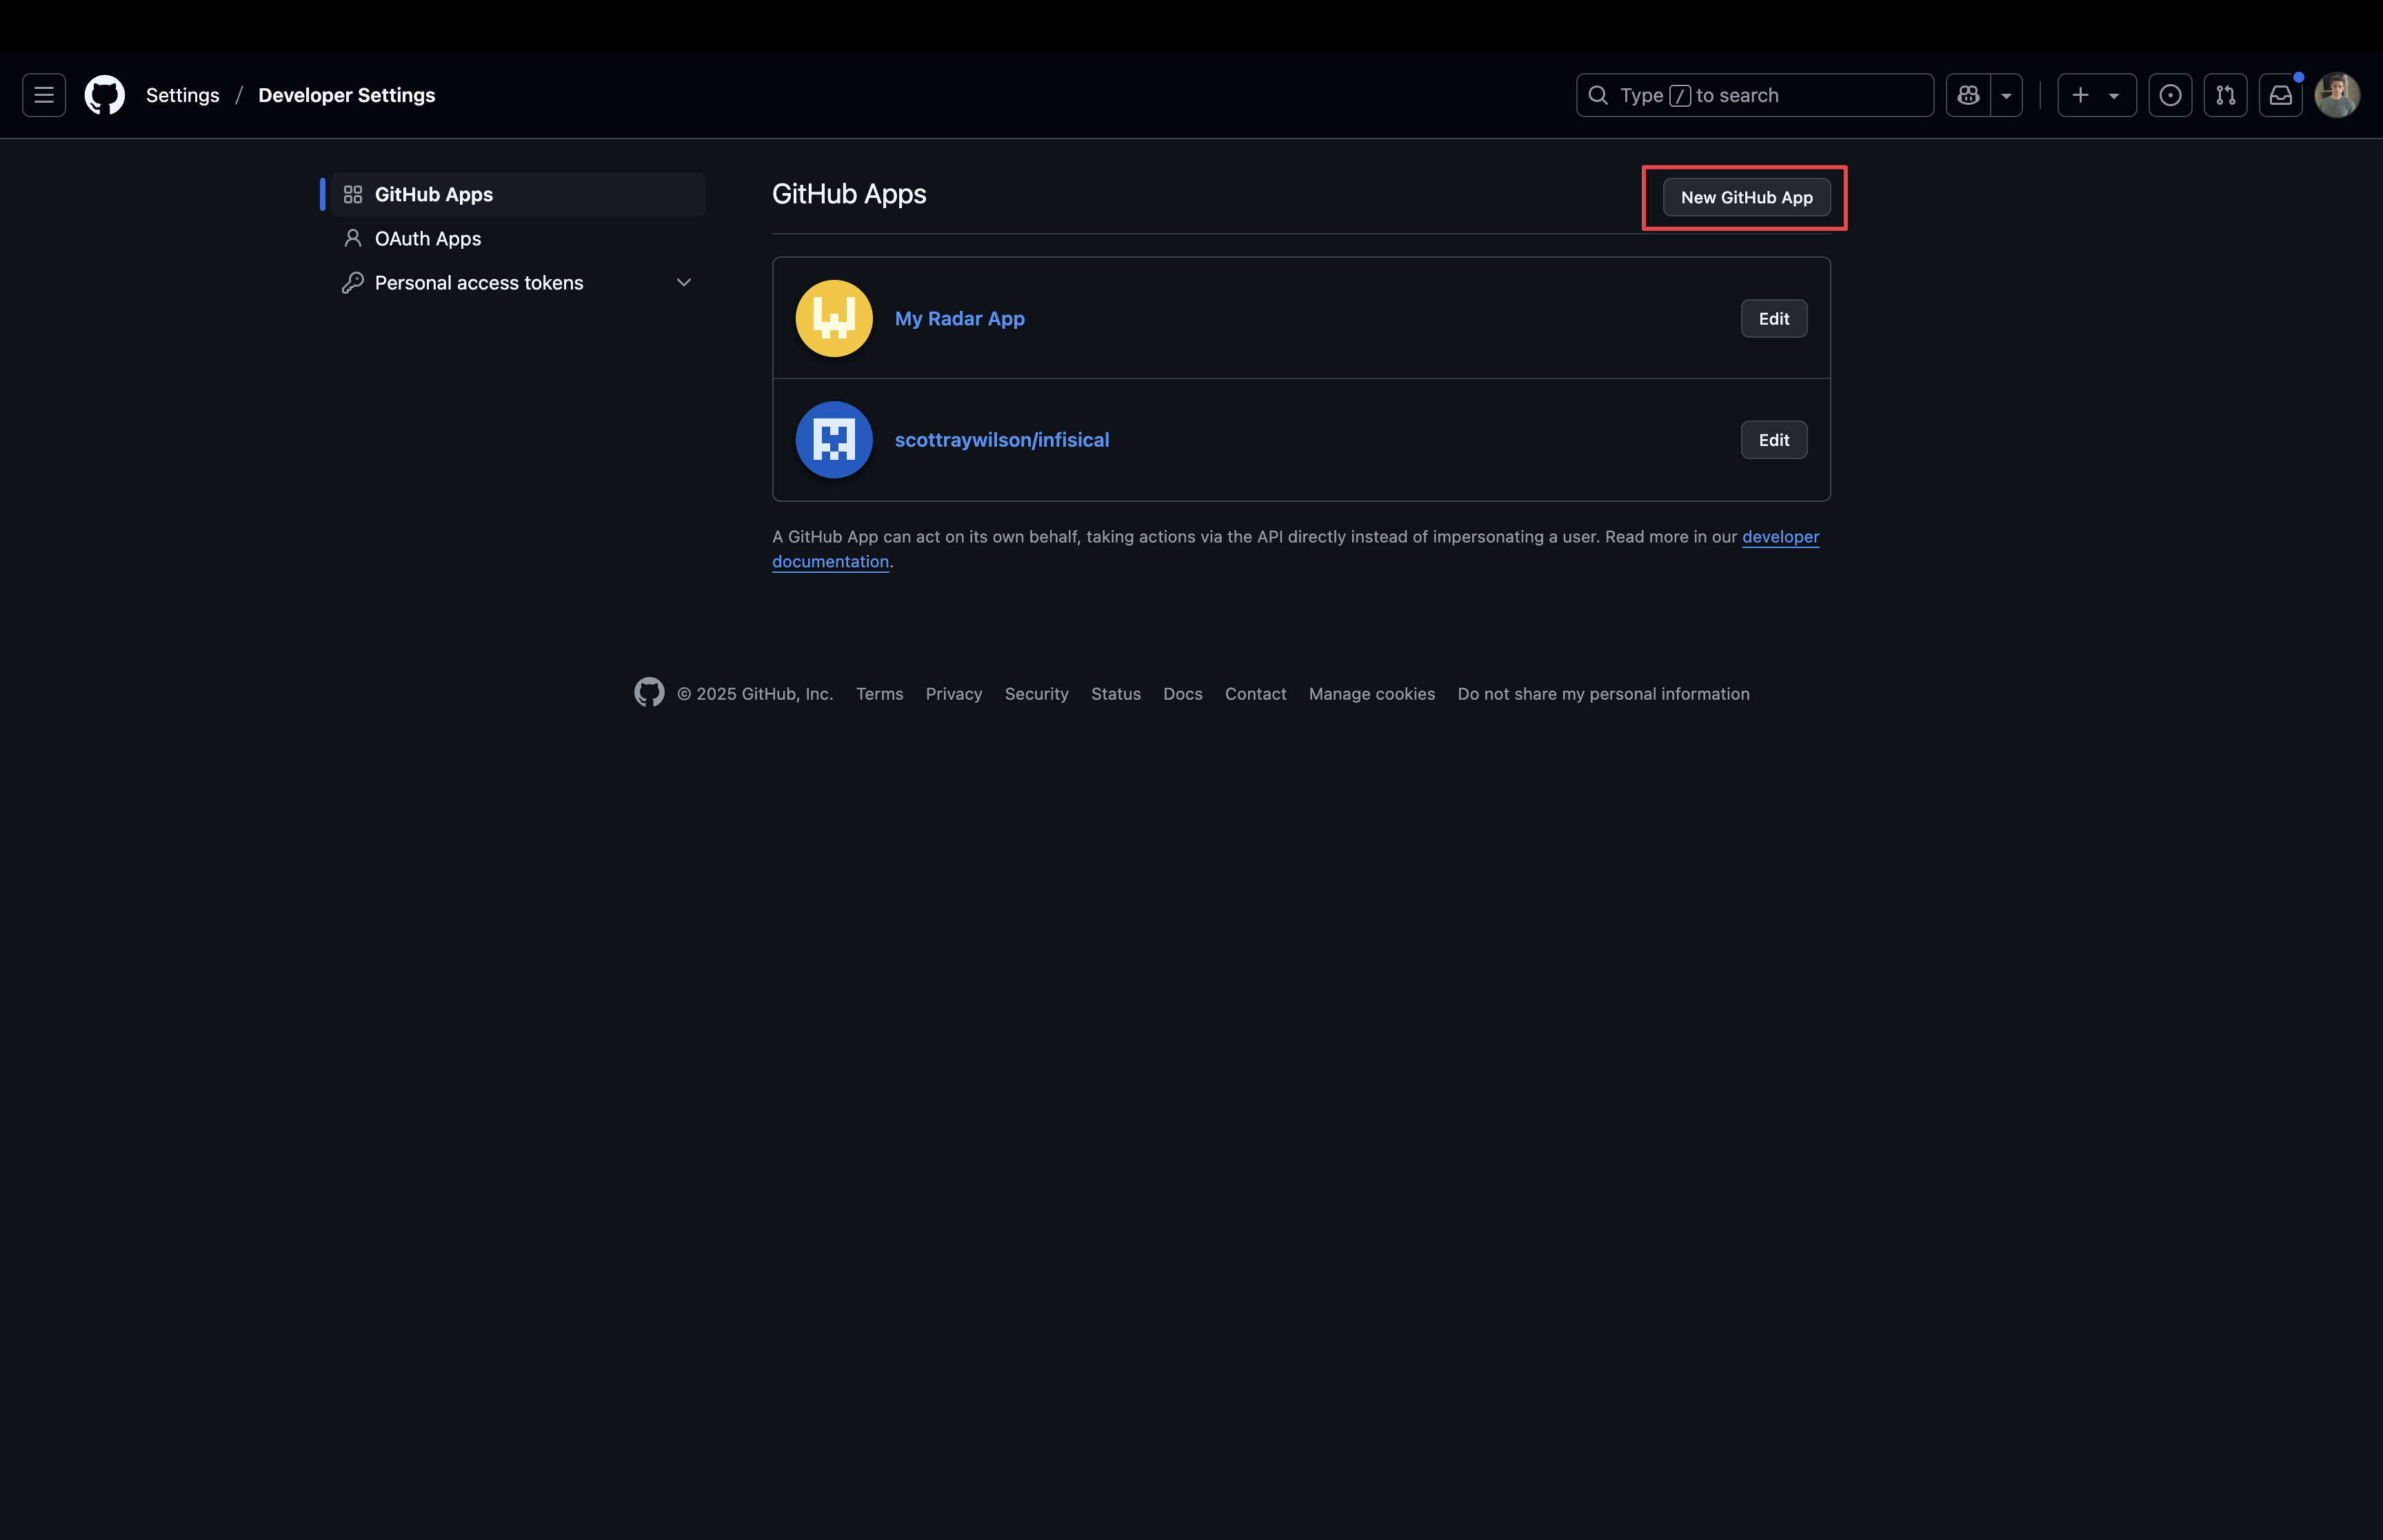 Configure the following fields:
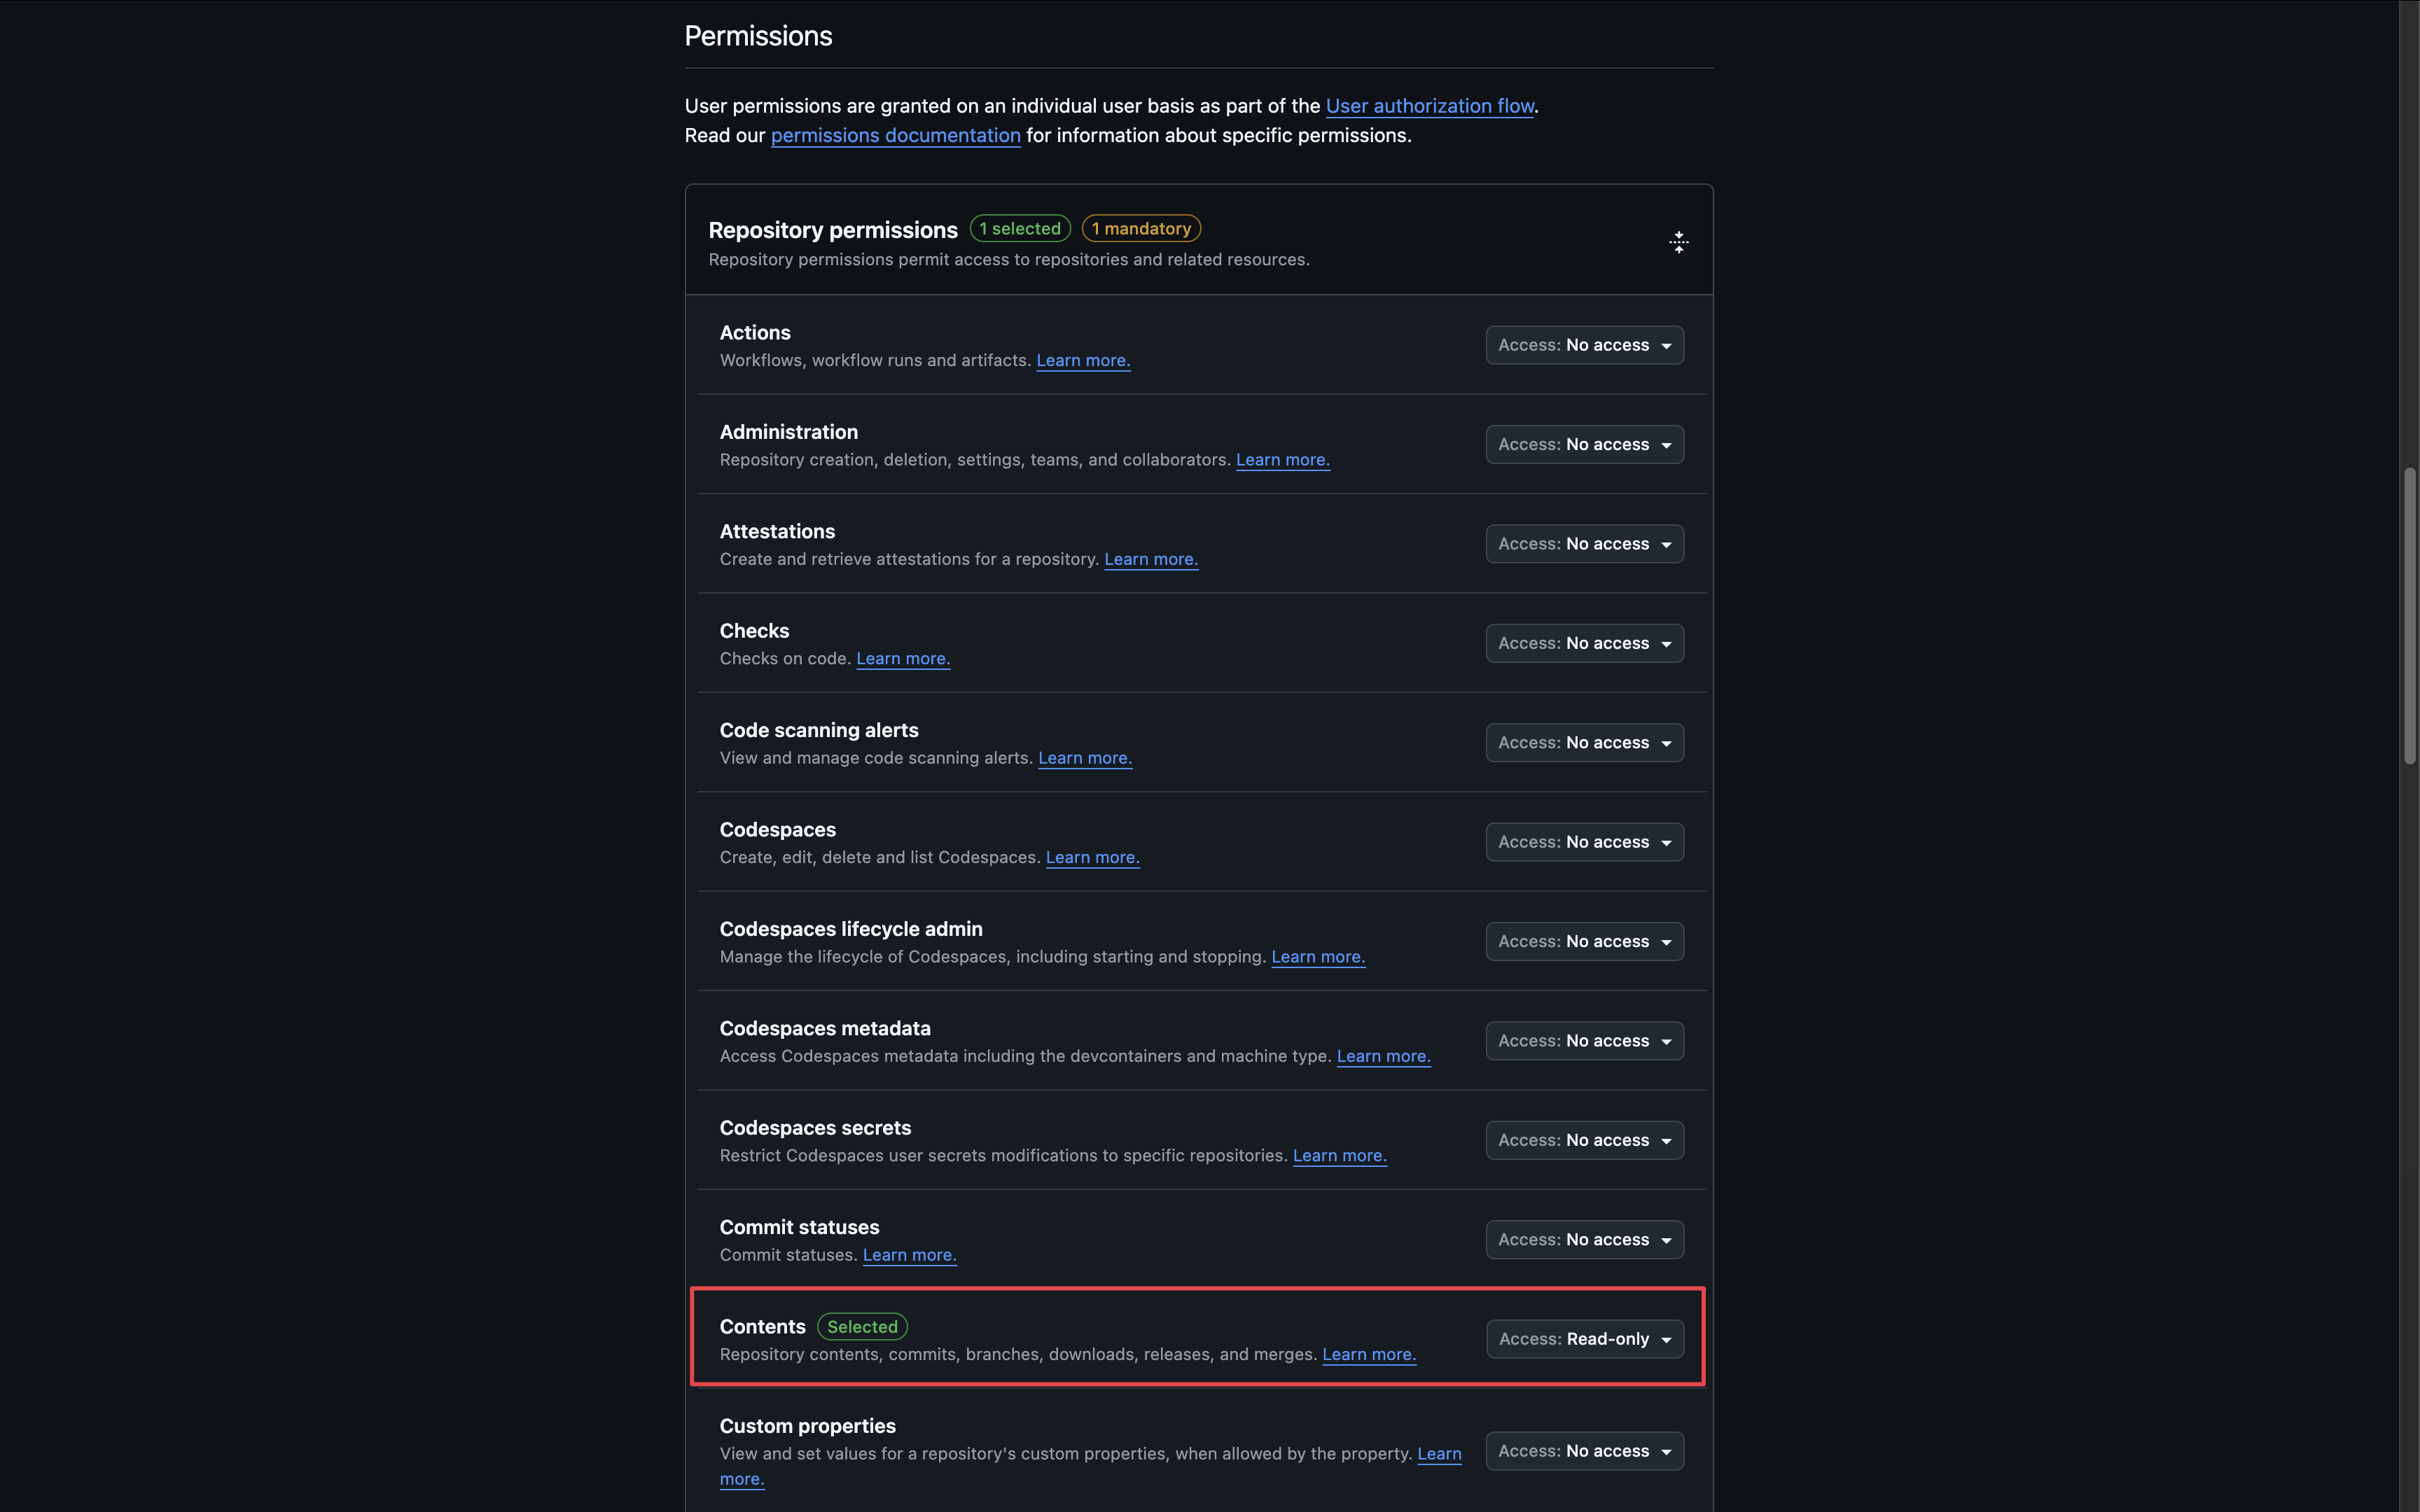
 Subscribe to the following events:
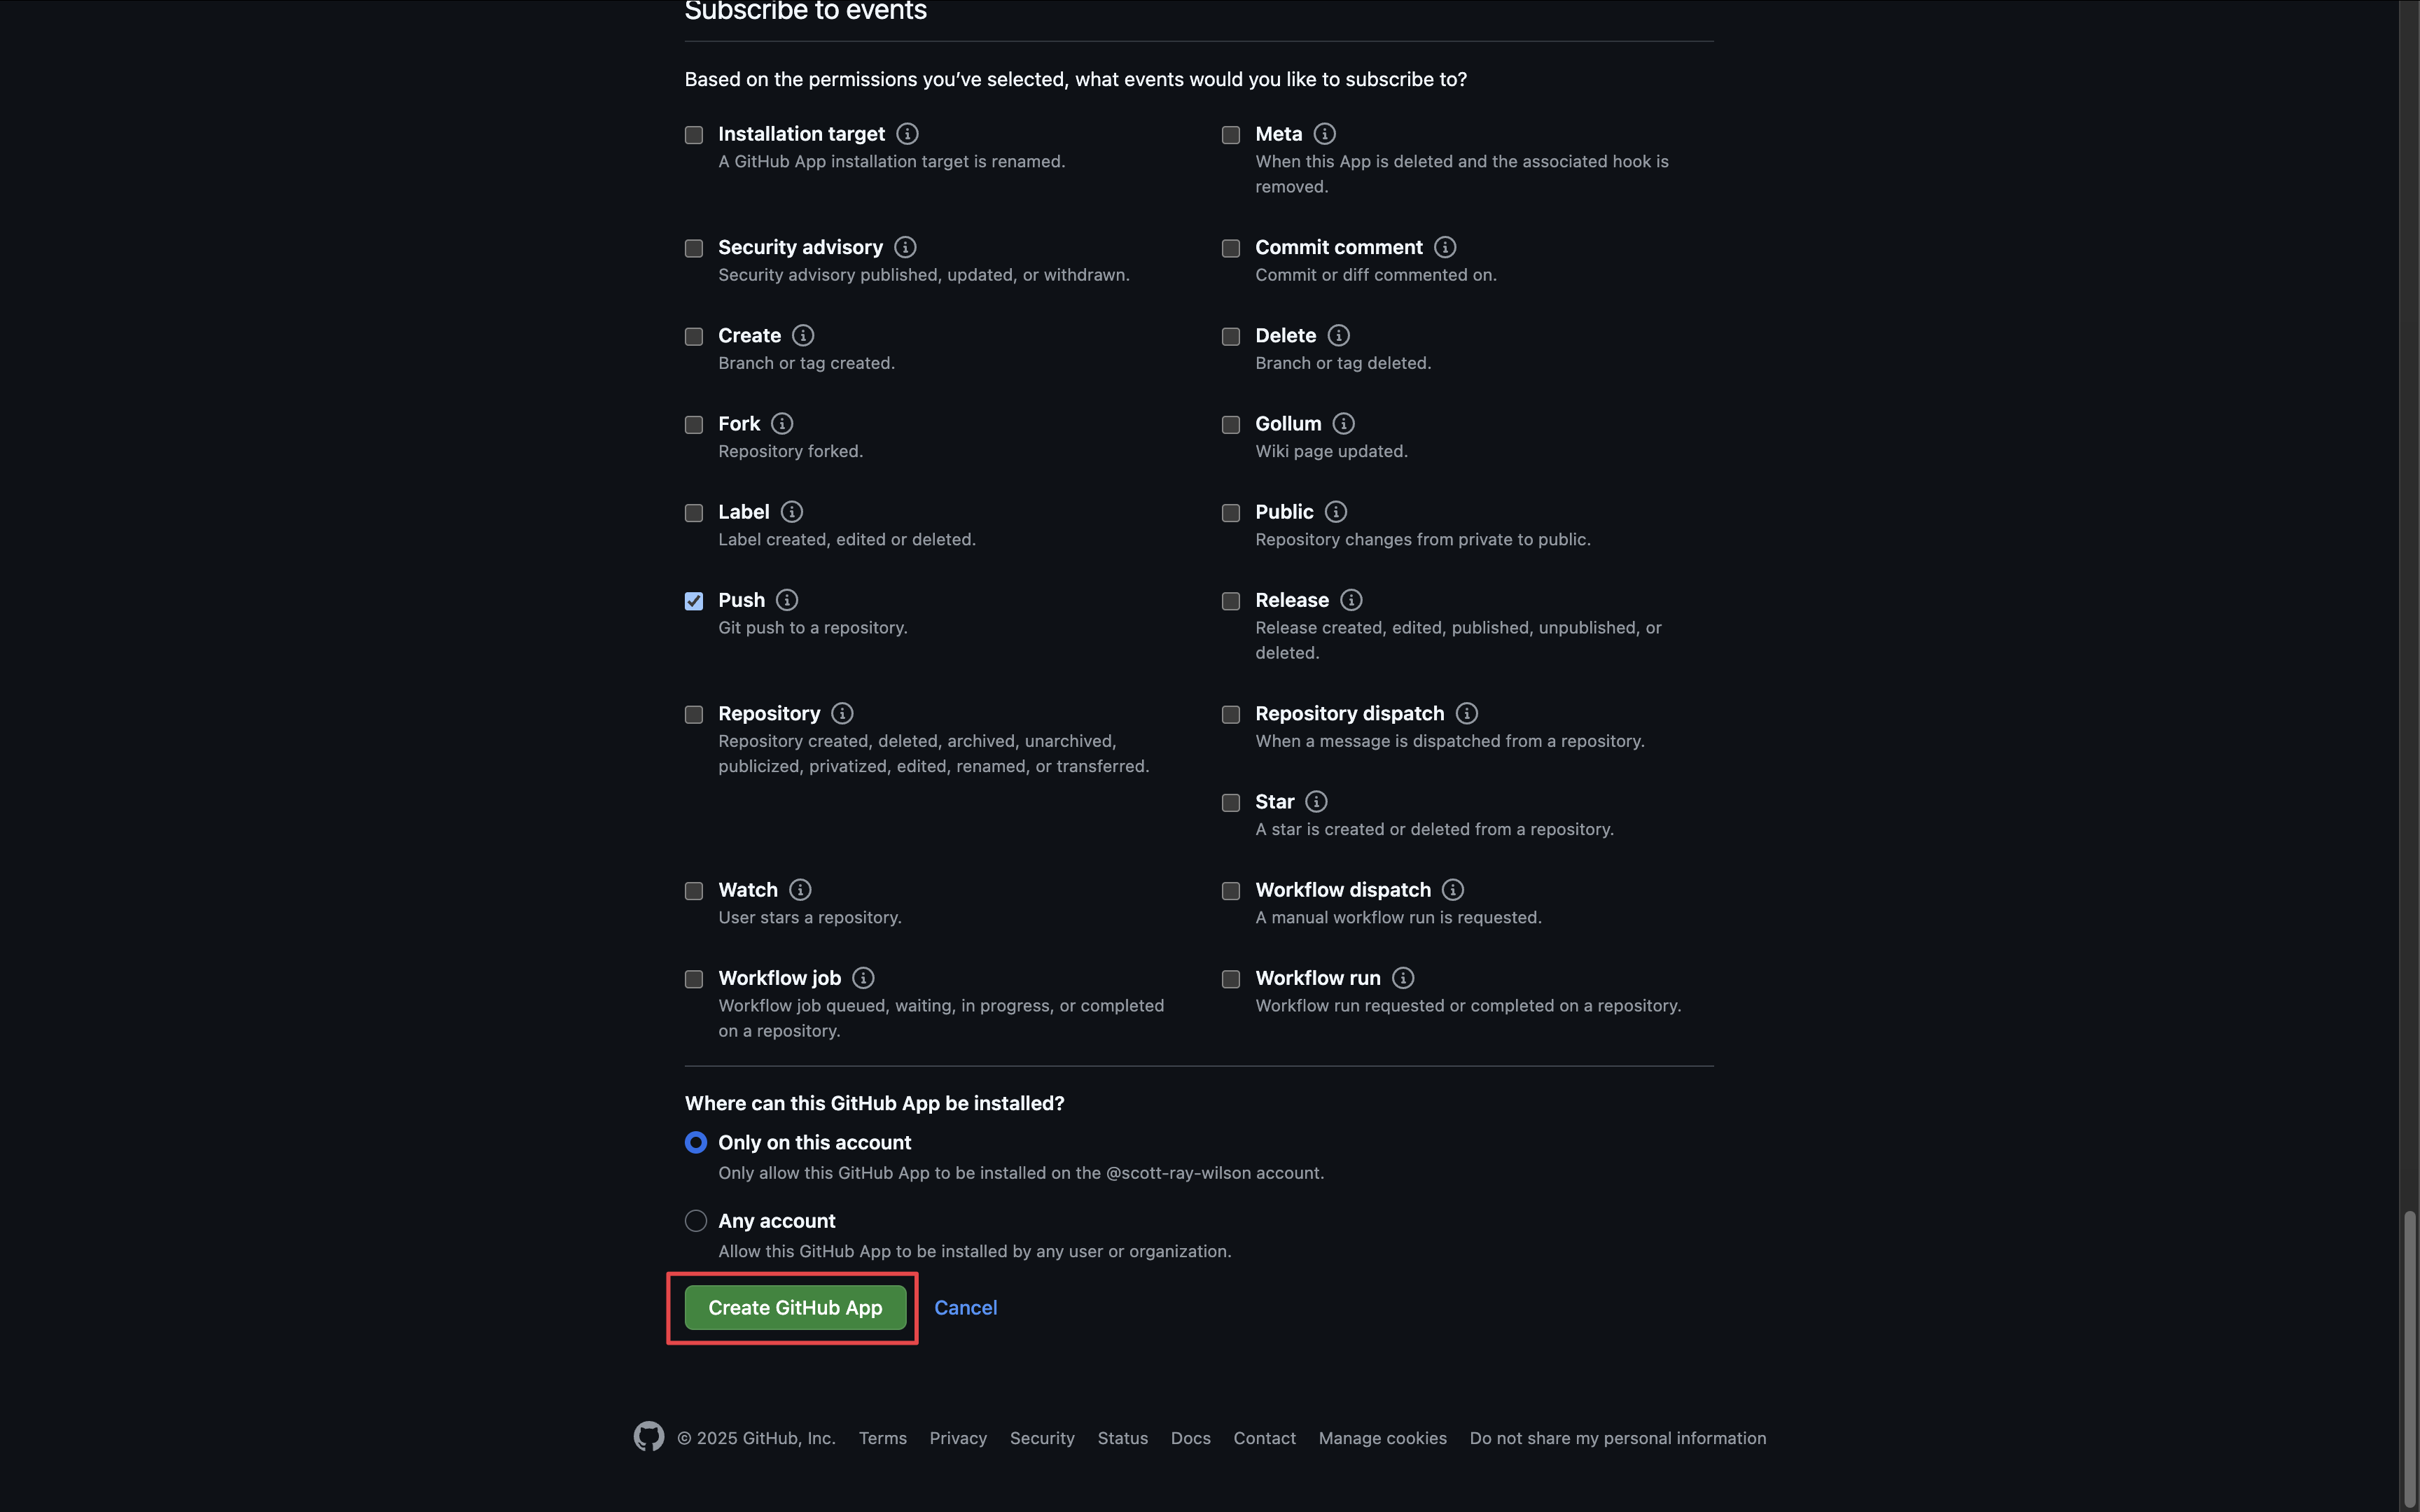
If you have a GitHub organization, you can create an application under it
in your organization Settings > Developer settings > GitHub Apps > New GitHub App.
Configure the following fields:- Name - give your app a name
-
Homepage URL - your self-hosted domain (i.e.
https://your-domain.com) -
Callback URL - the callback URL for your domain (i.e.
https://your-domain.com/organization/app-connections/github-radar/oauth/callback) -
User Authorization - enable request user authorization on app installation
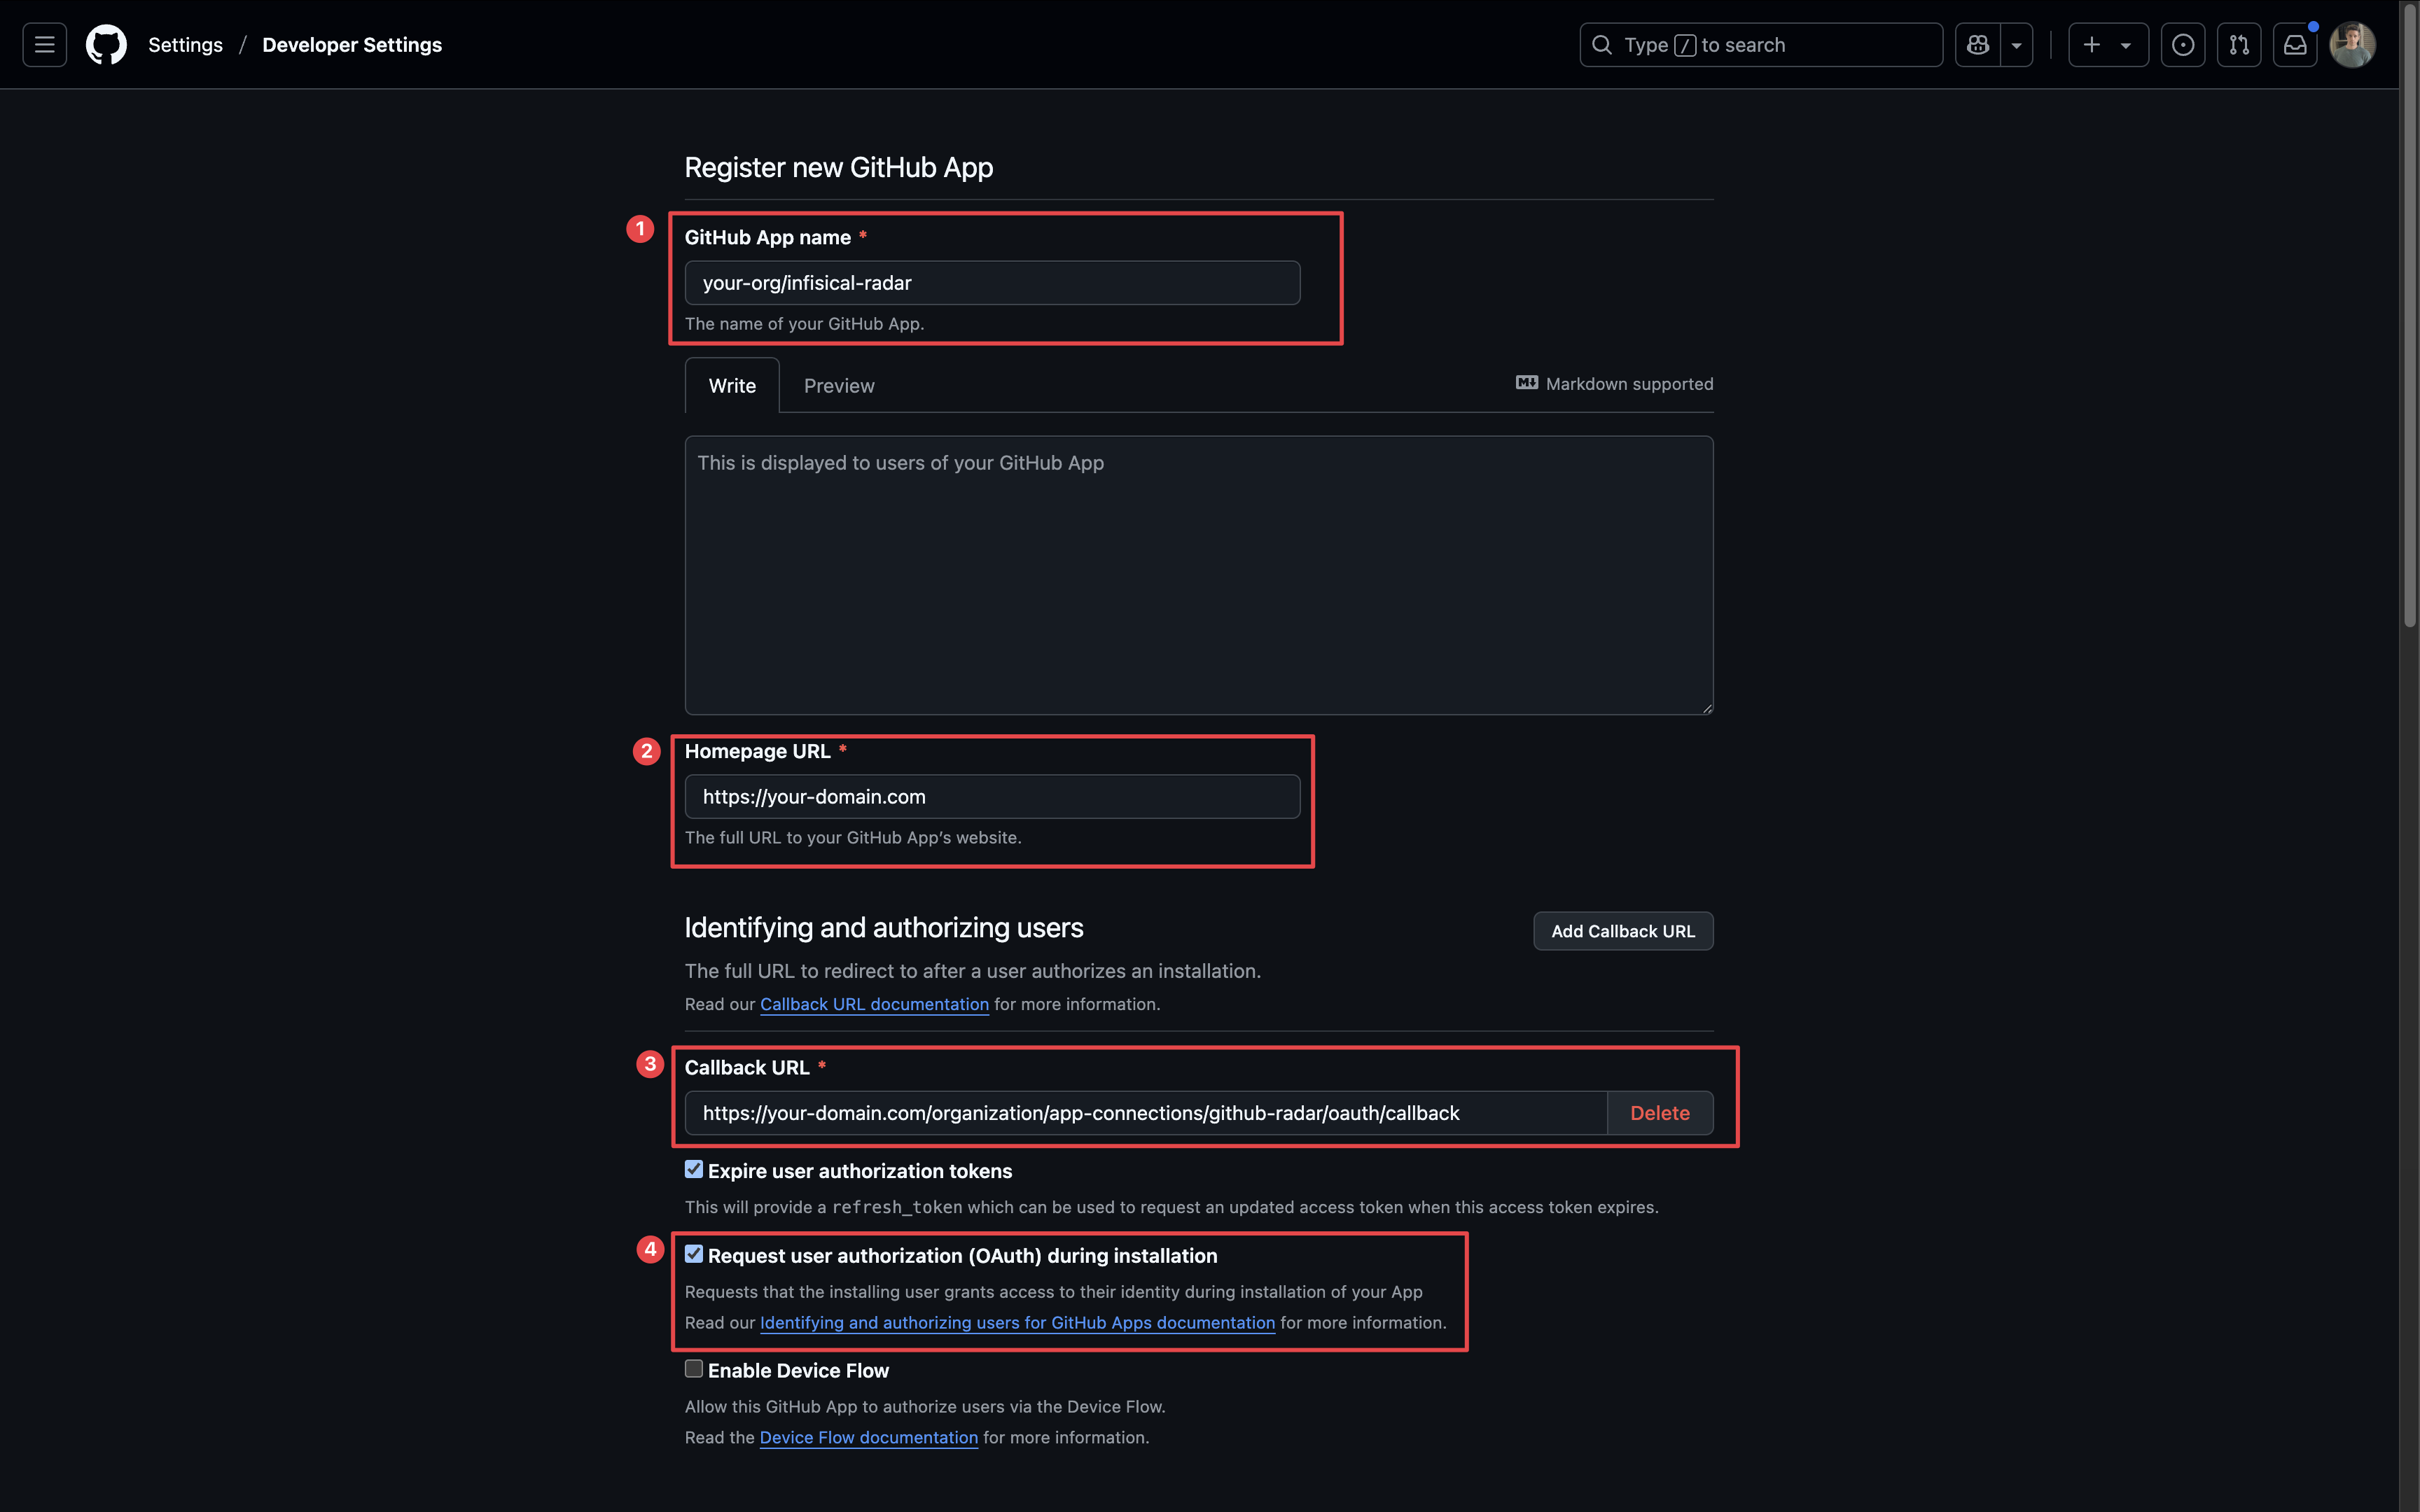
-
Webhook URL - the webhook URL for your domain (i.e.
https://your-domain.com/secret-scanning/webhooks/github) - Webhook Secret - a strong, generated secret to verify webhook payloads
-
SSL Verification - enable SSL verification
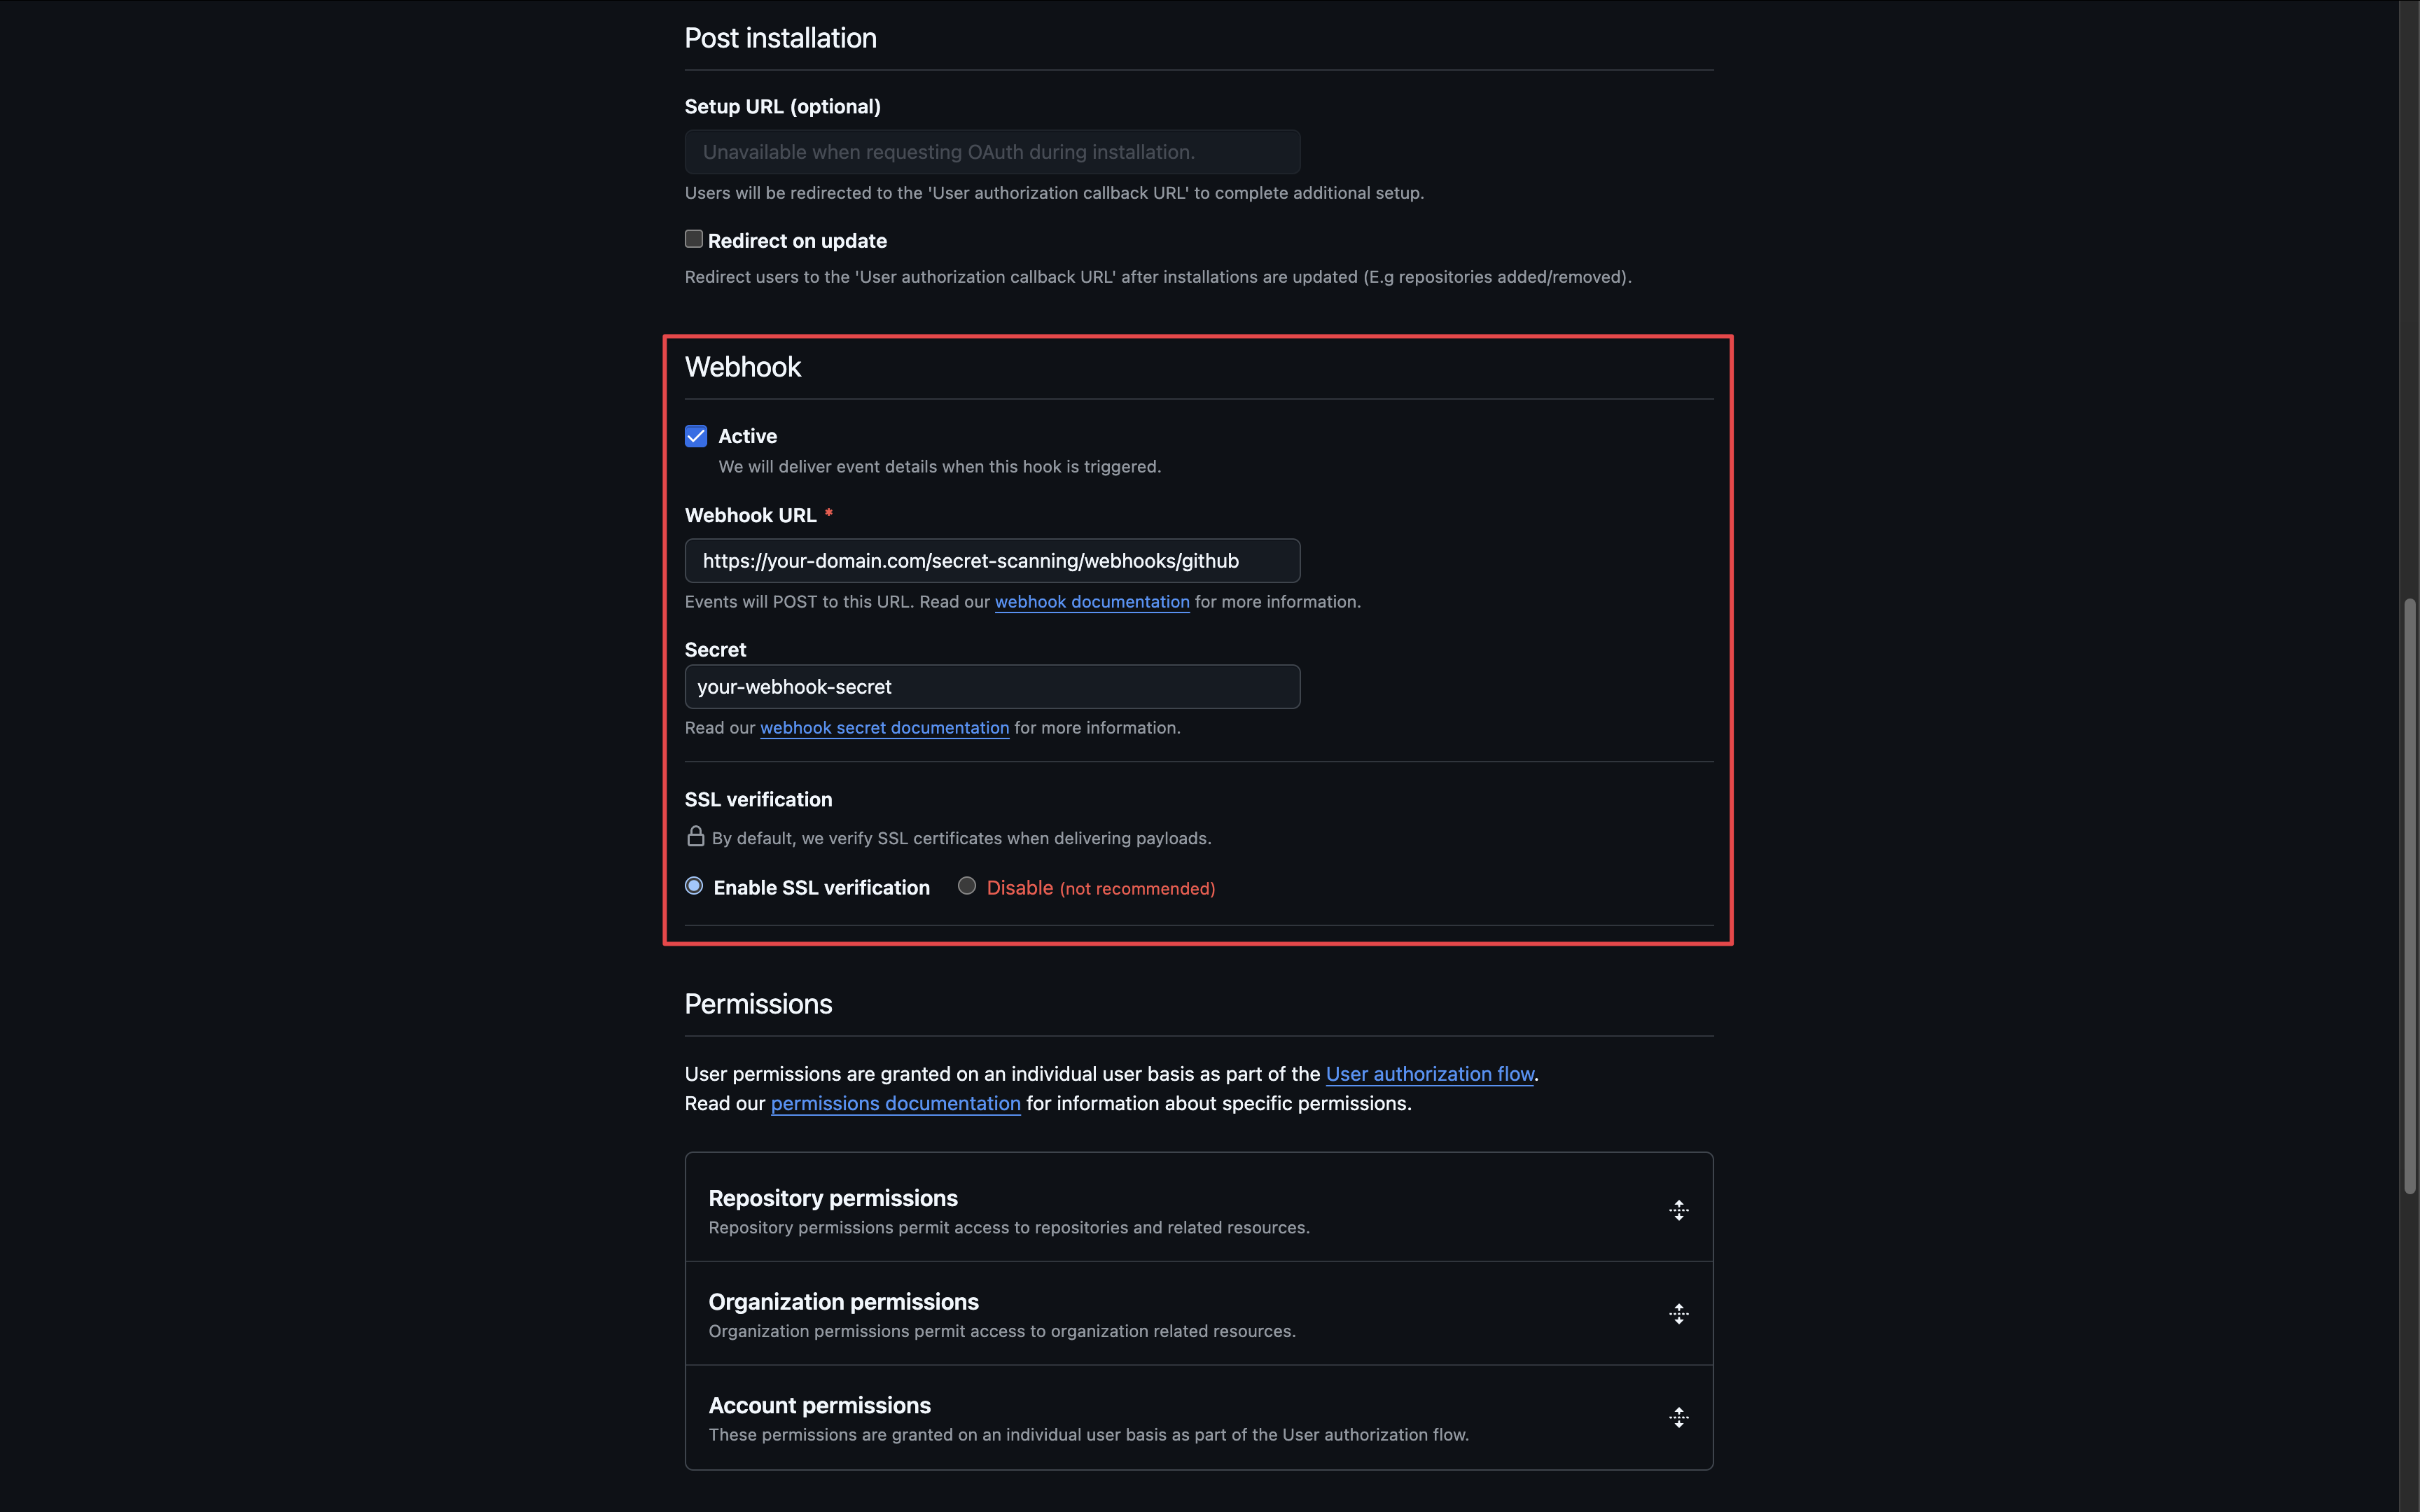
- Contents:
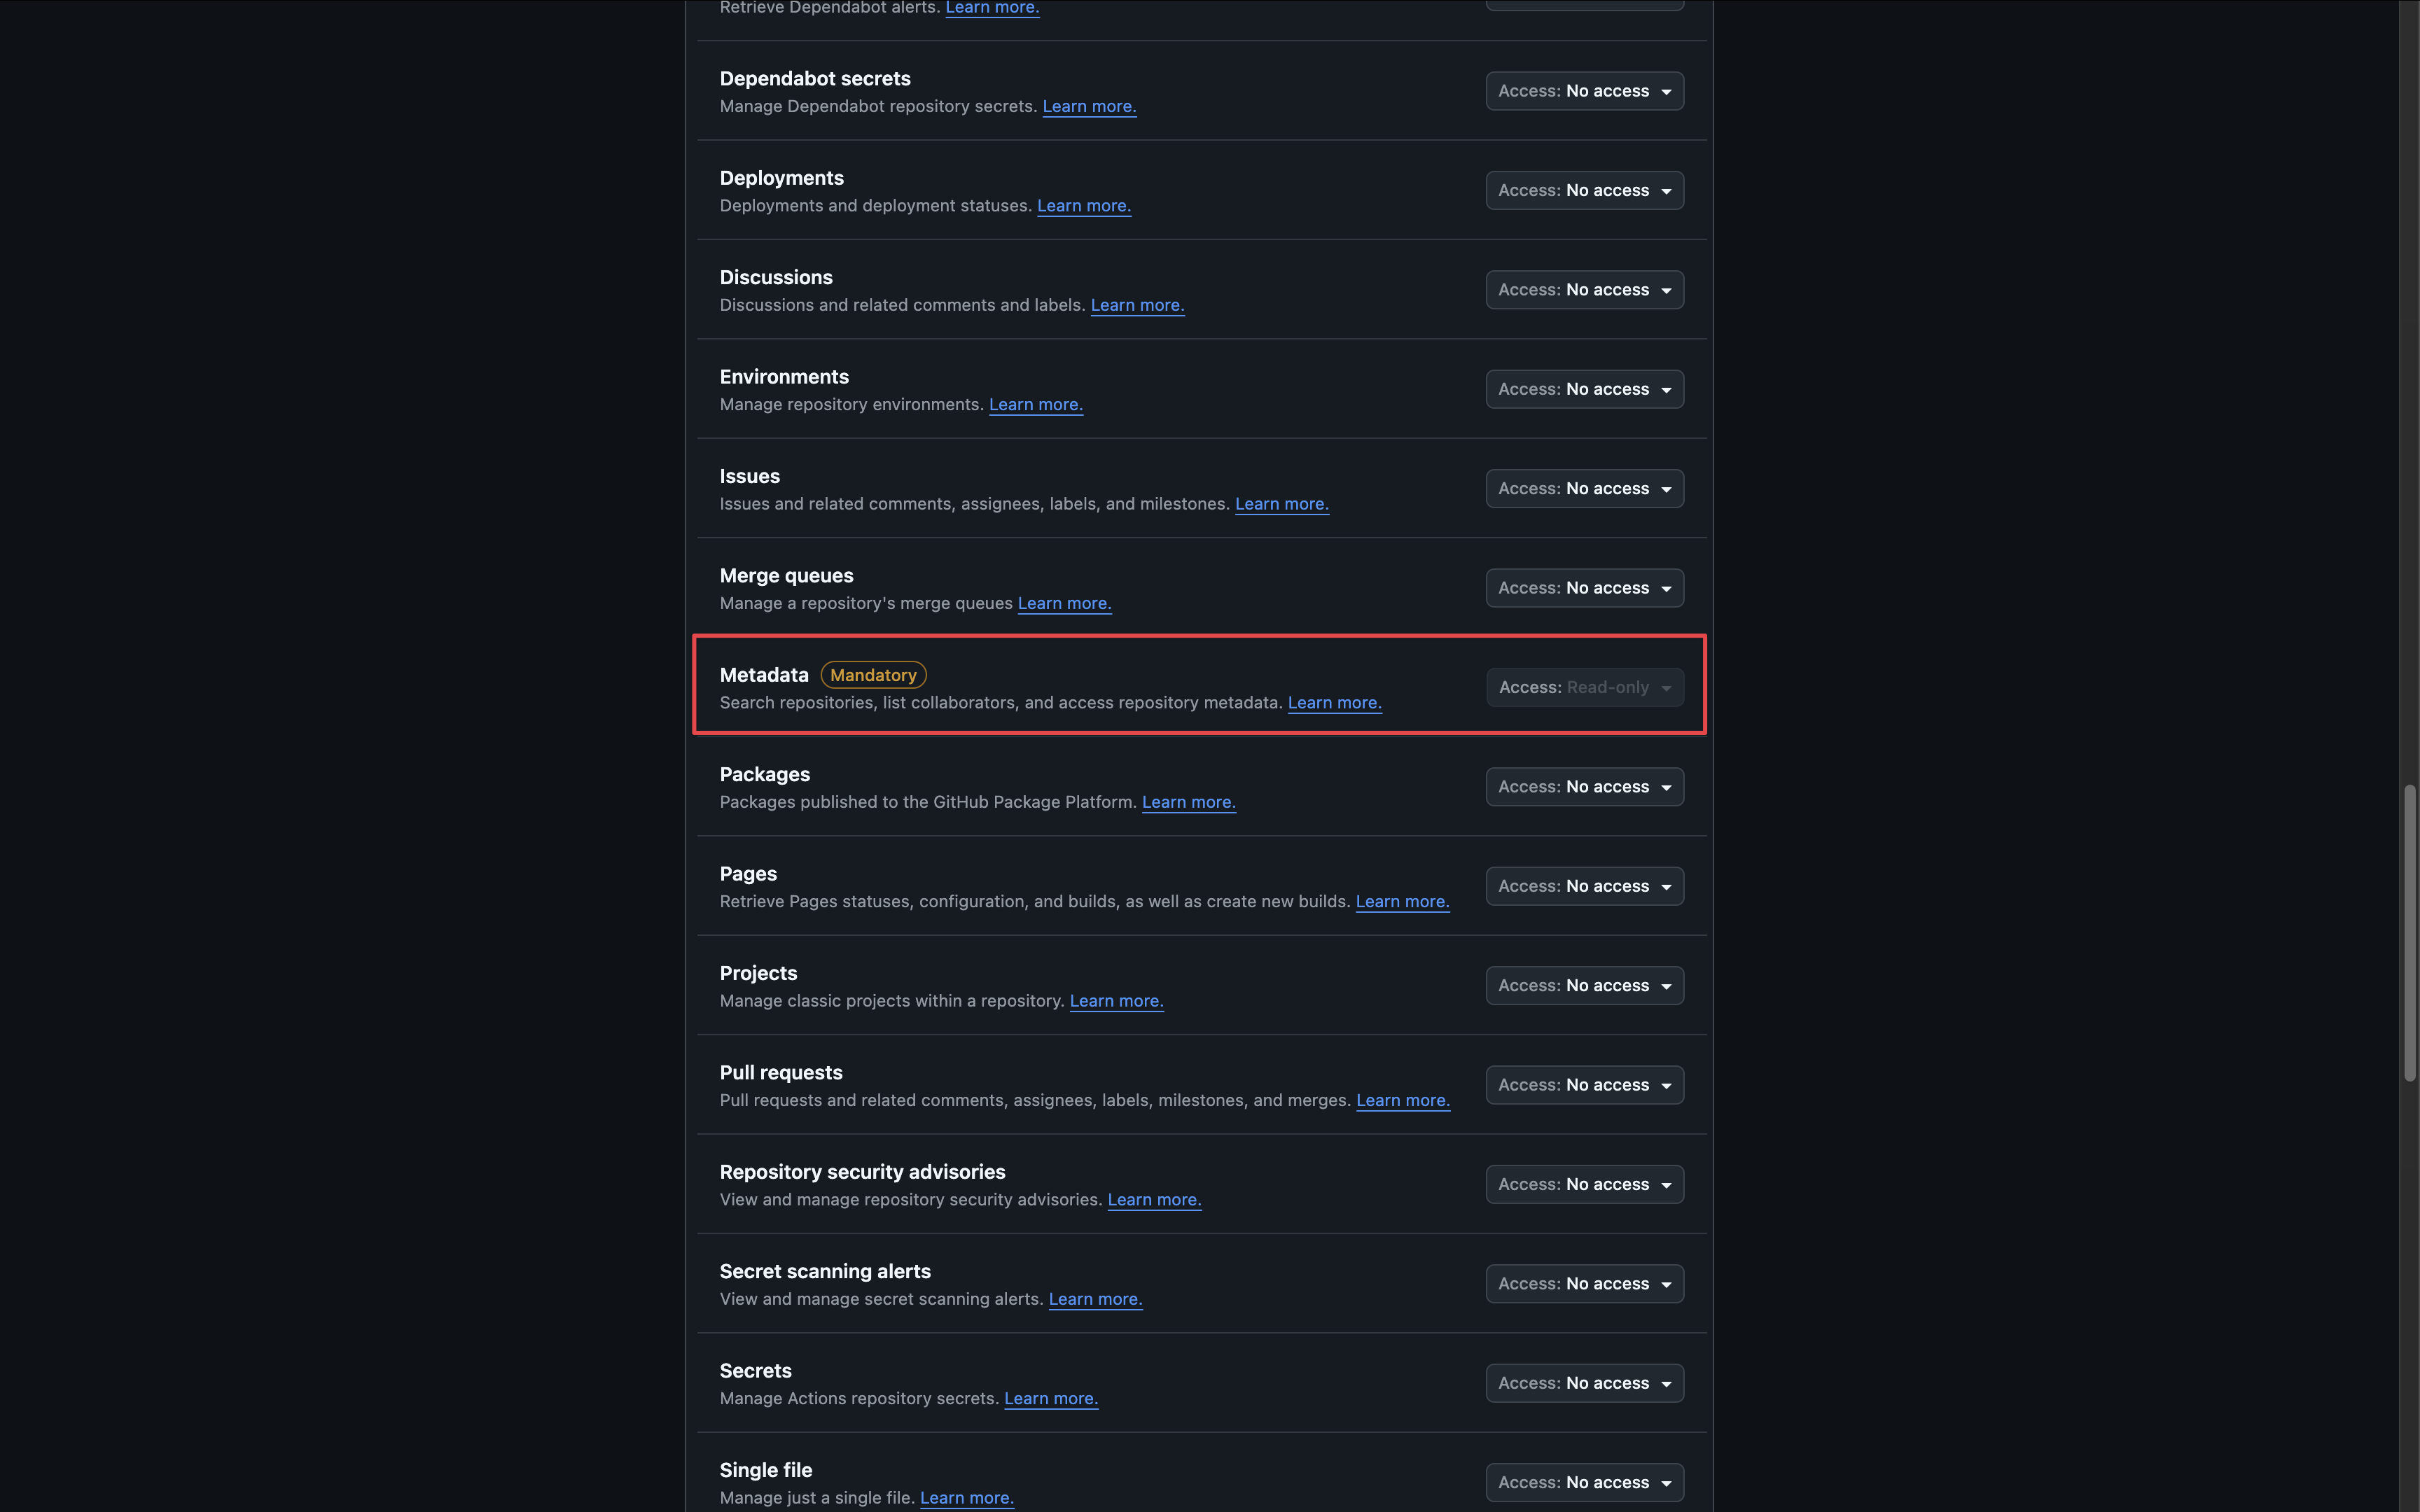
Read-only - Metadata:
Read-only
Subscribe to the following events:-
Push
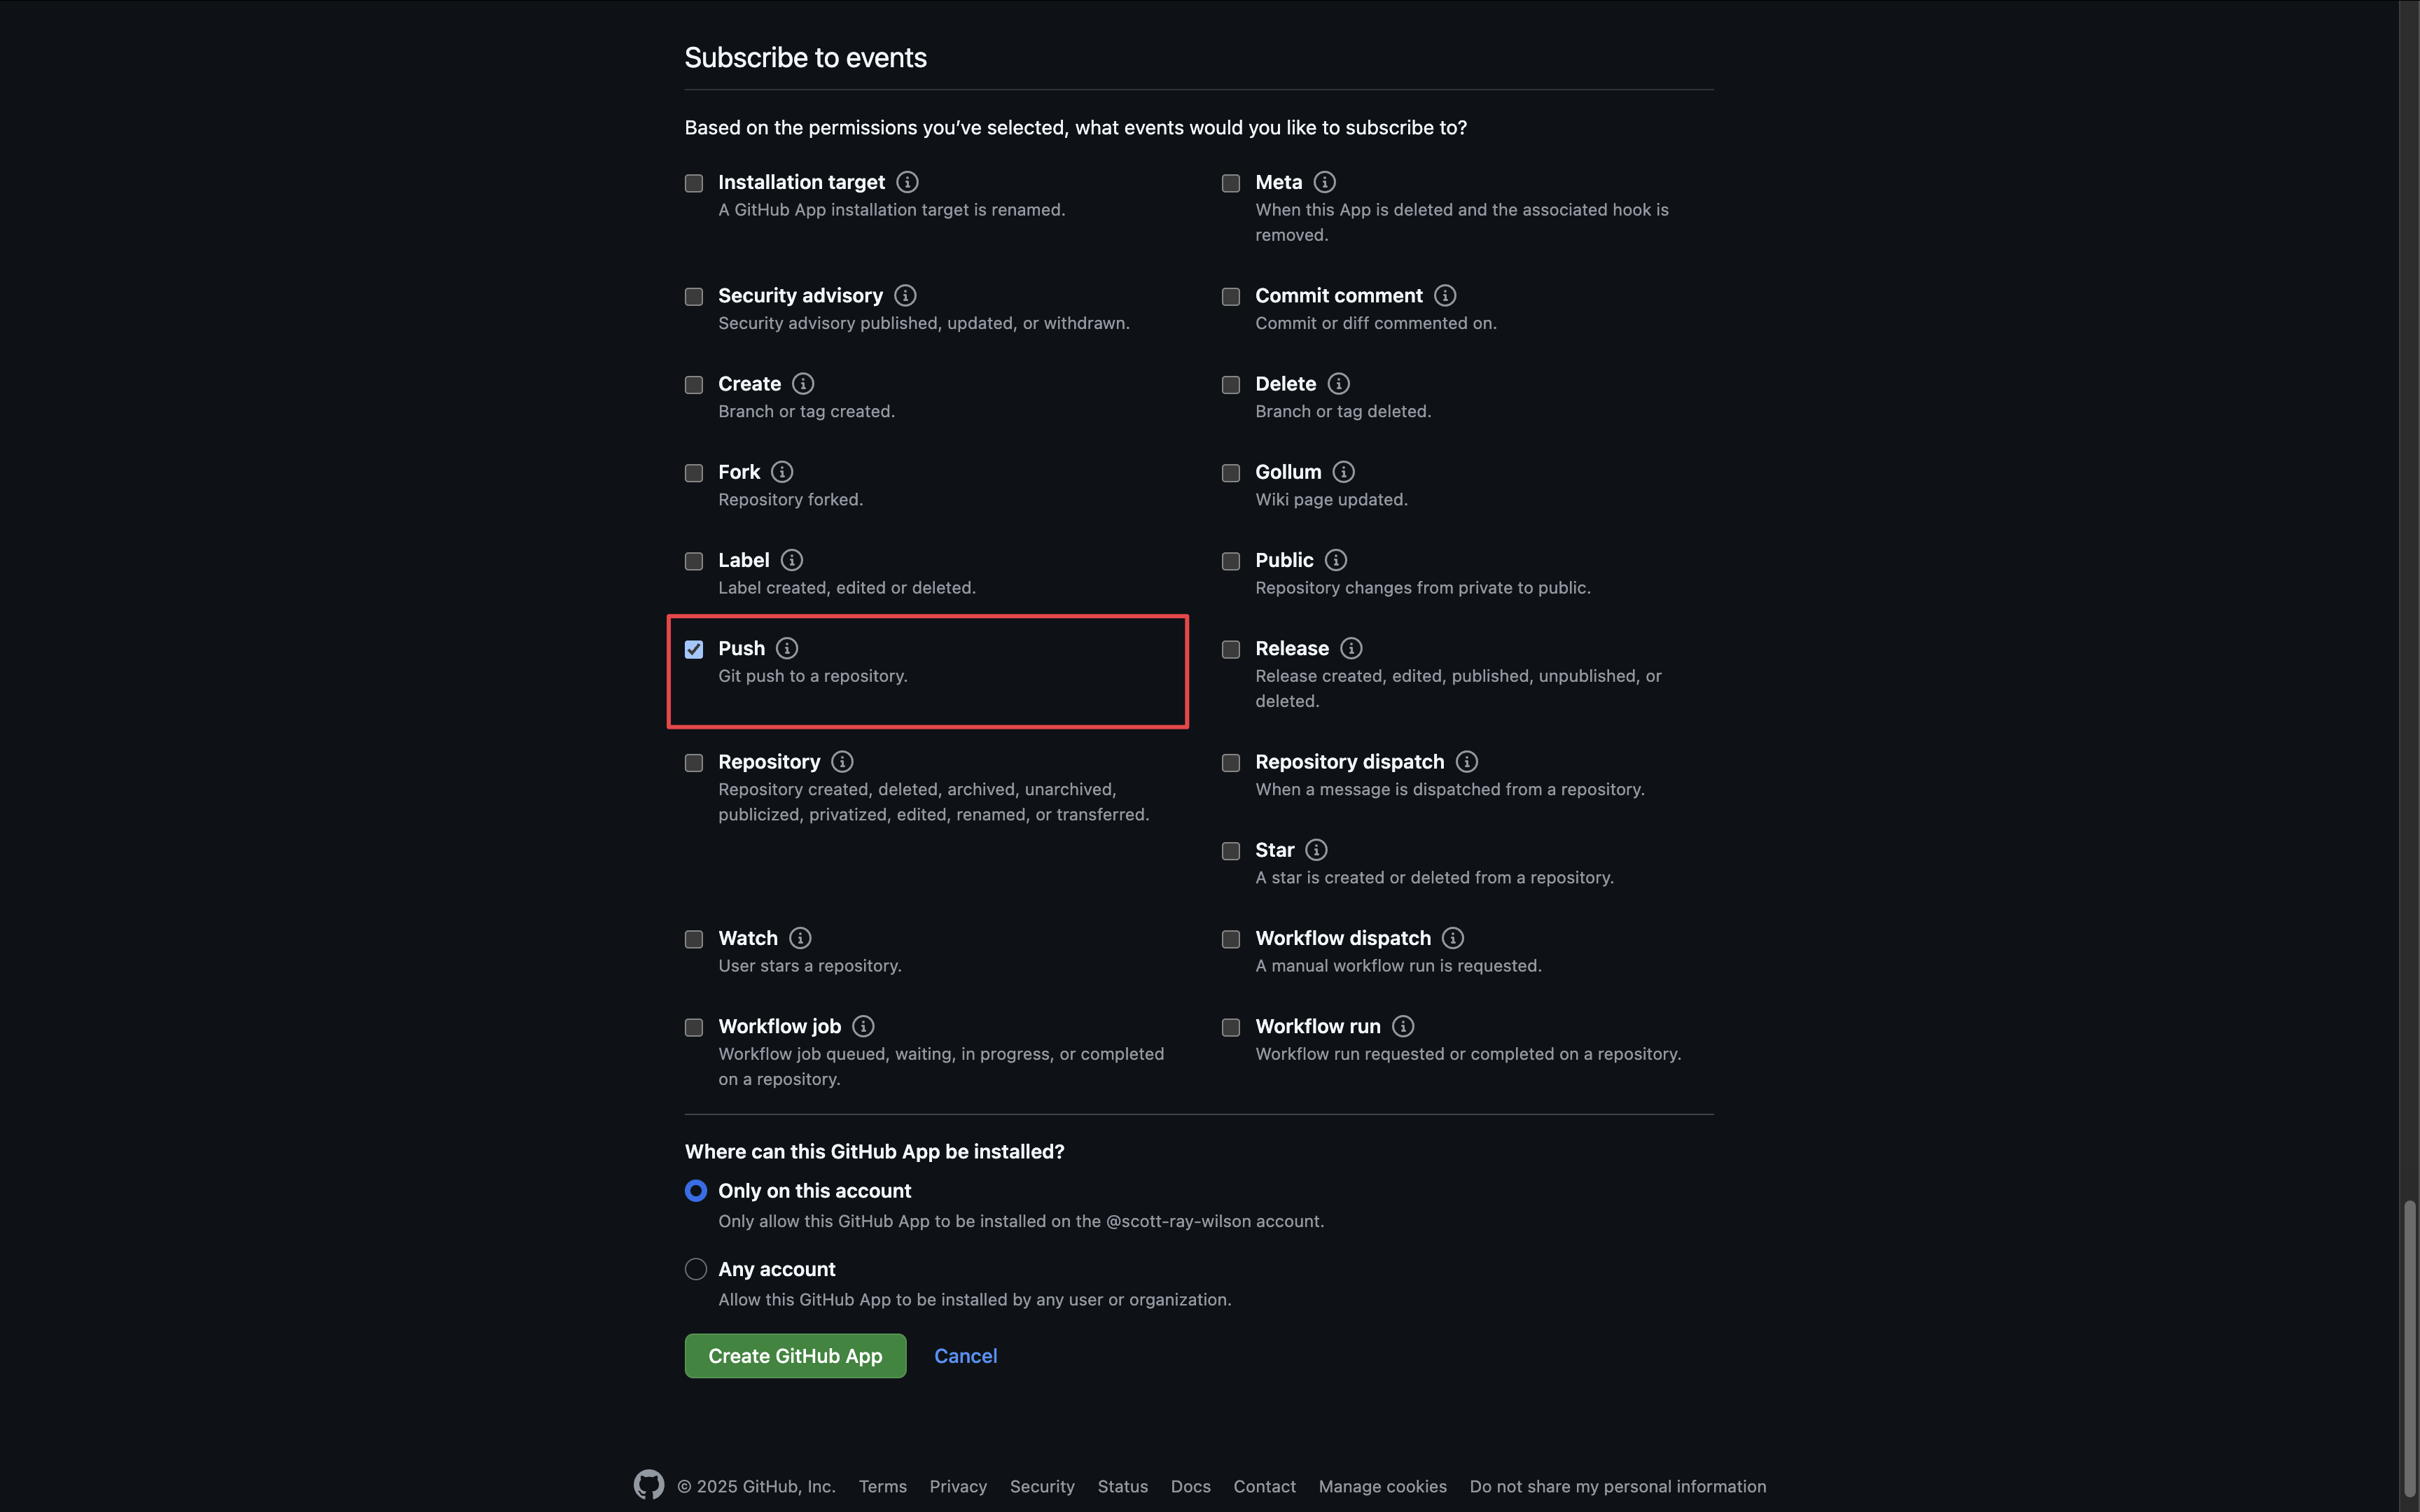
2
Add your application credentials to Infisical
Generate a new Client Secret for your GitHub application.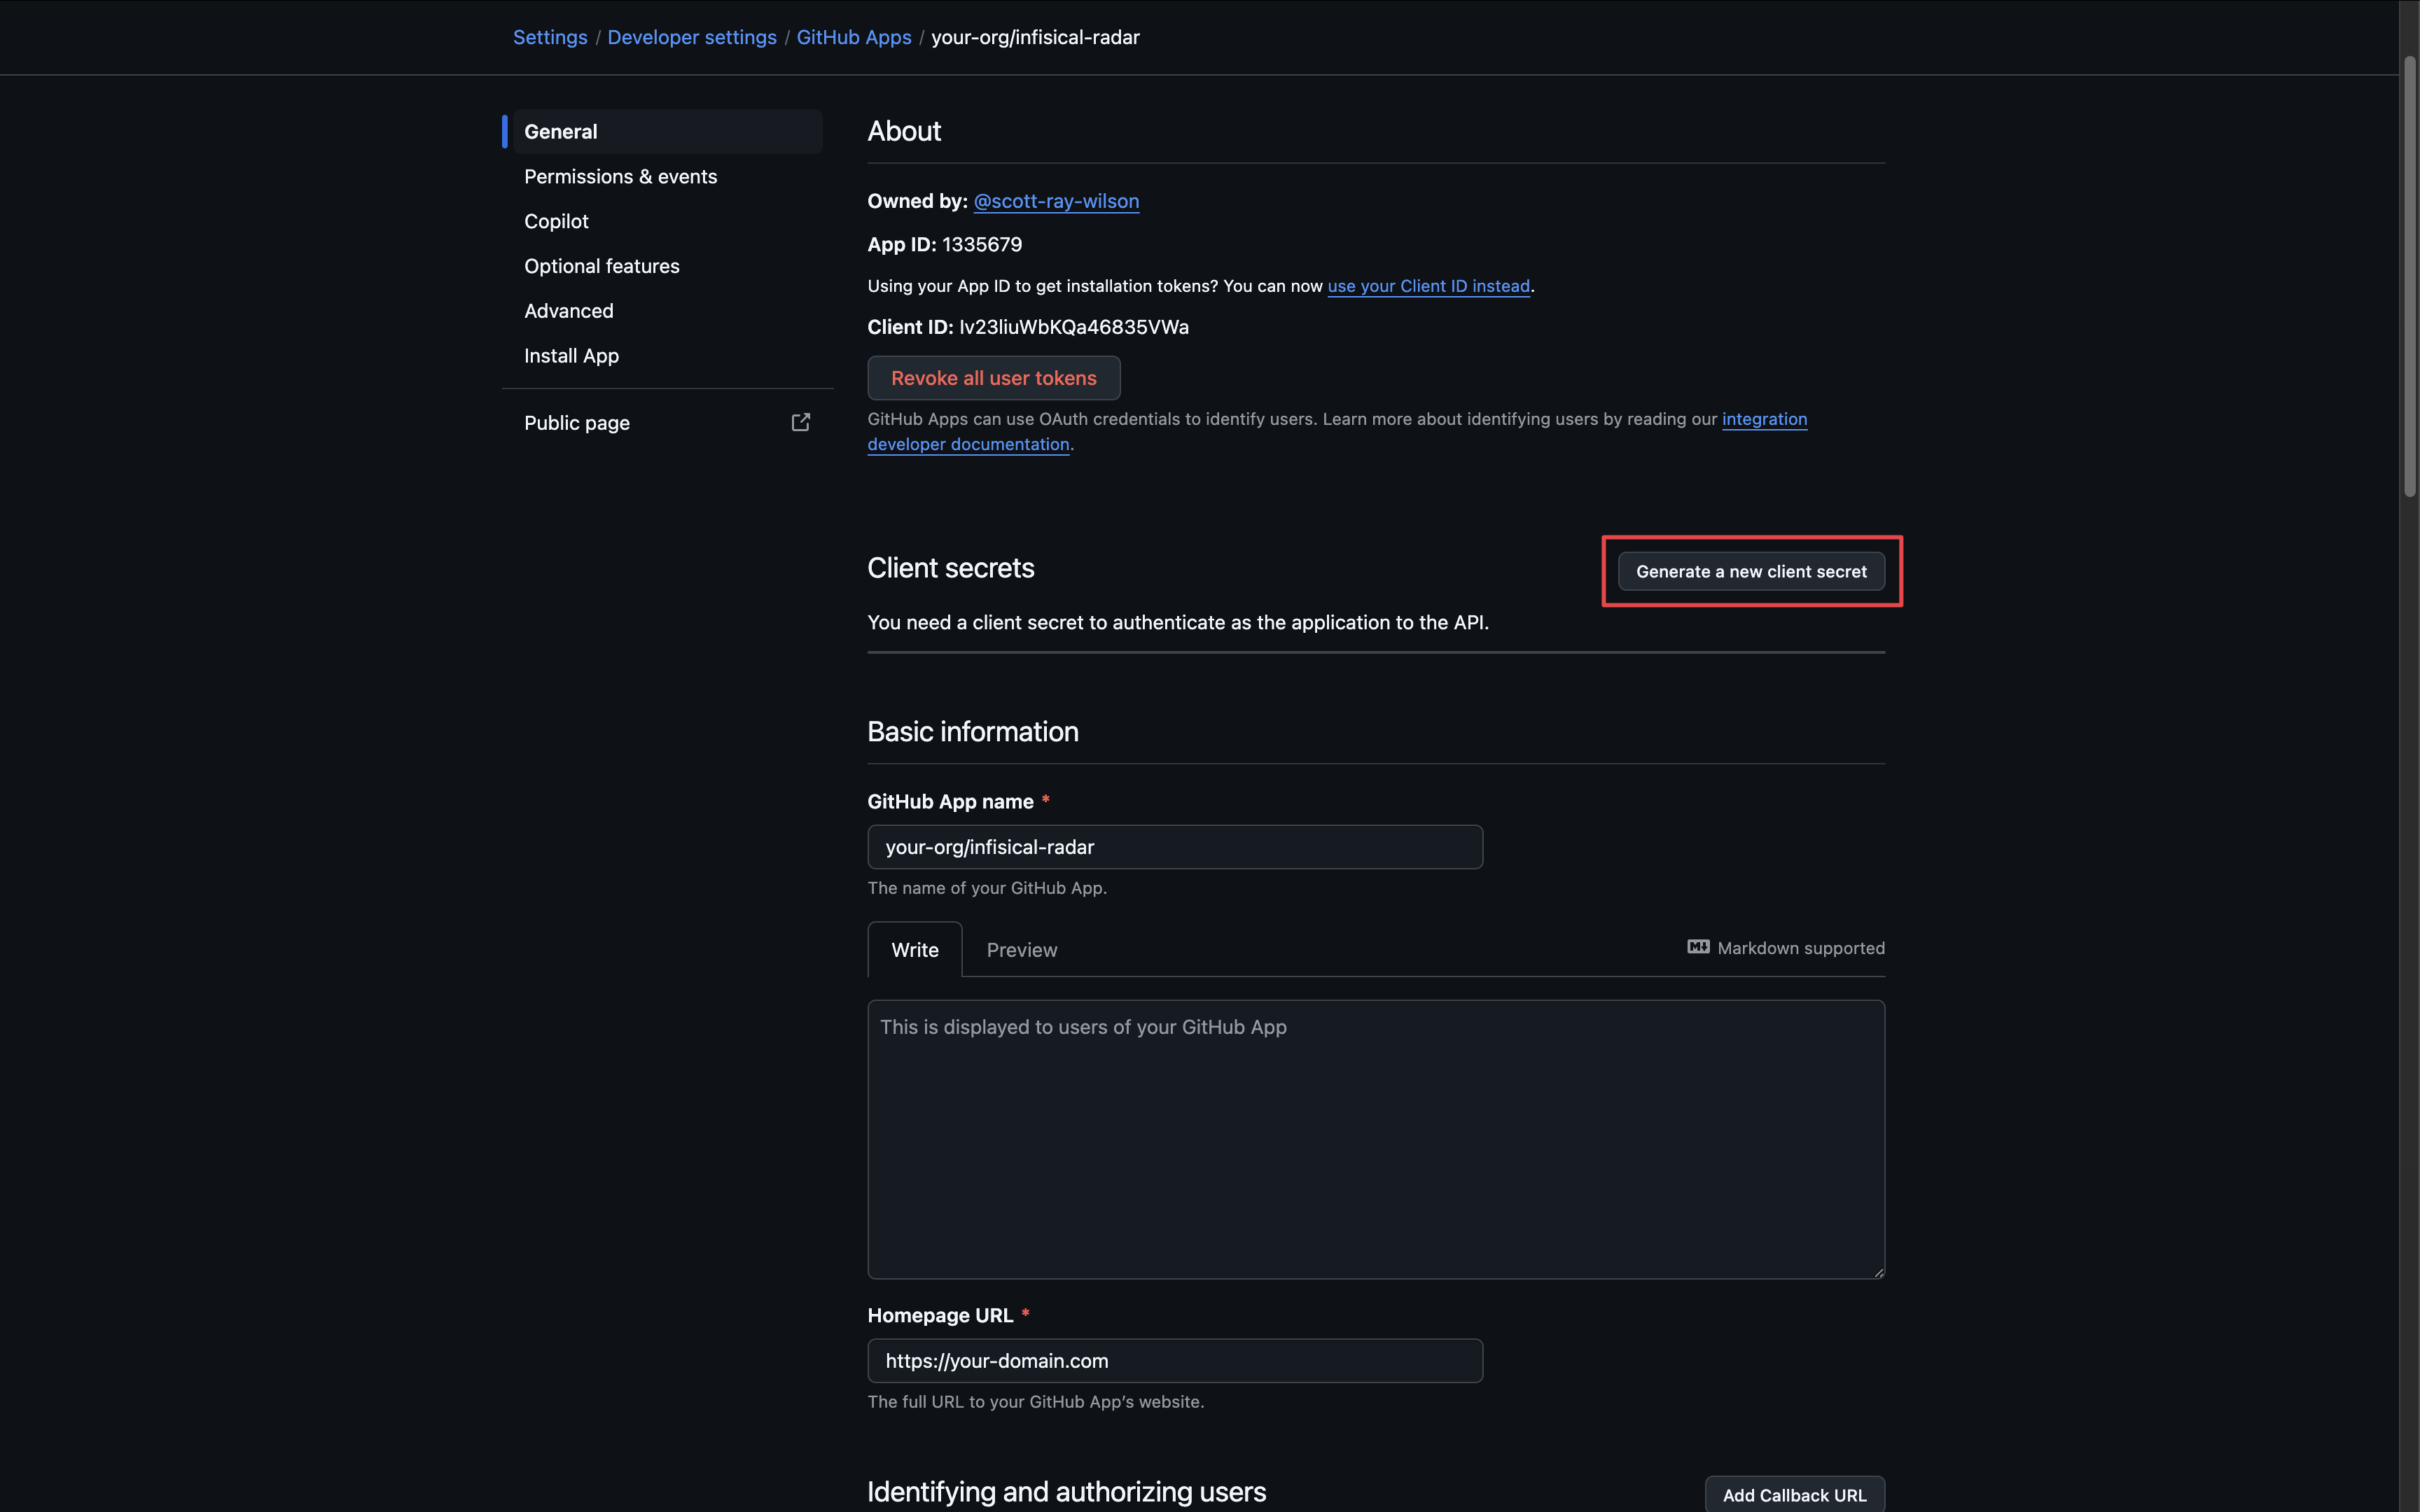 Generate a new Private Key for your Github application.
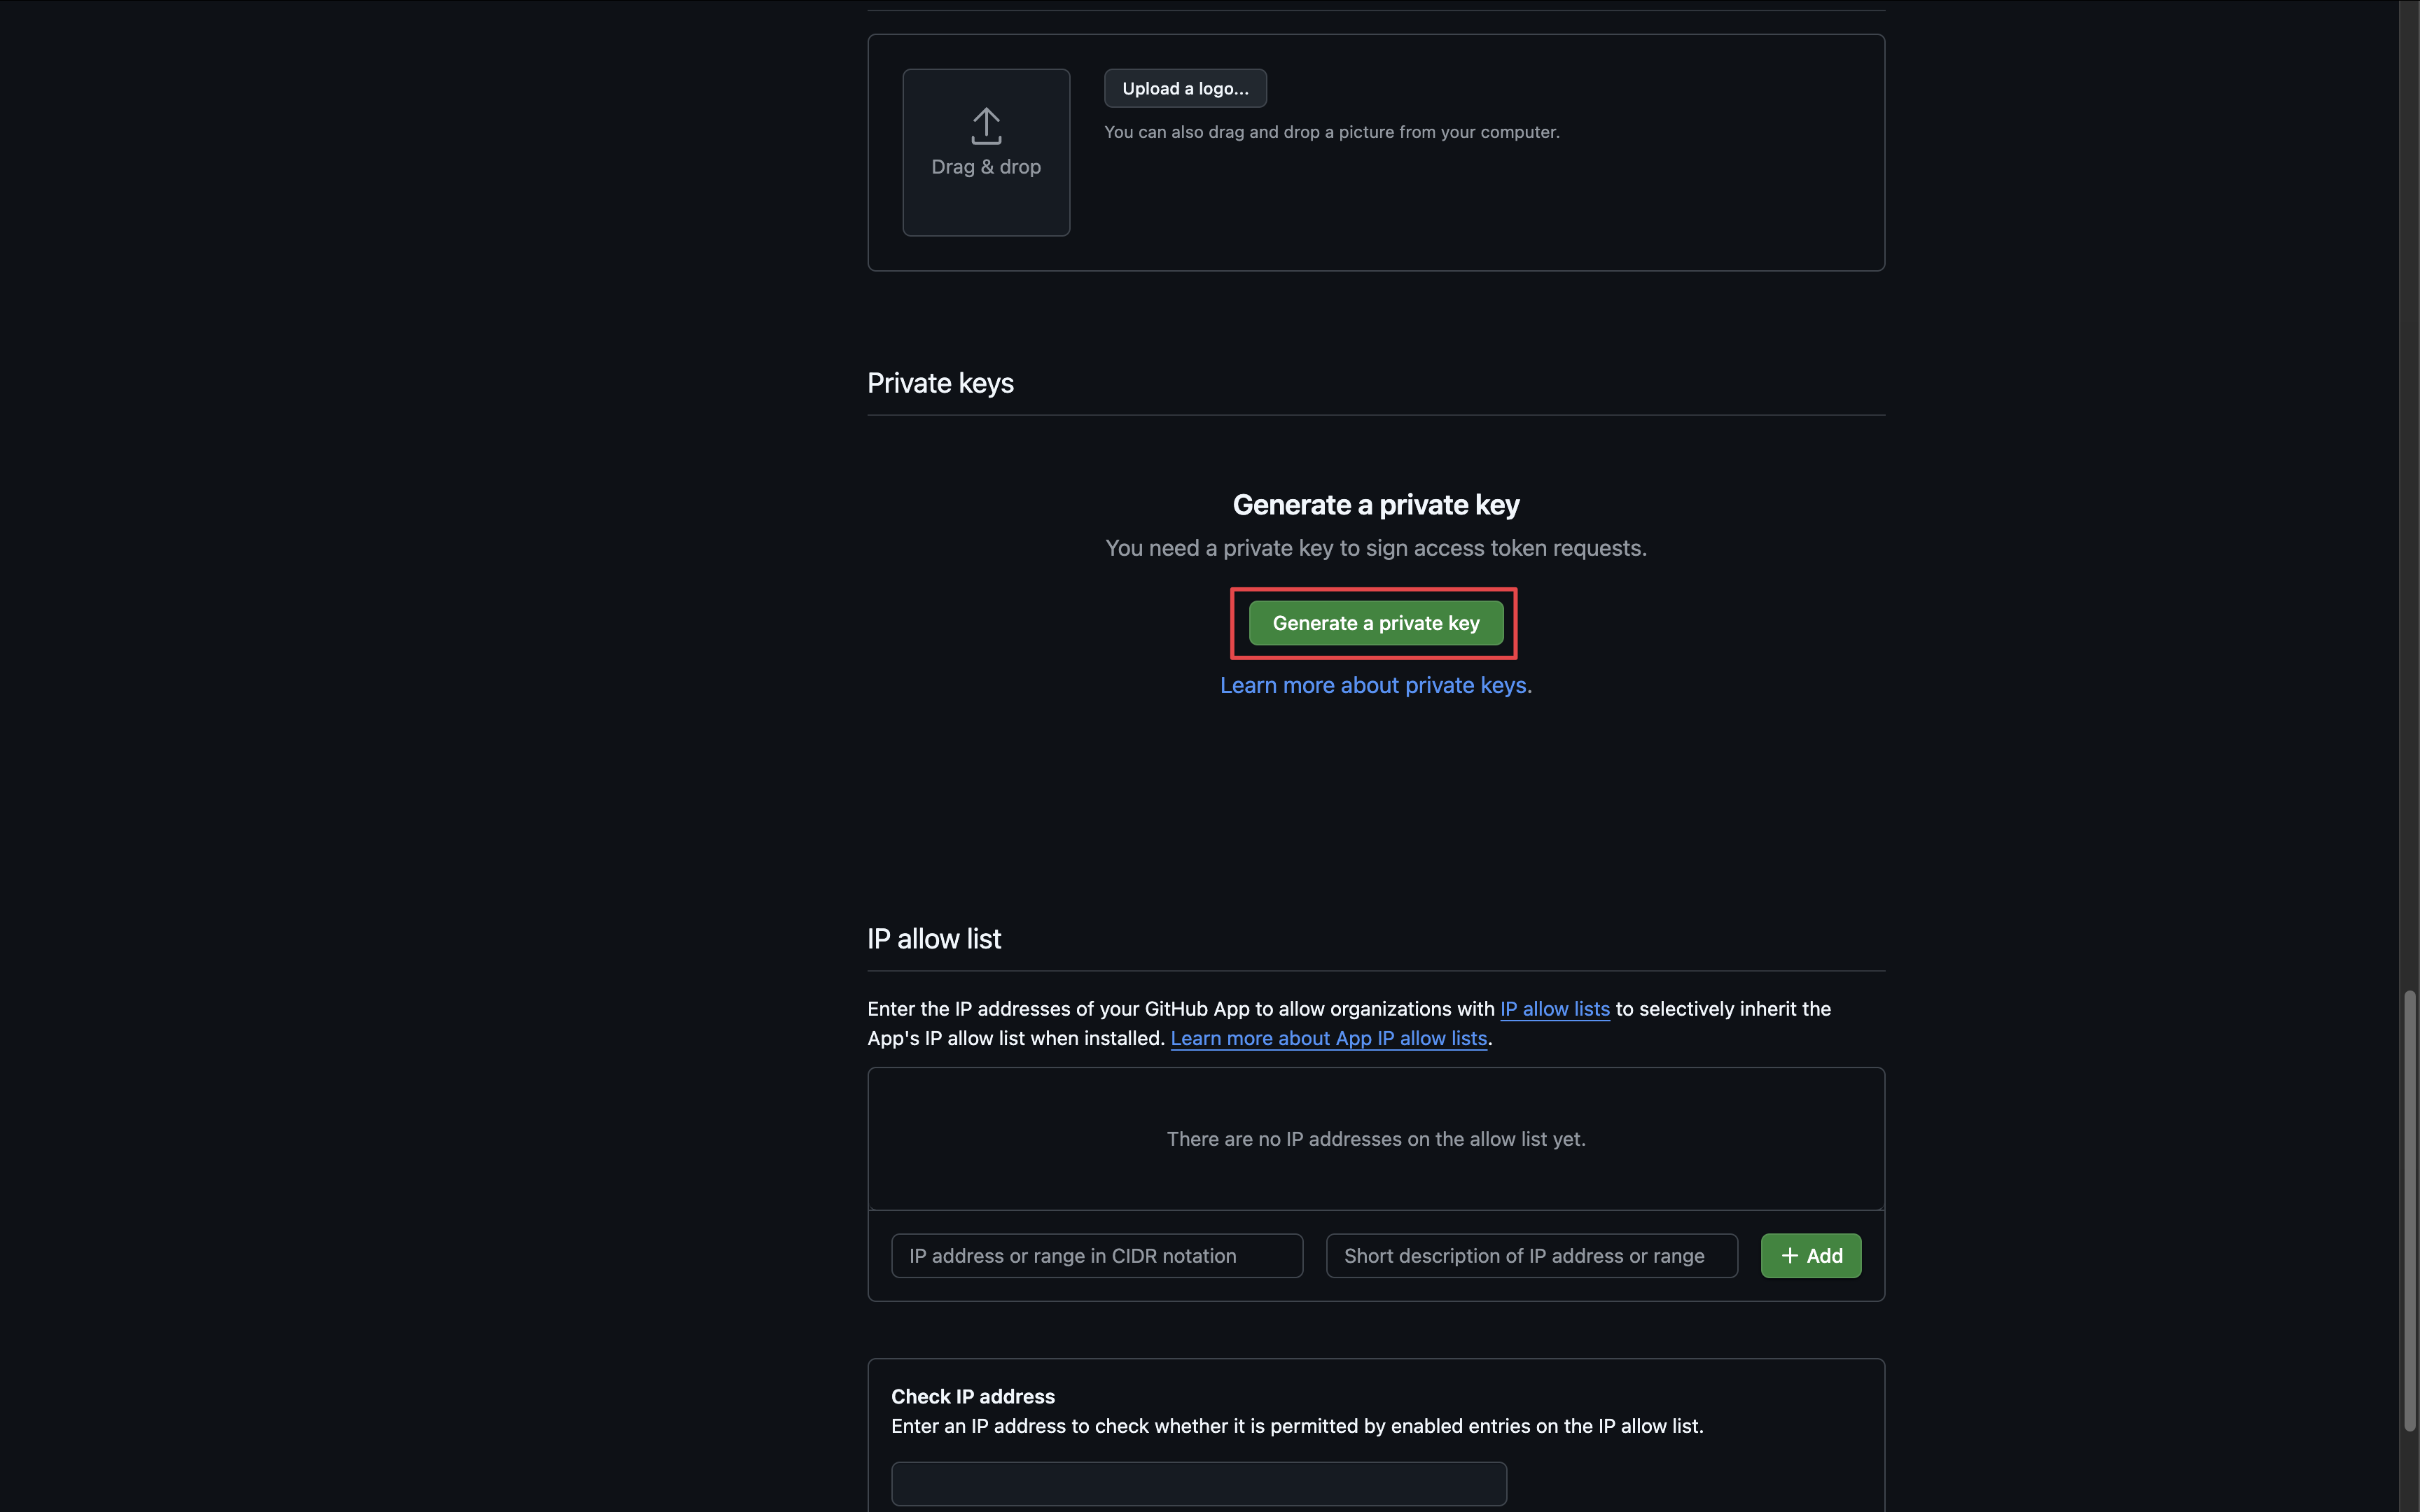 Obtain the following credentials:
Generate a new Private Key for your Github application.You will need to copy the contents of the .pem file downloaded
Obtain the following credentials:- Slug - the slug of your application found in the URL
- App ID - the ID of your application
- Client ID - the client ID of your application
- Client Secret - the client secret generated above
- Private Key - the contents of the private key .pem file generated above
-
Webhook Secret - the secret generated in the previous step when configuring the webhook

INF_APP_CONNECTION_GITHUB_RADAR_APP_CLIENT_ID: The Client ID of your GitHub application.INF_APP_CONNECTION_GITHUB_RADAR_APP_CLIENT_SECRET: The Client Secret of your GitHub application.INF_APP_CONNECTION_GITHUB_RADAR_APP_SLUG: The Slug of your GitHub application. This is the one found in the URL.INF_APP_CONNECTION_GITHUB_RADAR_APP_ID: The App ID of your GitHub application.INF_APP_CONNECTION_GITHUB_RADAR_APP_PRIVATE_KEY: The Private Key of your GitHub application.INF_APP_CONNECTION_GITHUB_RADAR_APP_WEBHOOK_SECRET: The Webhook Secret of your GitHub application.
Setup GitHub Radar Connection in Infisical
1
Navigate to App Connections
Navigate to the Integrations tab in the desired project, then select App Connections.
2
Add Connection
Select the GitHub Radar Connection option from the connection options modal.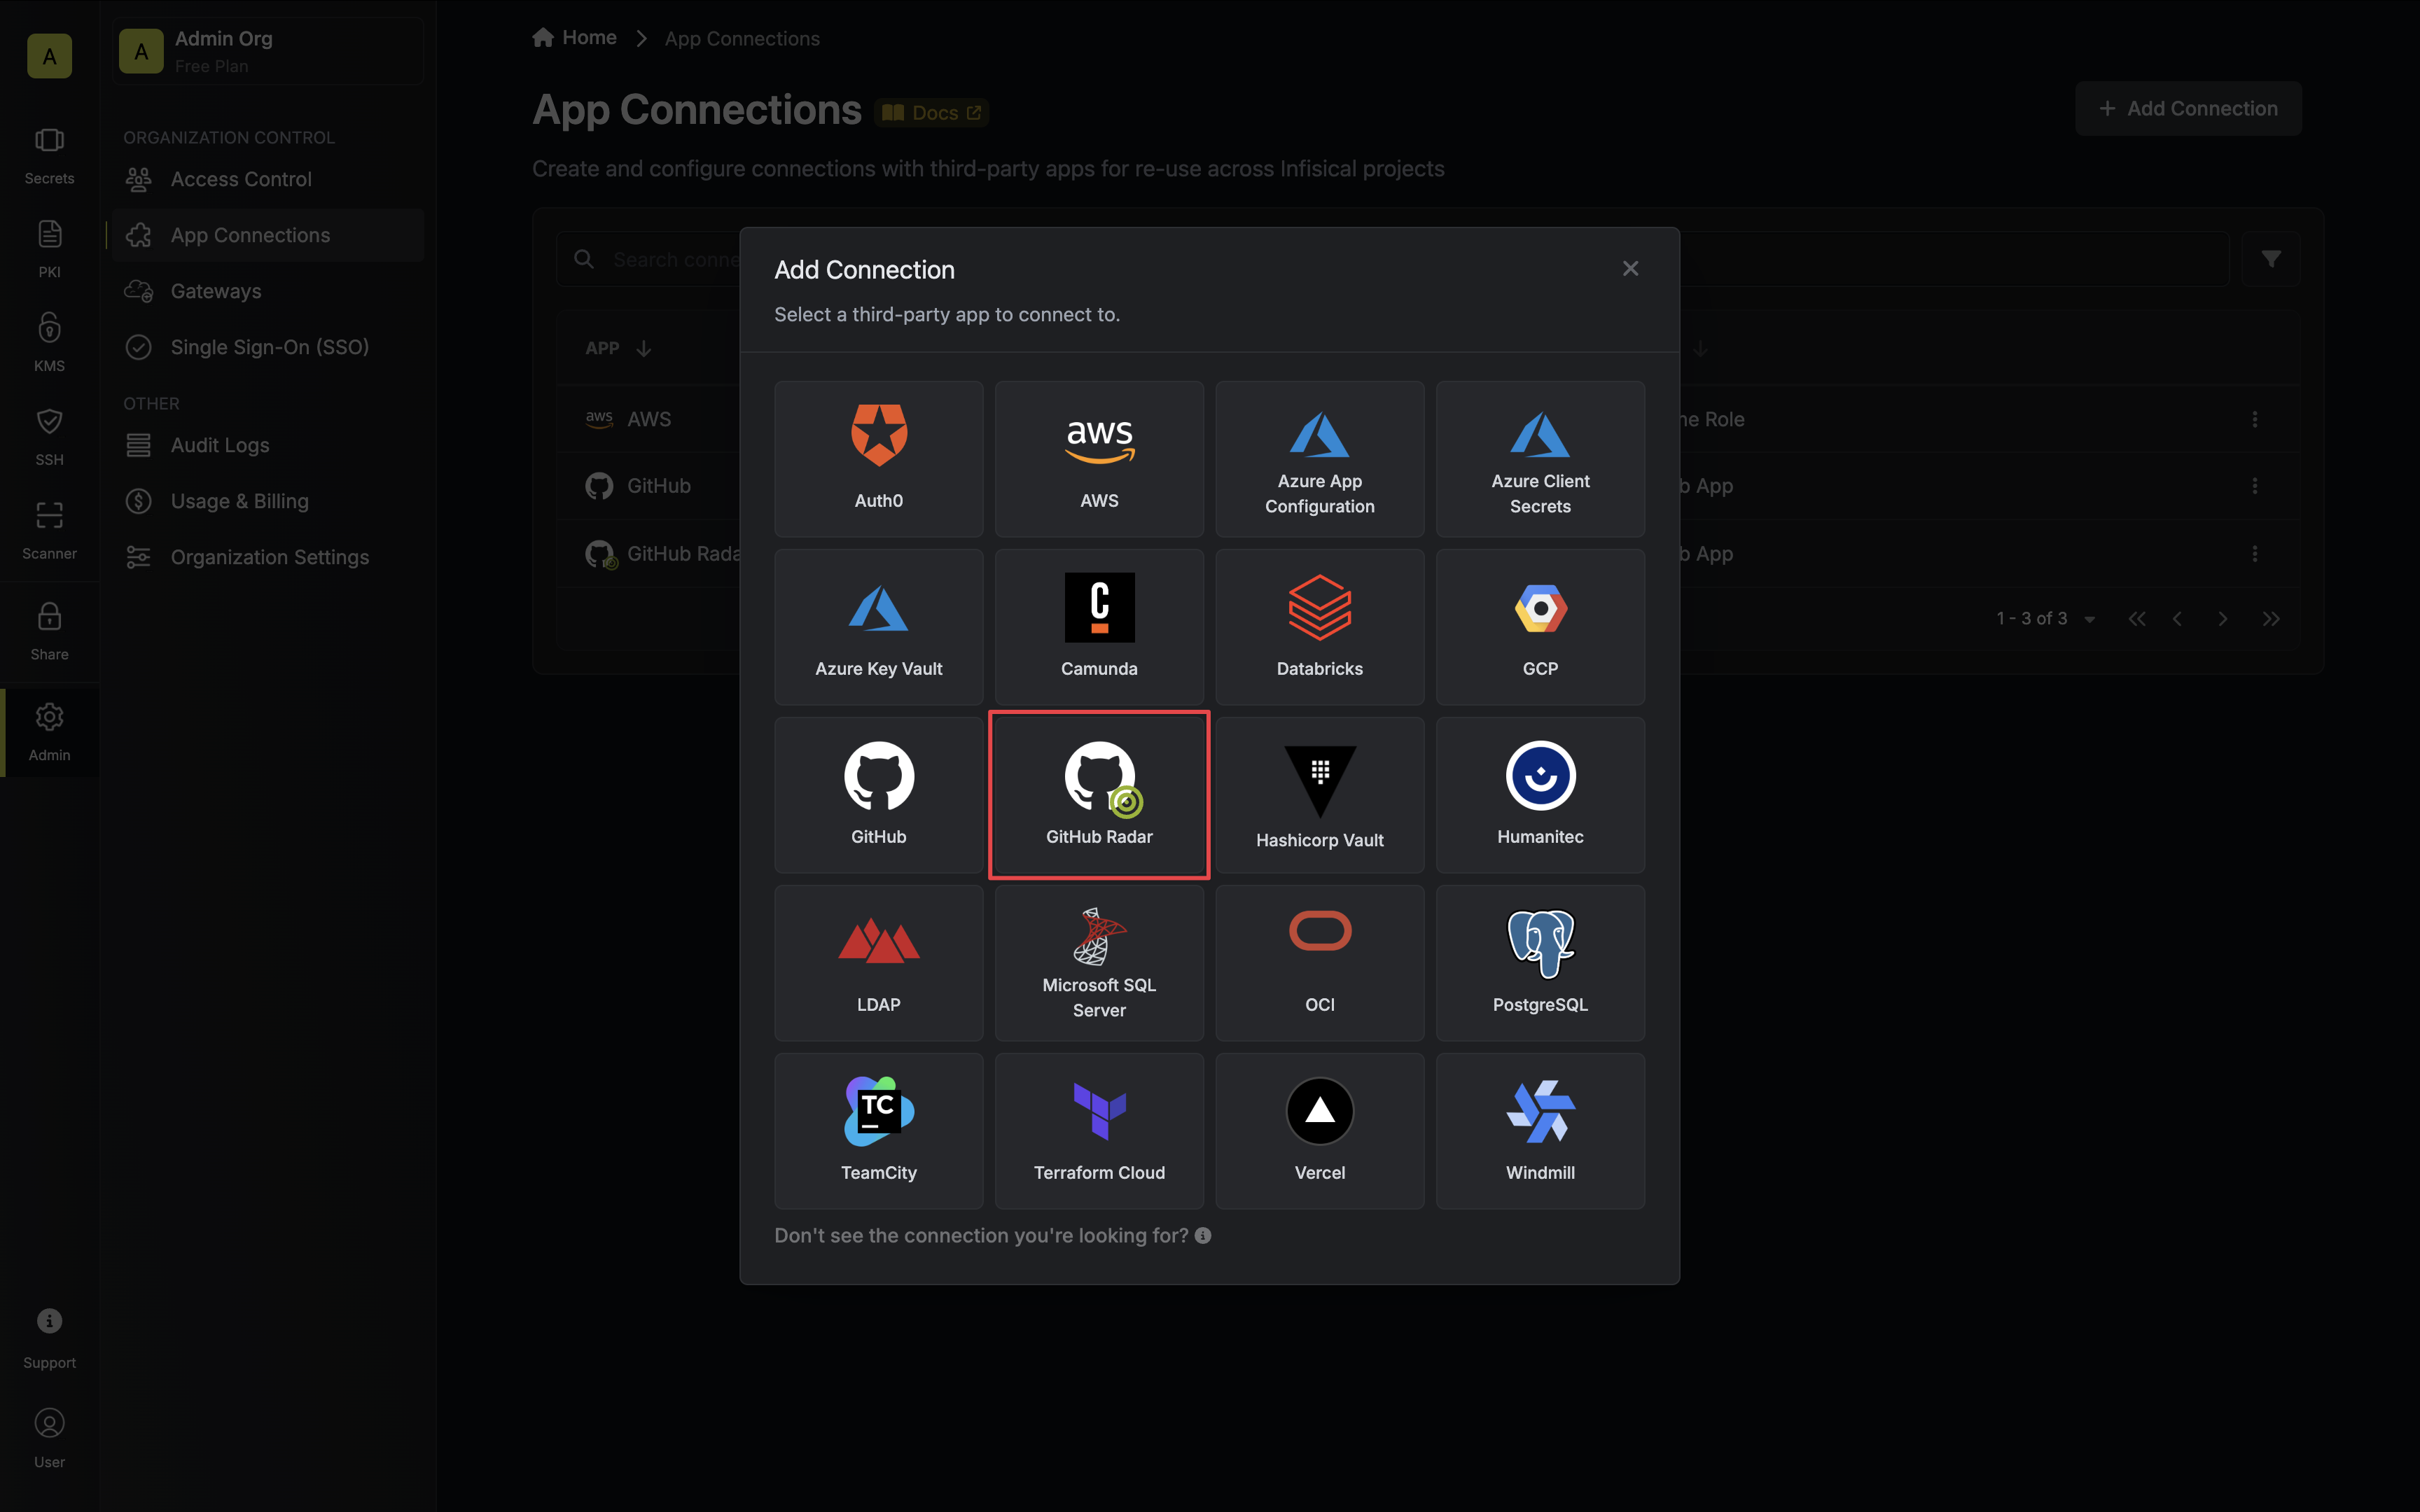
3
Authorize Connection
Select the GitHub App method and click Connect to GitHub.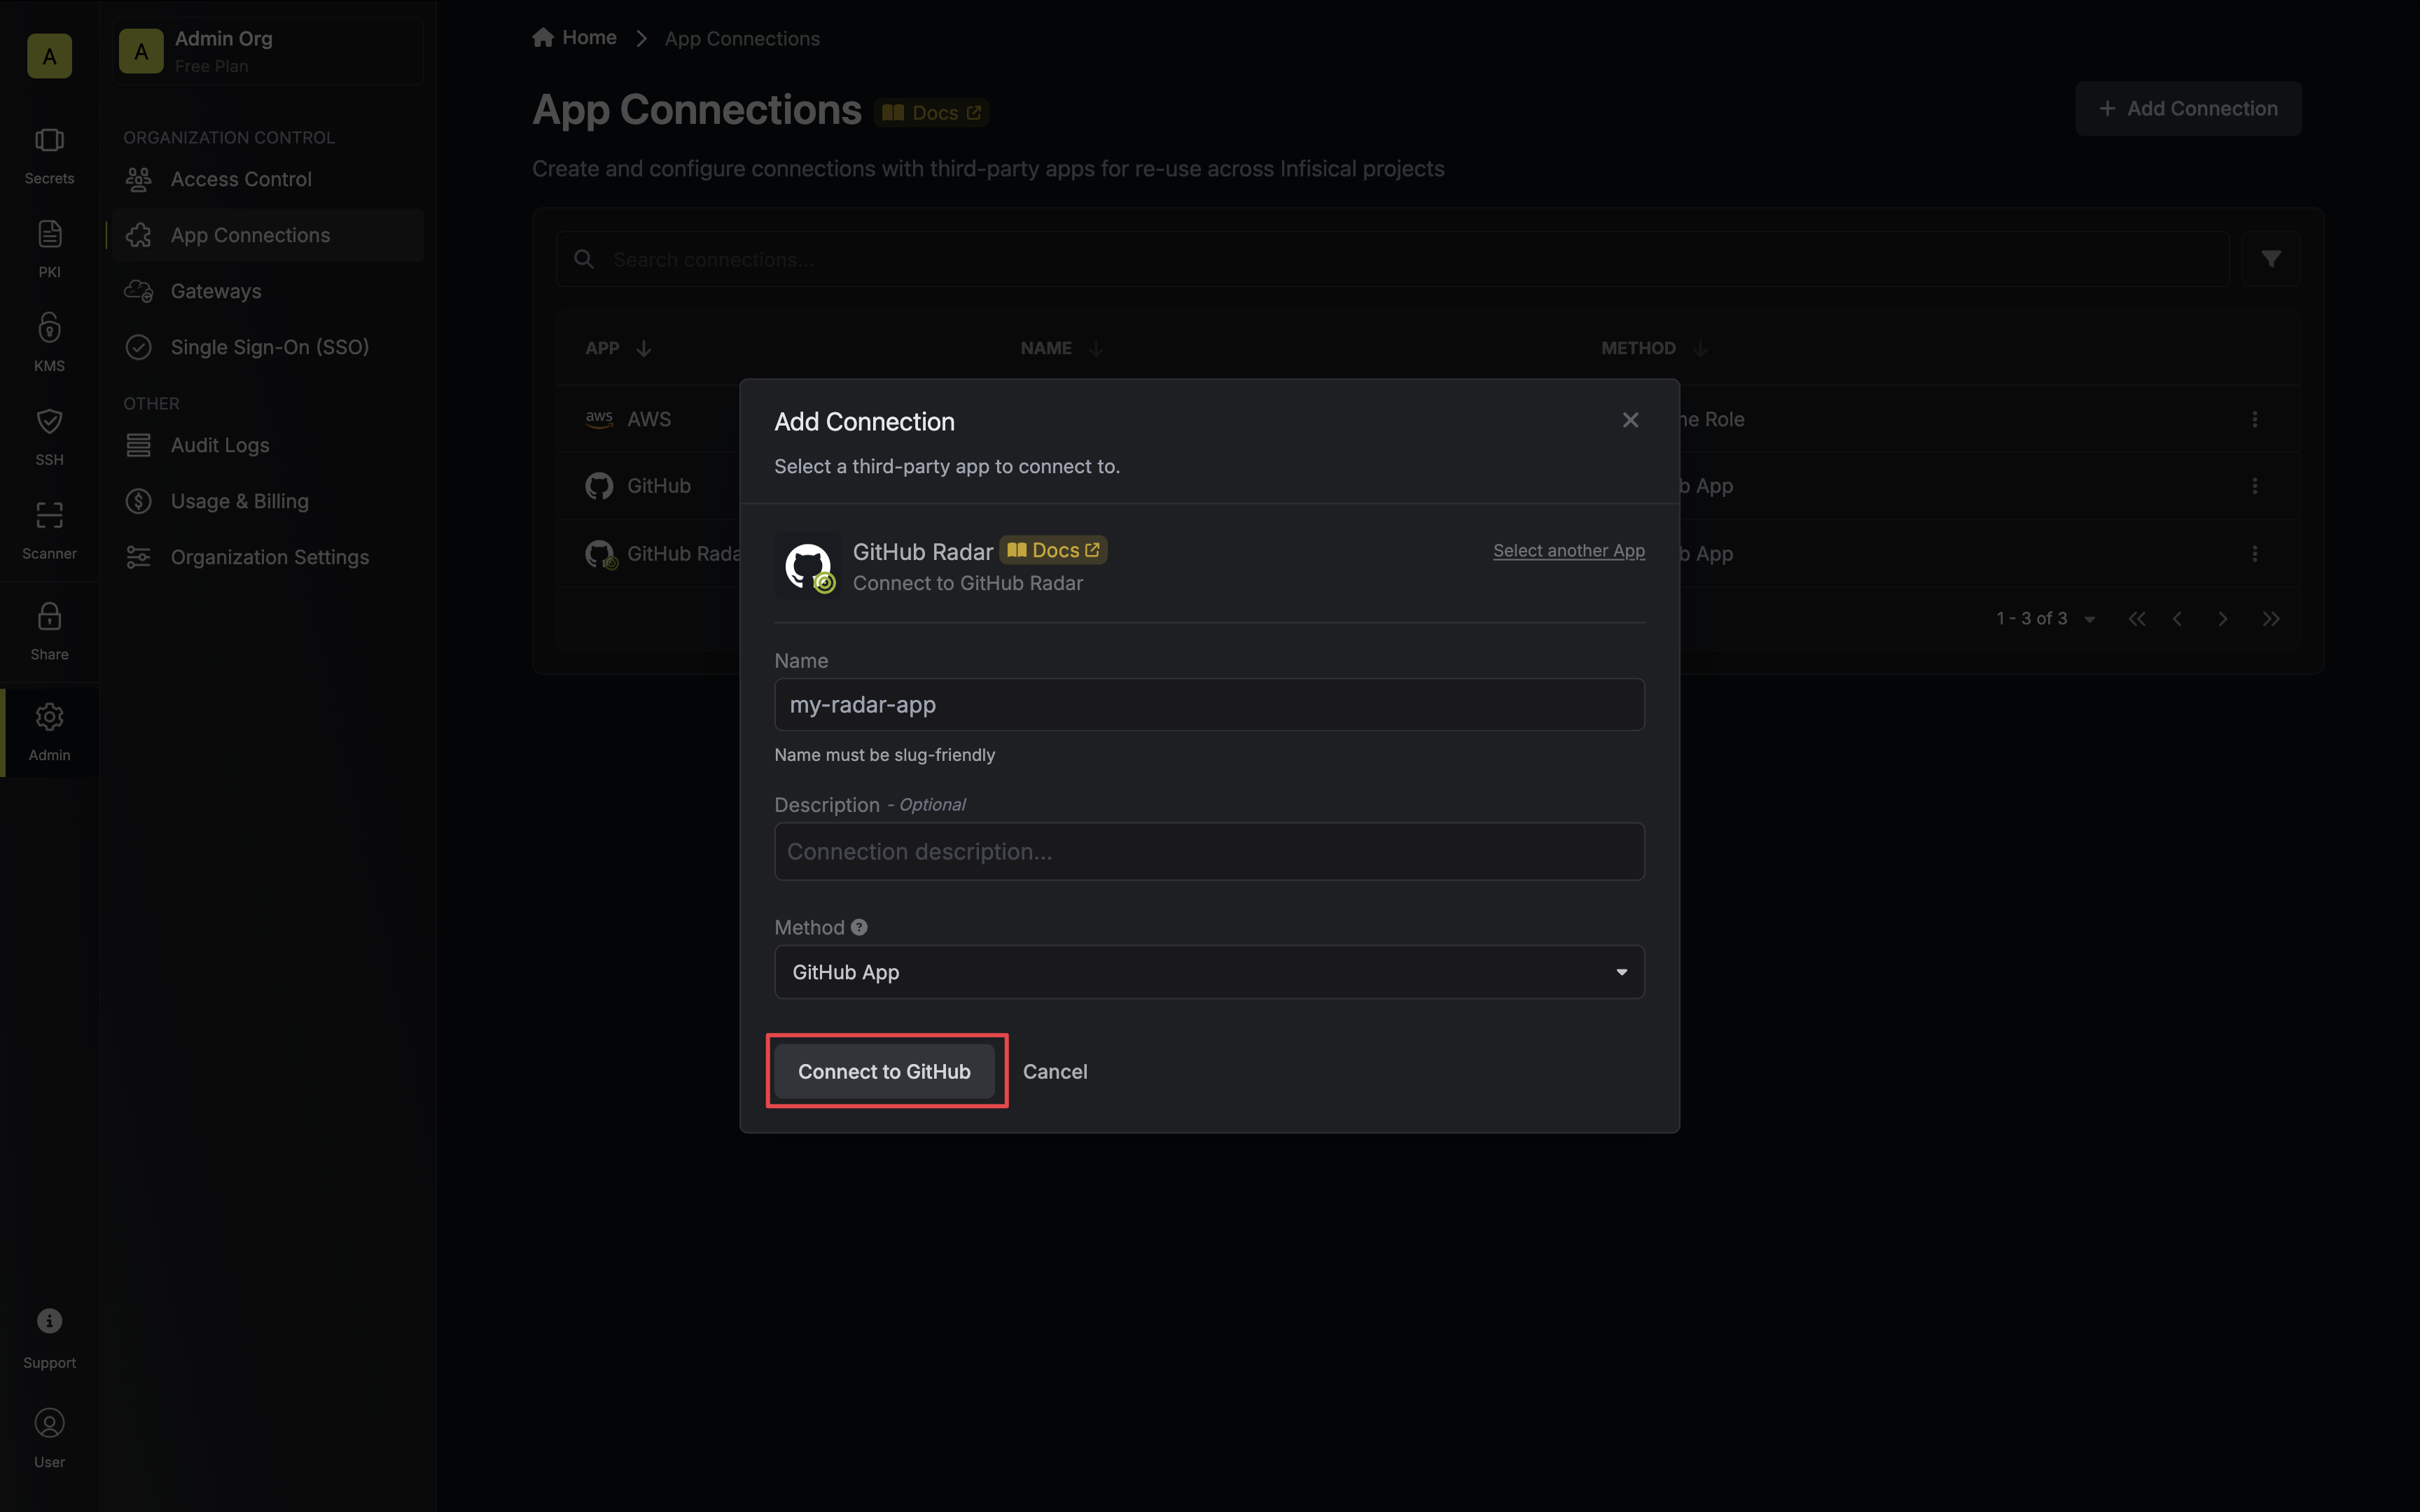
4
Install GitHub App
You will then be redirected to the GitHub App installation page.Install and authorize the GitHub application. This will redirect you back to Infisical’s App Connections page.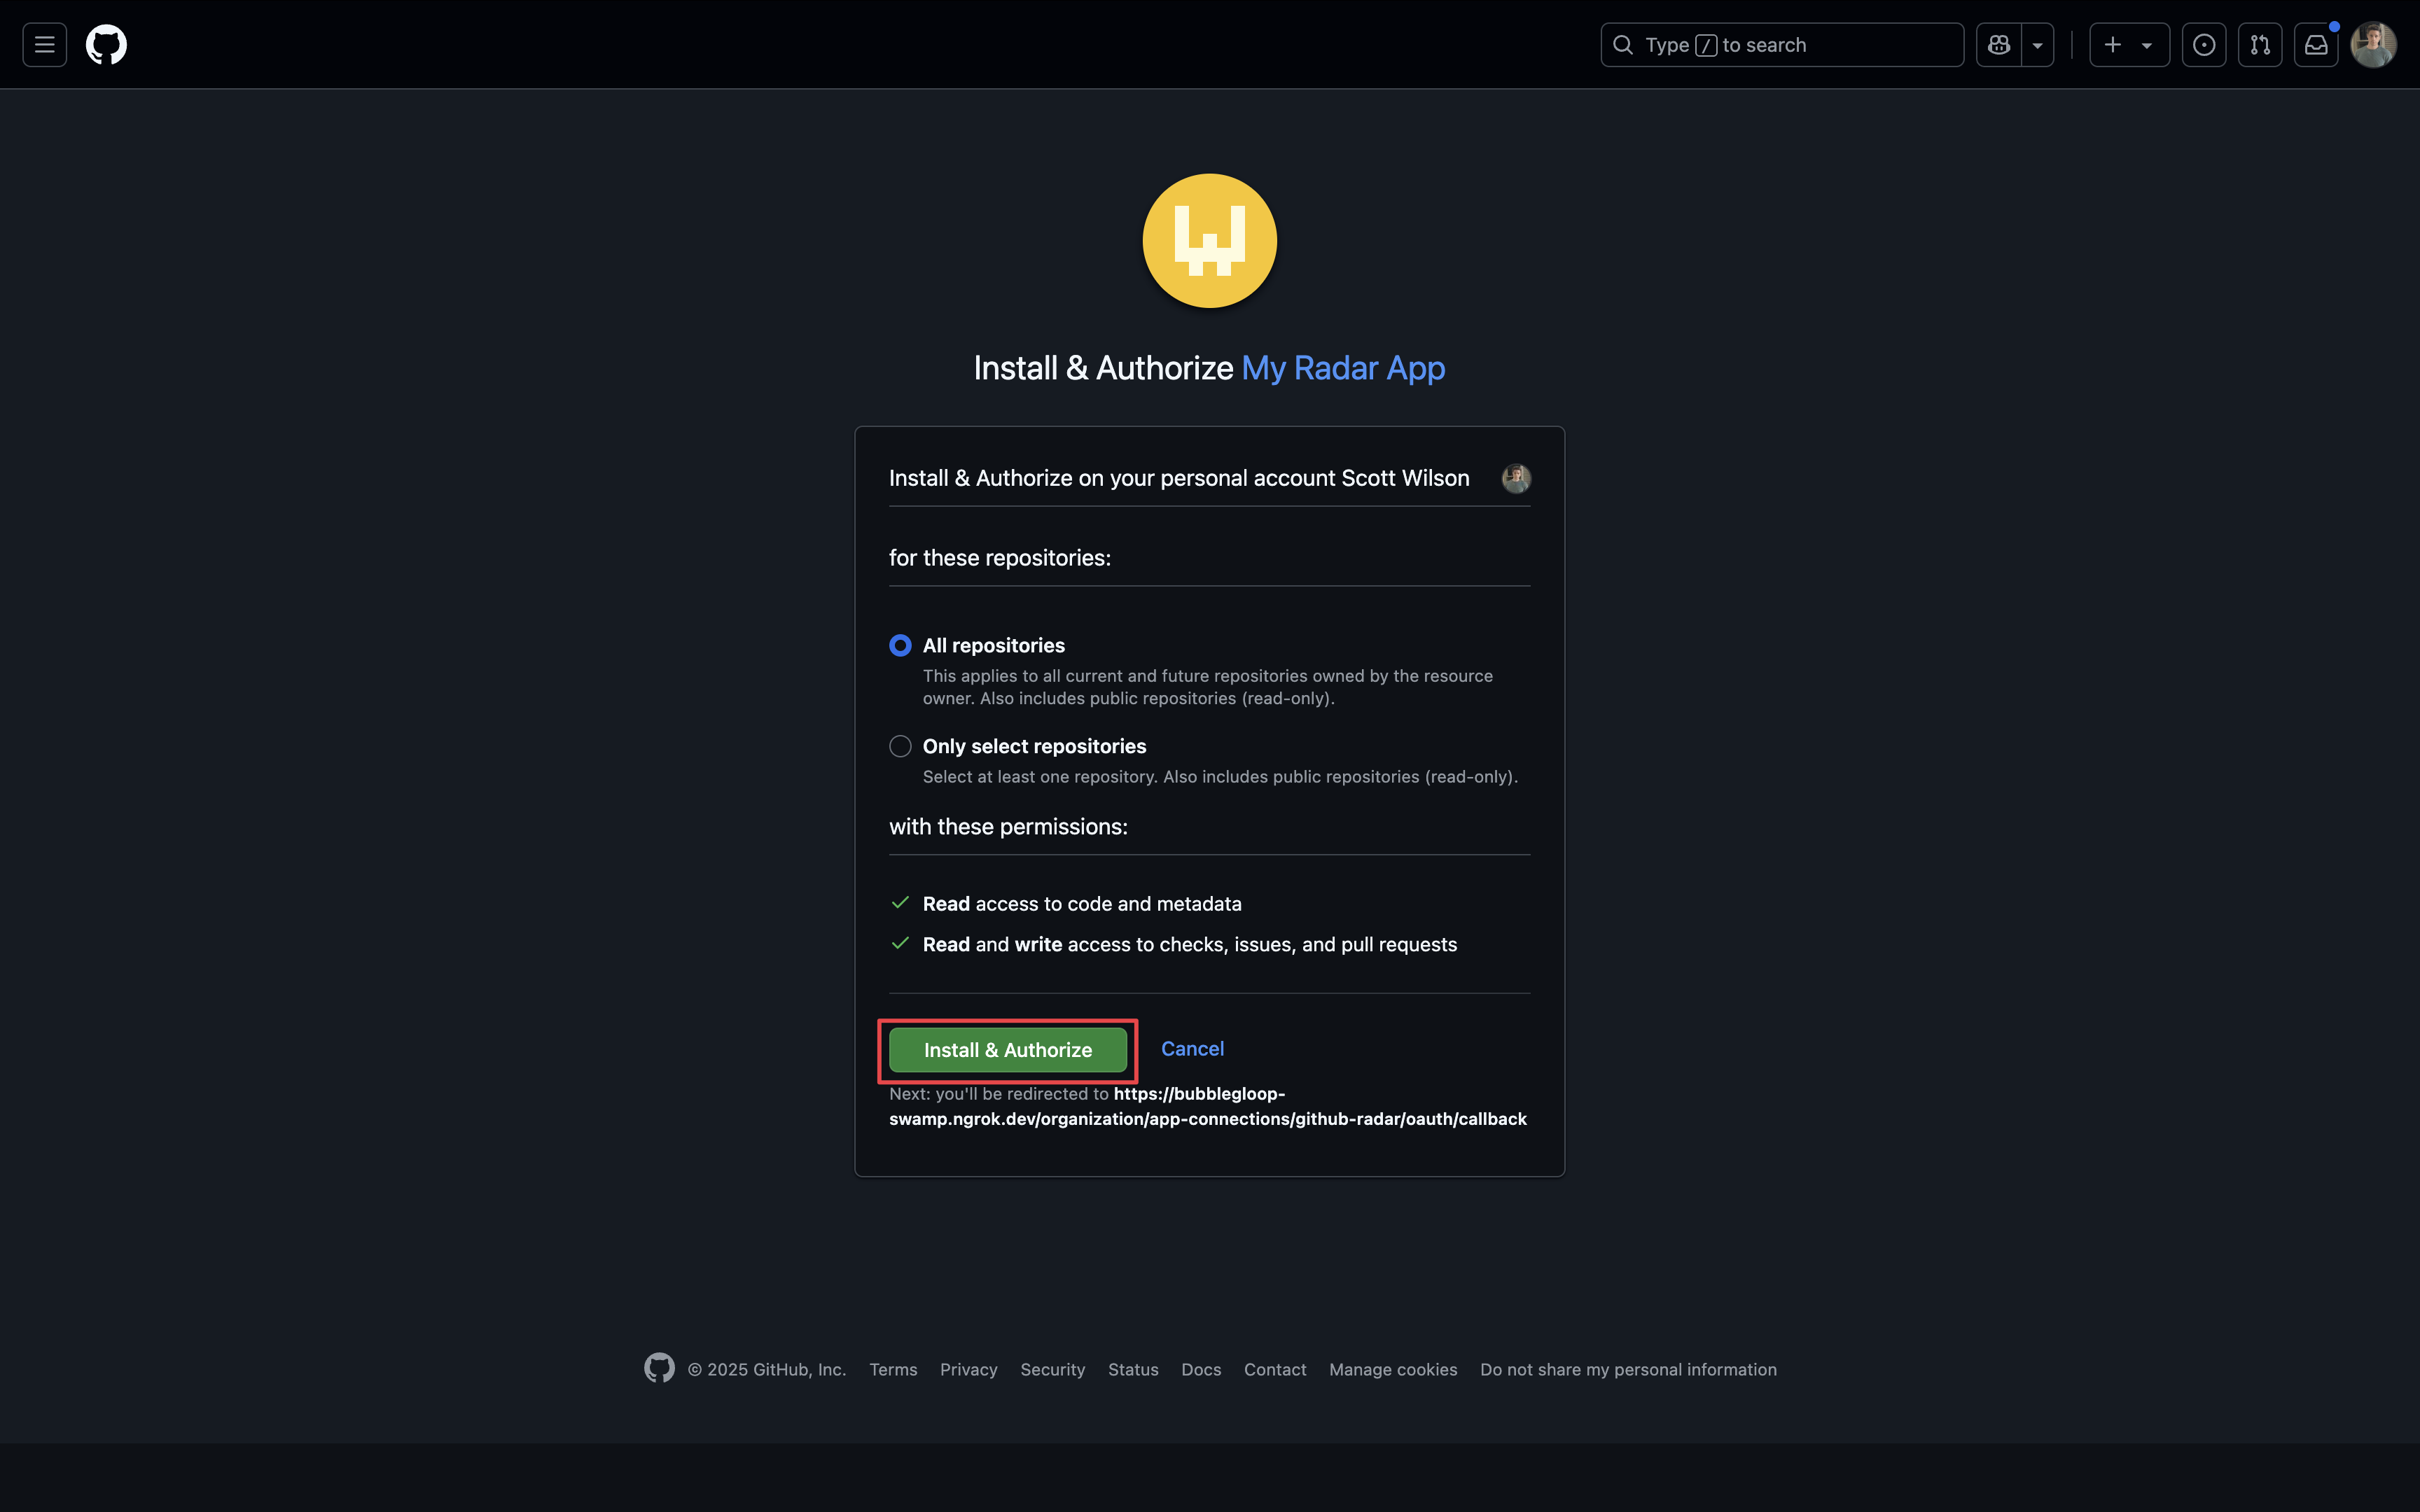
5
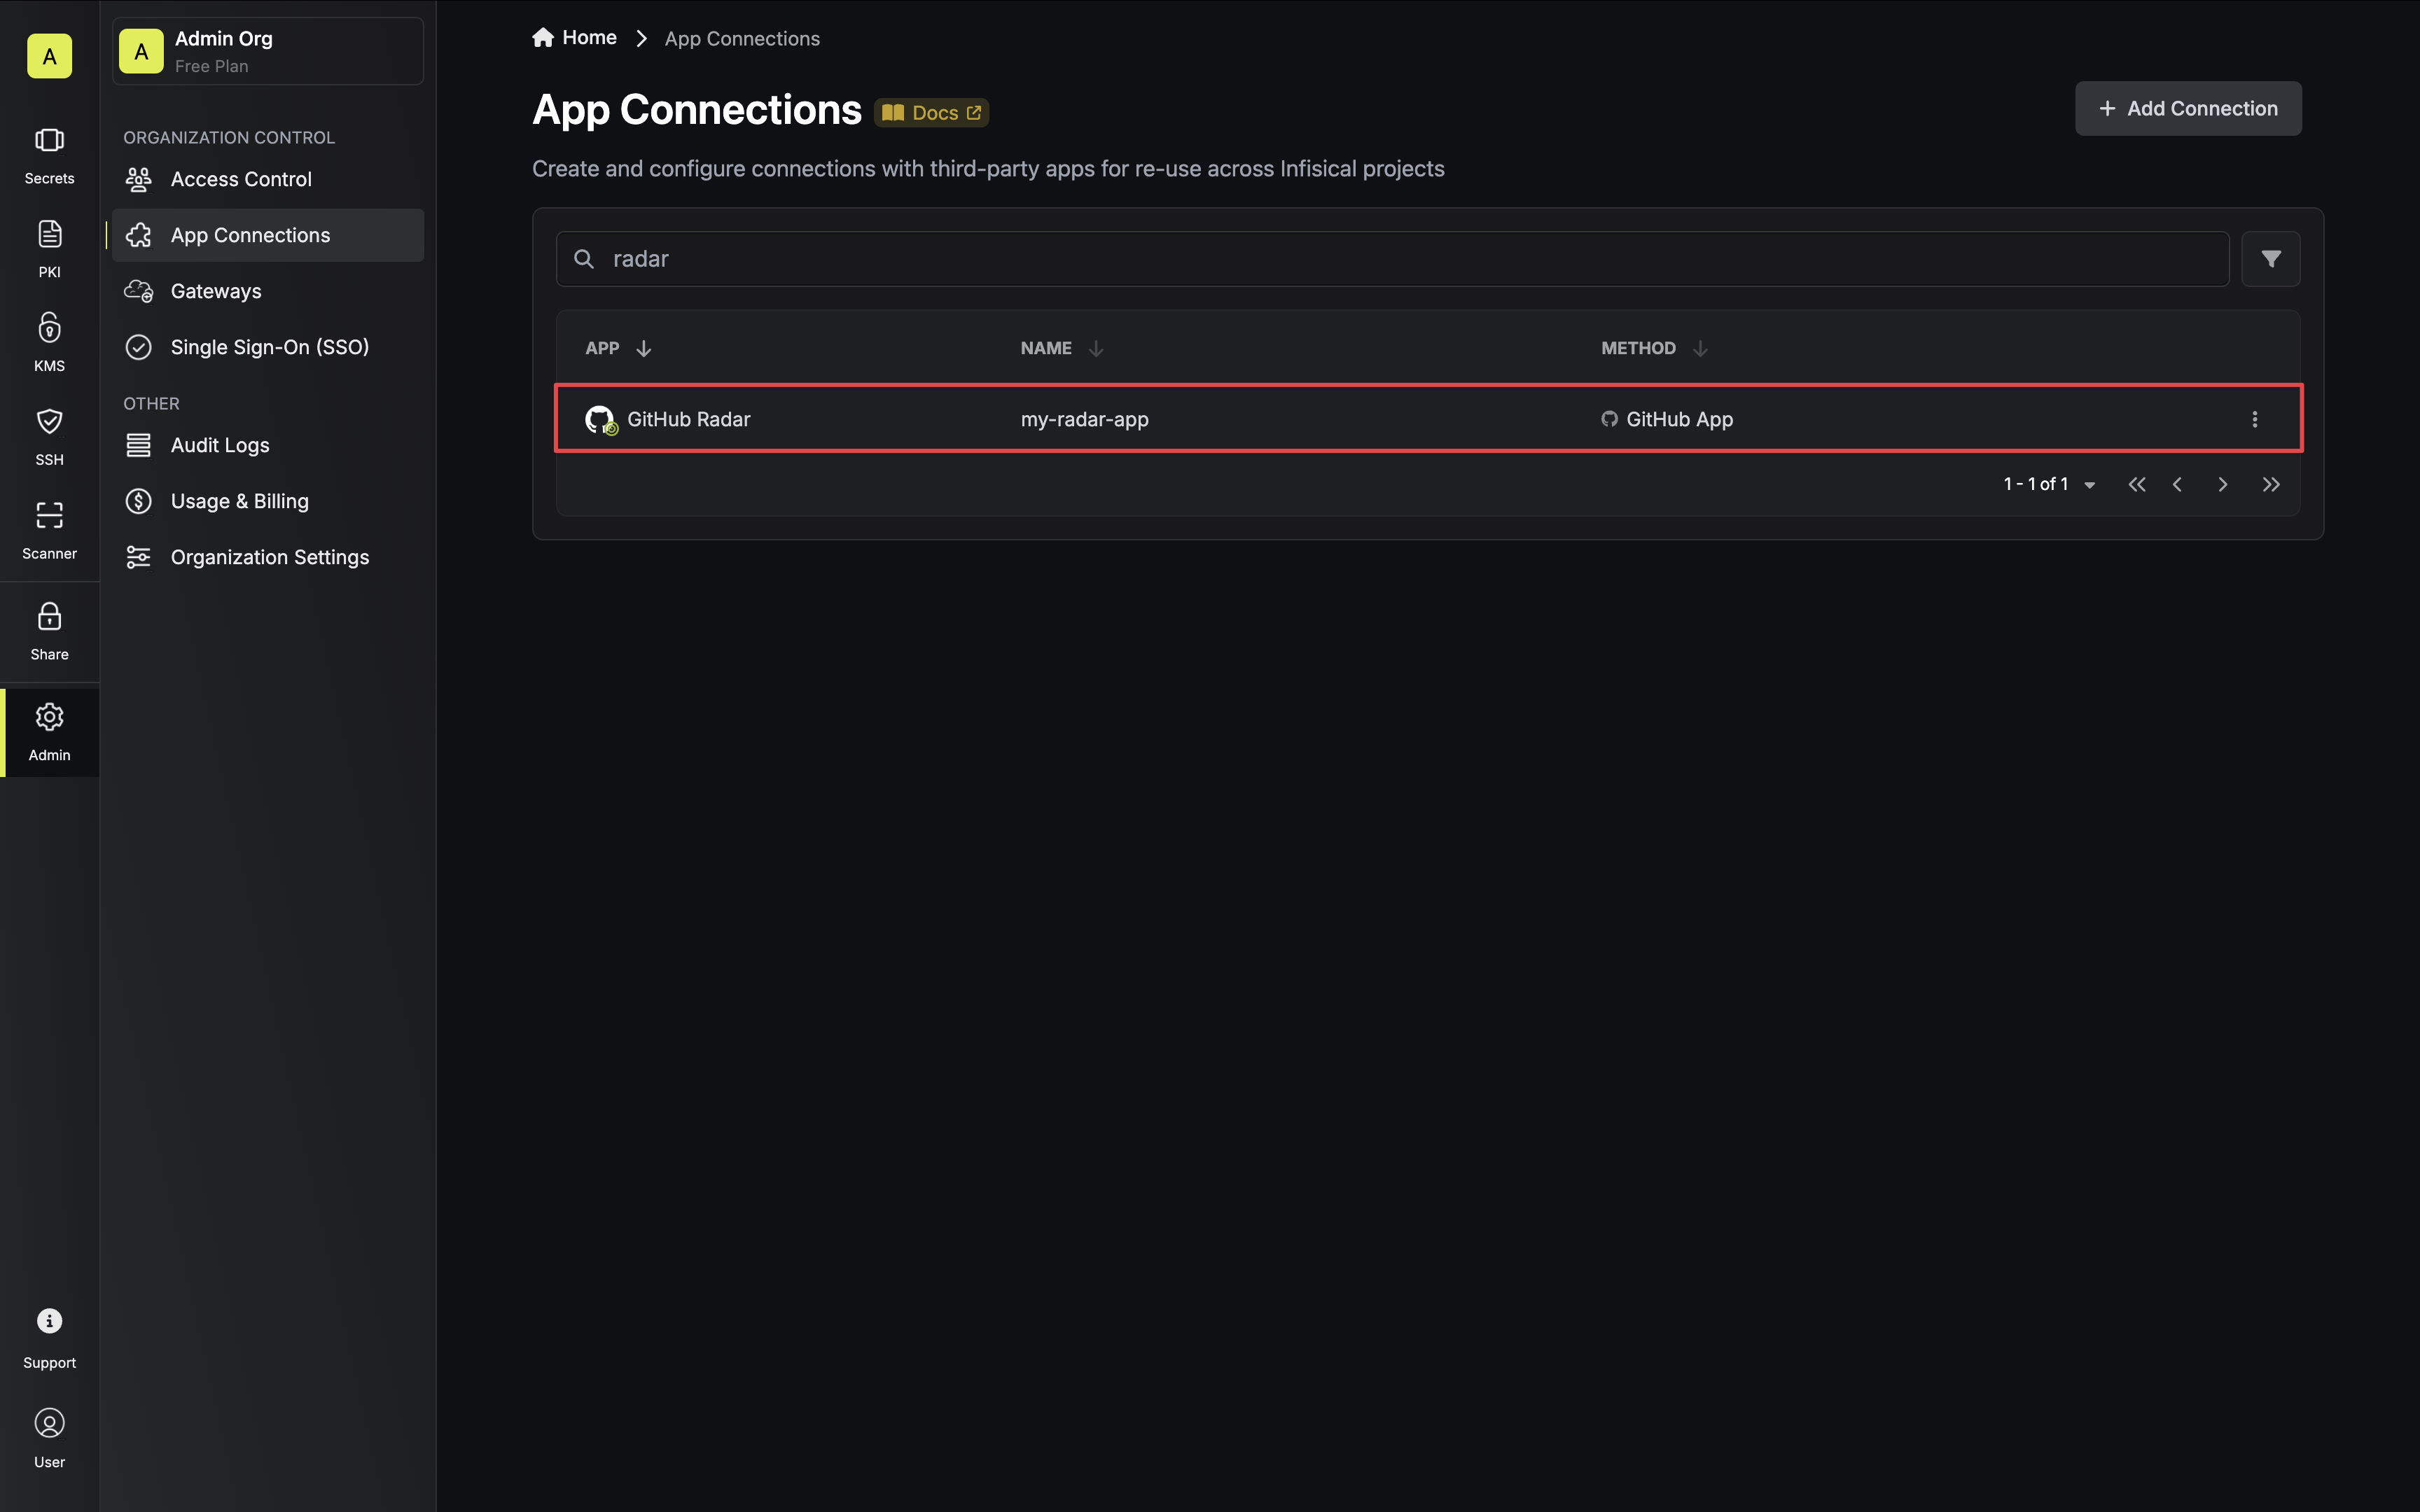
Connection Created
Your GitHub Radar Connection is now available for use.