 This guide will go over the steps needed to access secrets stored in Infisical from Amazon Elastic Container Service (ECS).
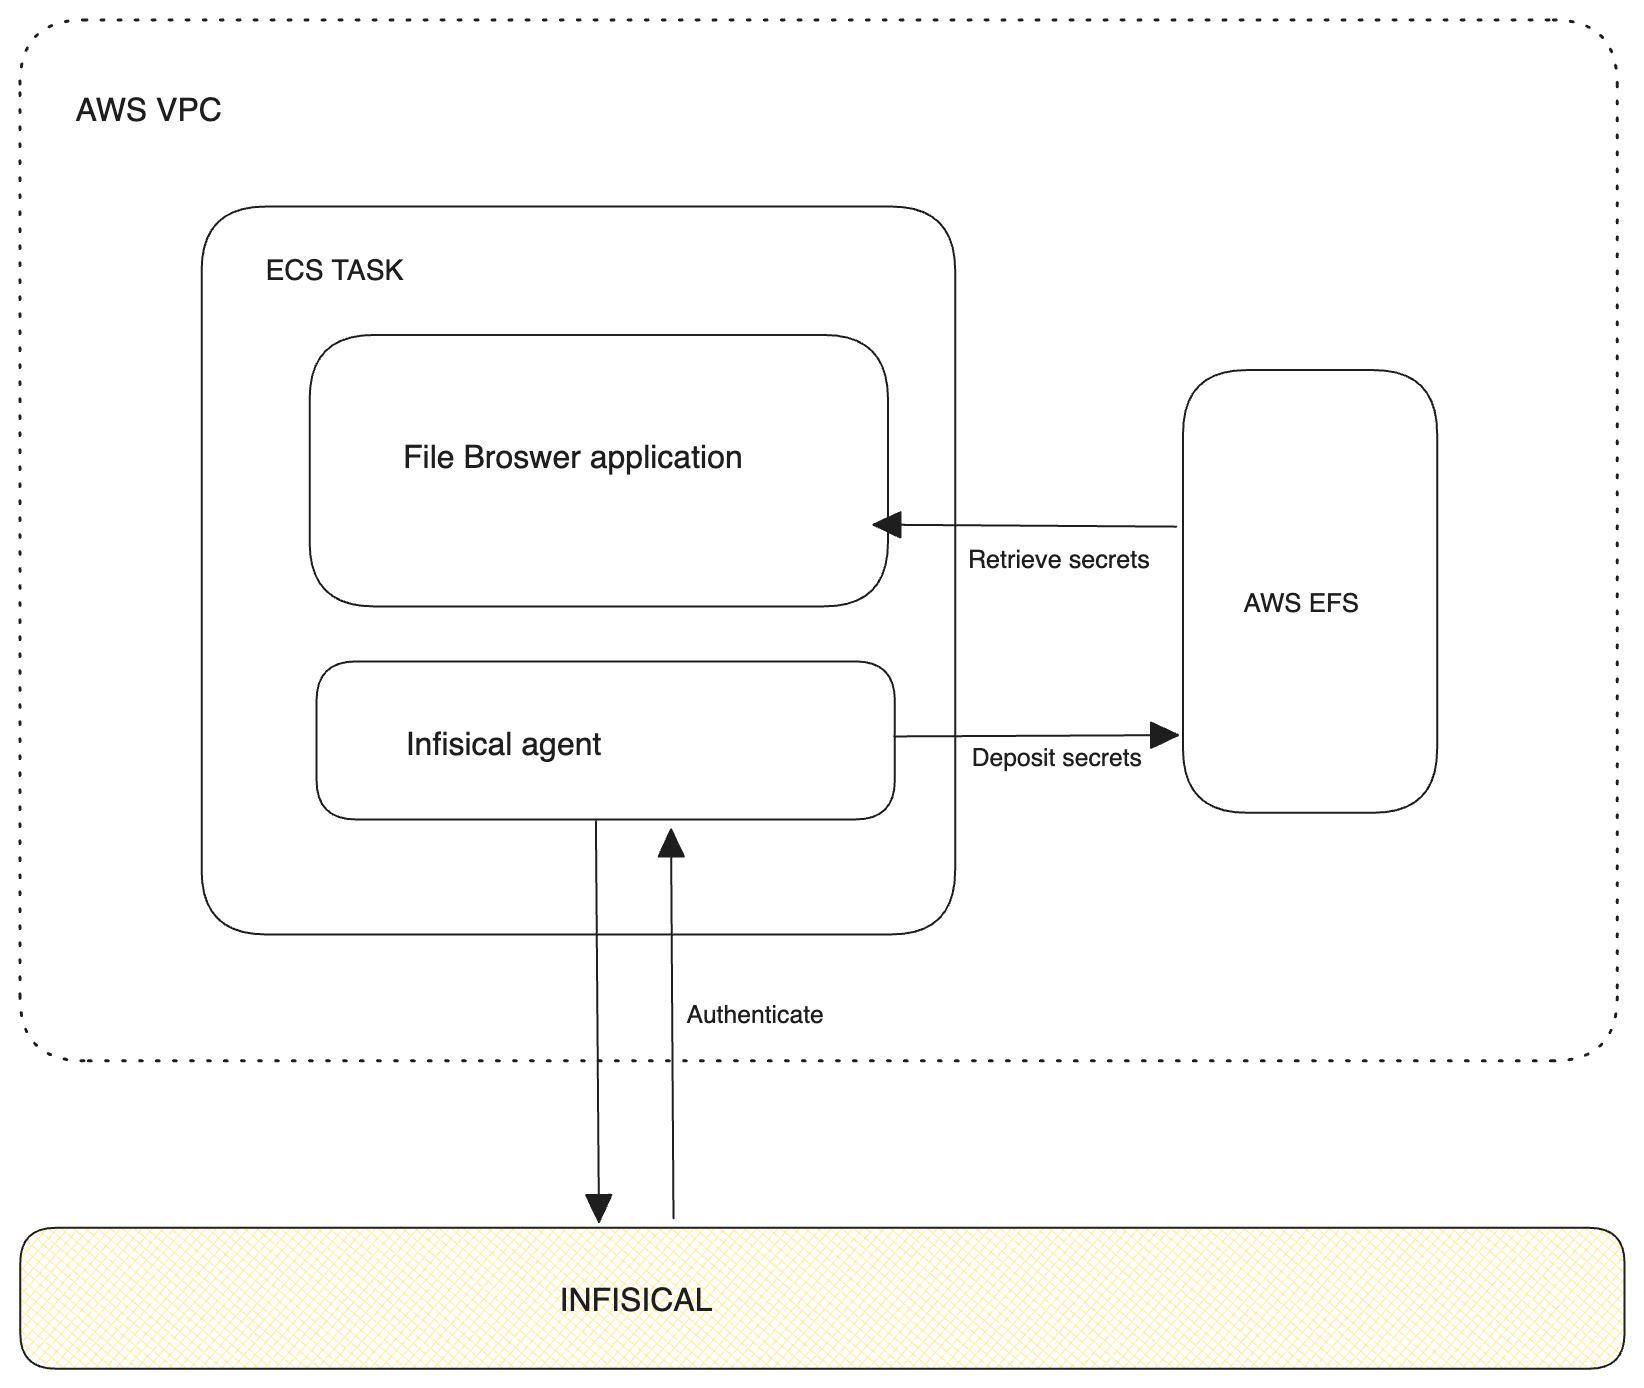
At a high level, the steps involve setting up an ECS task with an Infisical Agent as a sidecar container. This sidecar container uses AWS Auth to authenticate with Infisical to fetch secrets/access tokens.
Once the secrets/access tokens are retrieved, they are then stored in a shared Amazon Elastic File System (EFS) volume. This volume is then made accessible to your application and all of its replicas.
This guide primarily focuses on integrating Infisical Cloud with Amazon ECS on AWS Fargate and Amazon EFS.
However, the principles and steps can be adapted for use with any instance of Infisical (on premise or cloud) and different ECS launch configurations.
This guide will go over the steps needed to access secrets stored in Infisical from Amazon Elastic Container Service (ECS).
At a high level, the steps involve setting up an ECS task with an Infisical Agent as a sidecar container. This sidecar container uses AWS Auth to authenticate with Infisical to fetch secrets/access tokens.
Once the secrets/access tokens are retrieved, they are then stored in a shared Amazon Elastic File System (EFS) volume. This volume is then made accessible to your application and all of its replicas.
This guide primarily focuses on integrating Infisical Cloud with Amazon ECS on AWS Fargate and Amazon EFS.
However, the principles and steps can be adapted for use with any instance of Infisical (on premise or cloud) and different ECS launch configurations.
Prerequisites
This guide requires the following prerequisites:- Infisical account
- Git installed
- Terraform v1.0 or later installed
- Access to AWS credentials
- Understanding of Infisical Agent
What we will deploy
For this demonstration, we’ll deploy the File Browser application on our ECS cluster. Although this guide focuses on File Browser, the principles outlined here can be applied to any application of your choice. File Browser plays a key role in this context because it enables us to view all files attached to a specific volume. This feature is important for our demonstration, as it allows us to verify whether the Infisical agent is depositing the expected files into the designated file volume and if those files are accessible to the application.Configure Authentication with Infisical
In order for the Infisical agent to fetch credentials from Infisical, we’ll first need to authenticate with Infisical. Follow the documentation to configure a machine identity with AWS Auth here. Take note of the Machine Identity ID as you will be needing this in the preceding steps.Clone guide assets repository
To help you quickly deploy the example application, please clone the guide assets from this Github repository. This repository contains assets for all Infisical guides. The content for this guide can be found within a sub directory calledaws-ecs-with-agent.
The guide will assume that aws-ecs-with-agent is your working directory going forward.
Deploy example application
Before we can deploy our full application and its related infrastructure with Terraform, we’ll need to first configure our Infisical agent.Agent configuration overview
The agent config file defines what authentication method will be used when connecting with Infisical along with where the fetched secrets/access tokens should be saved to. Since the Infisical agent will be deployed as a sidecar, the agent configuration file will need to be encoded in base64. This encoding step is necessary as it allows the agent configuration file to be added into our Terraform configuration without needing to upload it first.Full agent configuration file
Inside theaws-ecs-with-agent directory, you will find a sample agent-config.yaml file. This agent config file will connect with Infisical Cloud using AWS Auth and deposit access tokens at path /infisical-agent/access-token and render secrets to file /infisical-agent/secrets.
agent-config.yaml
Secret template
The Infisical agent accepts one or more optional templates. If provided, the agent will fetch secrets using the set authentication method and format the fetched secrets according to the given template. Typically, these templates are passed in to the agent configuration file via file reference using thesource-path property but for simplicity we define them inline.
In the agent configuration above, the template defined will transform the secrets from Infisical project with the ID 202f04d7-e4cb-43d4-a292-e893712d61fc, in the dev environment, and secrets located in the path /, into a KEY=VALUE format.
Configure app on terraform
Navigate to theecs.tf file in your preferred code editor. In the container_definitions section, assign the values to the machine_identity_id and agent_config properties.
The agent_config property expects the base64-encoded agent configuration file. In order to get this, we use the base64encode and file functions of HCL.
ecs.tf
infisical-sidecar container below.
templates/ecs/cb_app.json.tpl
mountPoints defined.
This mount point is referencing to the already configured EFS volume as shown below.
containerPath is set to /infisical-agent because that is that the folder we have instructed the agent to deposit the credentials to.
terraform/efs.tf
Configure AWS credentials
Because we’ll be deploying the example file browser application to AWS via Terraform, you will need to obtain a set ofAWS Access Key and Secret Key.
Once you have generated these credentials, export them to your terminal.
-
Export the AWS Access Key ID:
-
Export the AWS Secret Access Key:
Deploy terraform configuration
With the agent’s sidecar configuration complete, we can now deploy our changes to AWS via Terraform.- Change your directory to
terraform
- Initialize Terraform
- Preview resources that will be created
- Trigger resource creation
Verify secrets/tokens in EFS volume
To verify that the agent is depositing access tokens and rendering secrets to the paths specified in the agent config, navigate to the web address from the previous step. Once you visit the address, you’ll be prompted to login. Enter the credentials shown below.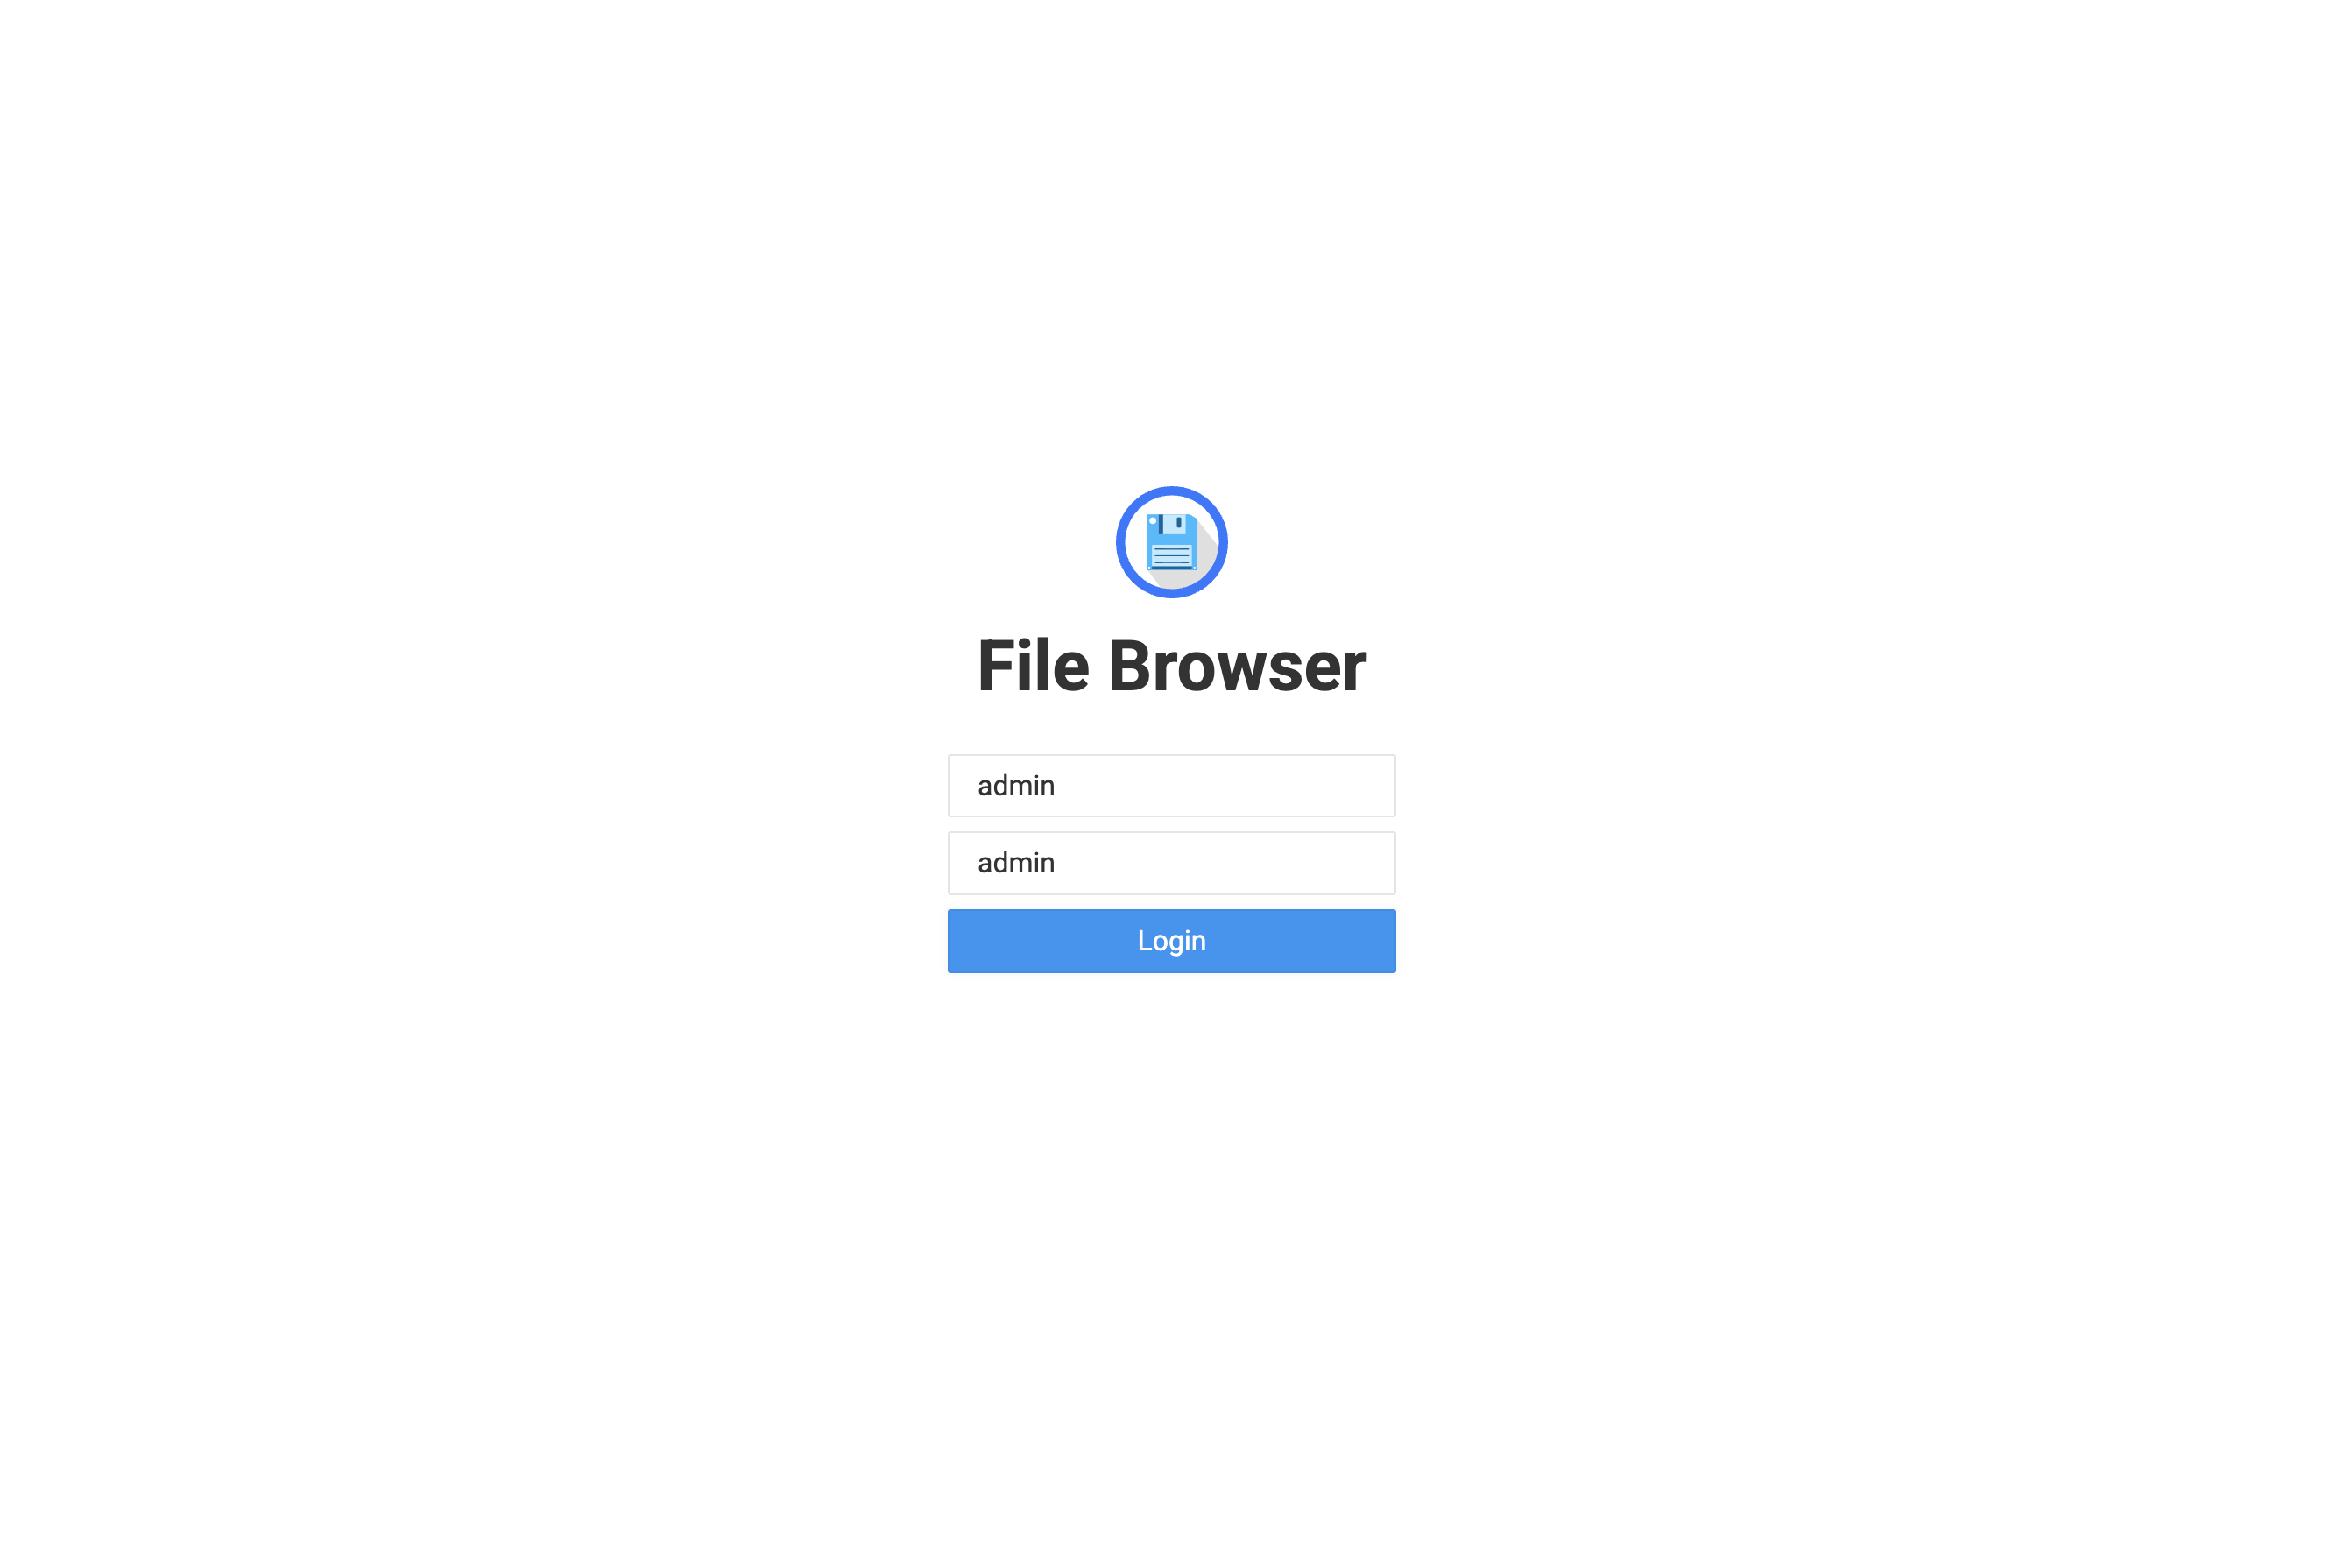 Since our EFS volume is mounted to the path of the file browser application, we should see the access token and rendered secret file we defined via the agent config file.
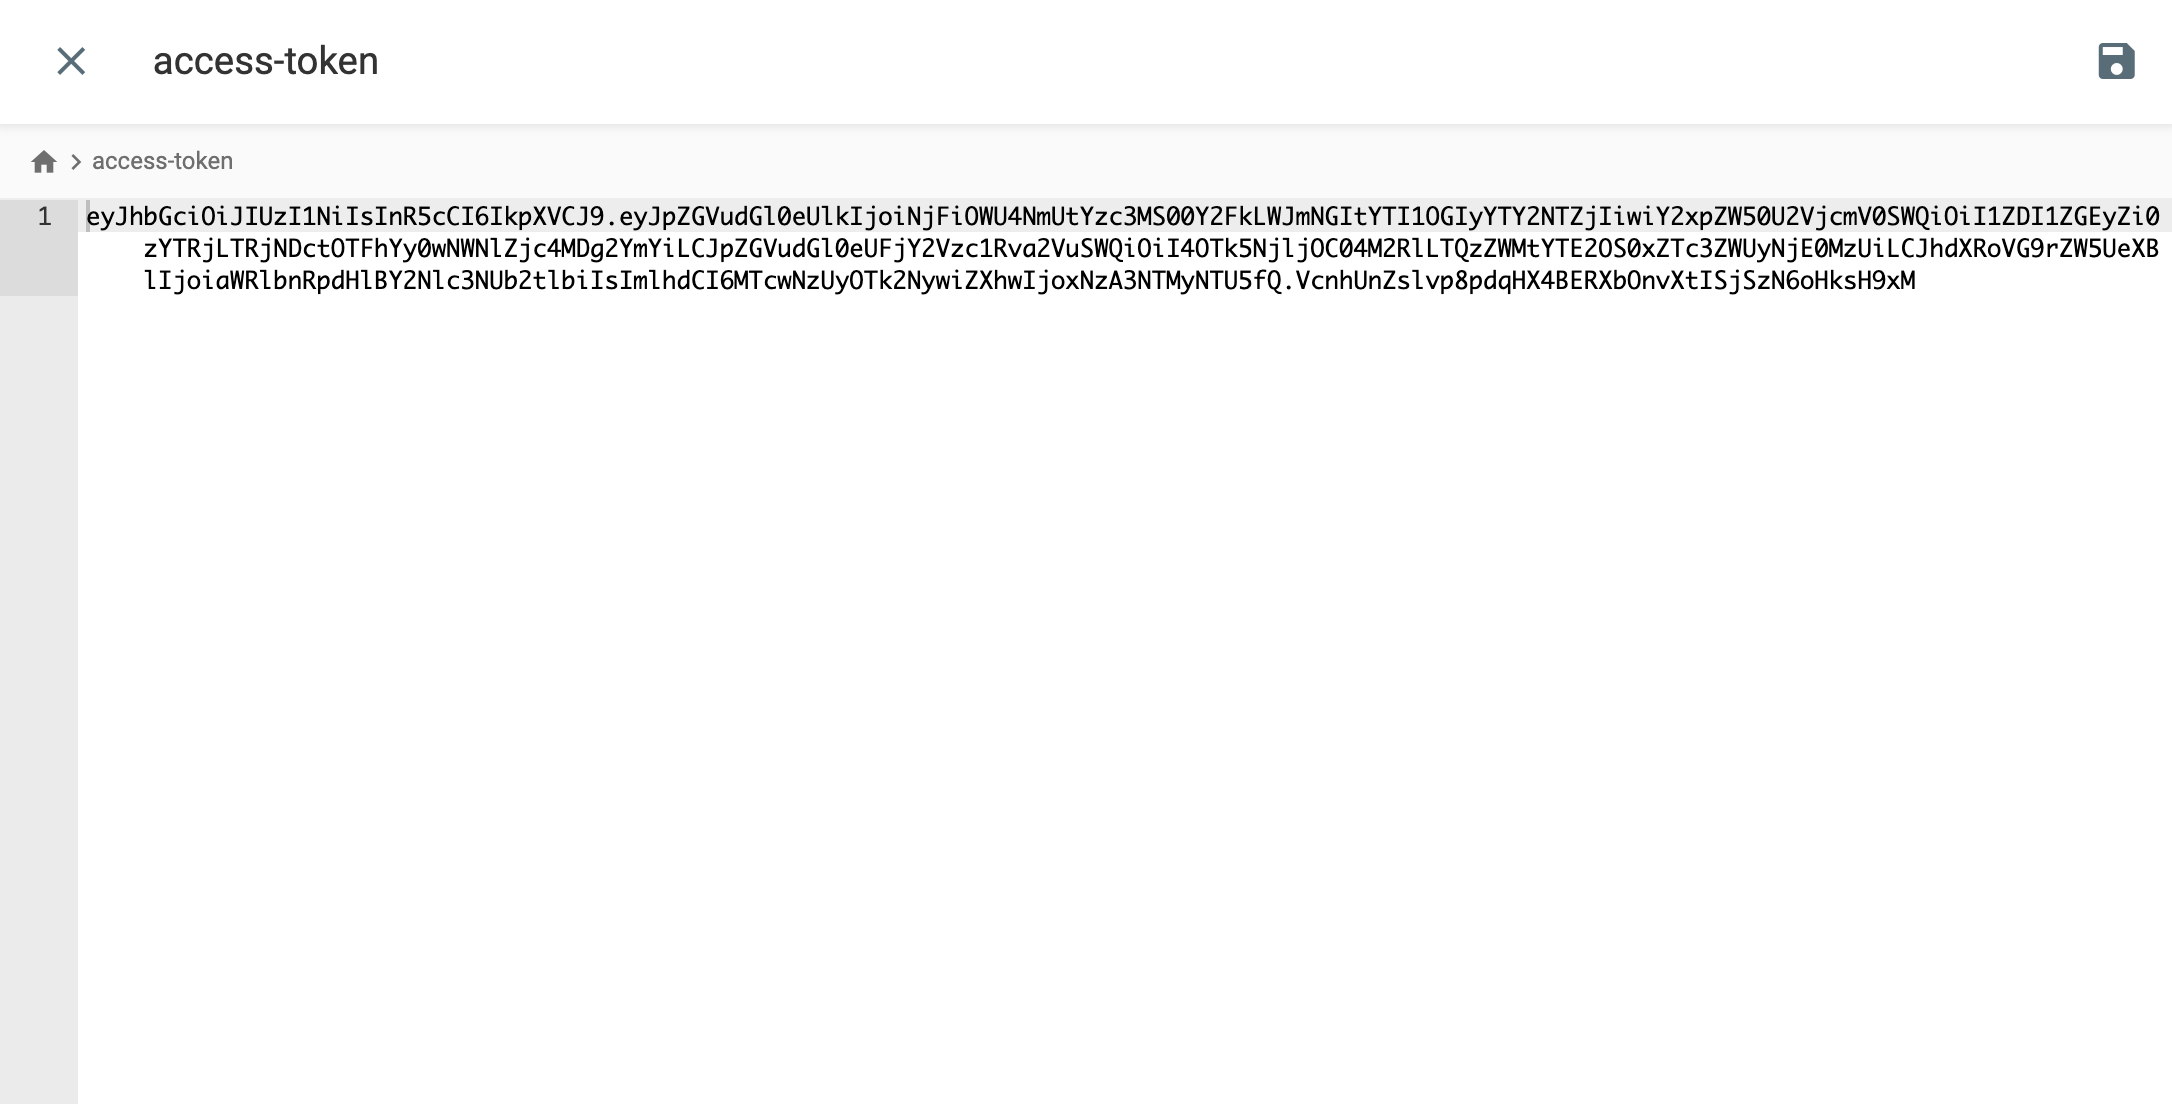
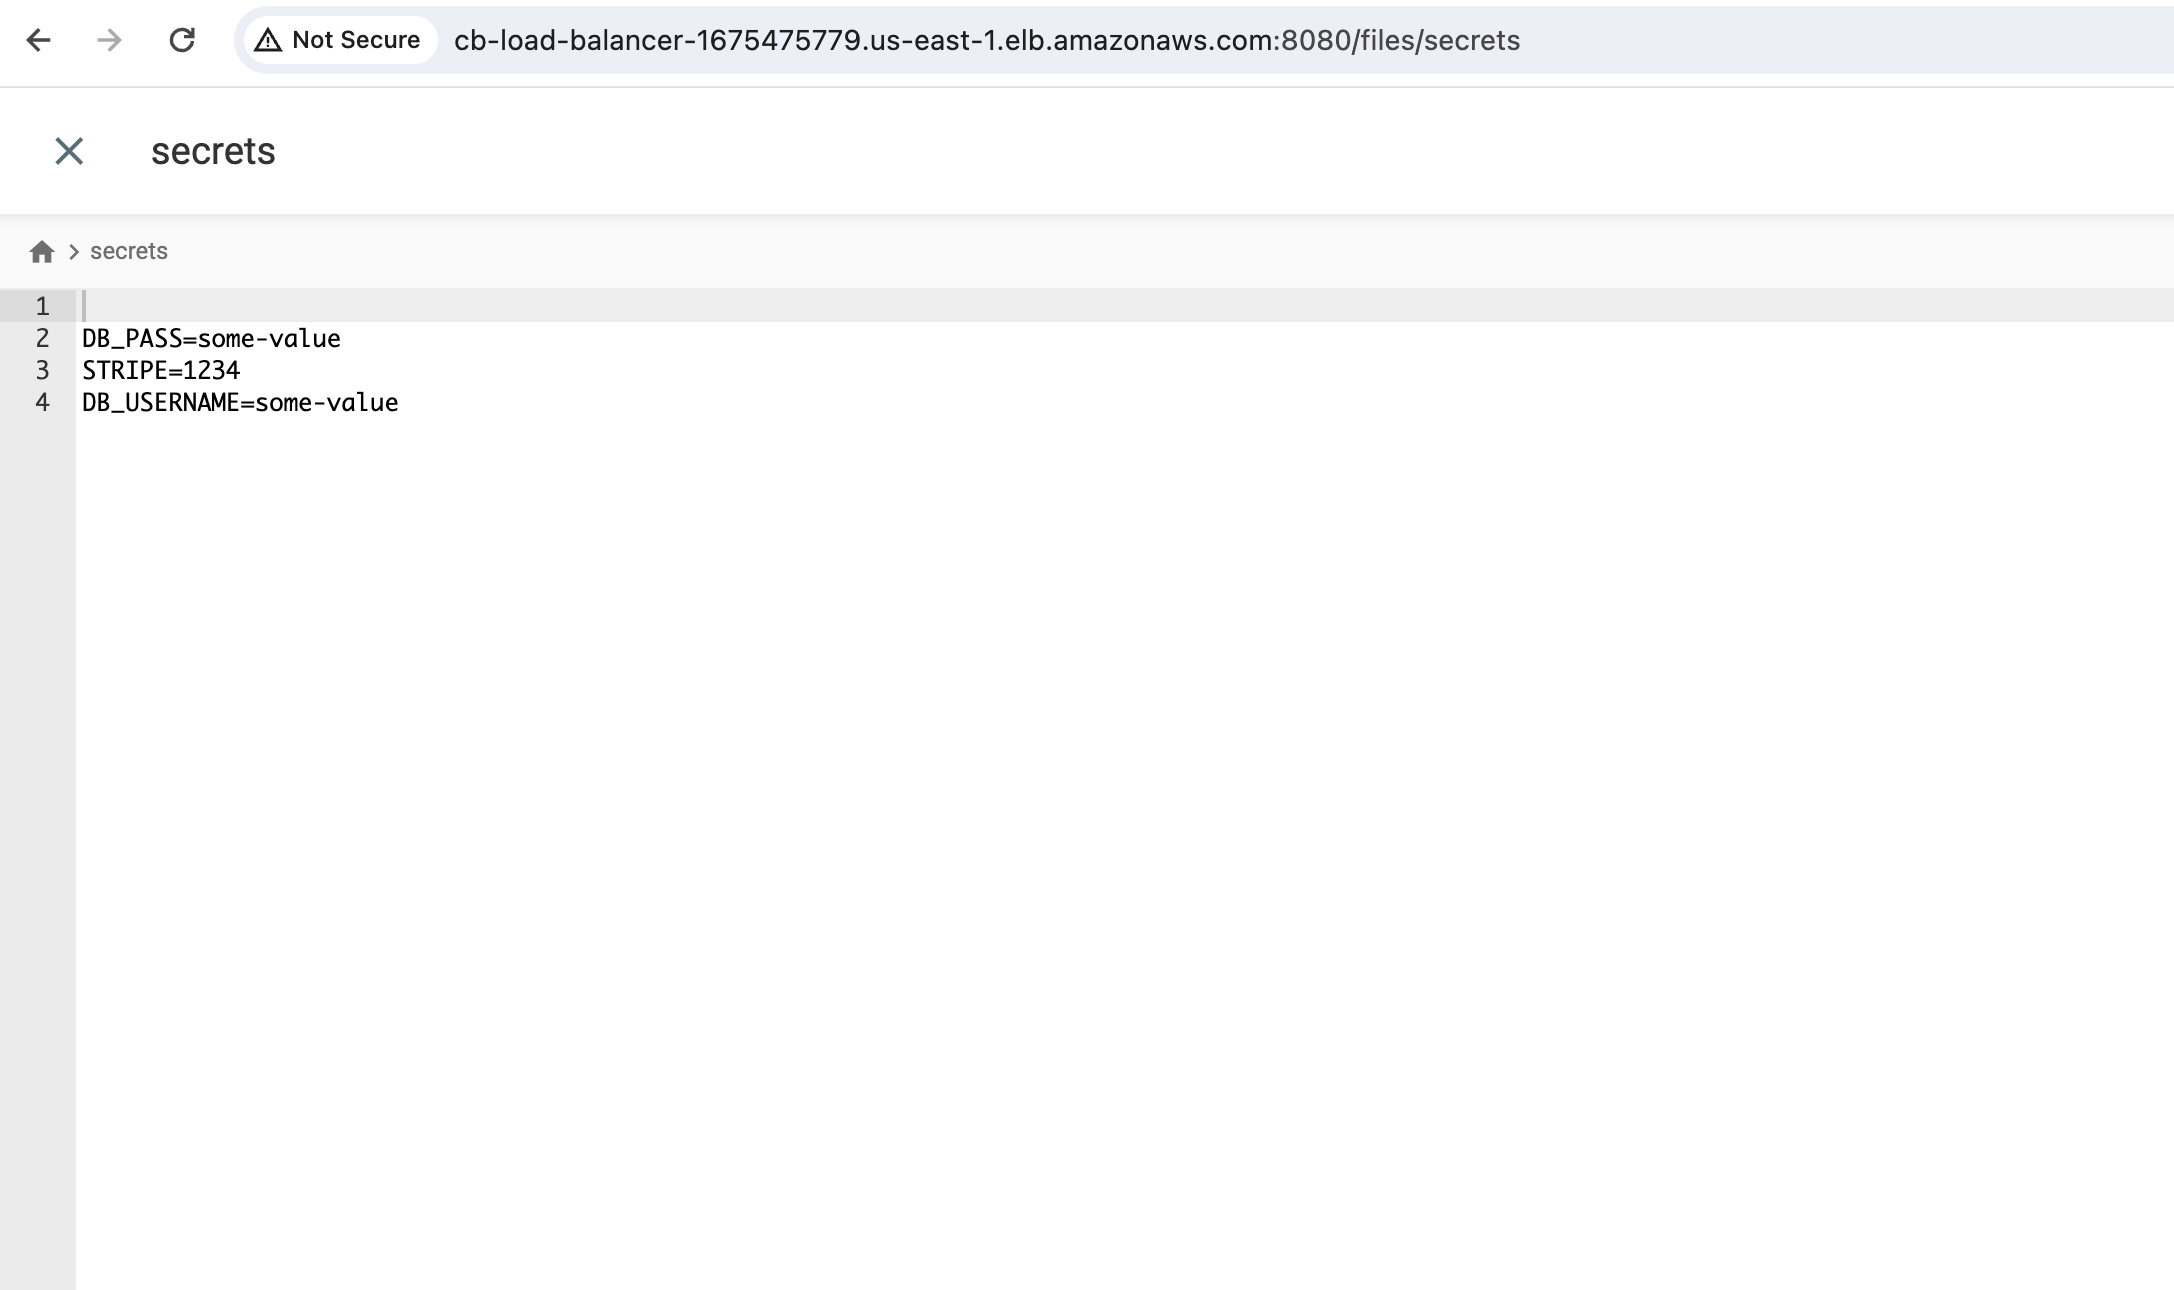
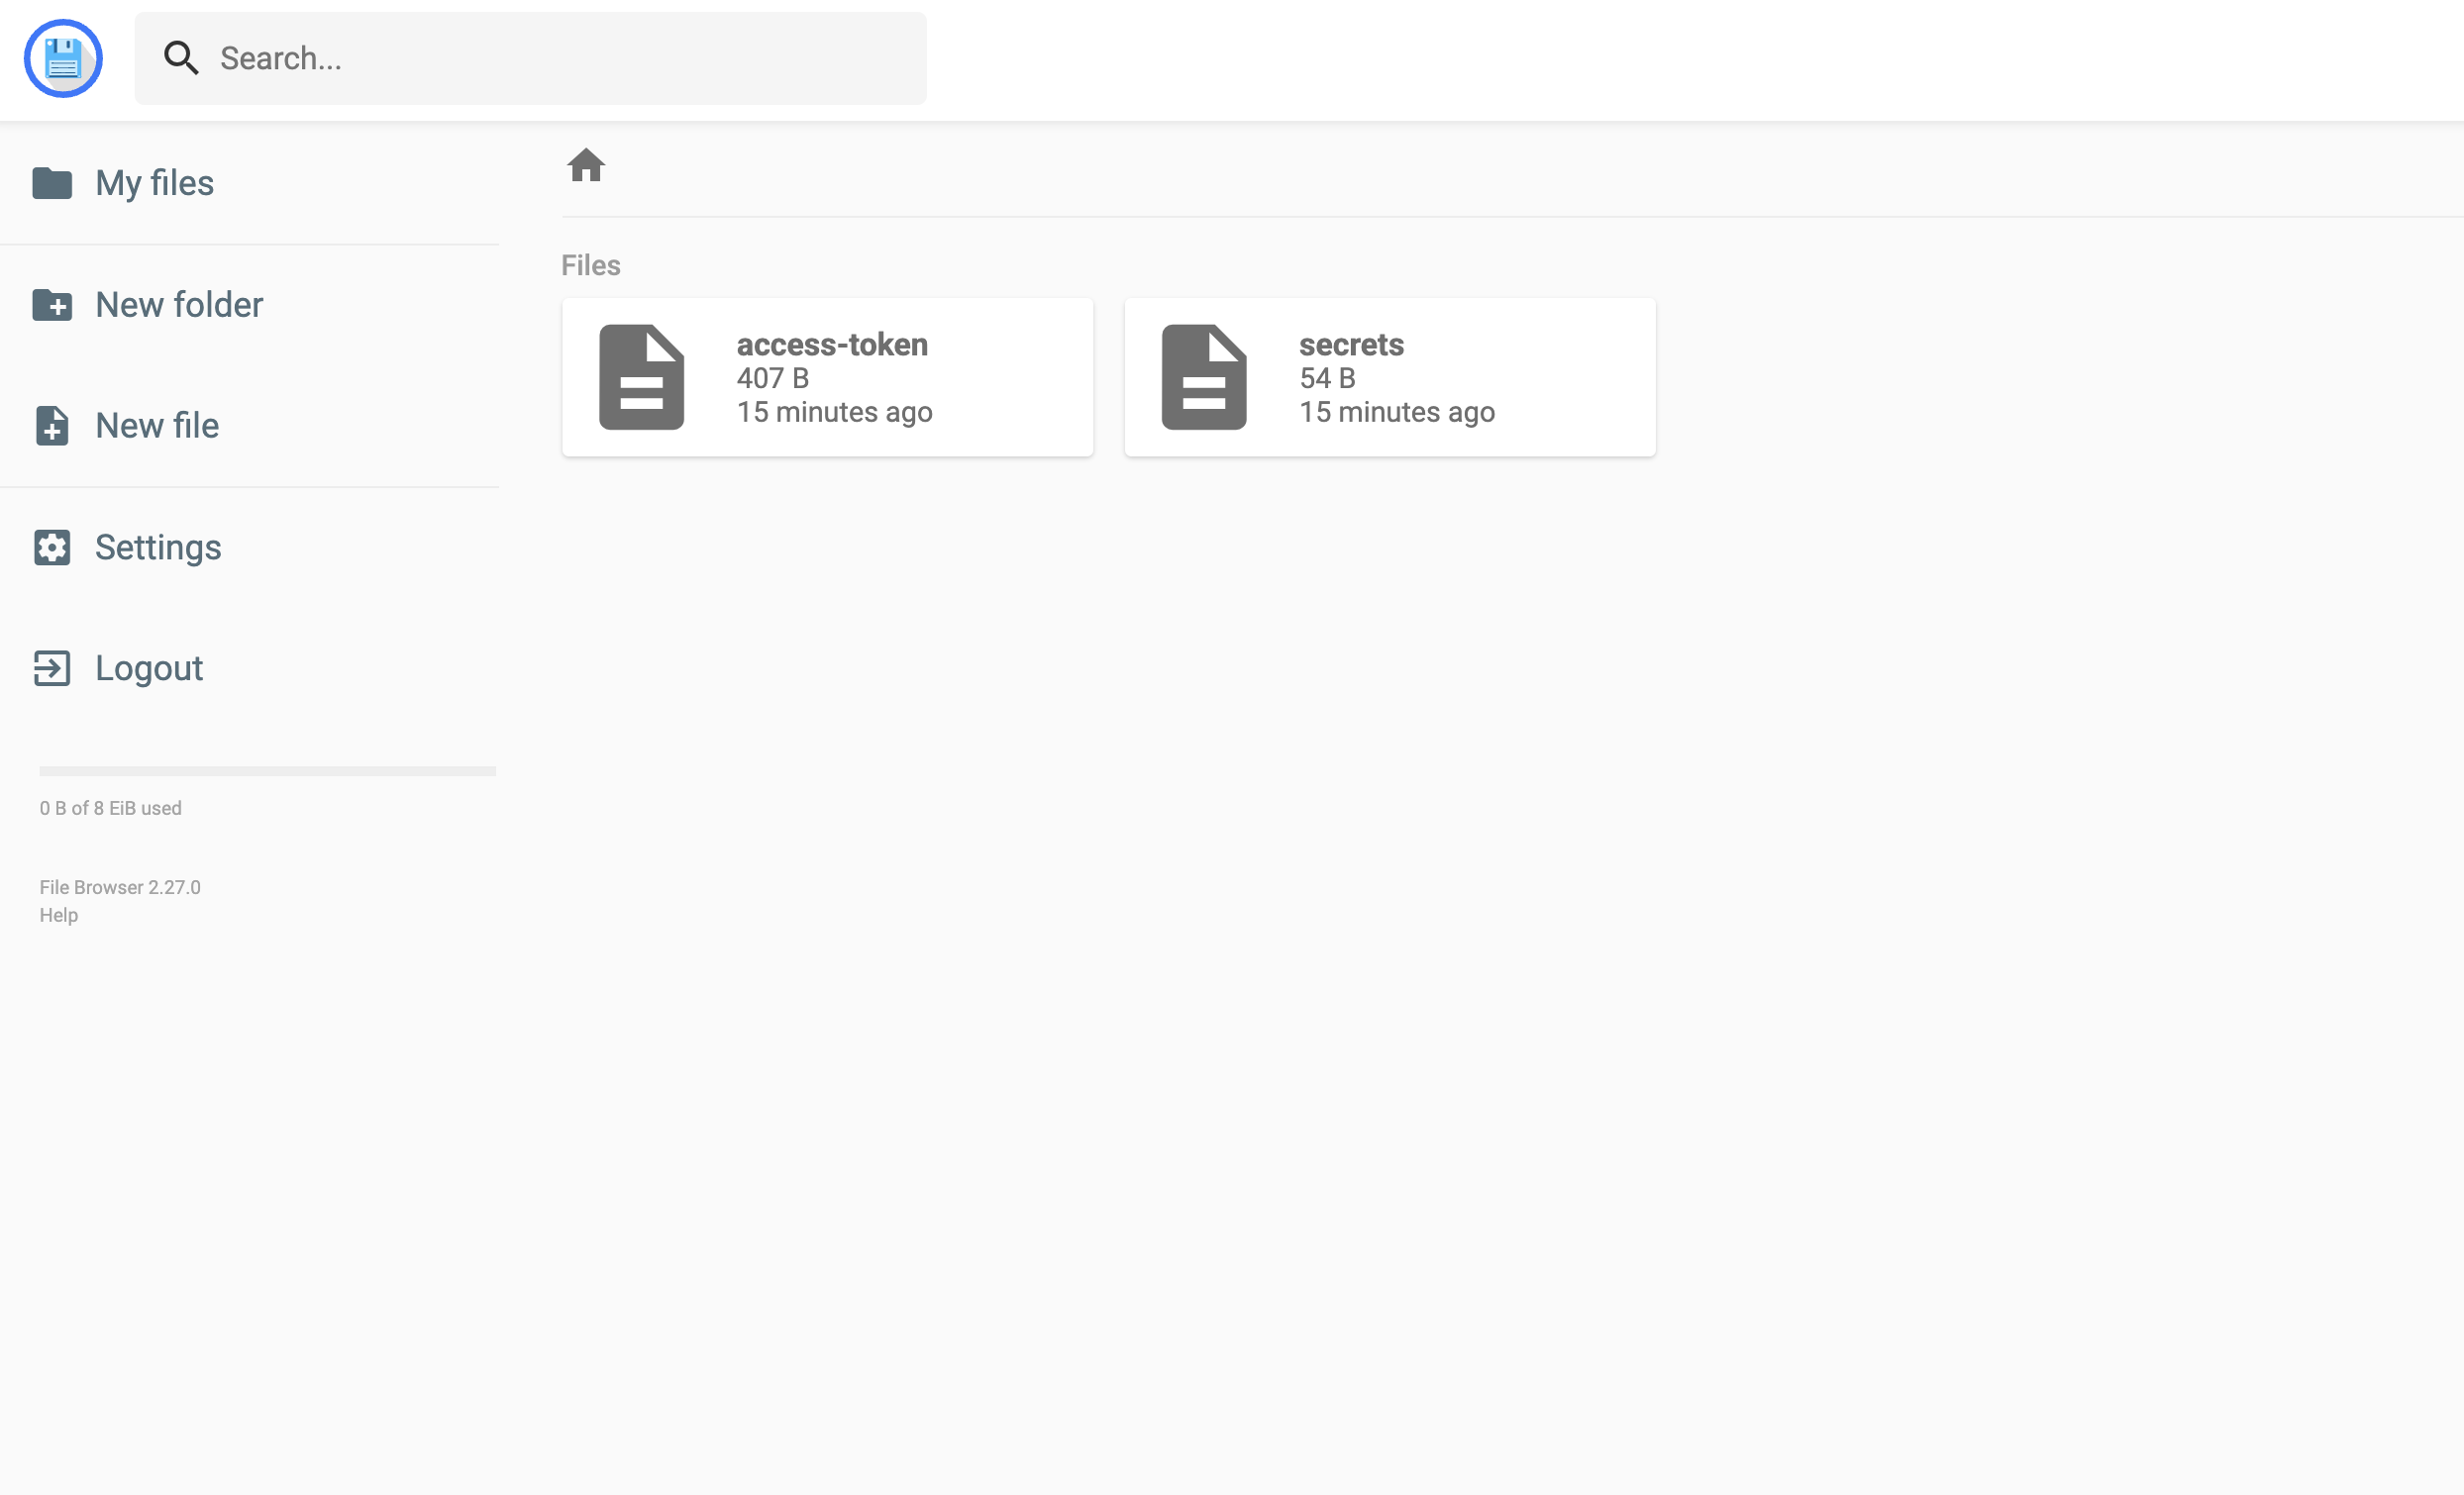 As expected, two files are present:
 access-token and secrets.
The access-token file should hold a valid Bearer token, which can be used to make HTTP requests to Infisical.
The secrets file should contain secrets, formatted according to the specifications in our secret template file (presented in key=value format).