Prerequisites
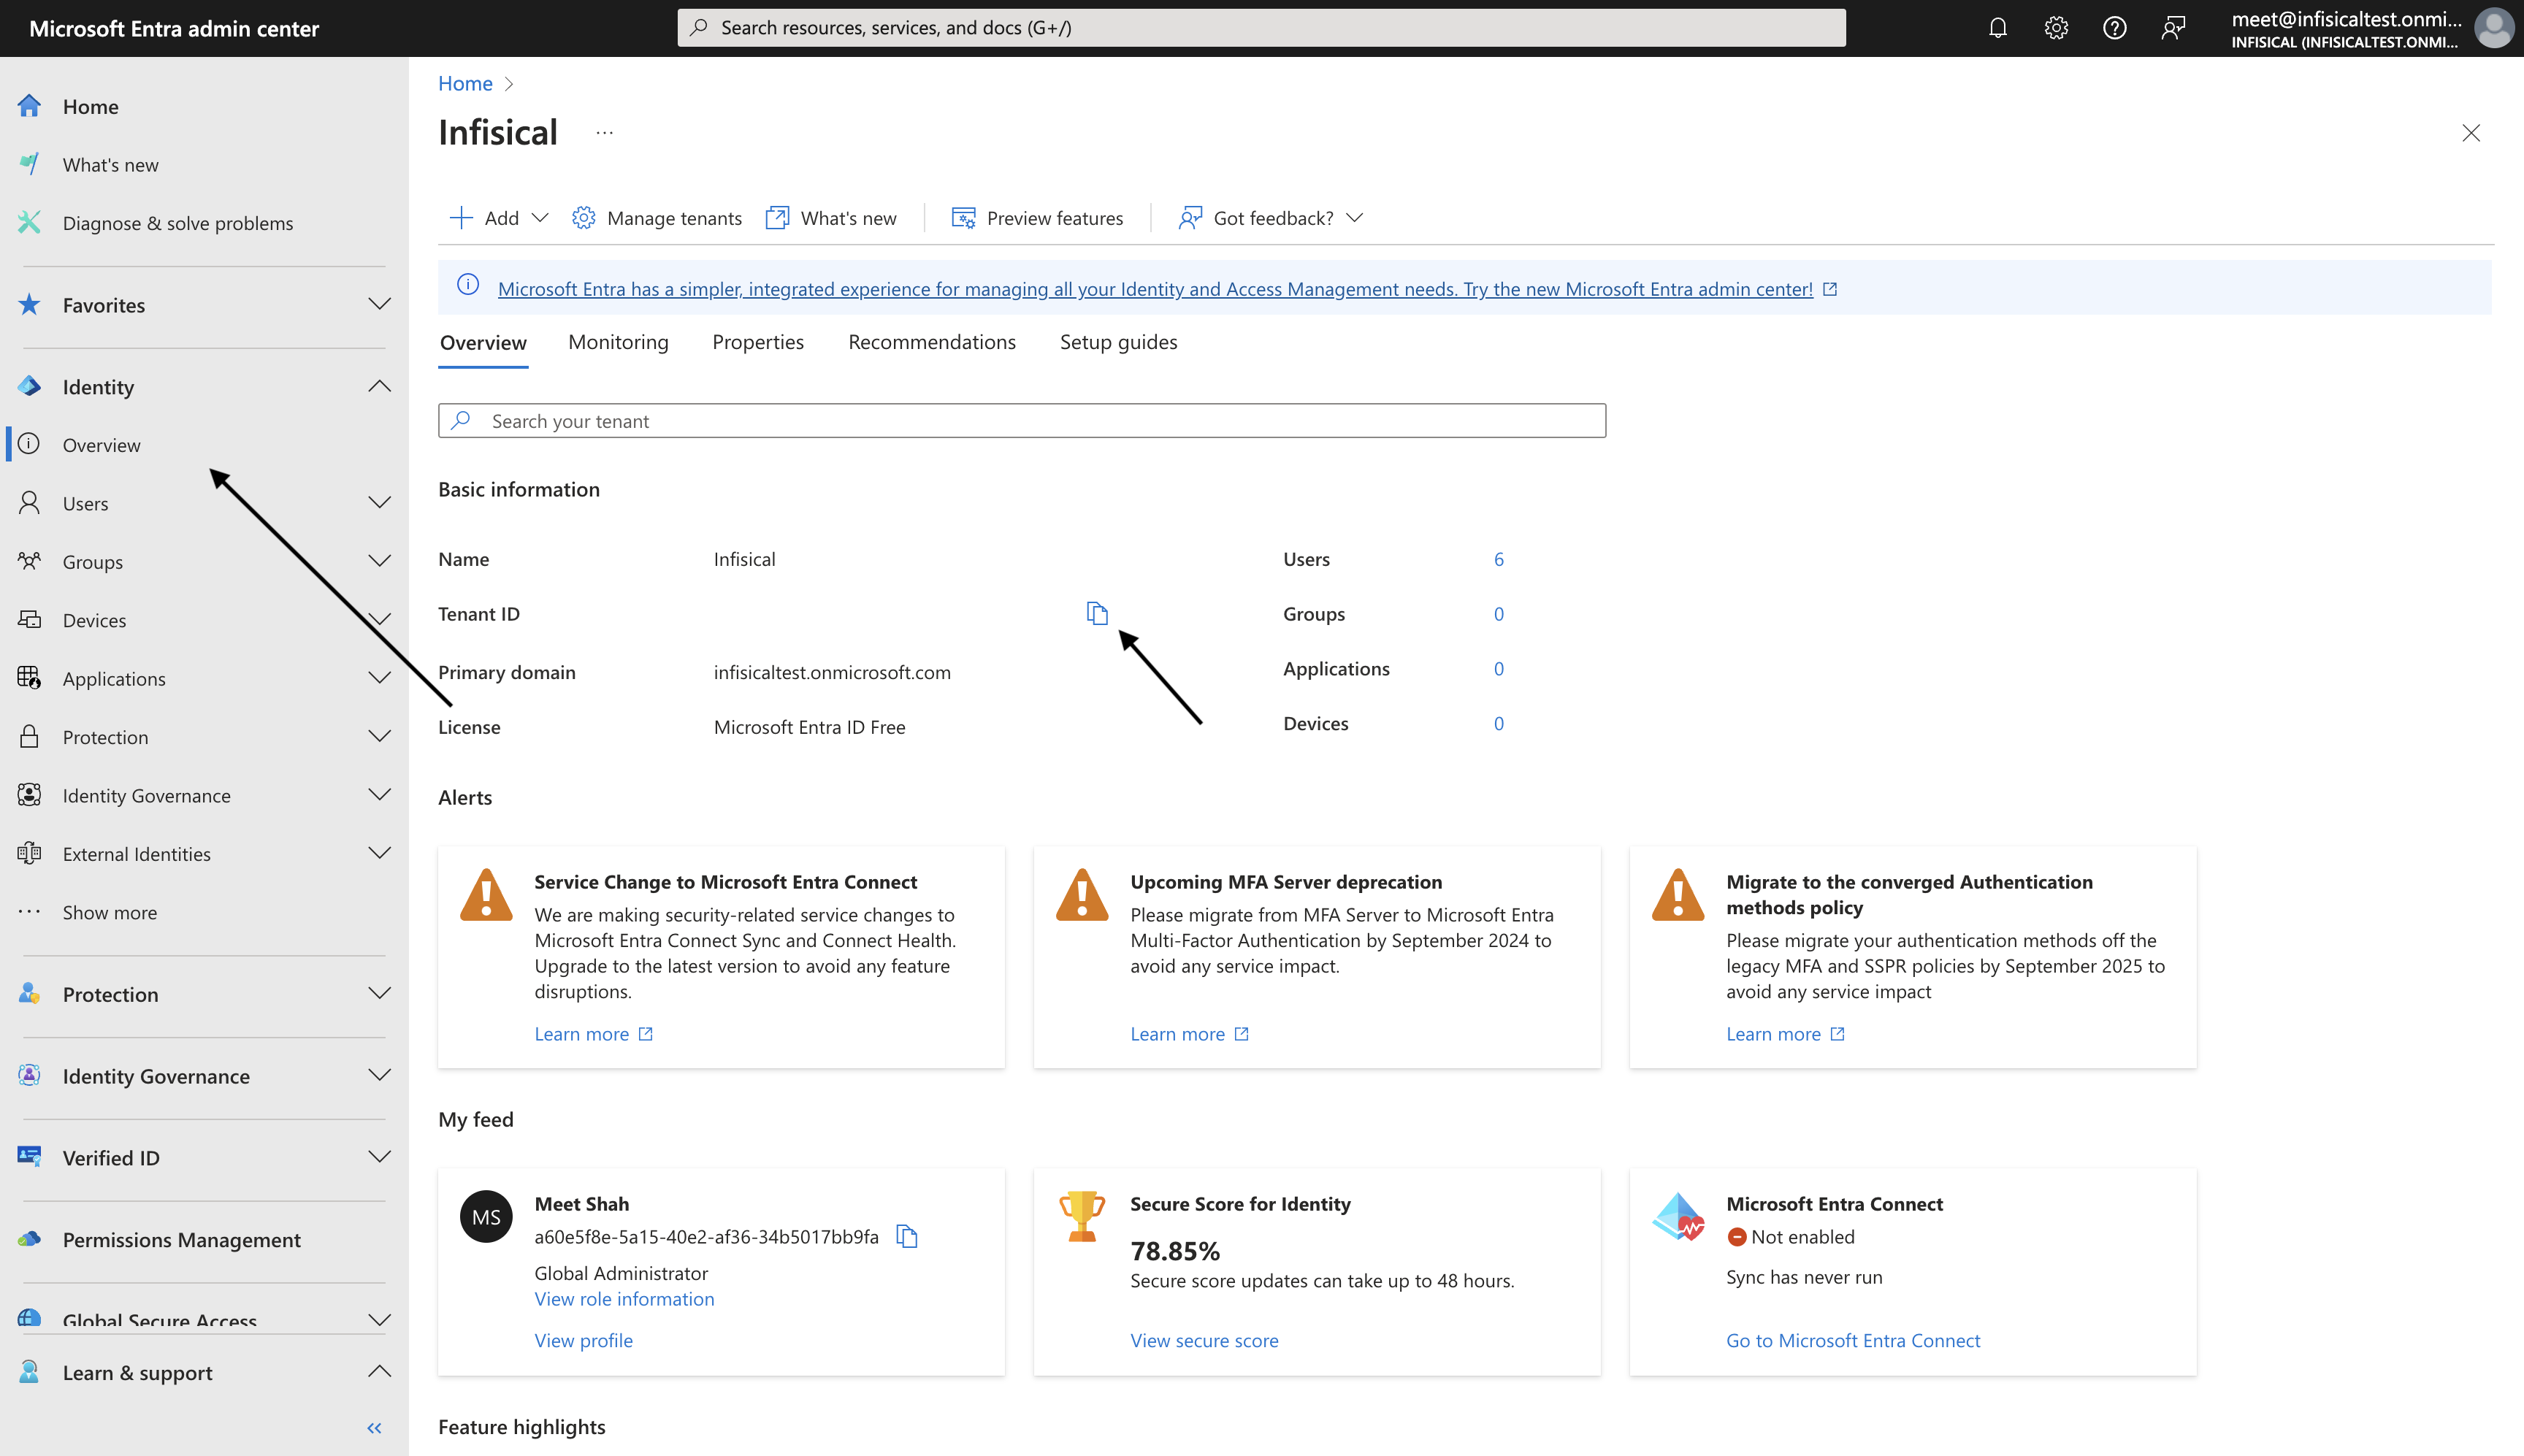
Login to Microsoft Entra ID
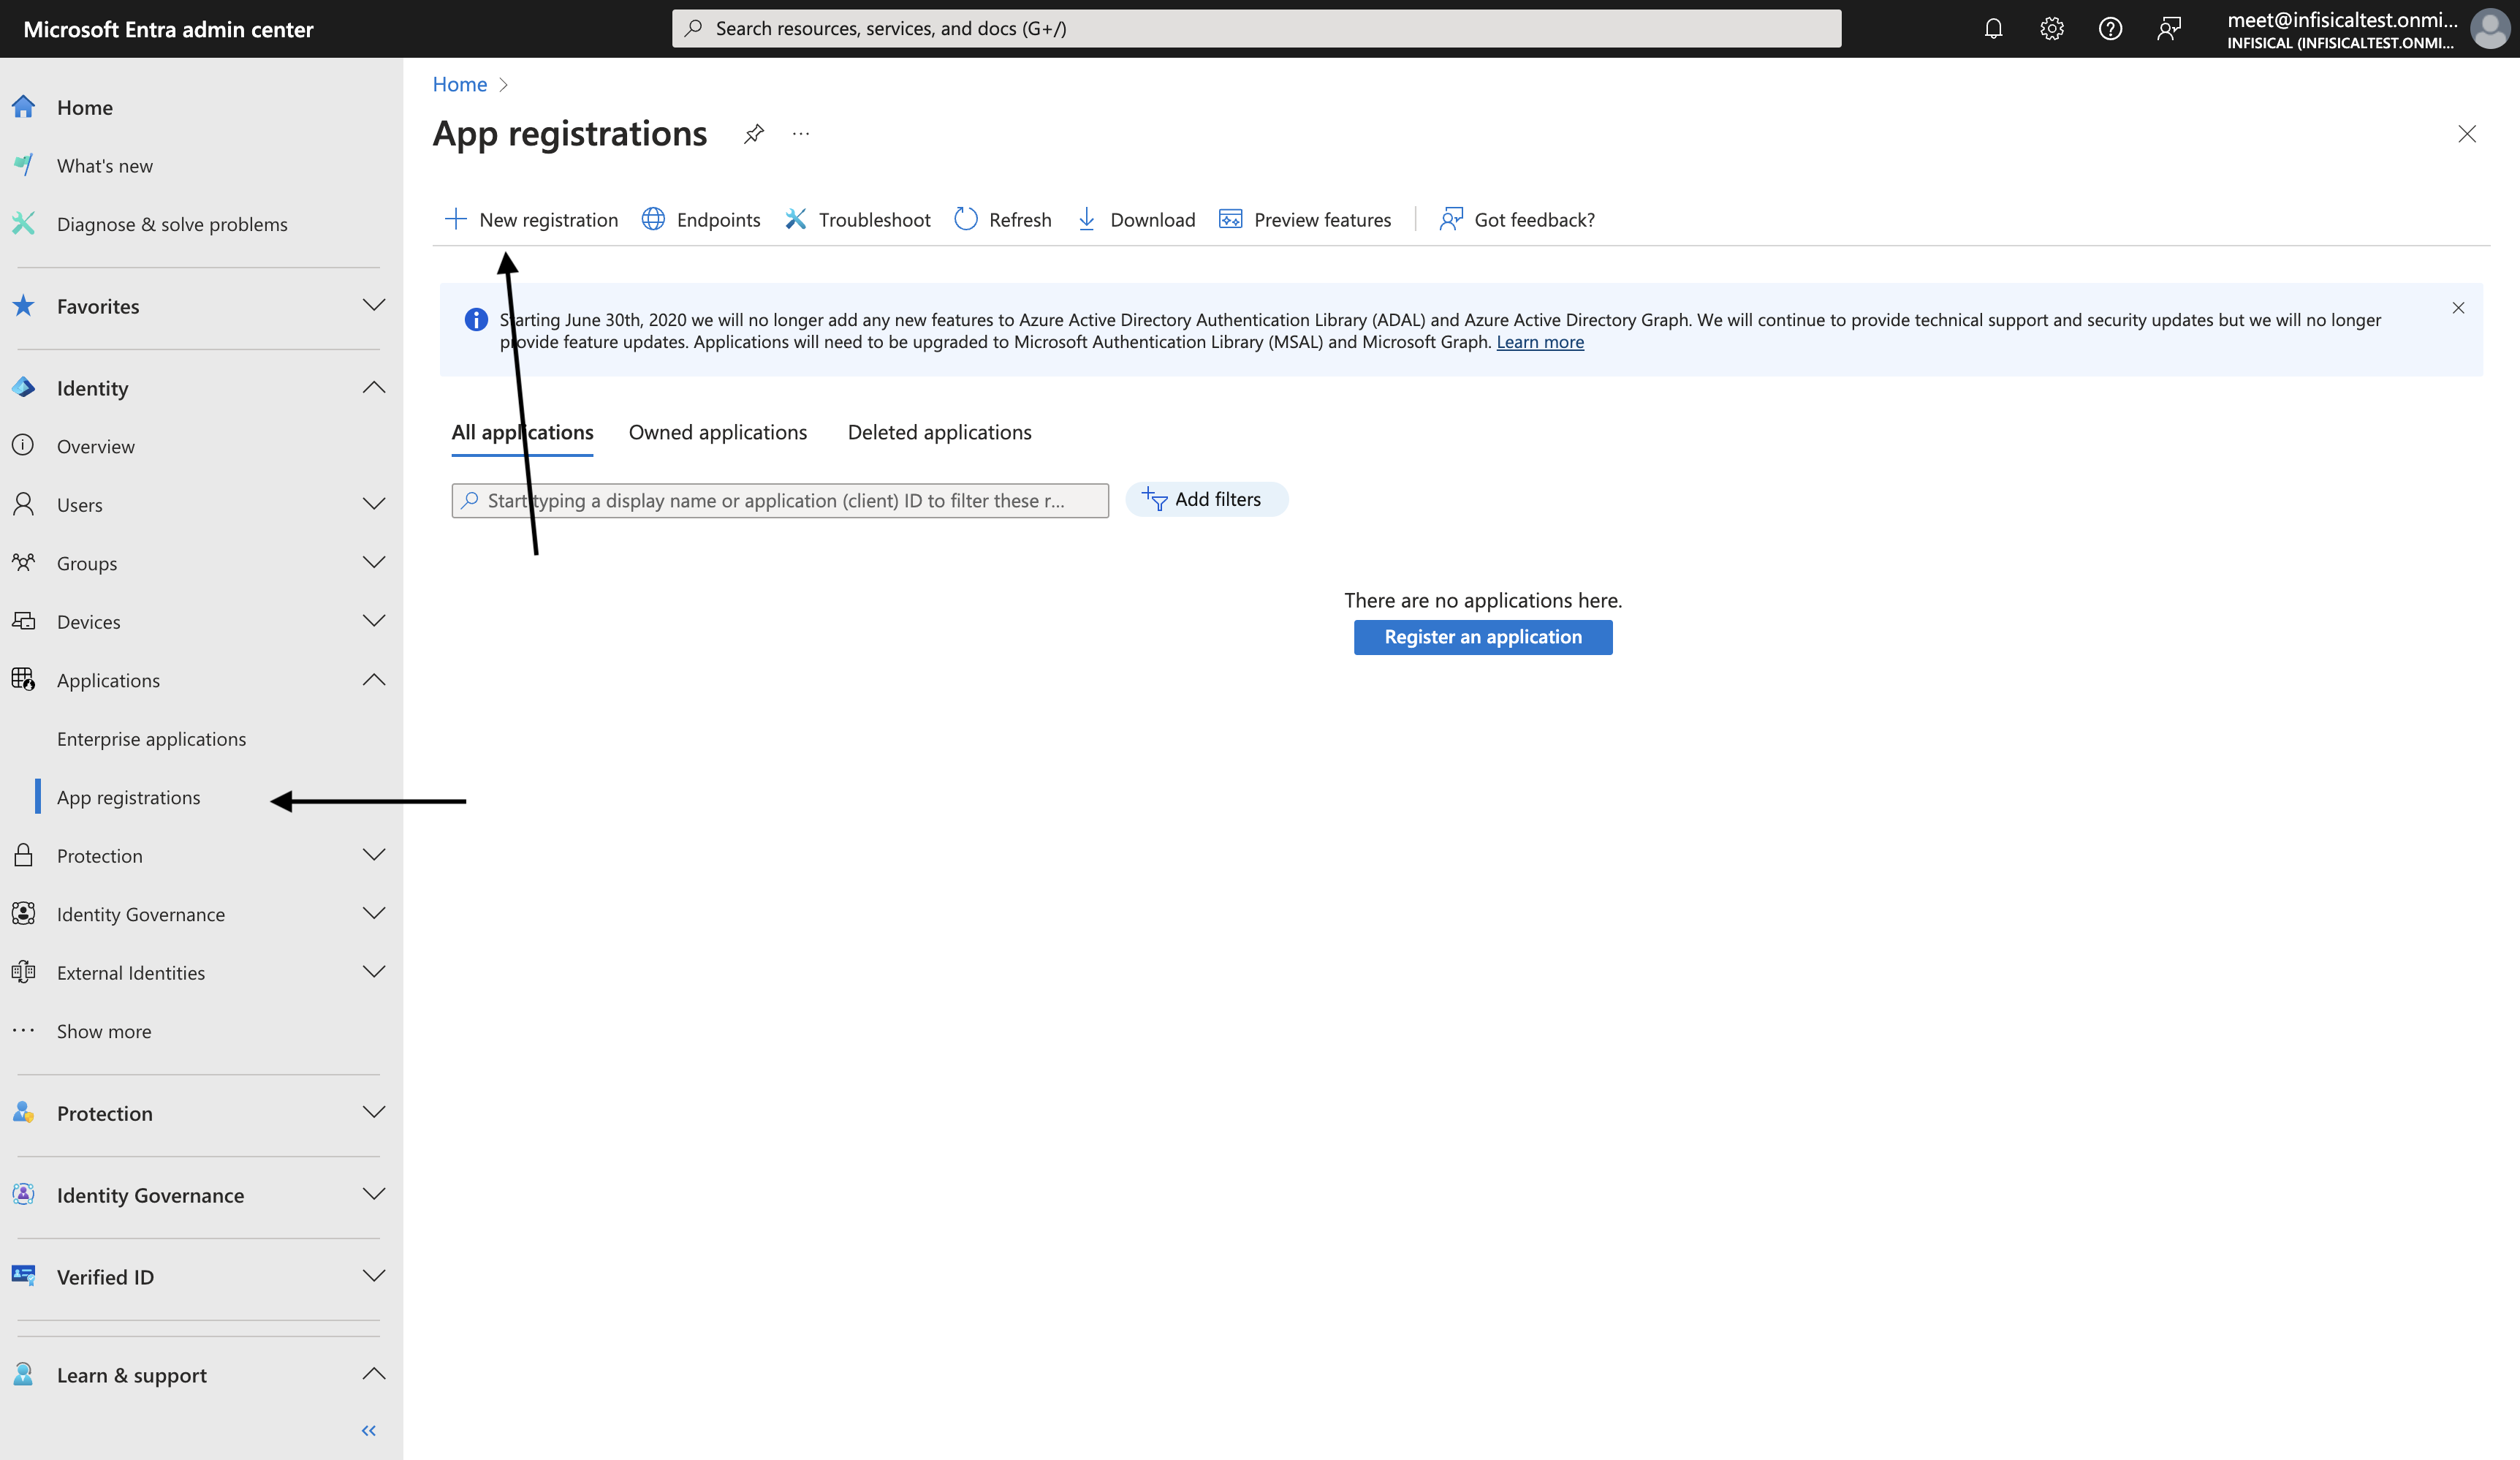
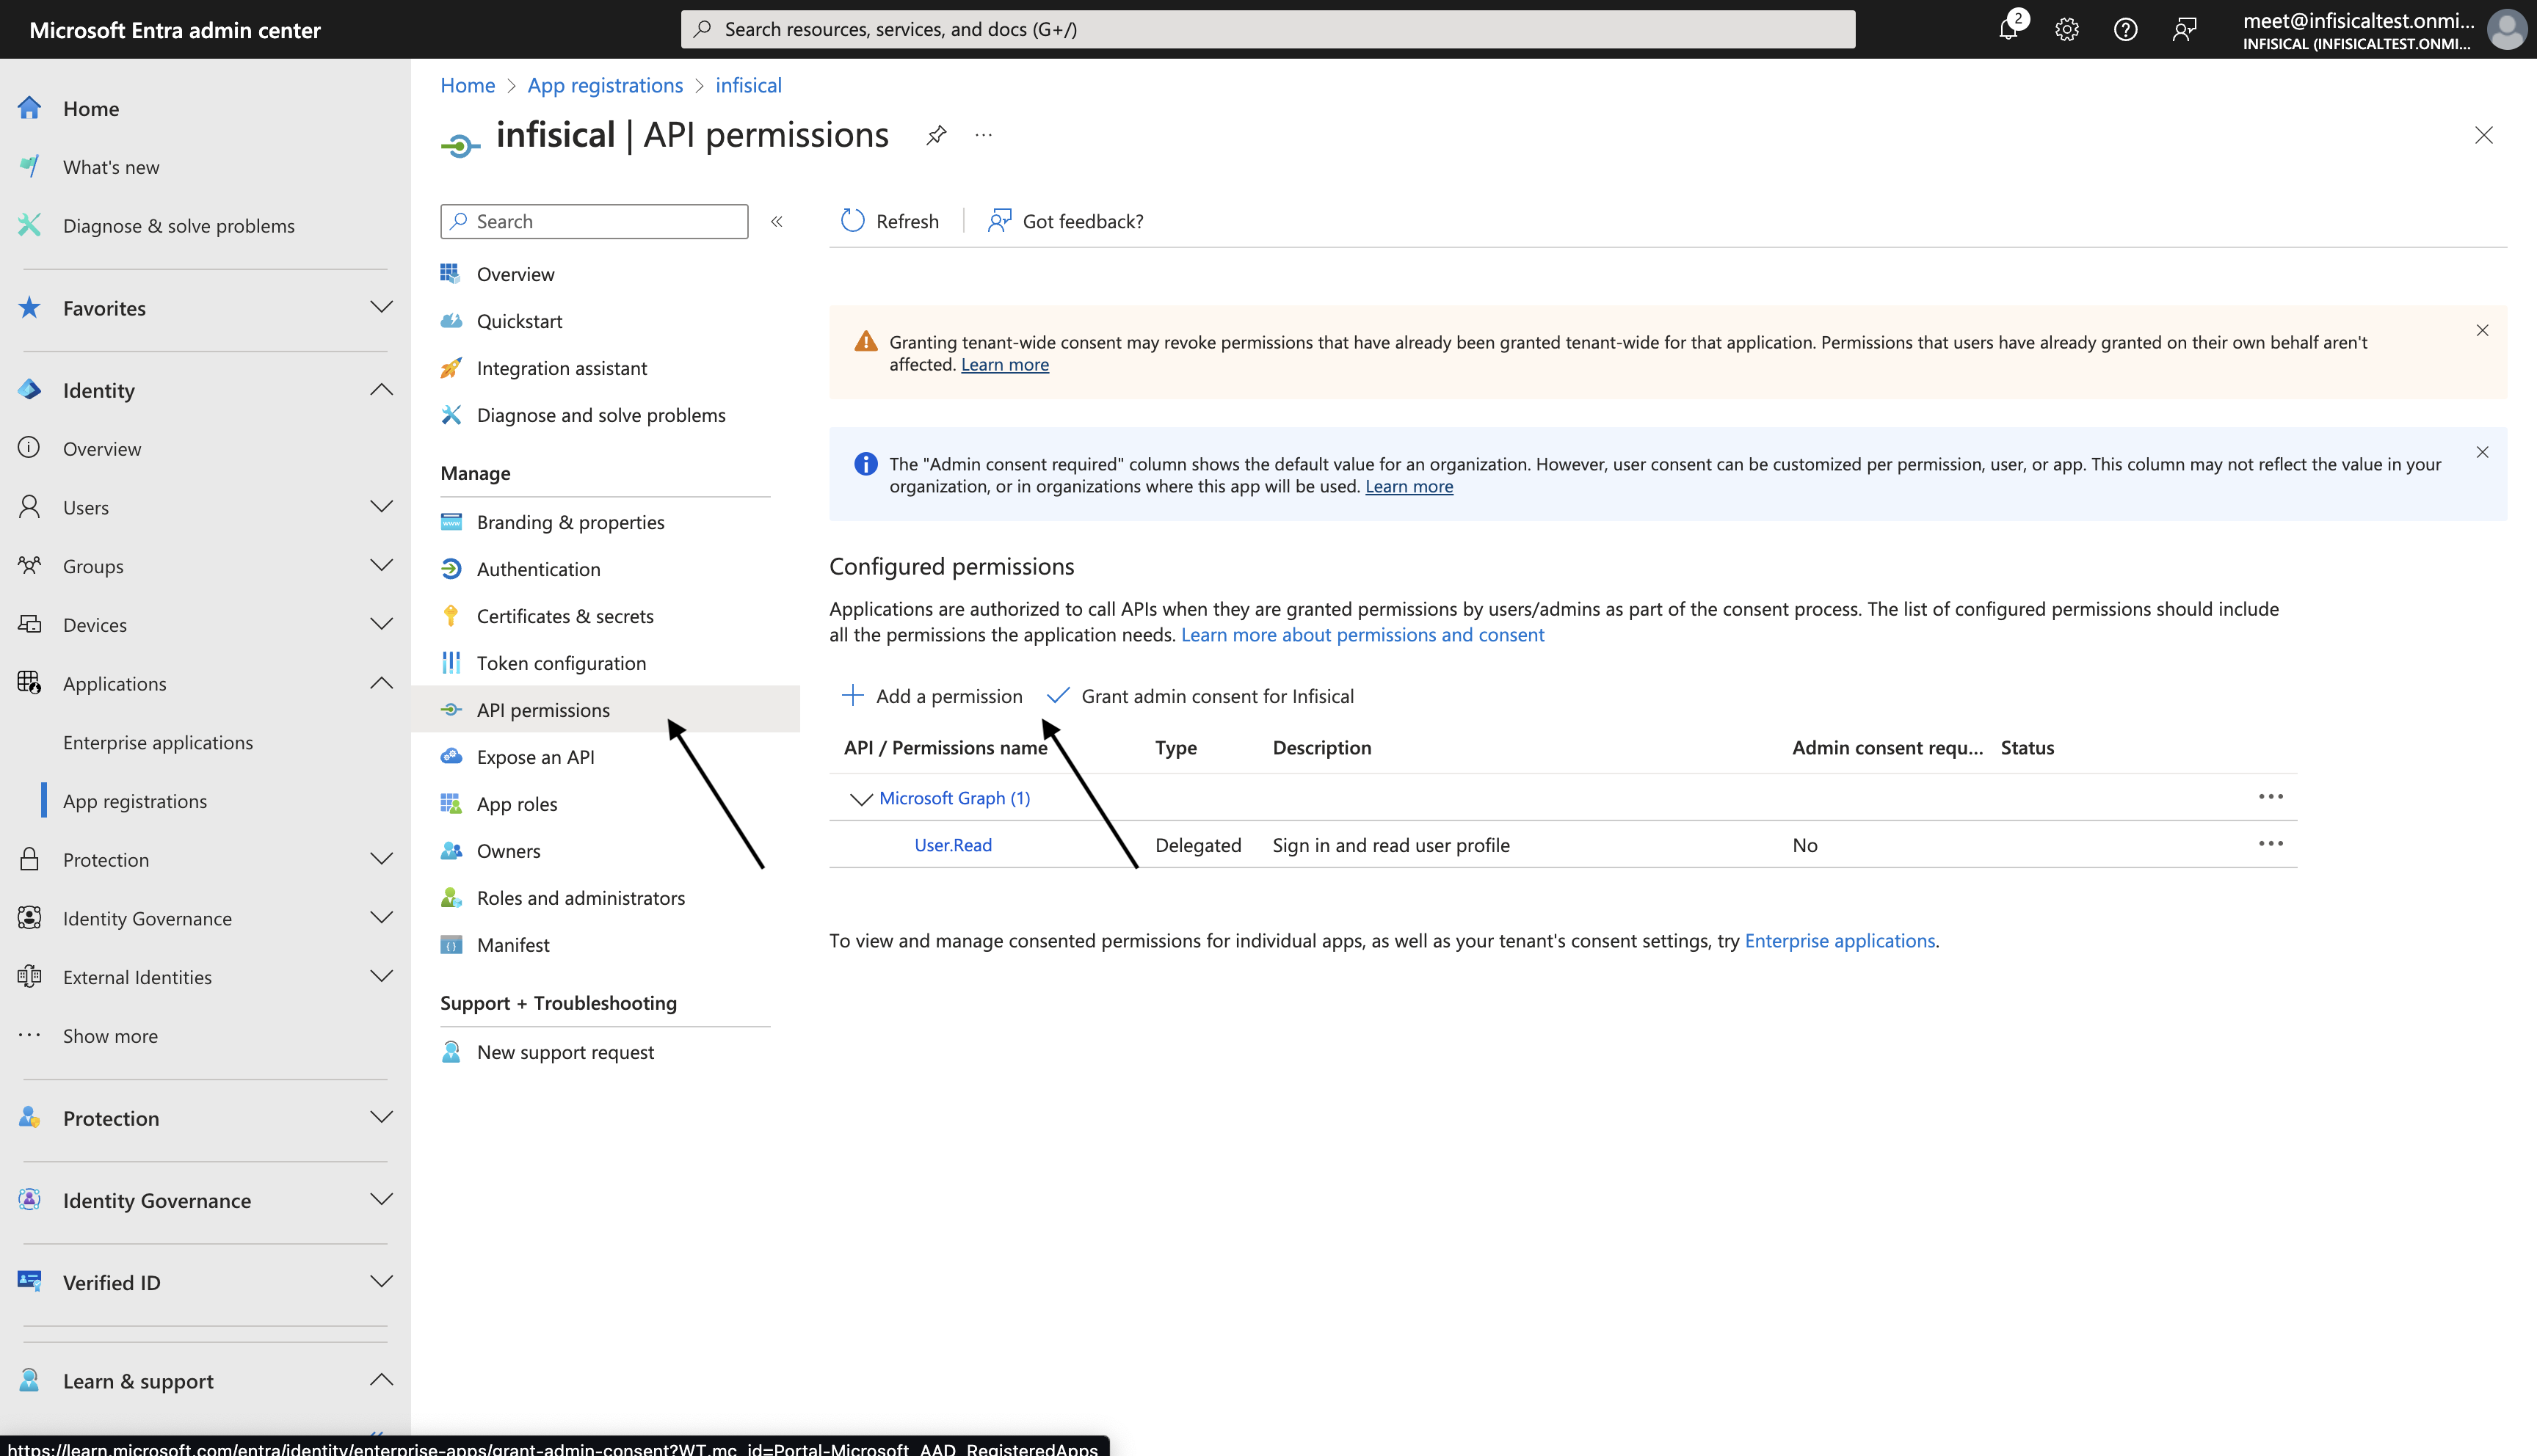
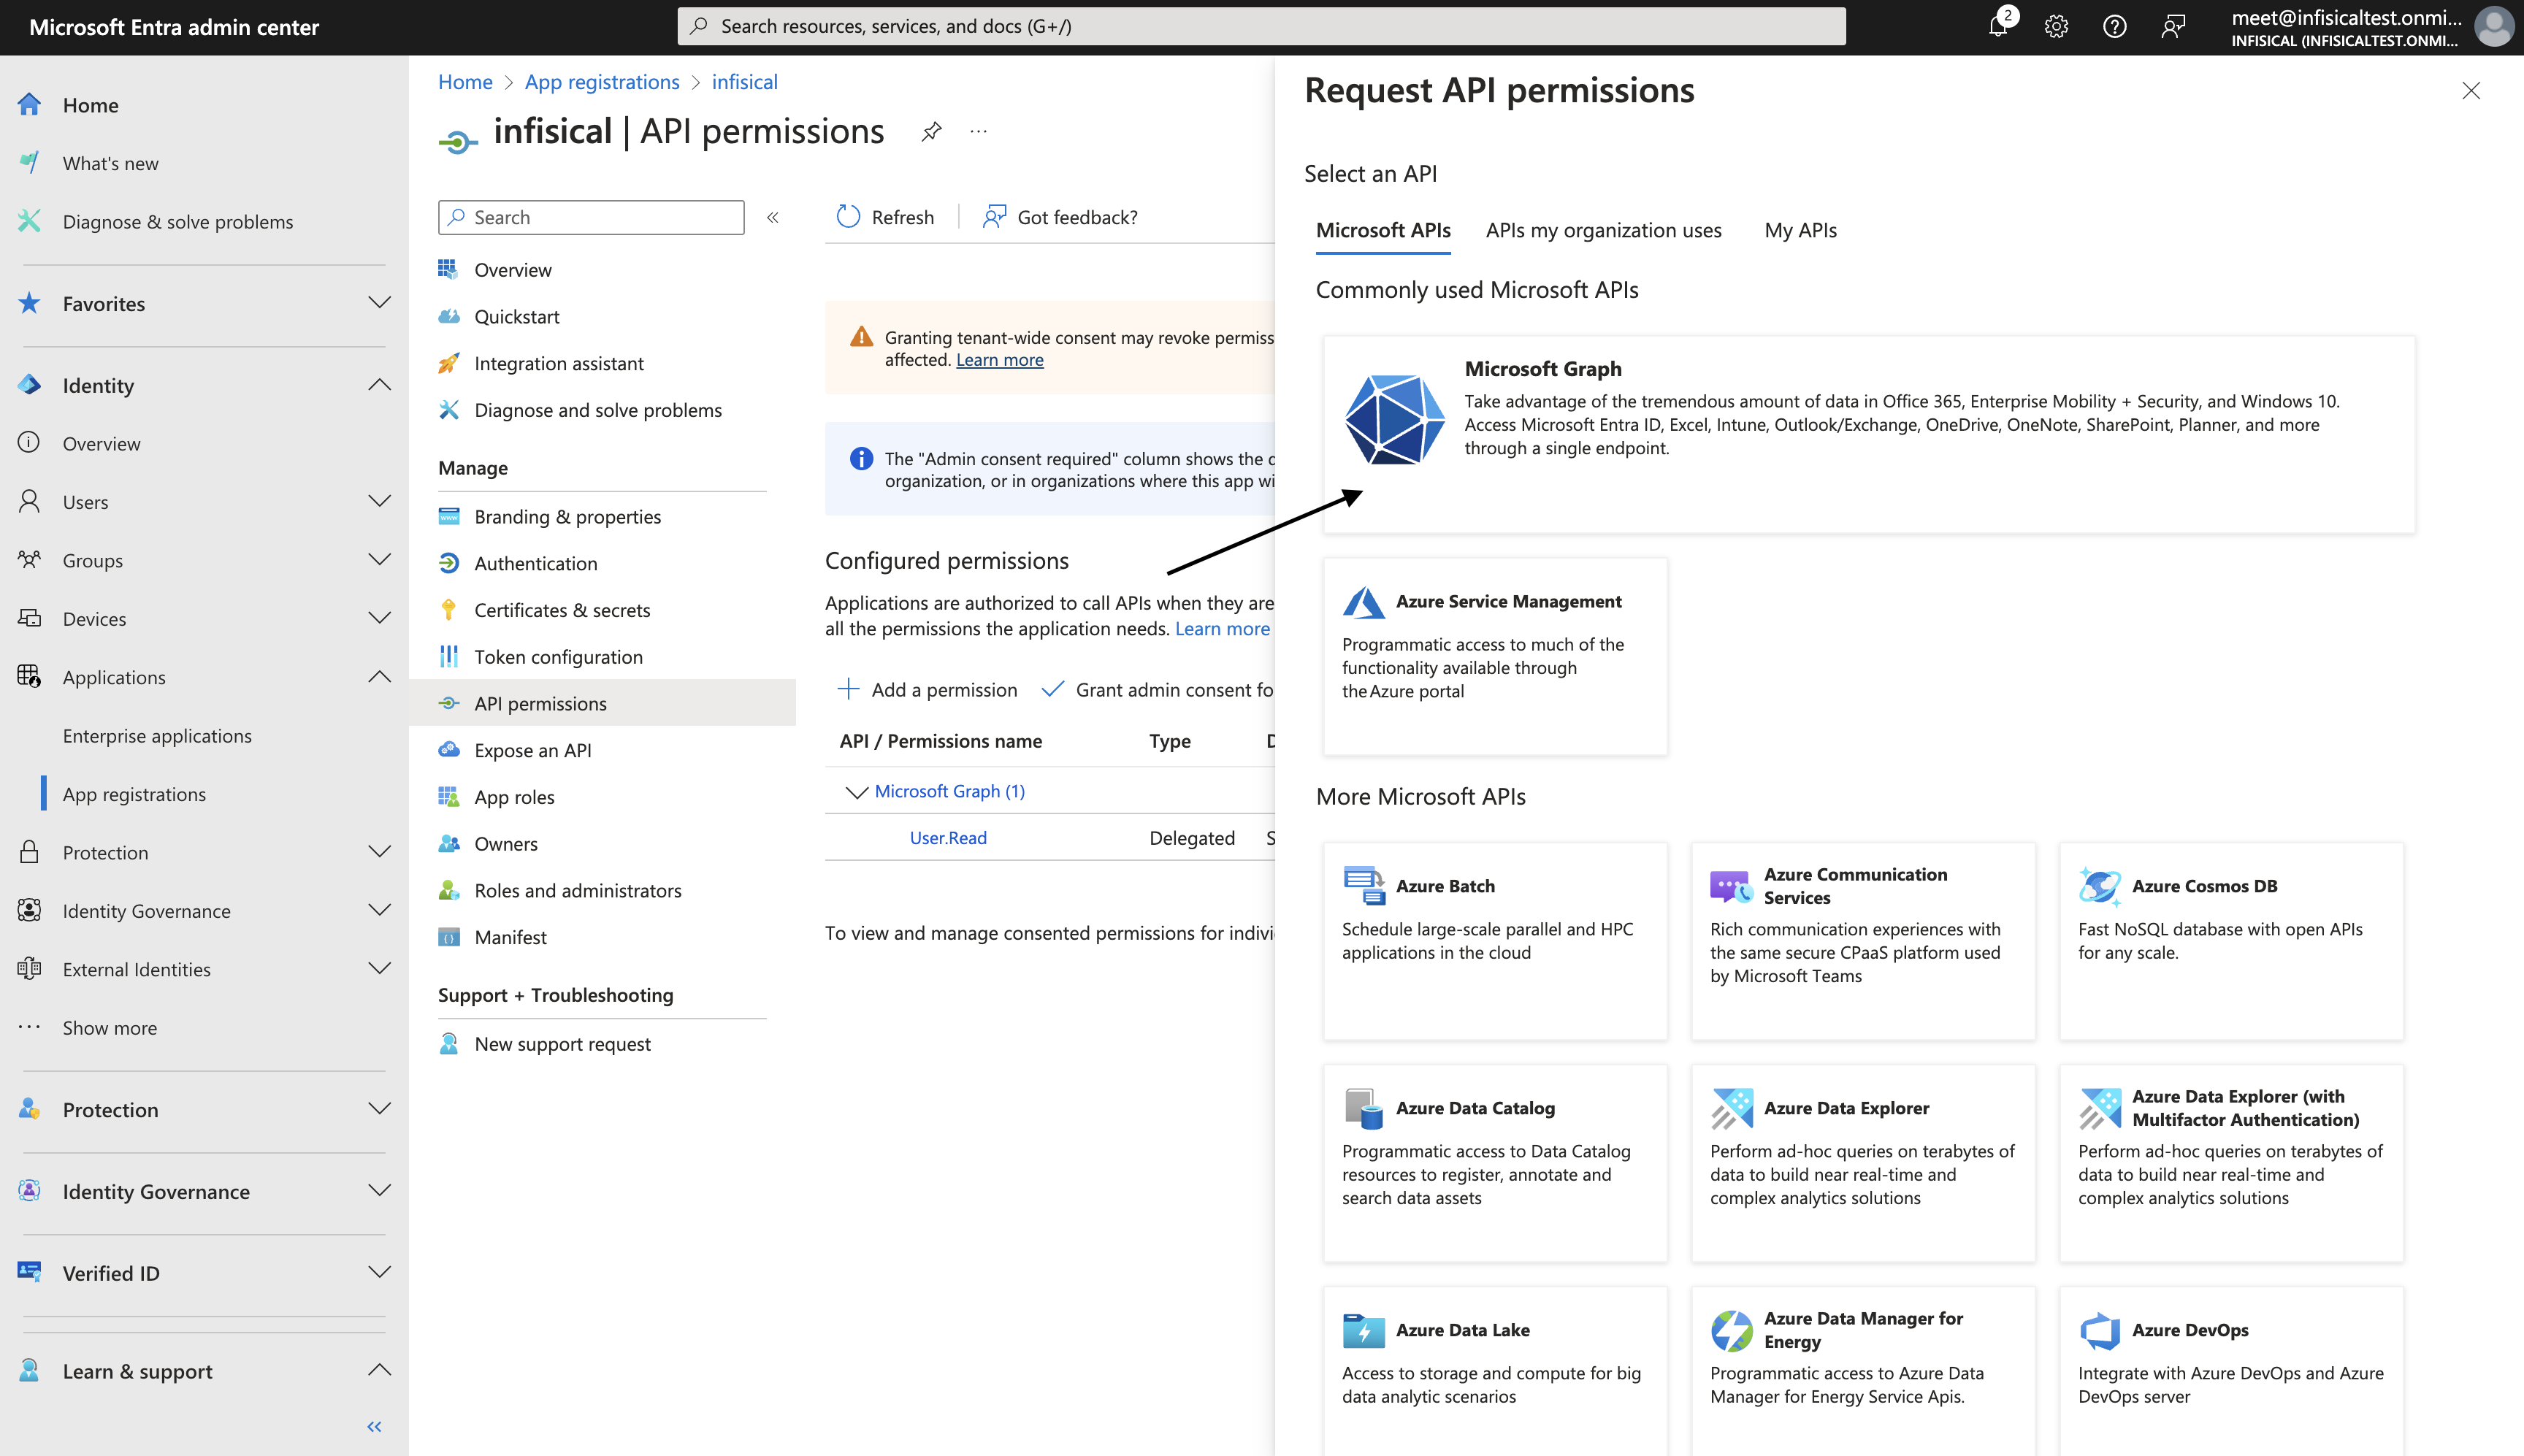

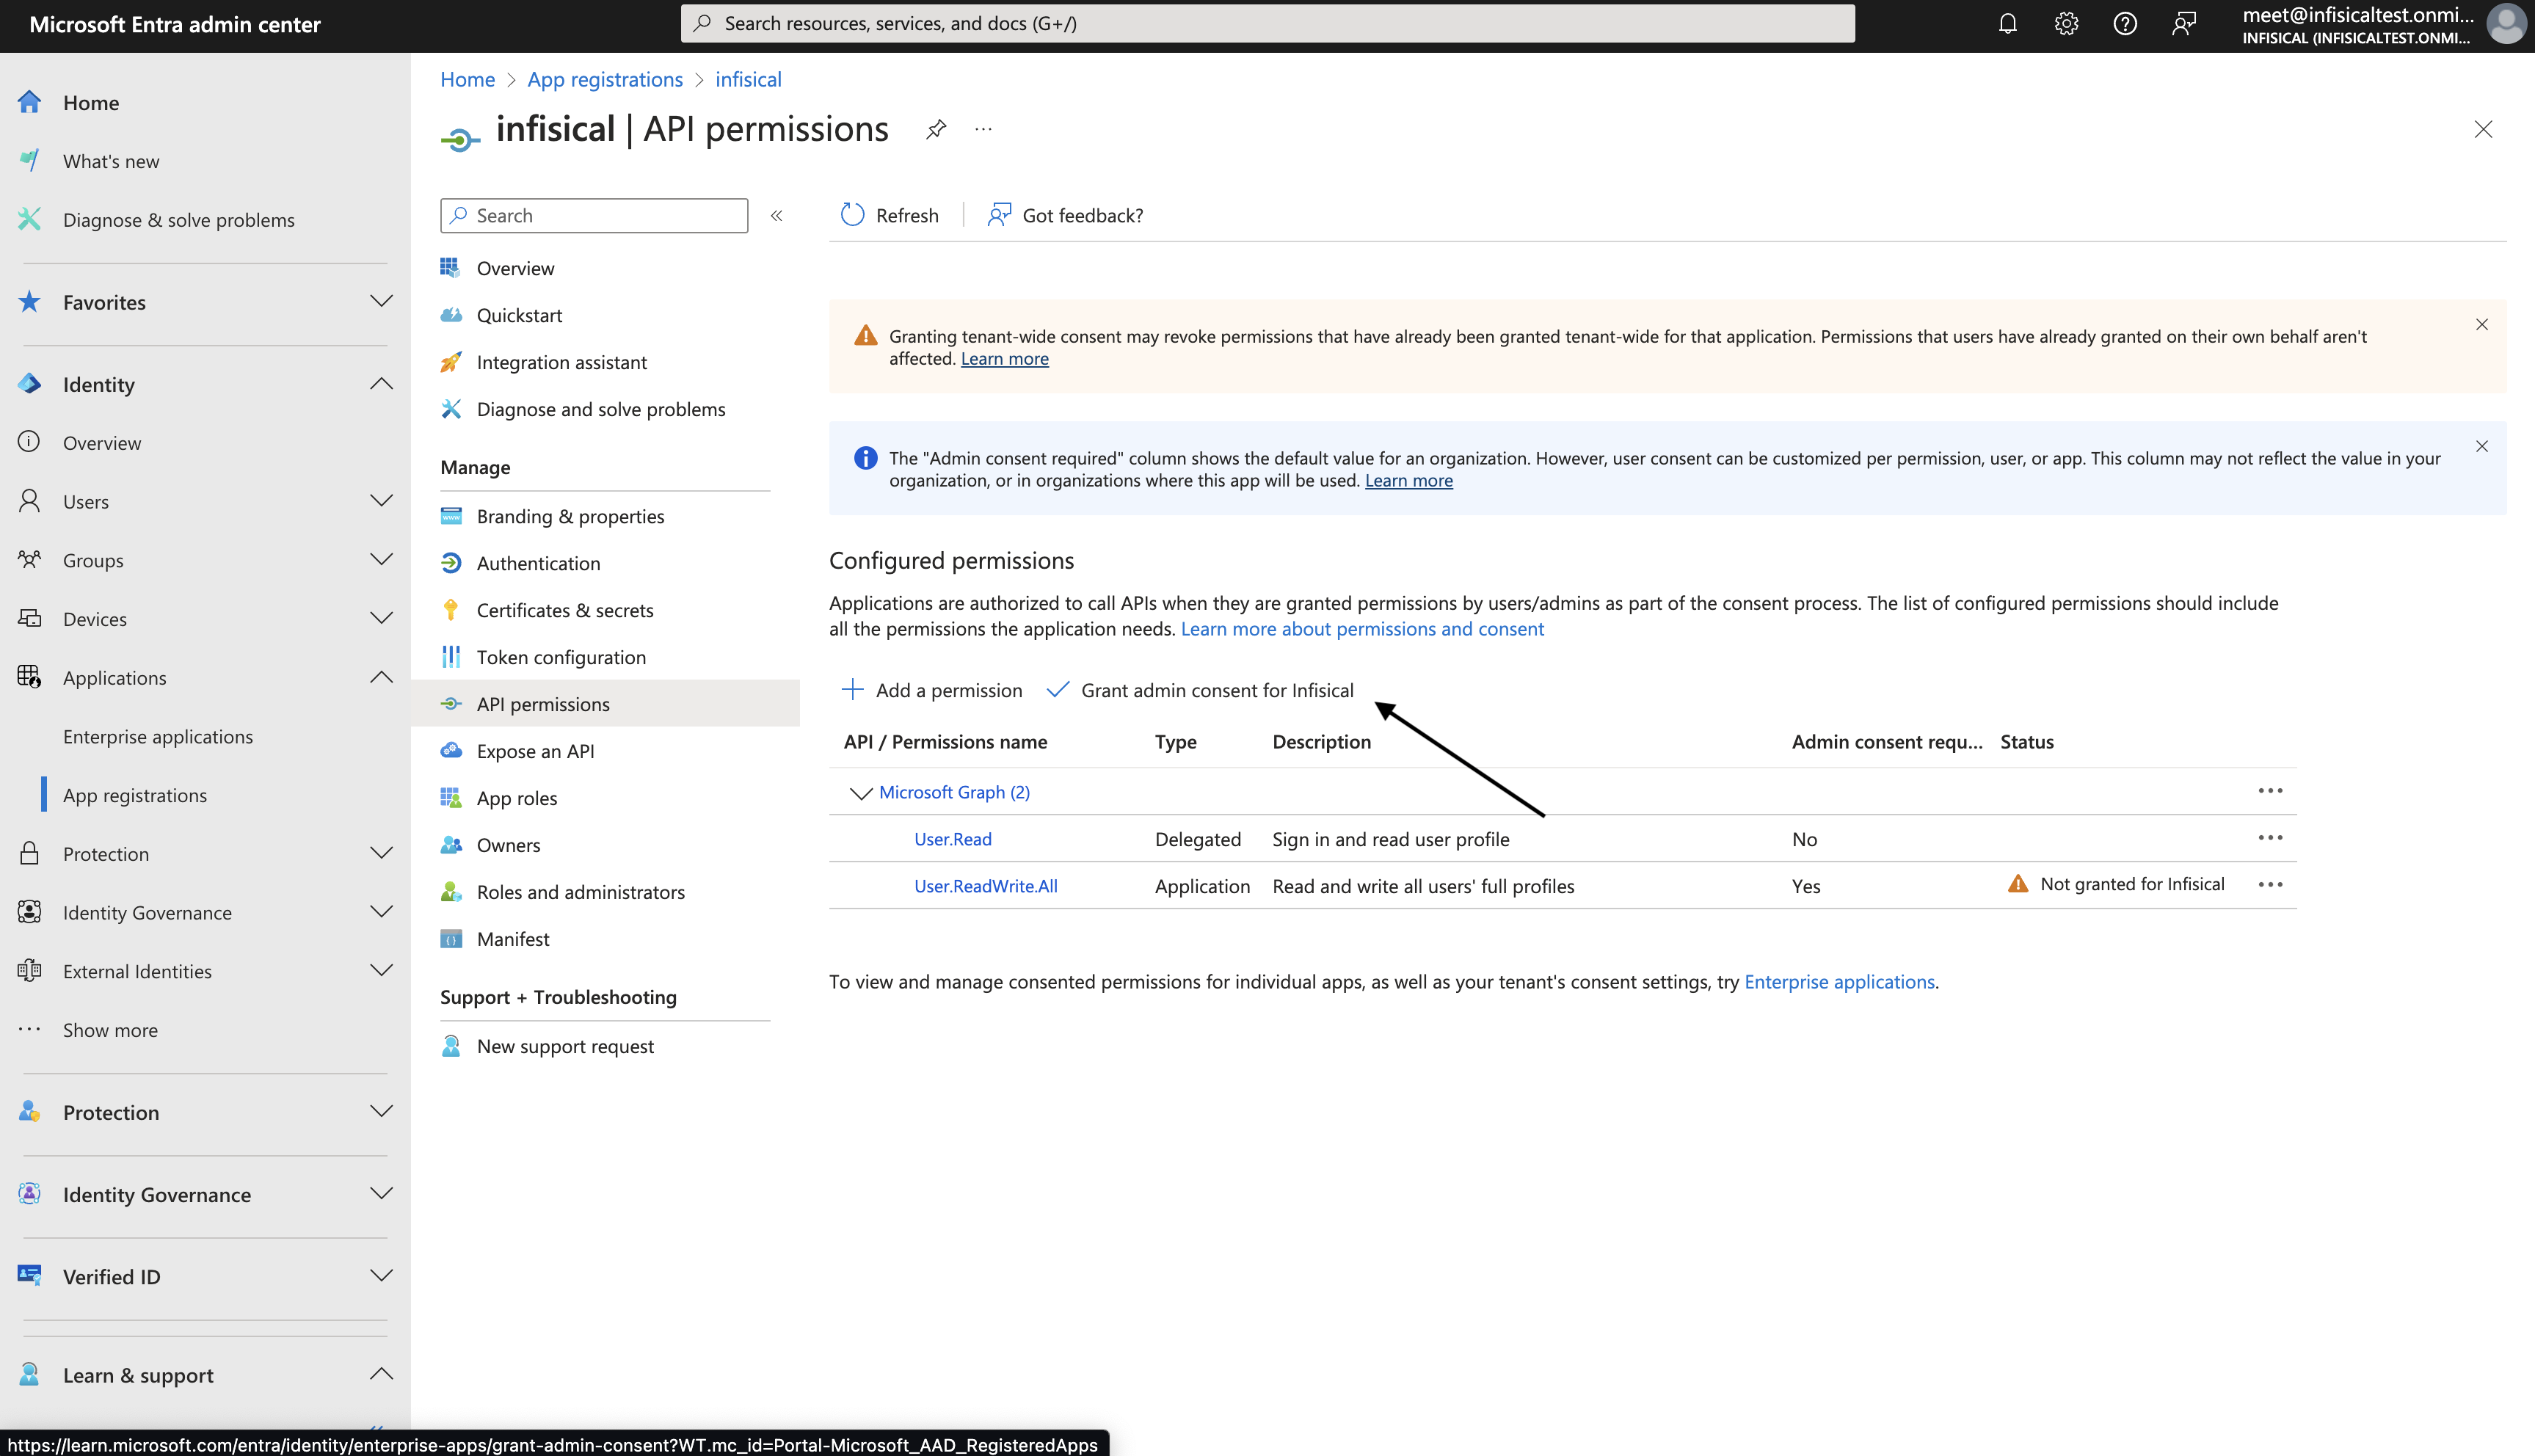
Set up Dynamic Secrets with Azure Entra ID
Open Secret Overview Dashboard
Open the Secret Overview dashboard and select the environment in which you would like to add a dynamic secret.

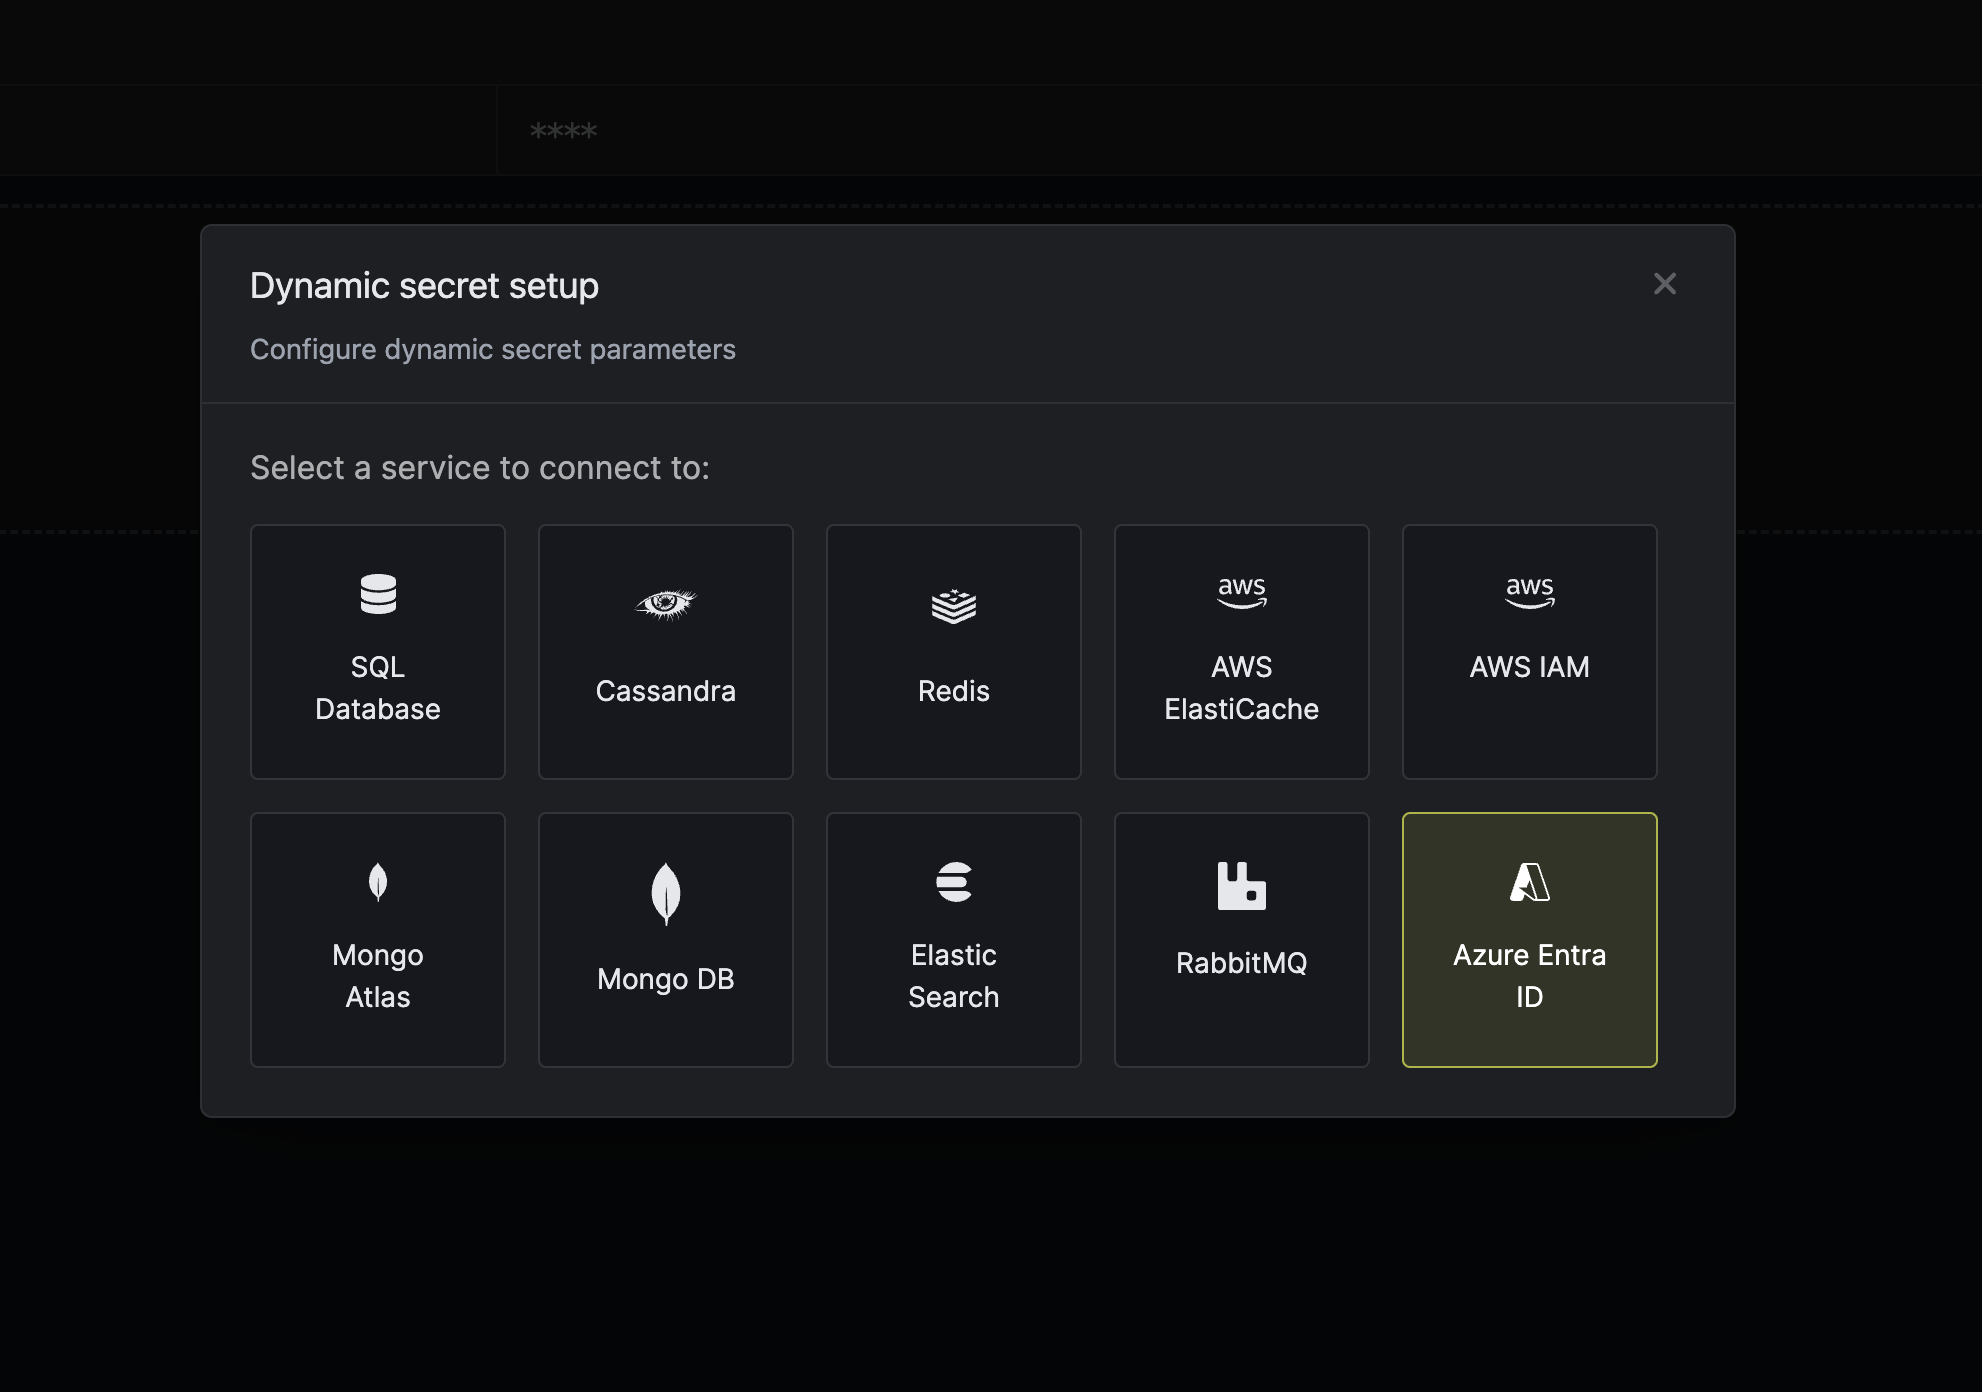
Provide the inputs for dynamic secret parameters
Prefix for the secrets to be created
Default time-to-live for a generated secret (it is possible to modify this value after a secret is generated)
Maximum time-to-live for a generated secret.
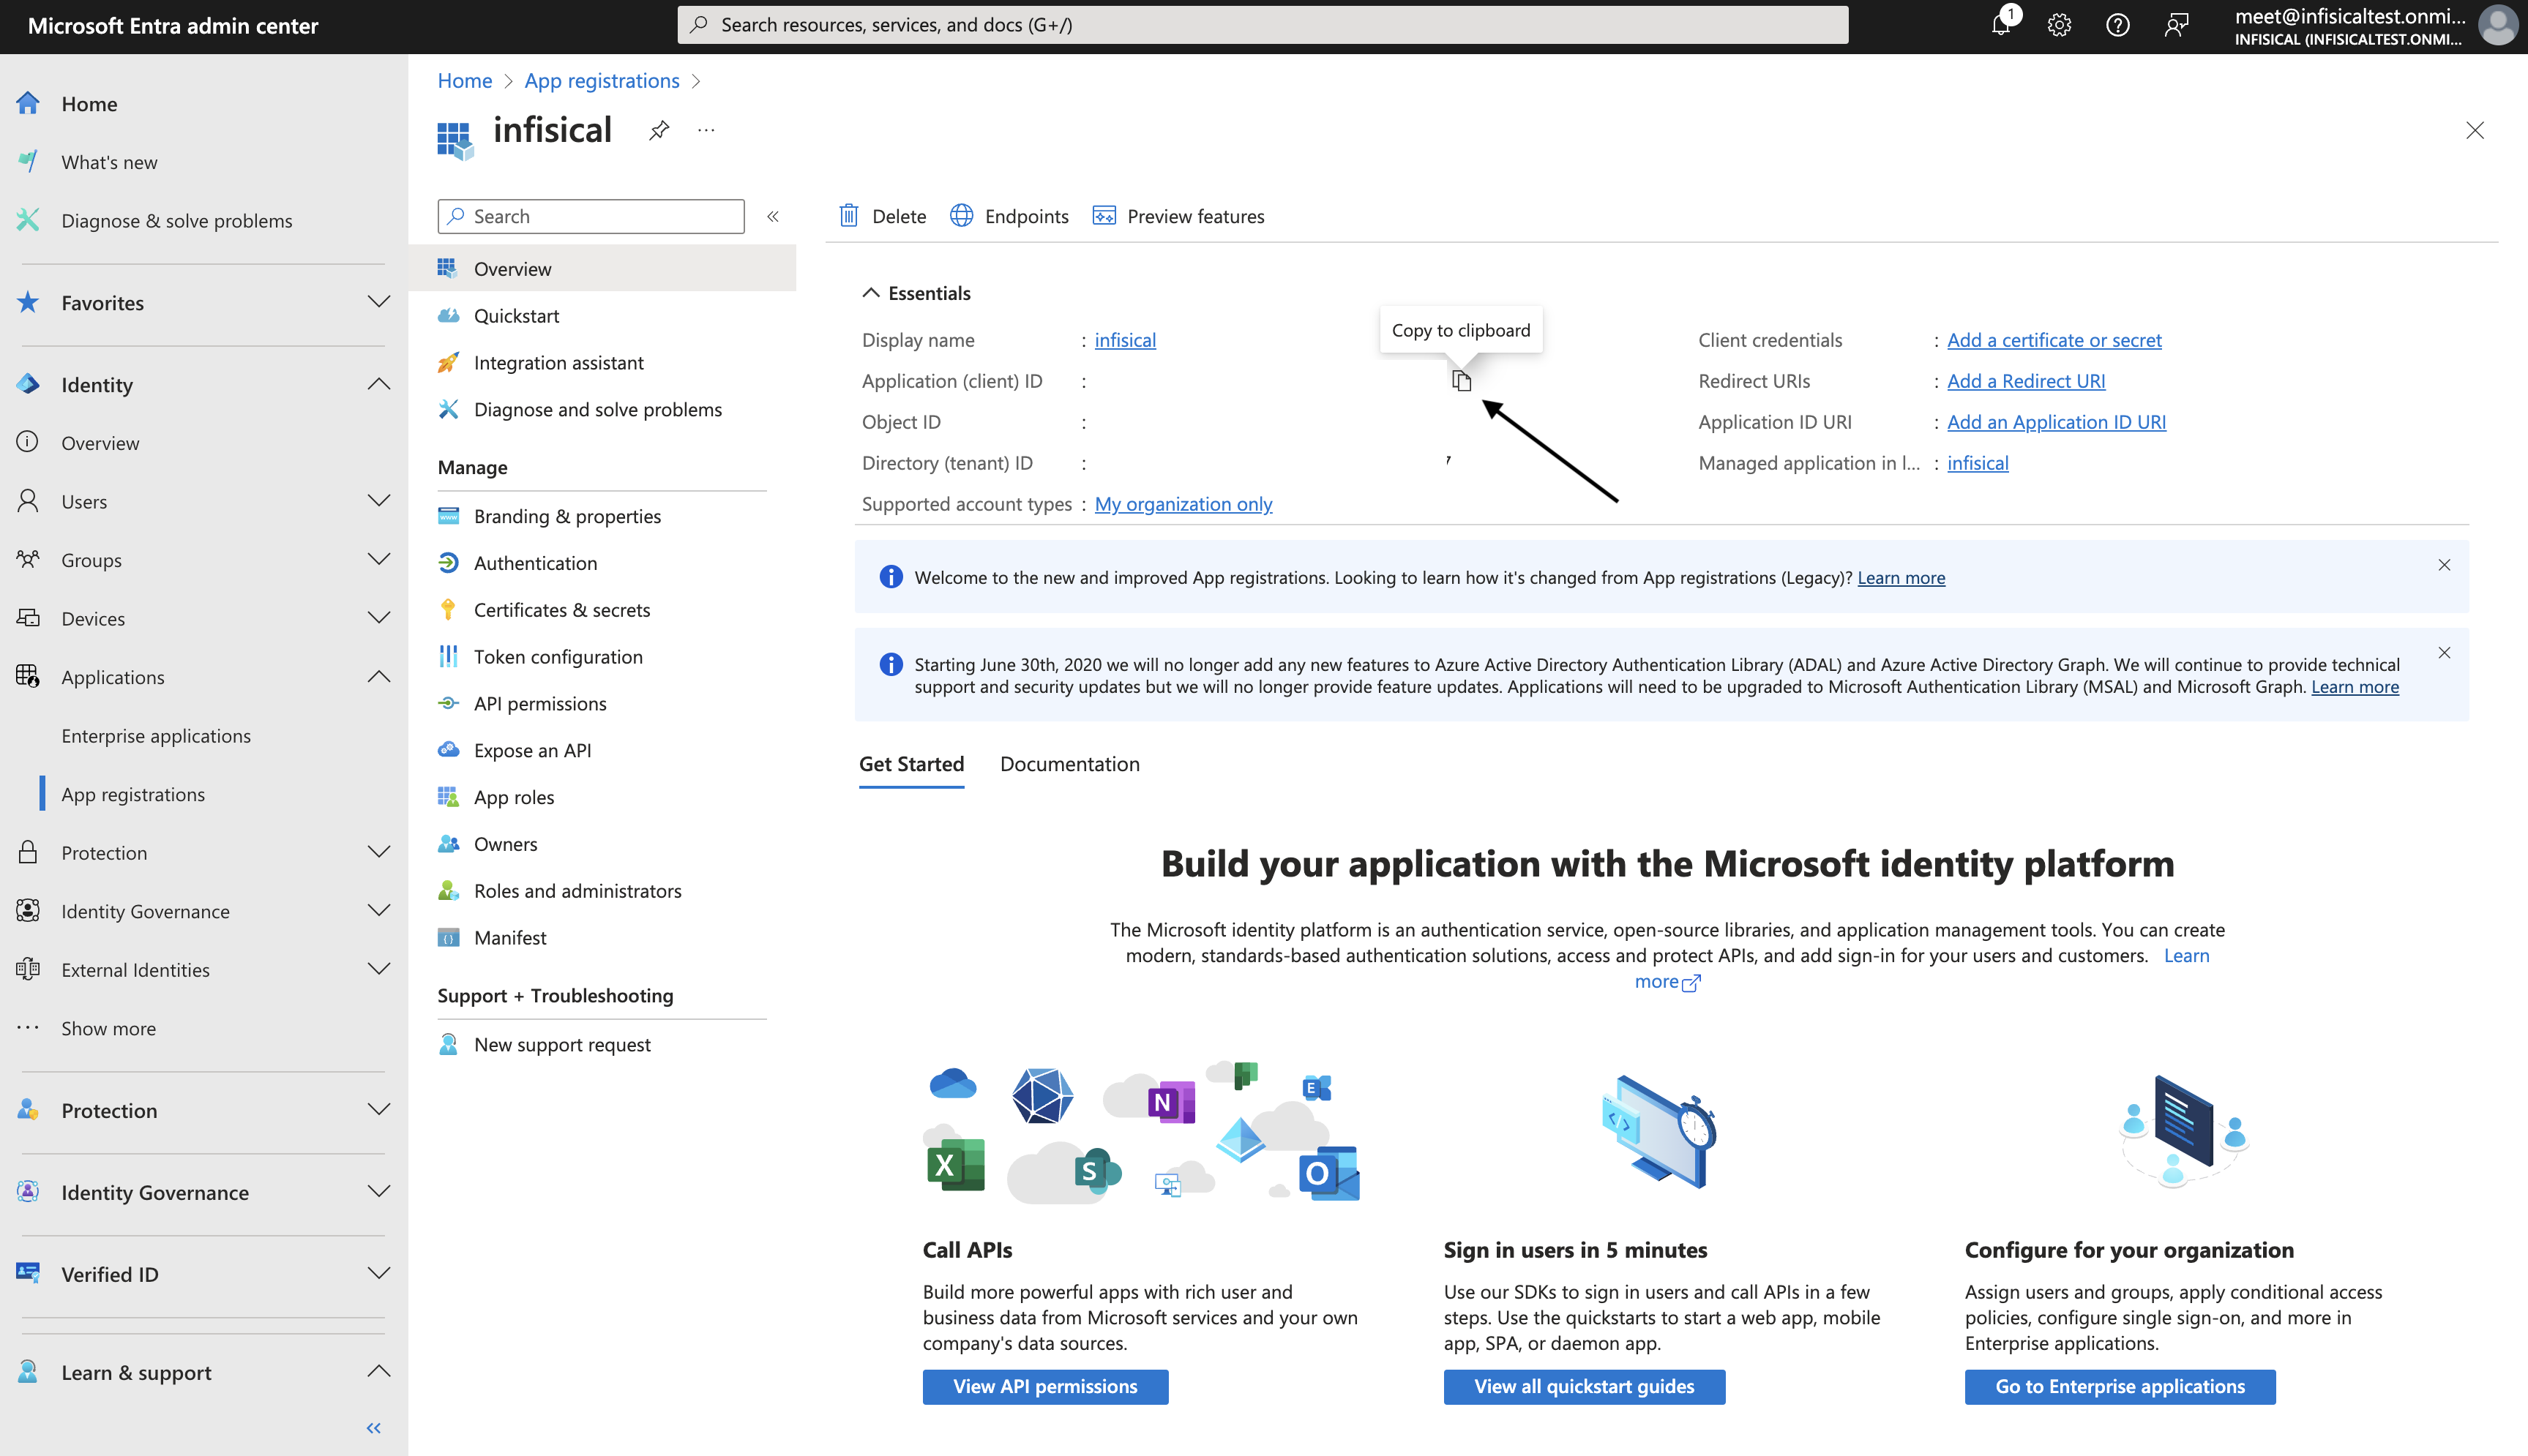
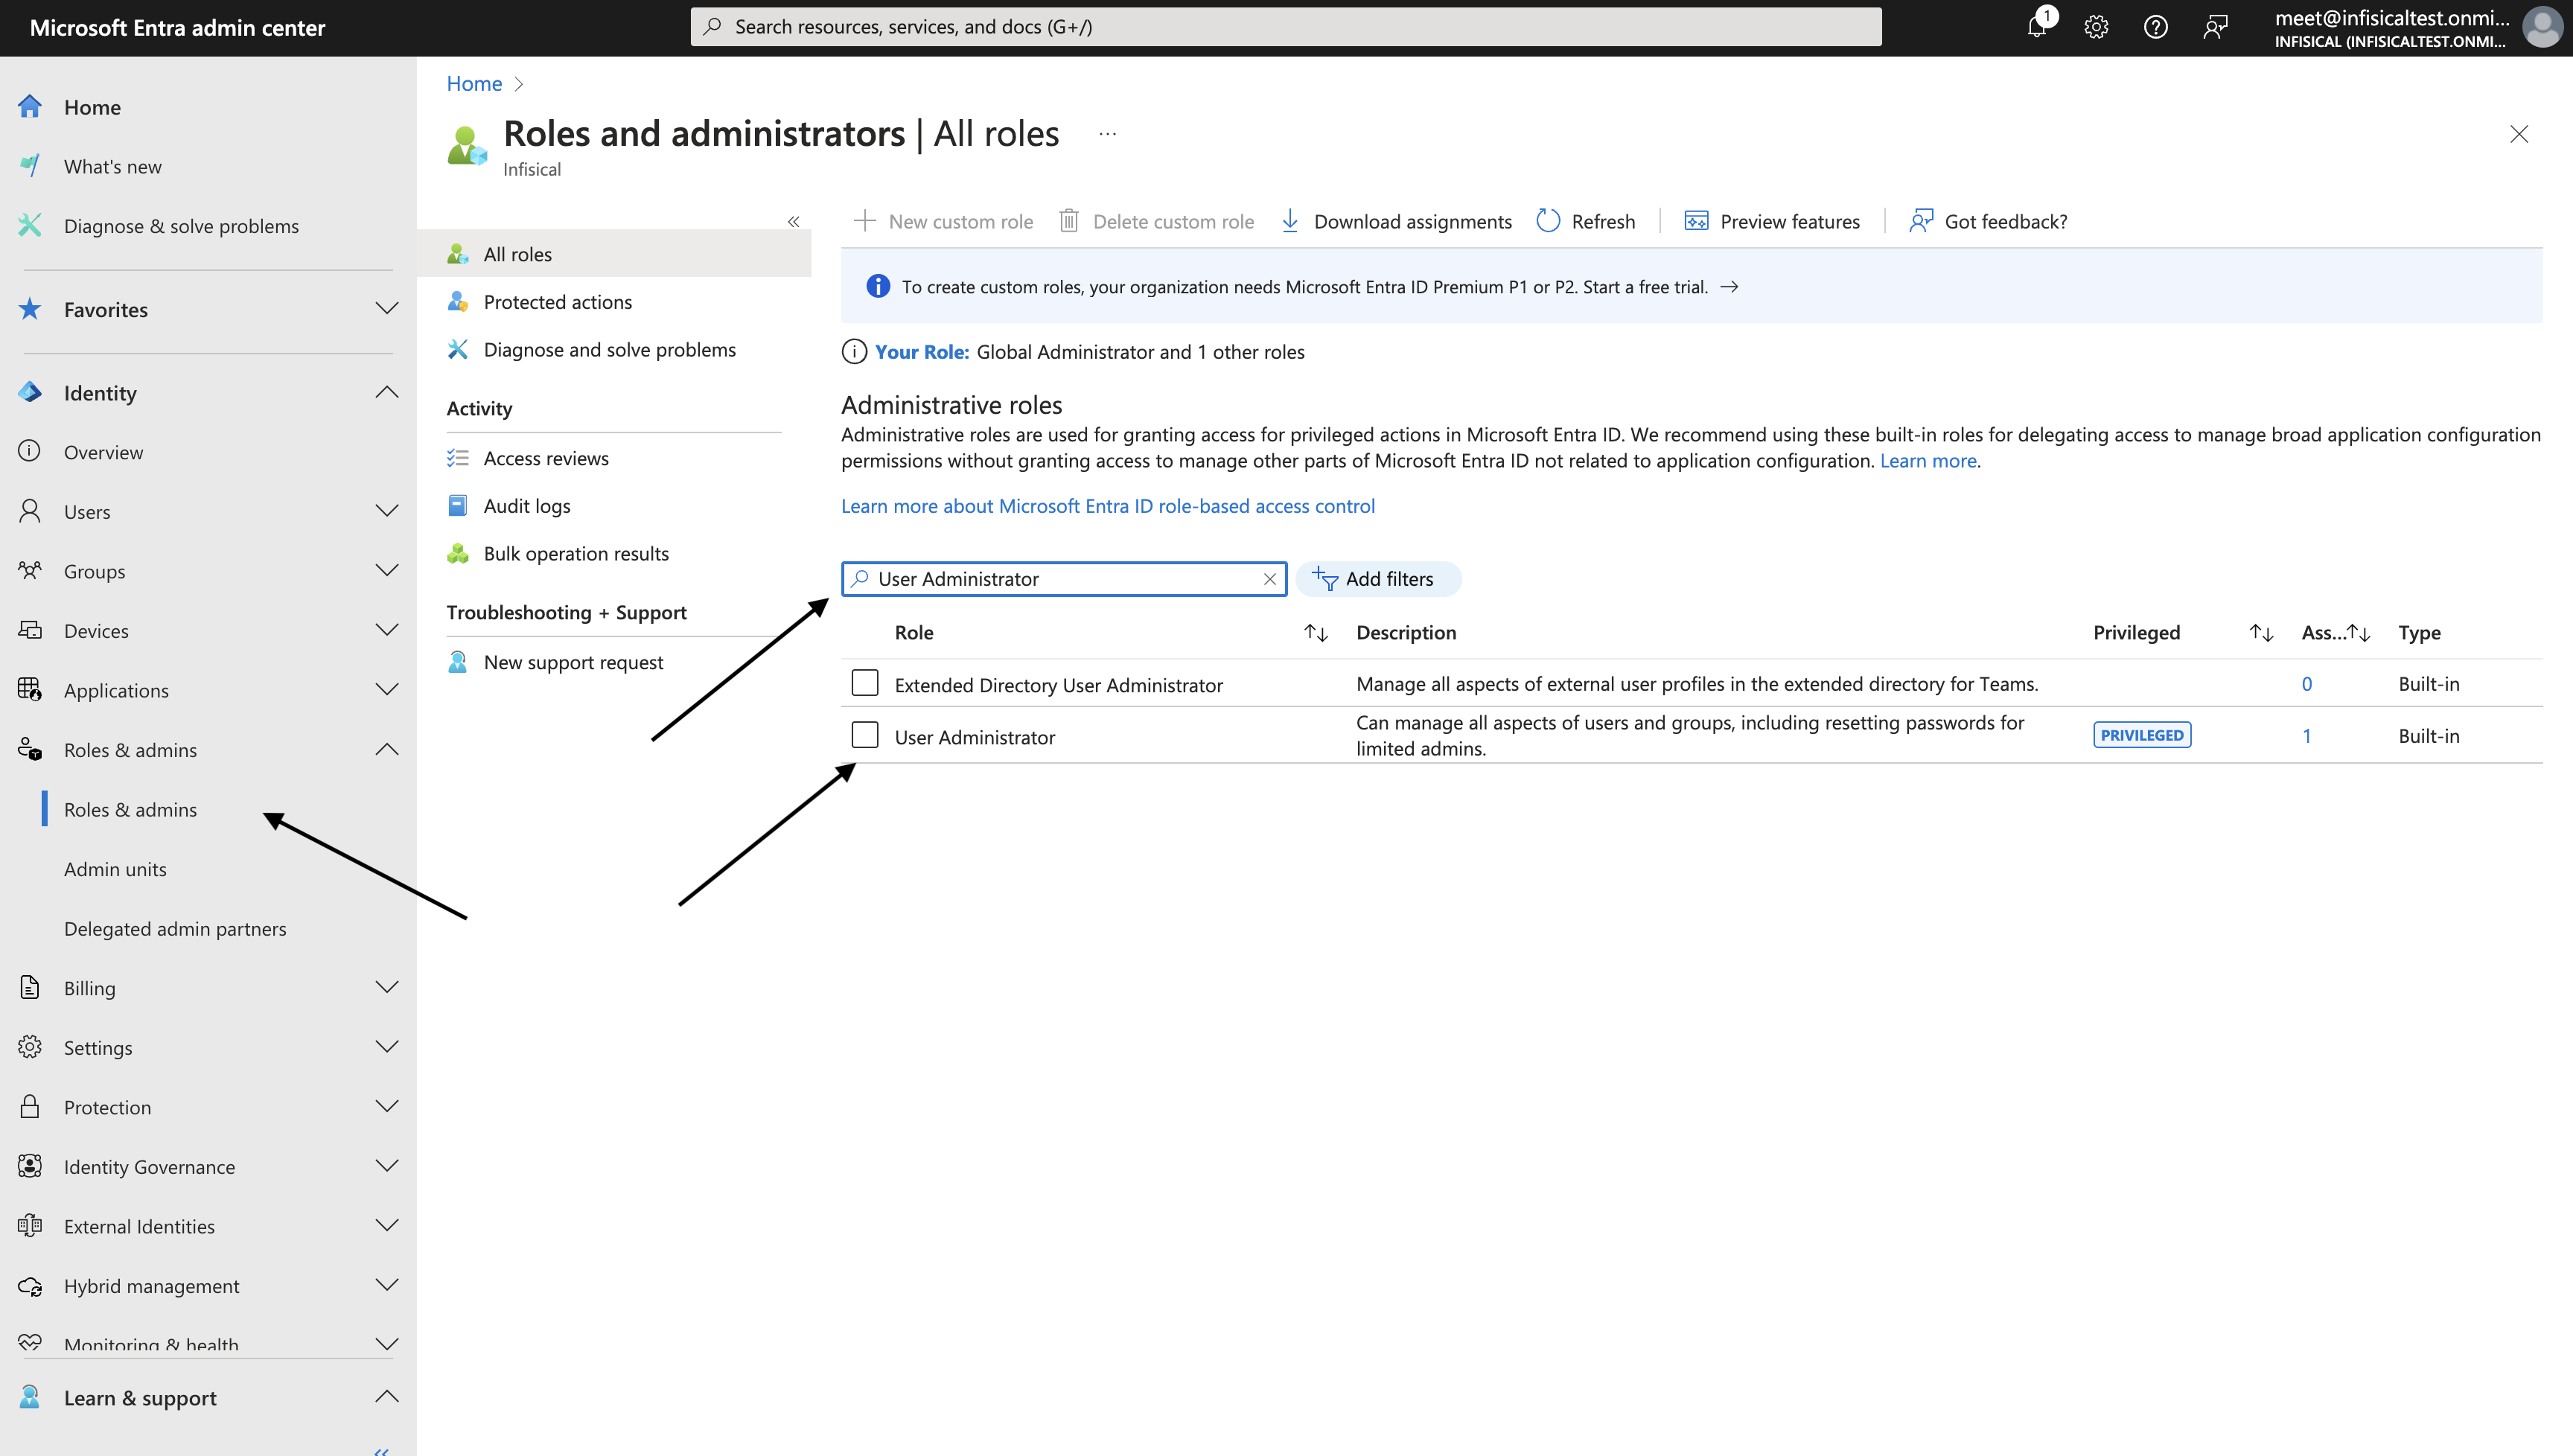
The Tenant ID of your Azure Entra ID account.
The Application ID of the application you created in Azure Entra ID.
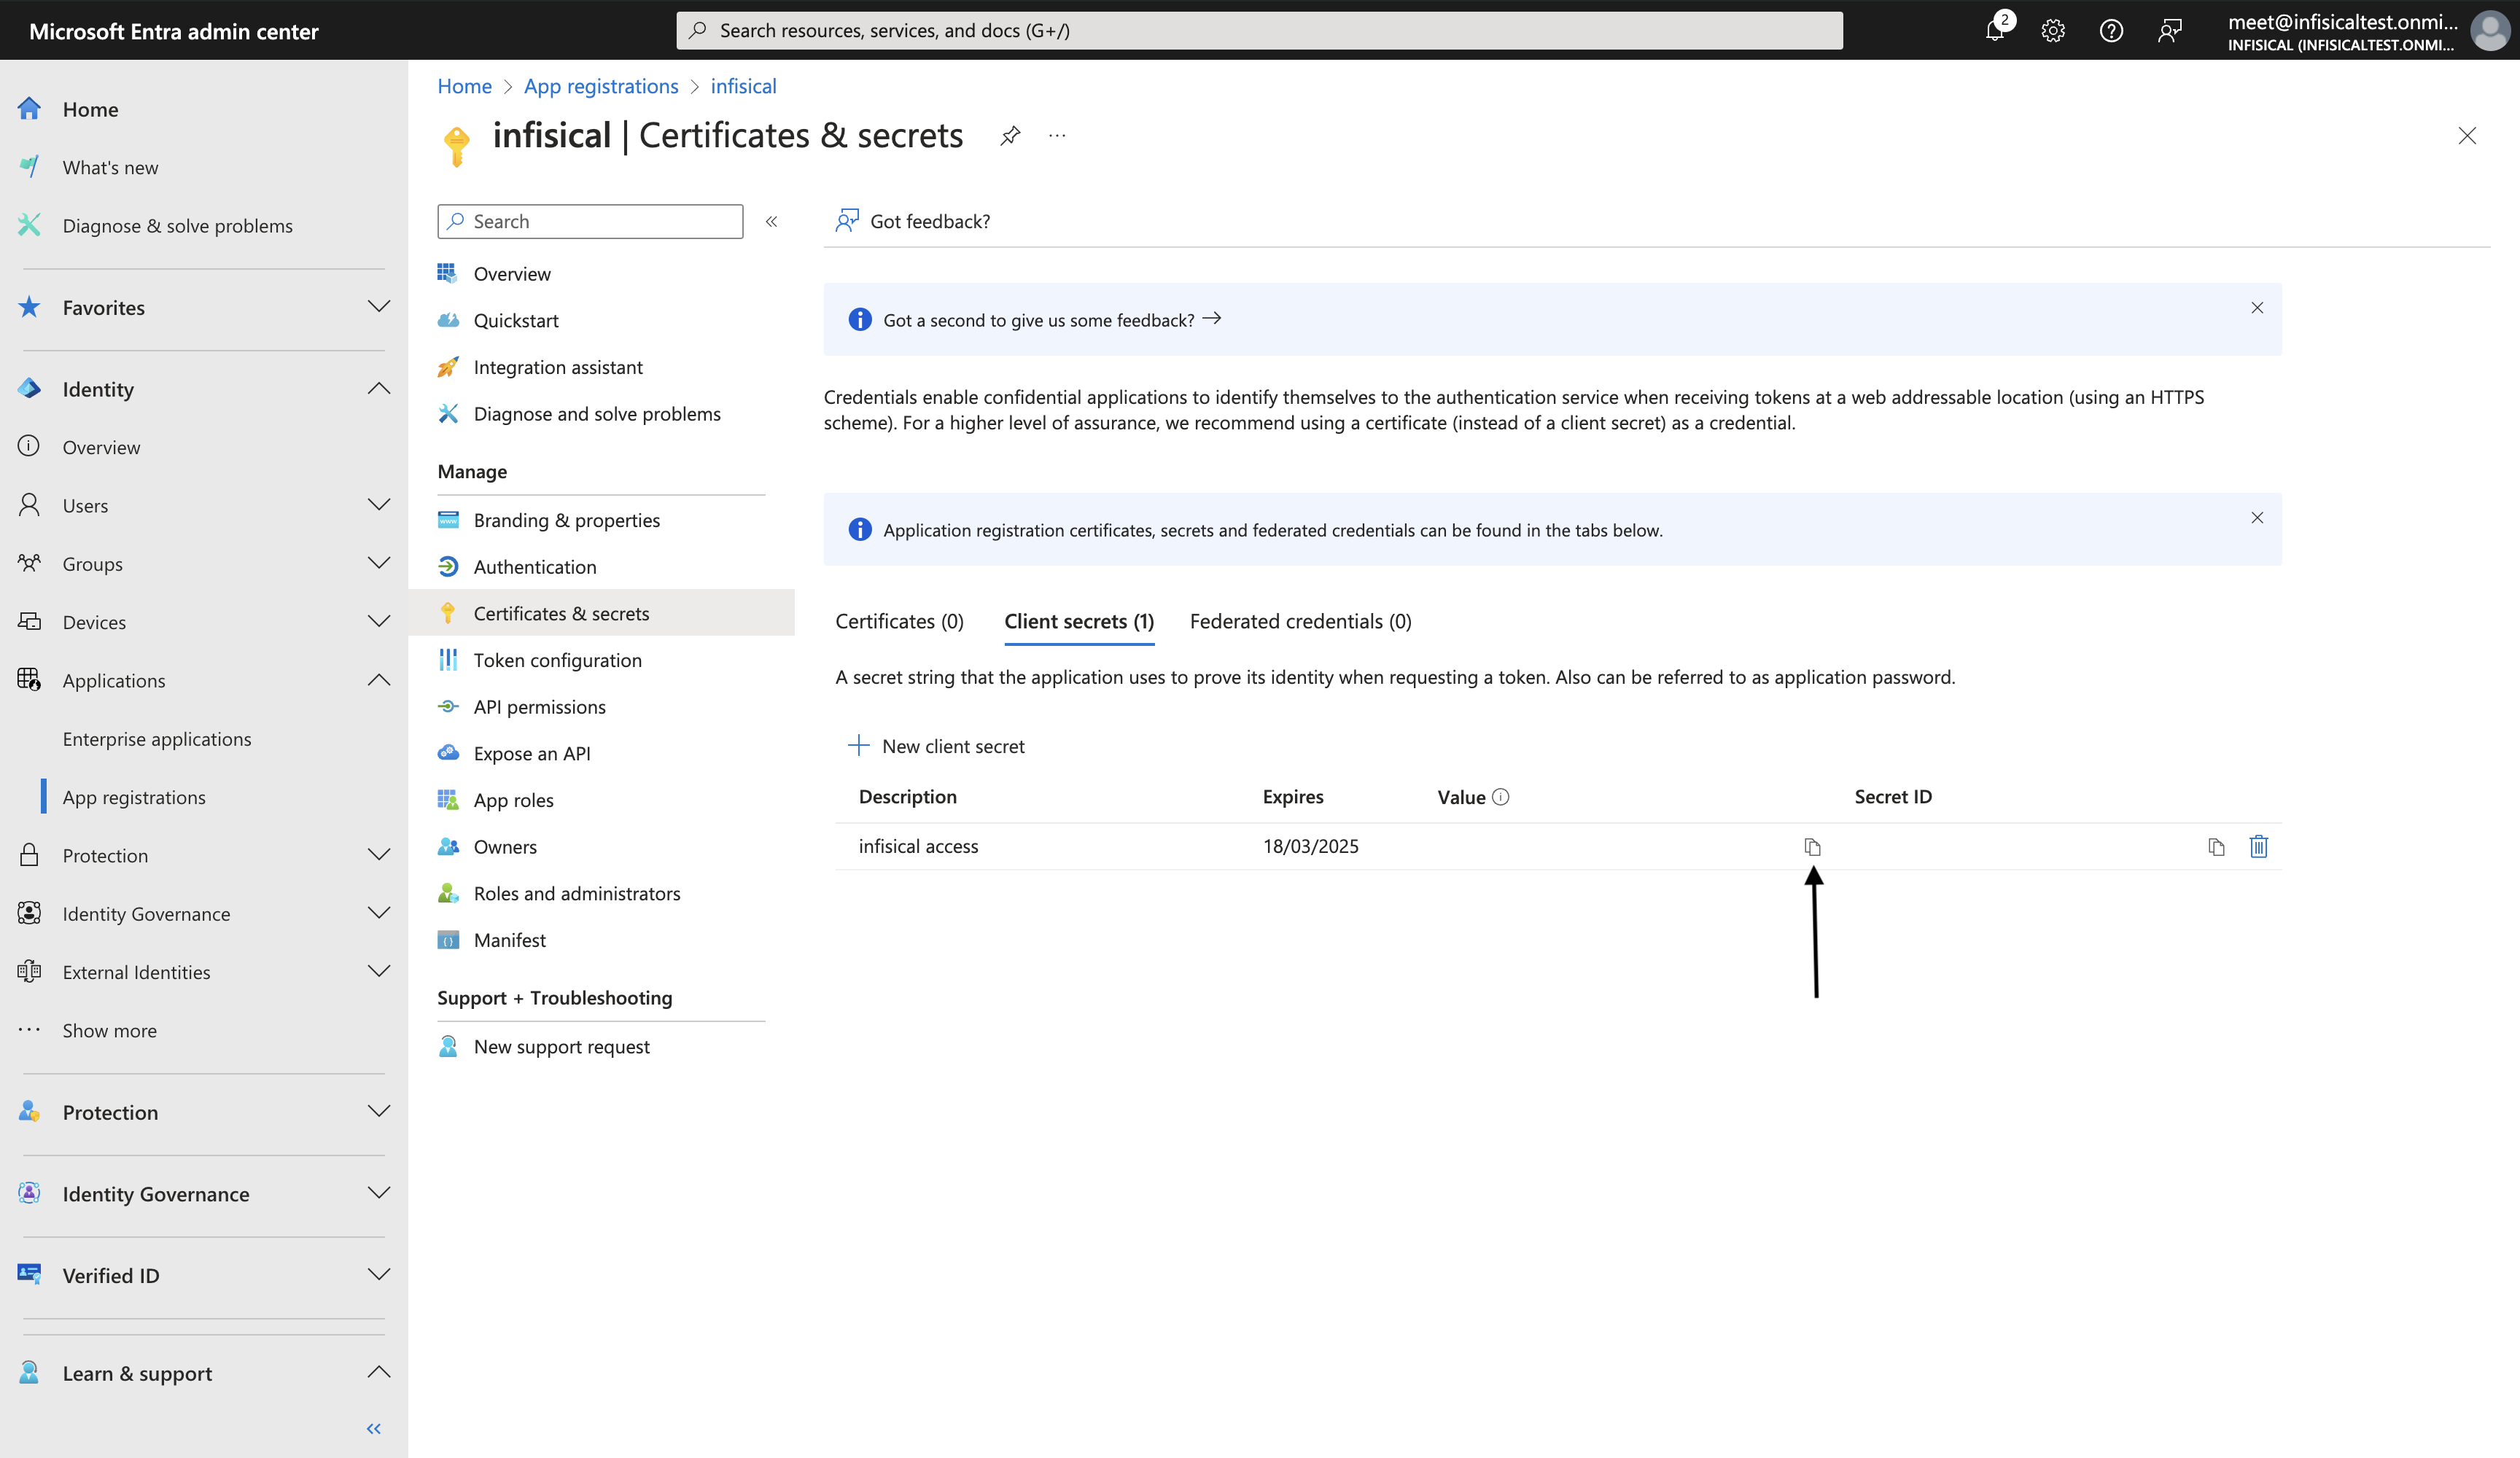
The Client Secret of the application you created in Azure Entra ID.
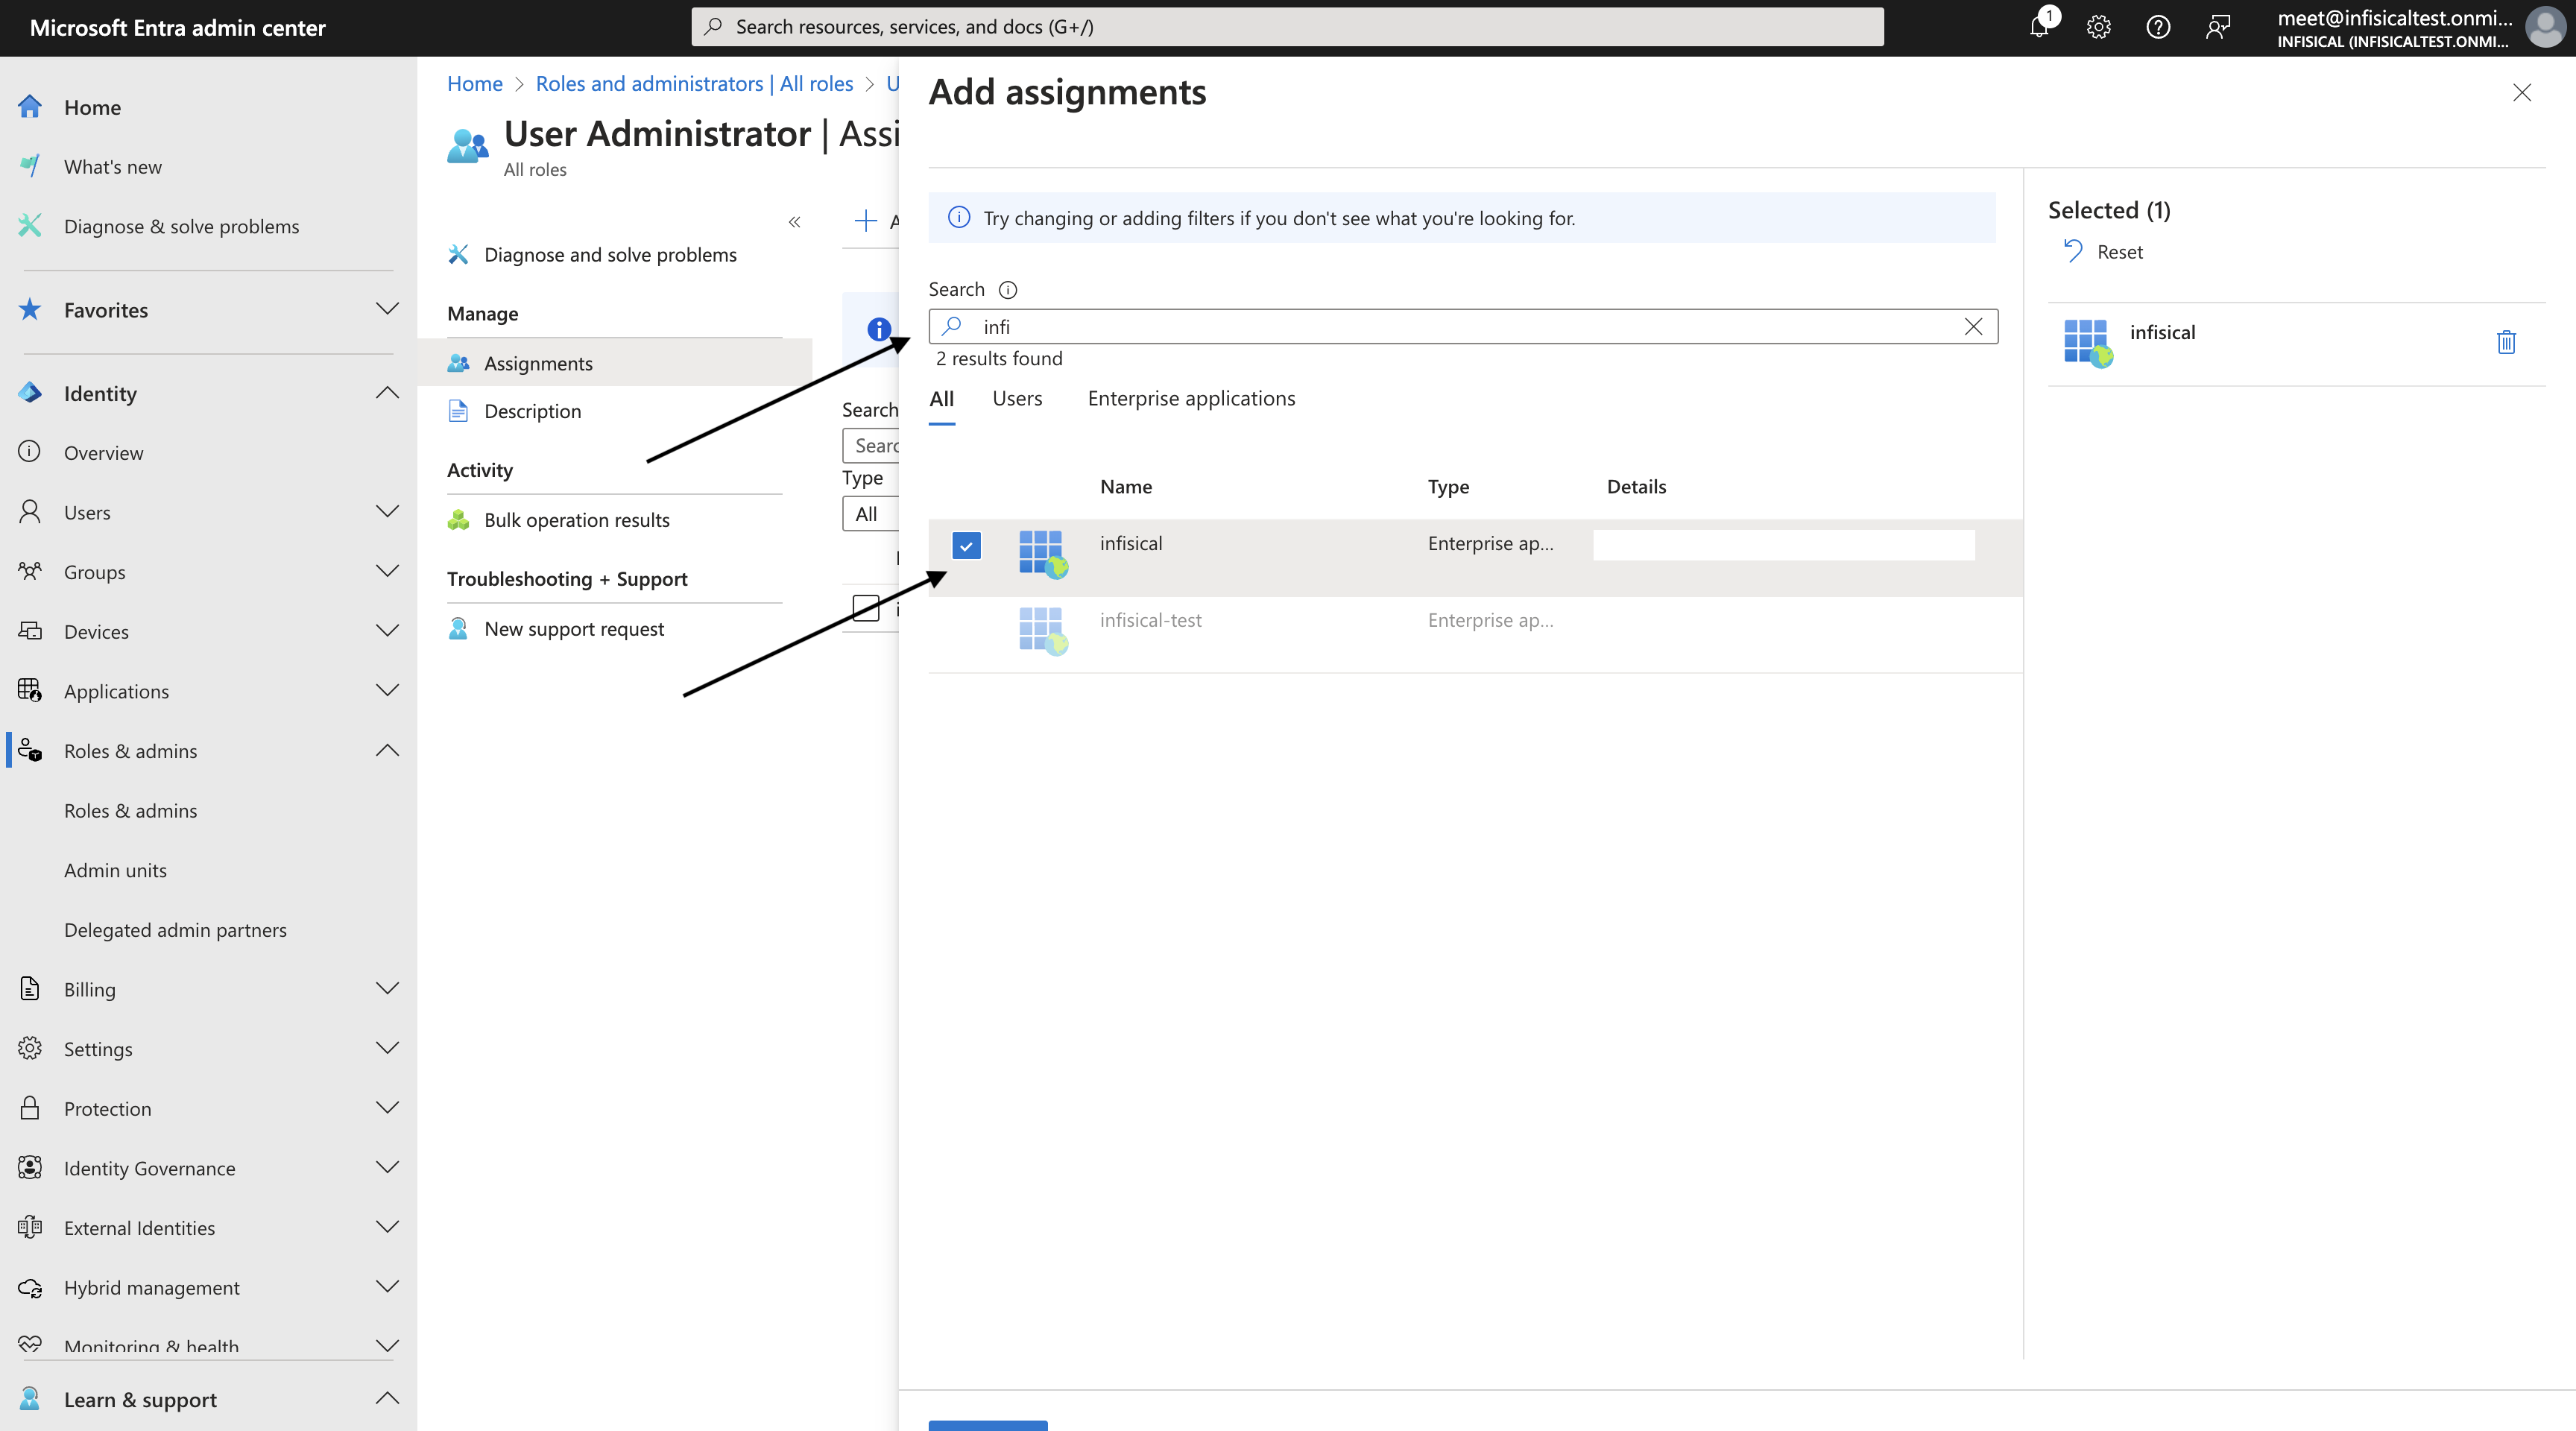
Multi select list of users to generate secrets for.
Click `Submit`
After submitting the form, you will see a dynamic secret for each user created in the dashboard.
Generate dynamic secrets
Once you’ve successfully configured the dynamic secret, you’re ready to generate on-demand credentials.
To do this, simply click on the ‘Generate’ button which appears when hovering over the dynamic secret item.
Alternatively, you can initiate the creation of a new lease by selecting ‘New Lease’ from the dynamic secret lease list section.
 When generating these secrets, it’s important to specify a Time-to-Live (TTL) duration. This will dictate how long the credentials are valid for.
 Once you click the
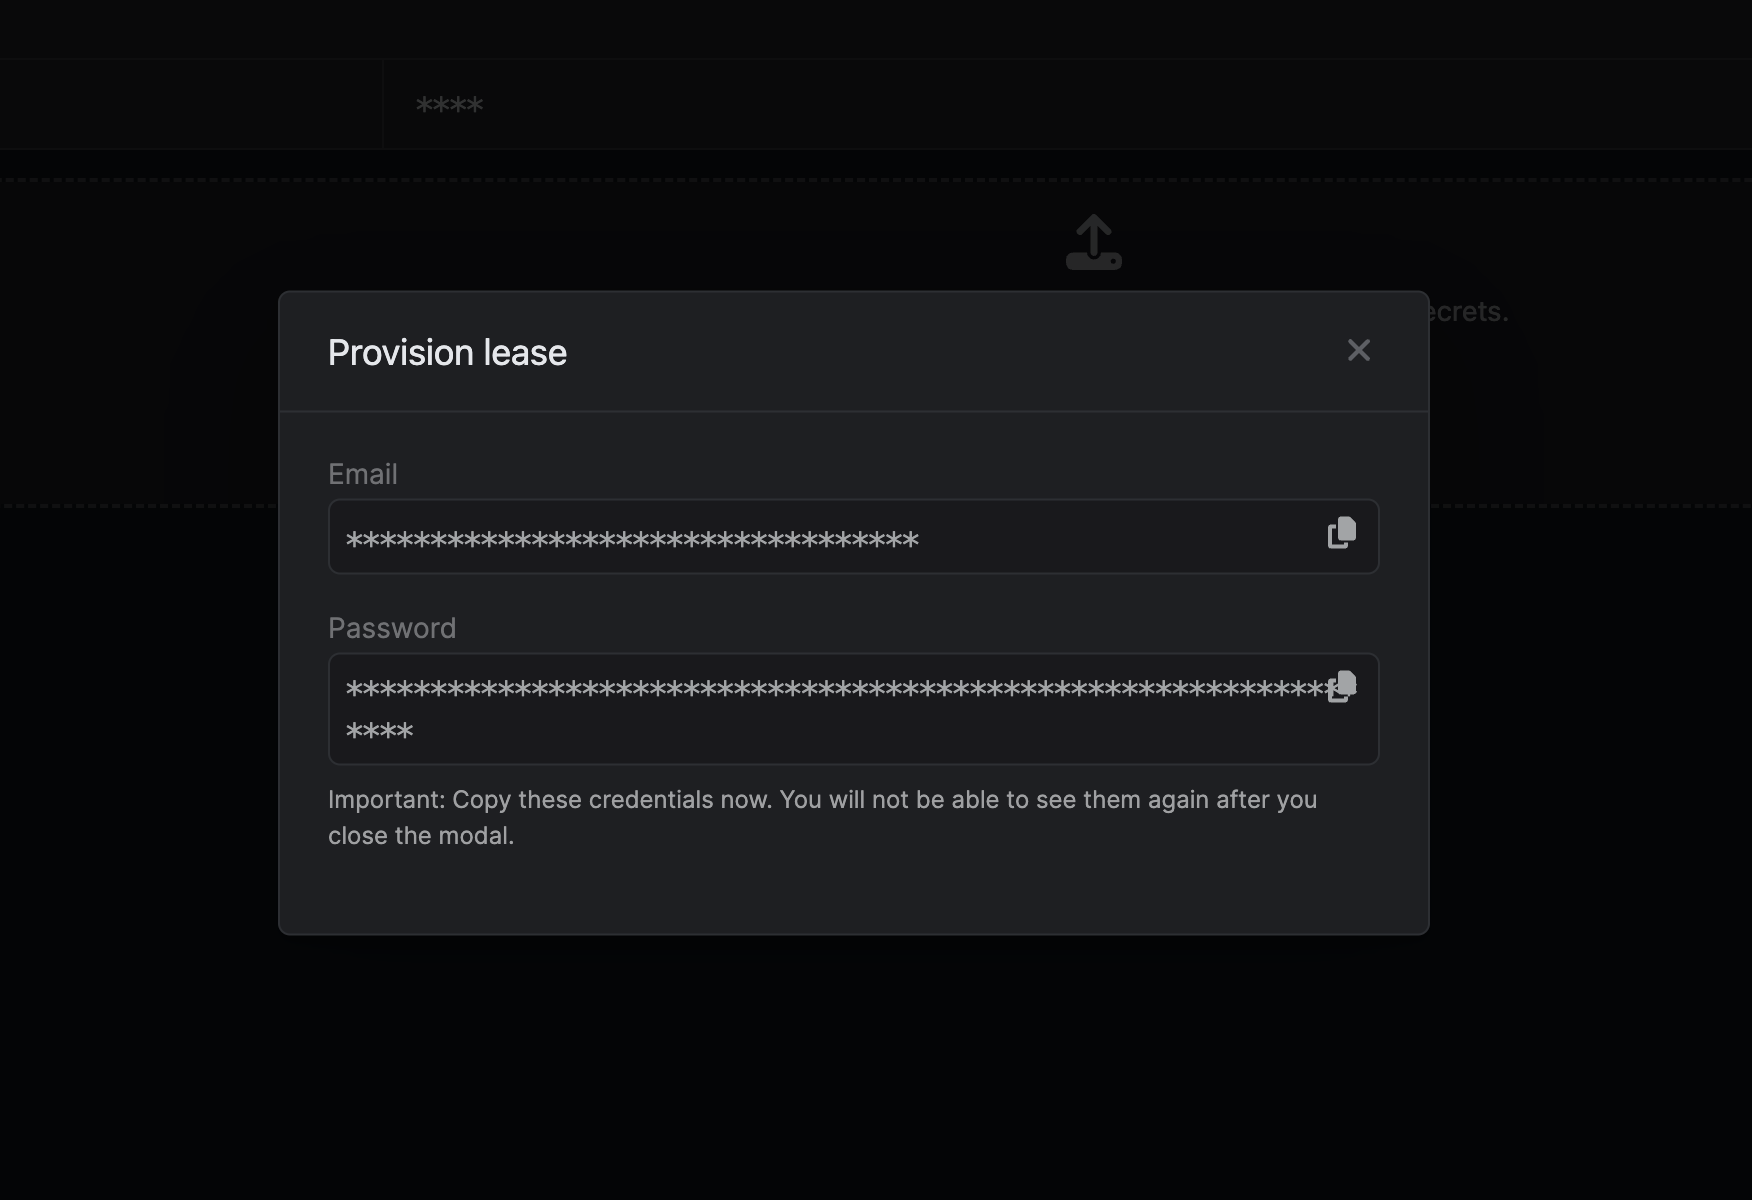
When generating these secrets, it’s important to specify a Time-to-Live (TTL) duration. This will dictate how long the credentials are valid for.Once you click the Submit button, a new secret lease will be generated and the credentials from it will be shown to you.Audit or Revoke Leases
Once you have created one or more leases, you will be able to access them by clicking on the respective dynamic secret item on the dashboard. This will allow you to see the expiration time of the lease or delete a lease before its set time to live.
Renew Leases
To extend the life of the generated dynamic secret leases past its initial time to live, simply click on the Renew button as illustrated below.