You must enable the IAM
API and
IAM Credentials
API
in your GCP console as a prerequisite
Self-Hosted Instance
Self-Hosted Instance
Using the GCP integration on a self-hosted instance of Infisical requires configuring a service account on GCP and
configuring your instance to use it.

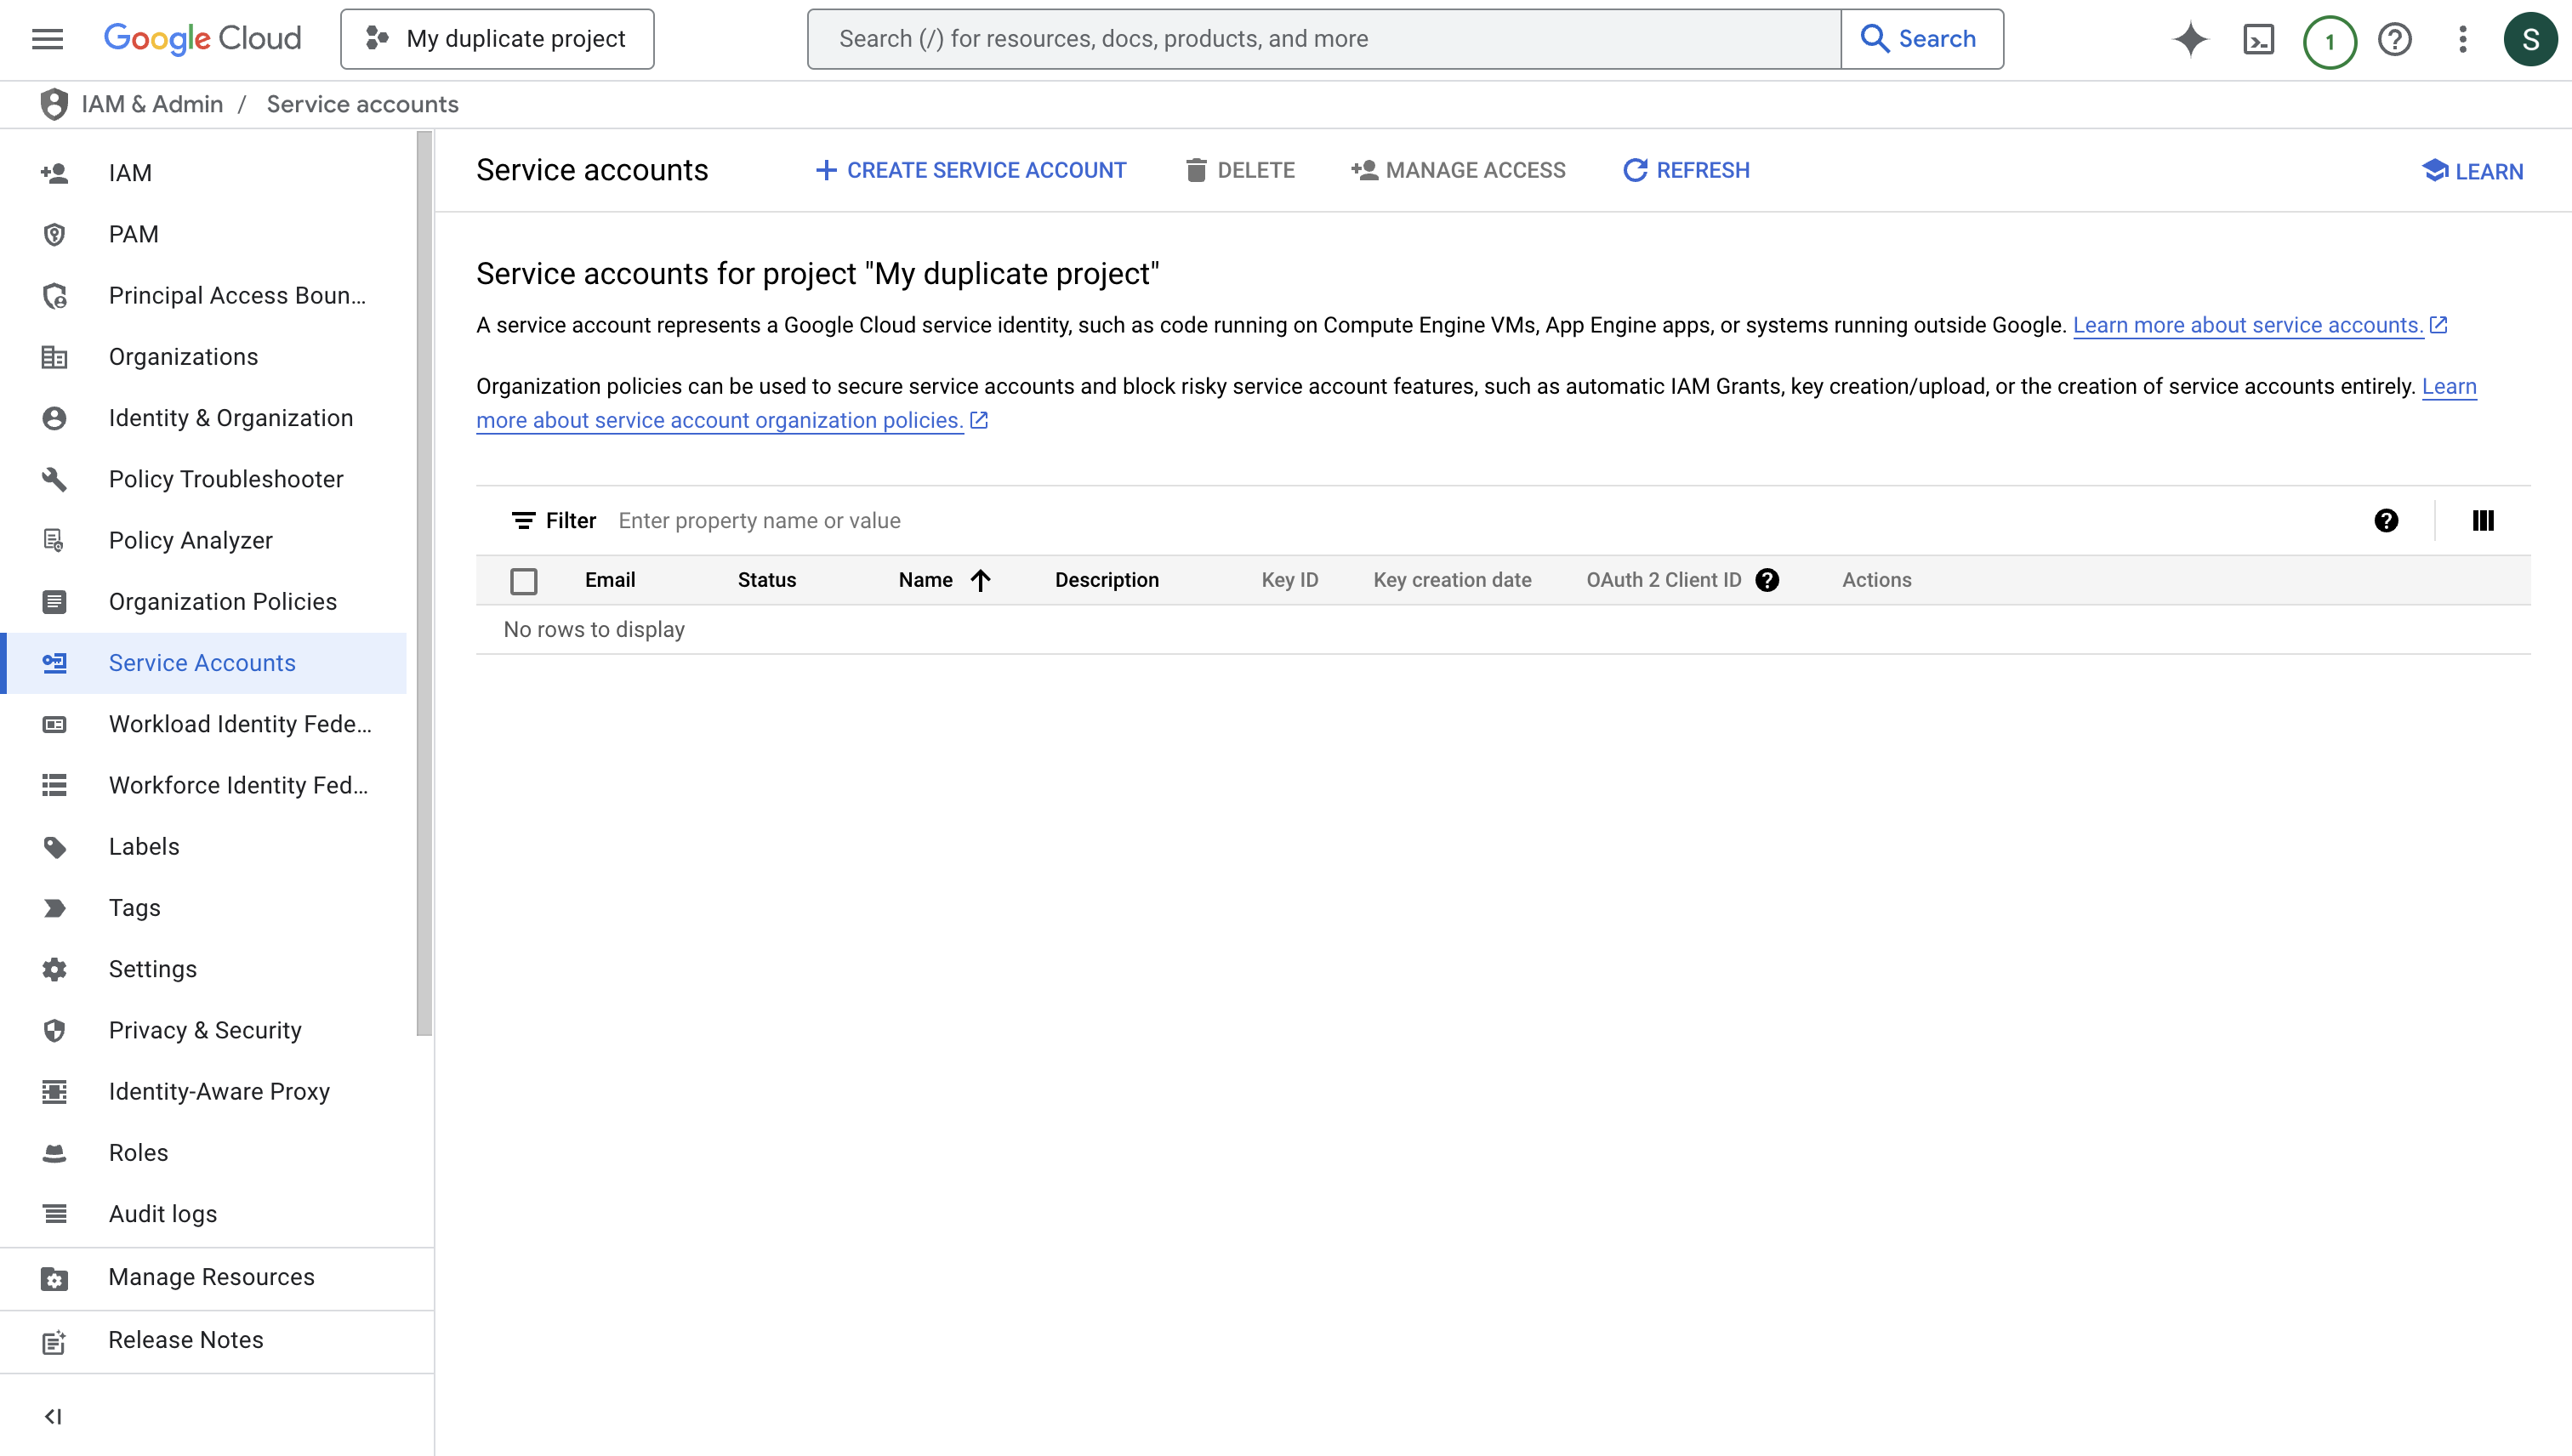
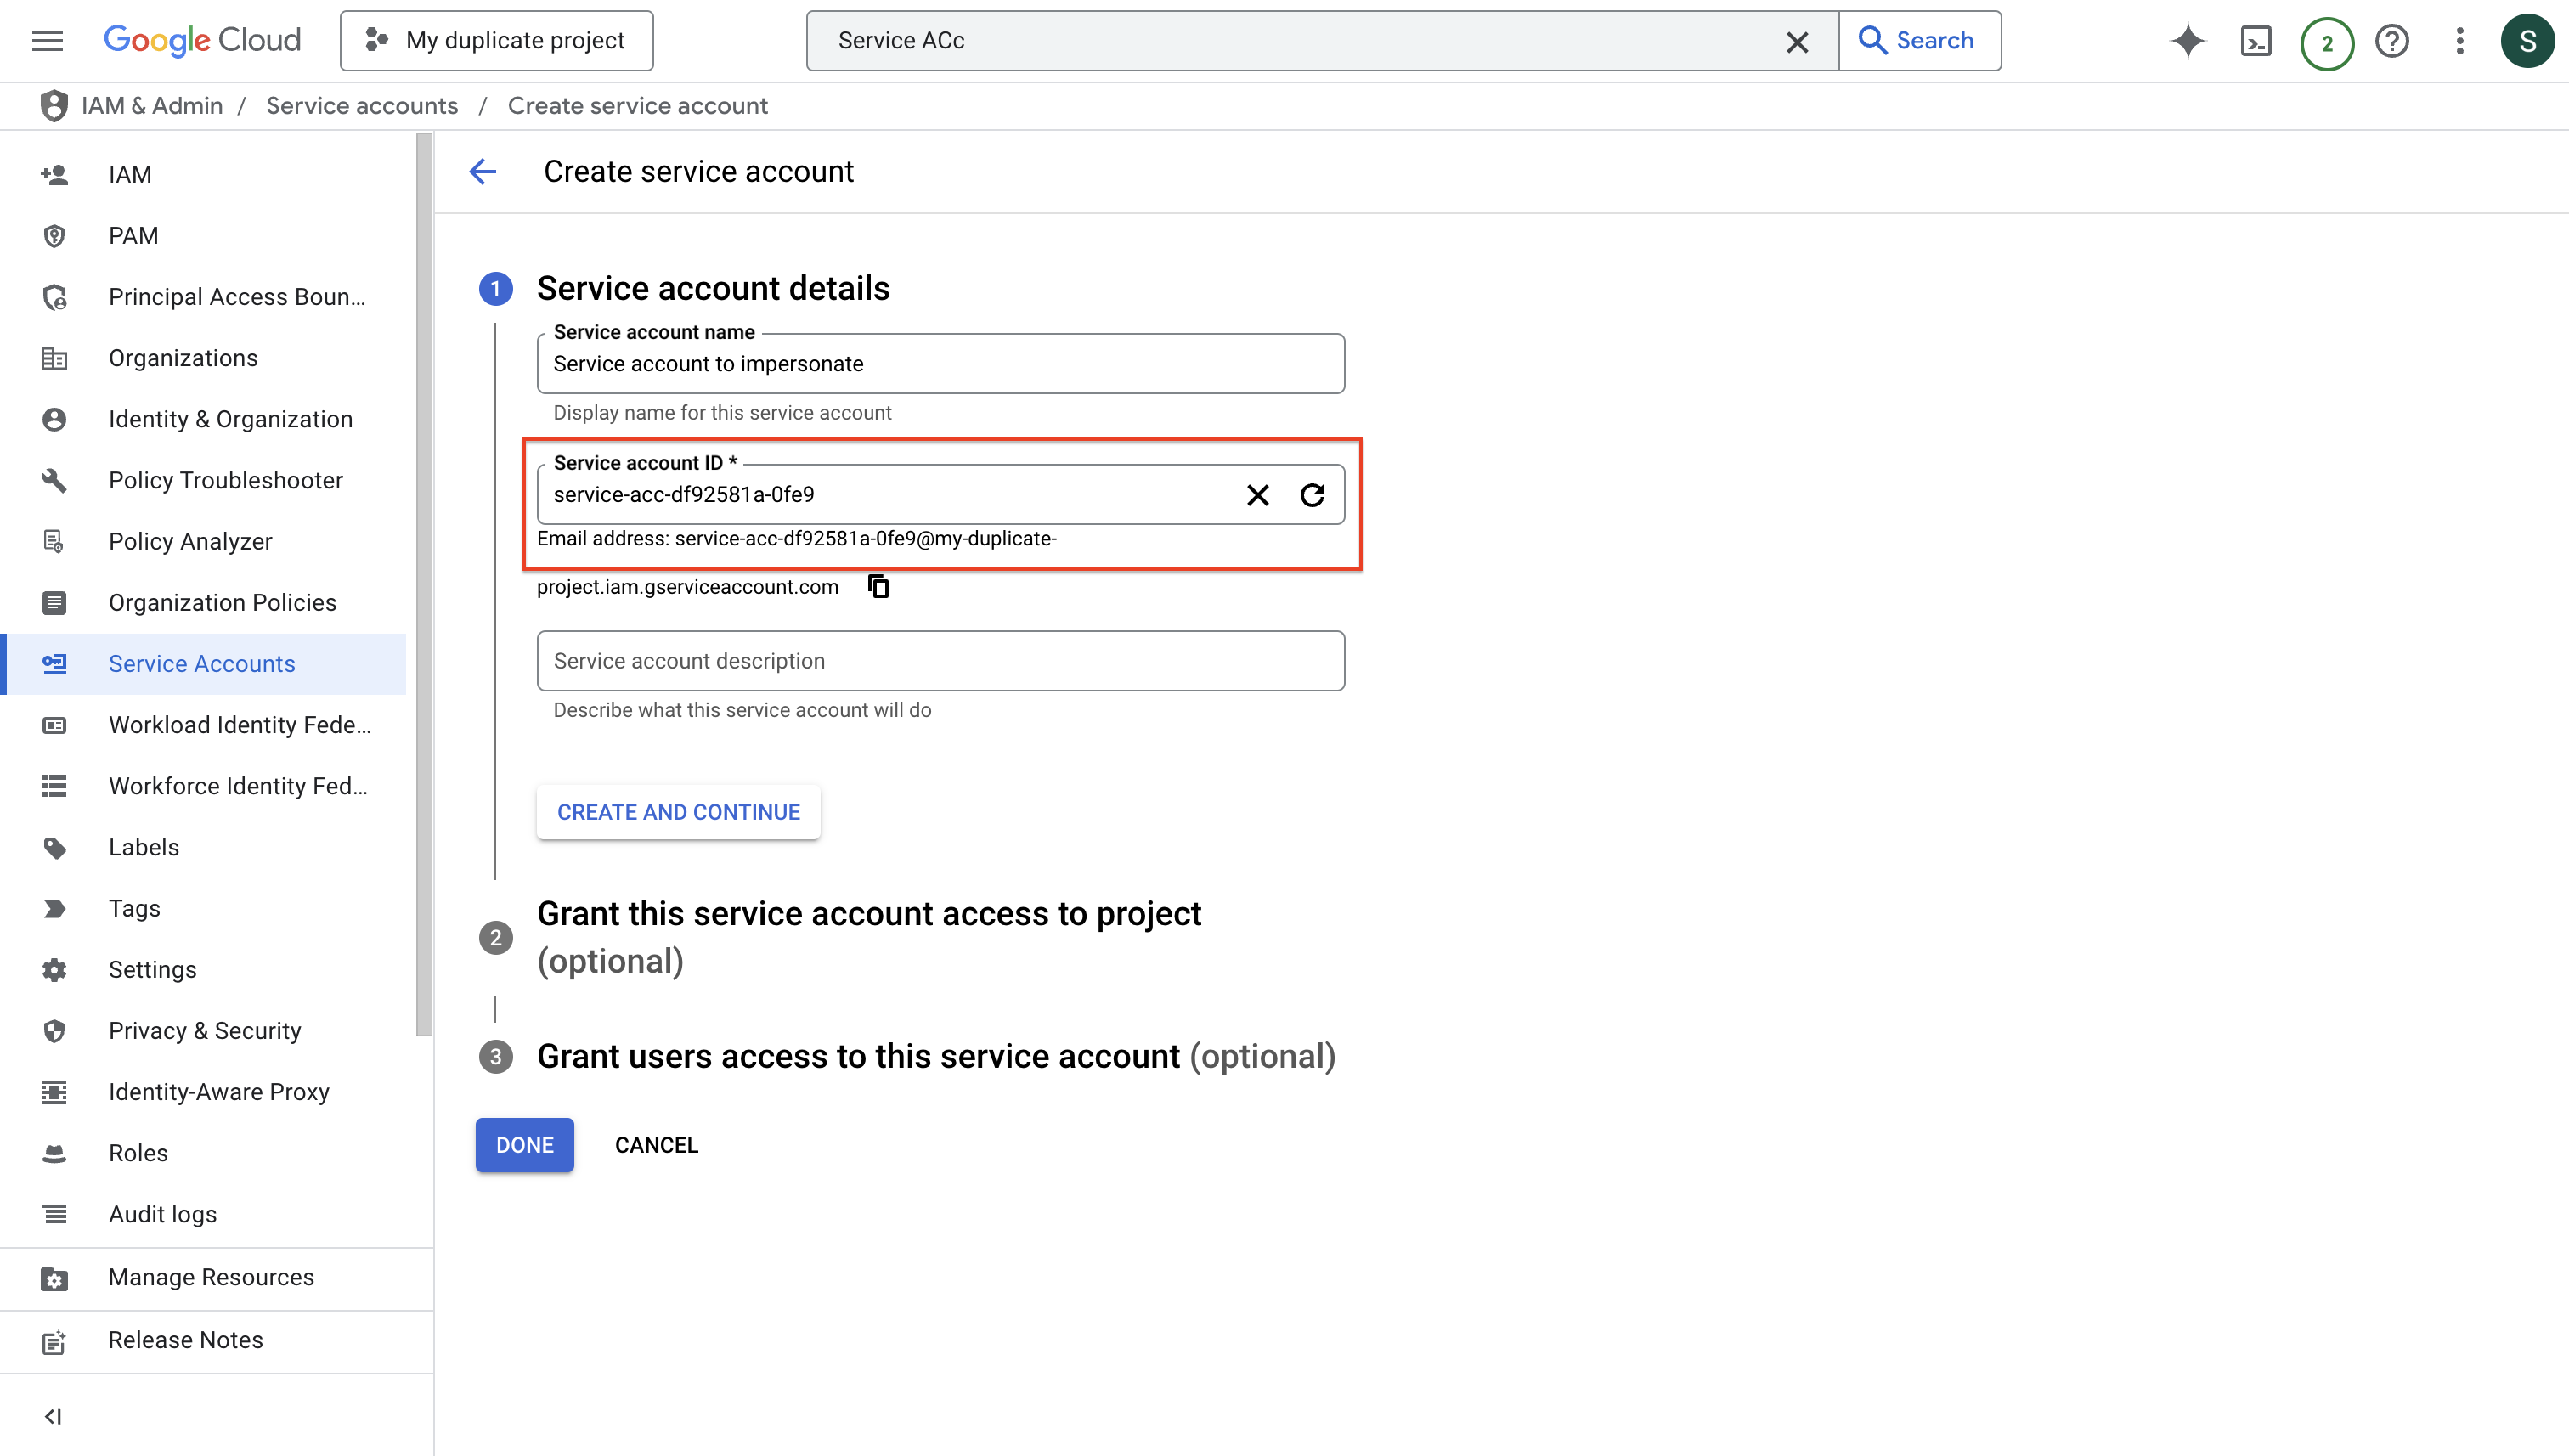
Create a Service Account
Create a new service account that will be used to impersonate other GCP service accounts for your app connections.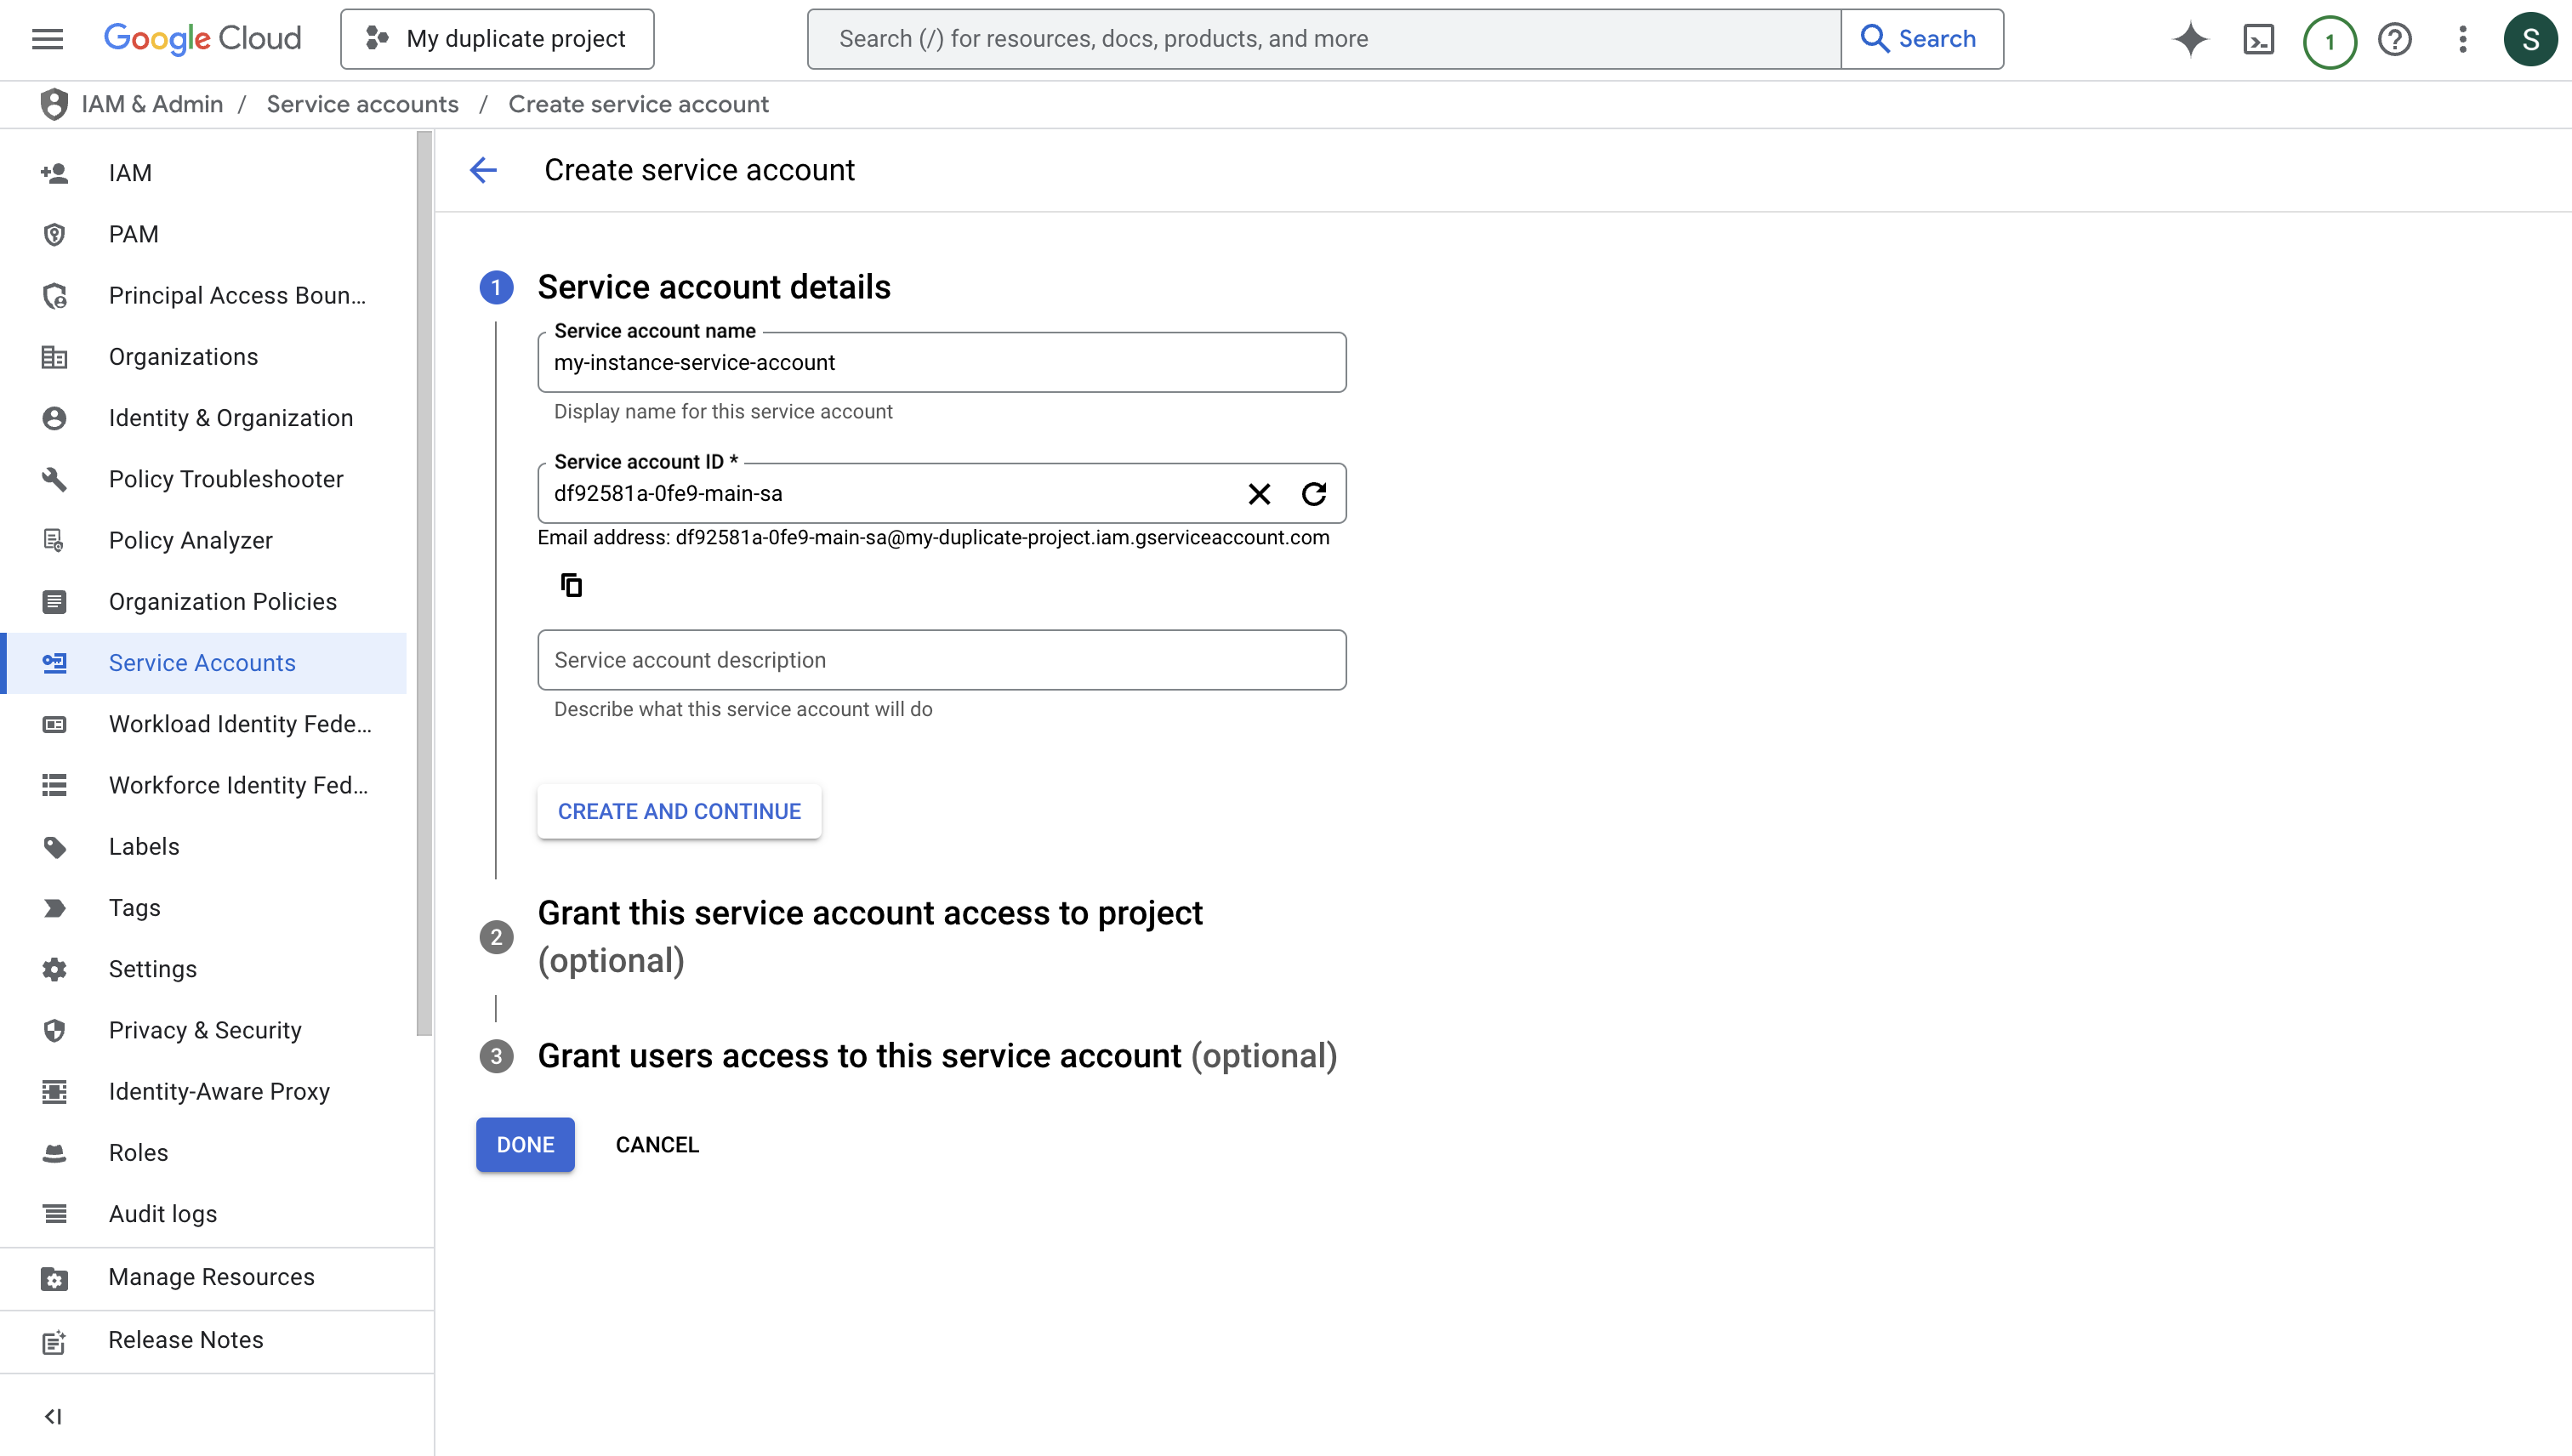 Press “DONE” after creating the service account.
Press “DONE” after creating the service account.Generate Service Account Key
Download the JSON key file for your service account. This will be used to authenticate your instance with GCP.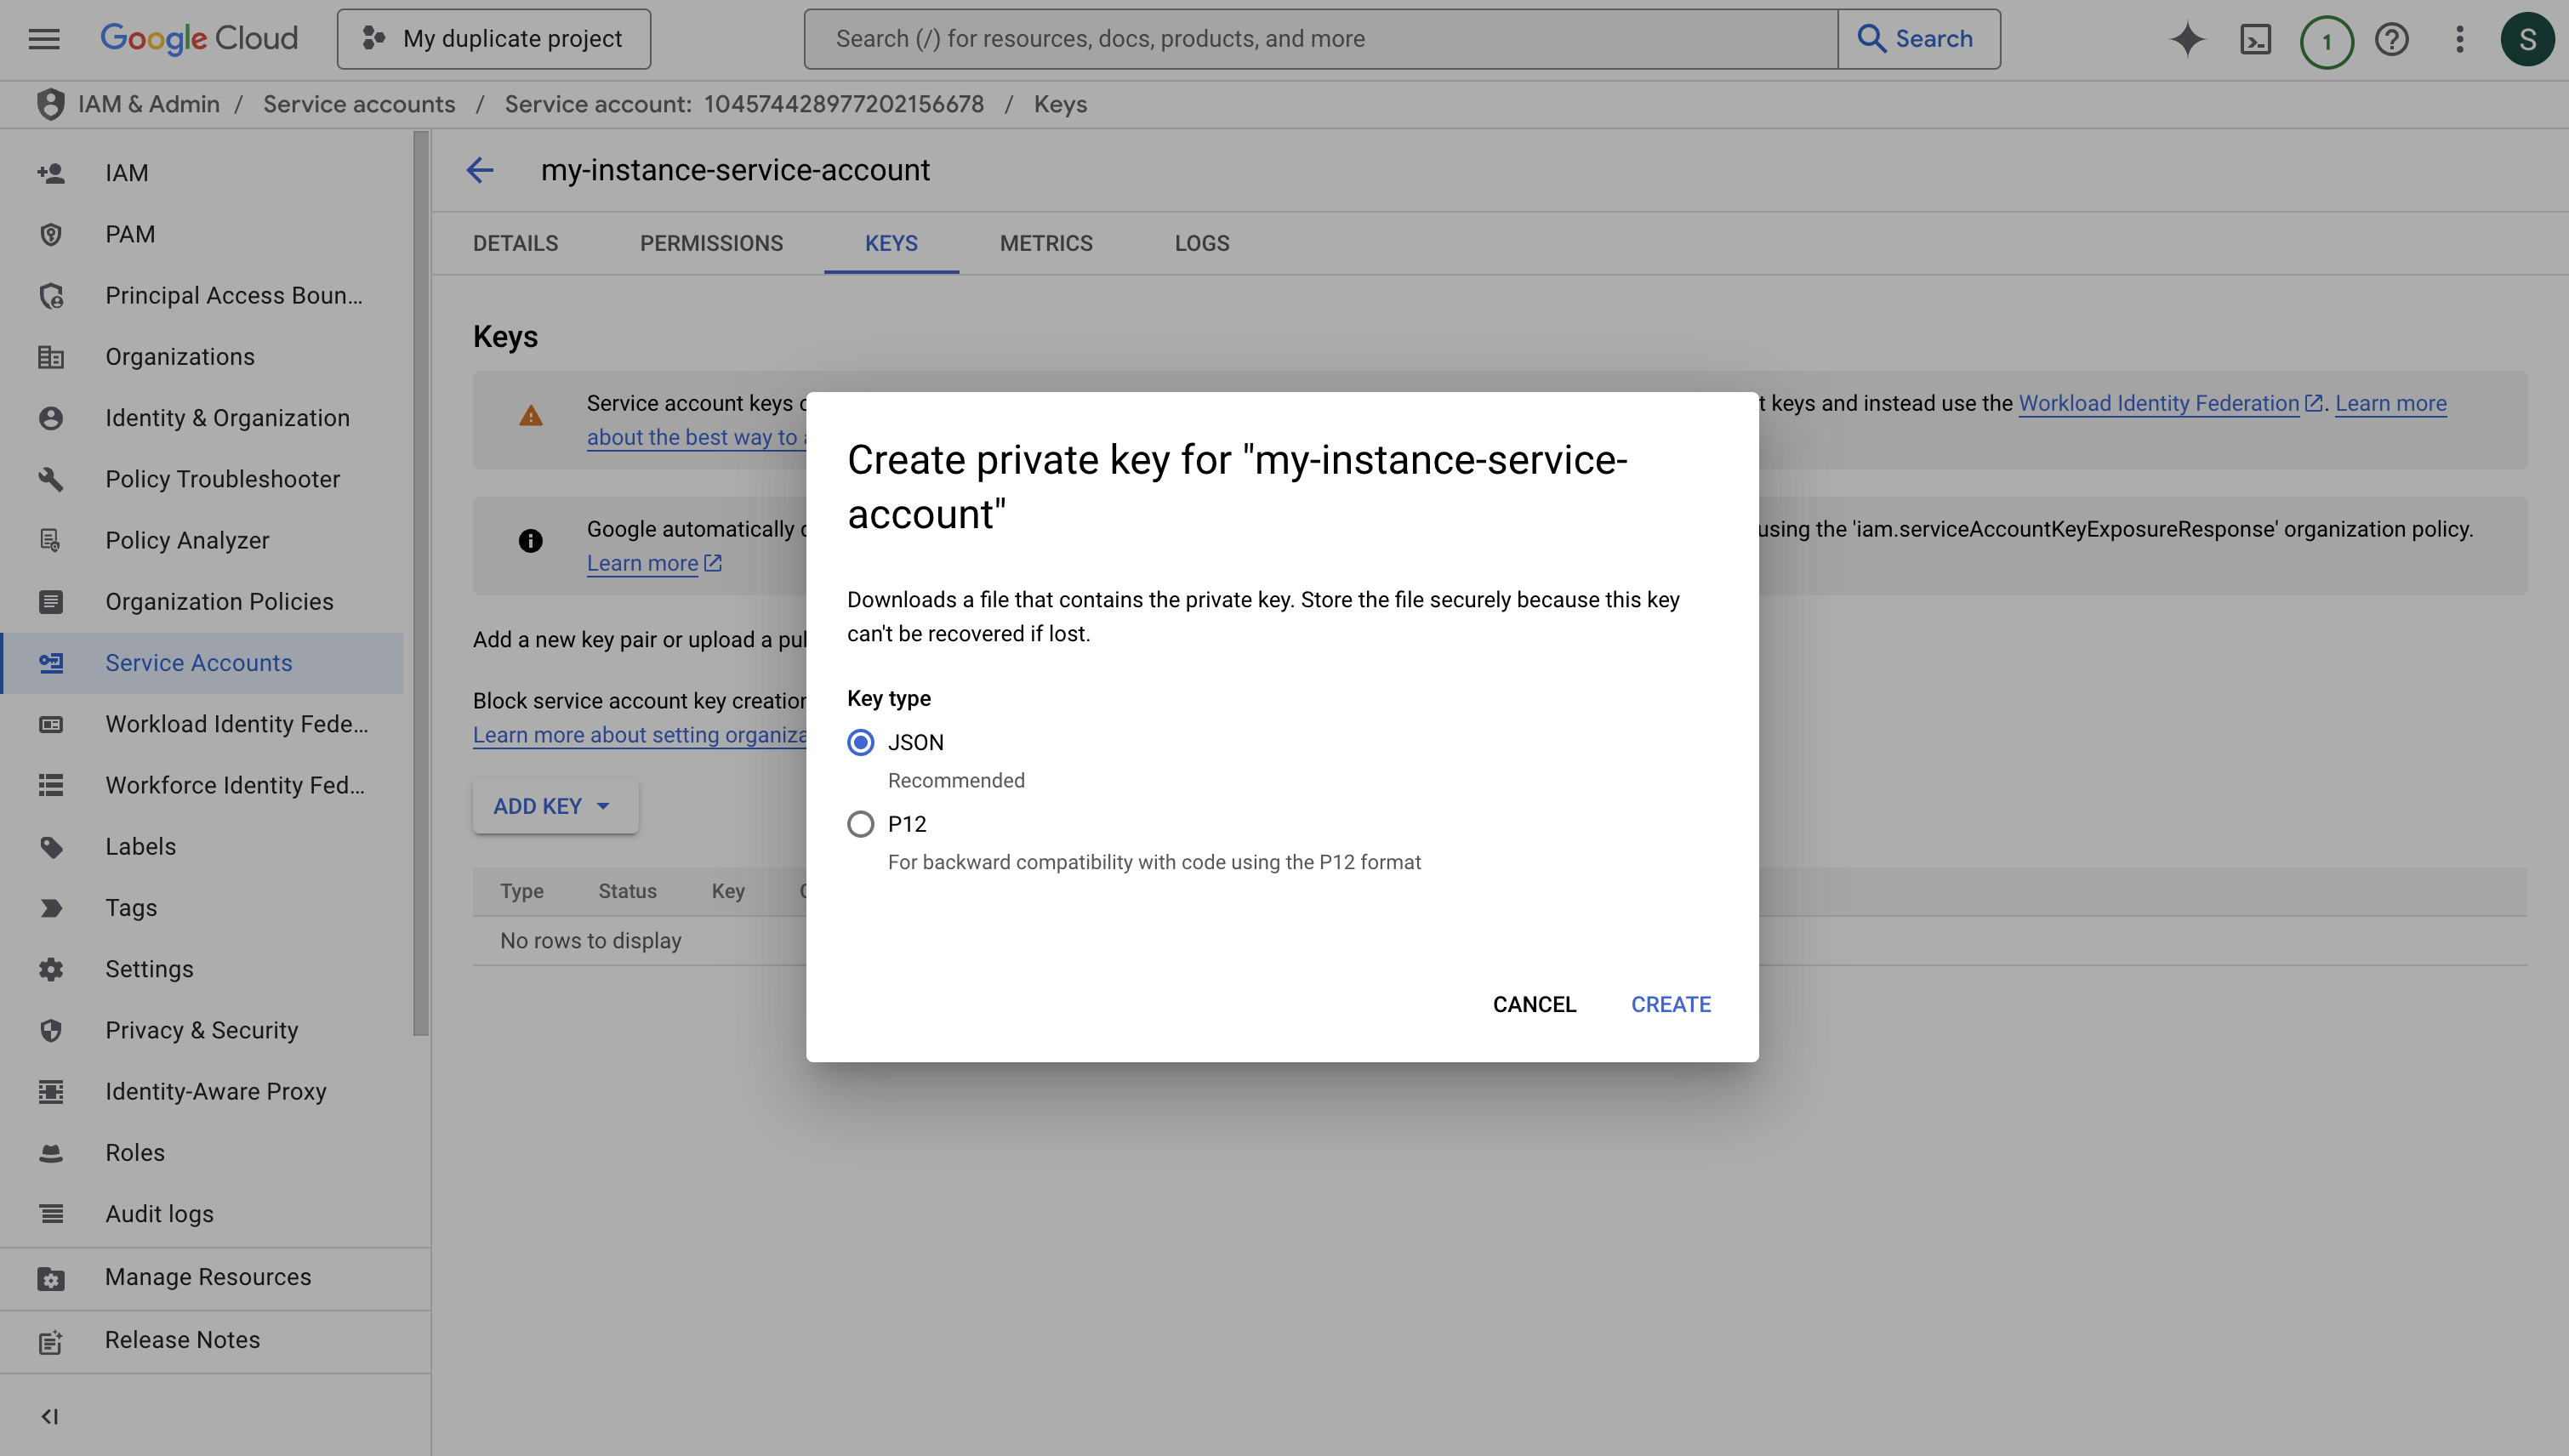
Configure Your Instance
- Copy the entire contents of the downloaded JSON key file.
- Set it as a string value for the
INF_APP_CONNECTION_GCP_SERVICE_ACCOUNT_CREDENTIALenvironment variable. - Restart your Infisical instance to apply the changes.
- You can now use GCP integration with service account impersonation.
Workload identity federation is also supported. Instead of a service account key, you may
set
INF_APP_CONNECTION_GCP_SERVICE_ACCOUNT_CREDENTIAL to an external_account credential
configuration JSON (the file produced by gcloud iam workload-identity-pools create-cred-config).
Infisical detects the credential type from the type field automatically. The federated identity
needs the roles/iam.serviceAccountTokenCreator role on the service accounts it impersonates.For AWS providers, Infisical resolves the instance’s AWS credentials through the standard AWS
SDK credential chain, so federation works on EC2, ECS/Fargate, EKS (IRSA), and Lambda, or from
AWS_ACCESS_KEY_ID / AWS_SECRET_ACCESS_KEY environment variables. The region defaults to
us-east-1; set AWS_REGION (or AWS_DEFAULT_REGION) to use a specific regional STS endpoint.For other providers, the referenced credential source (a mounted file or URL) must be reachable
from the Infisical instance at runtime.Create GCP Service Account
Configure Service Account Permissions
When you assign specific roles and permissions to this service account, any tokens generated through Infisical’s dynamic secrets functionality will inherit these exact permissions. This means that applications using these dynamically generated tokens will have the same access capabilities as defined by the service account’s role assignments, ensuring proper access control while maintaining the principle of least privilege.After configuring the appropriate roles, press “DONE”.
Enable Service Account Impersonation
To enable service account impersonation, you’ll need to grant the Service Account Token Creator role to the Infisical instance’s service account. This configuration allows Infisical to securely impersonate the new service account.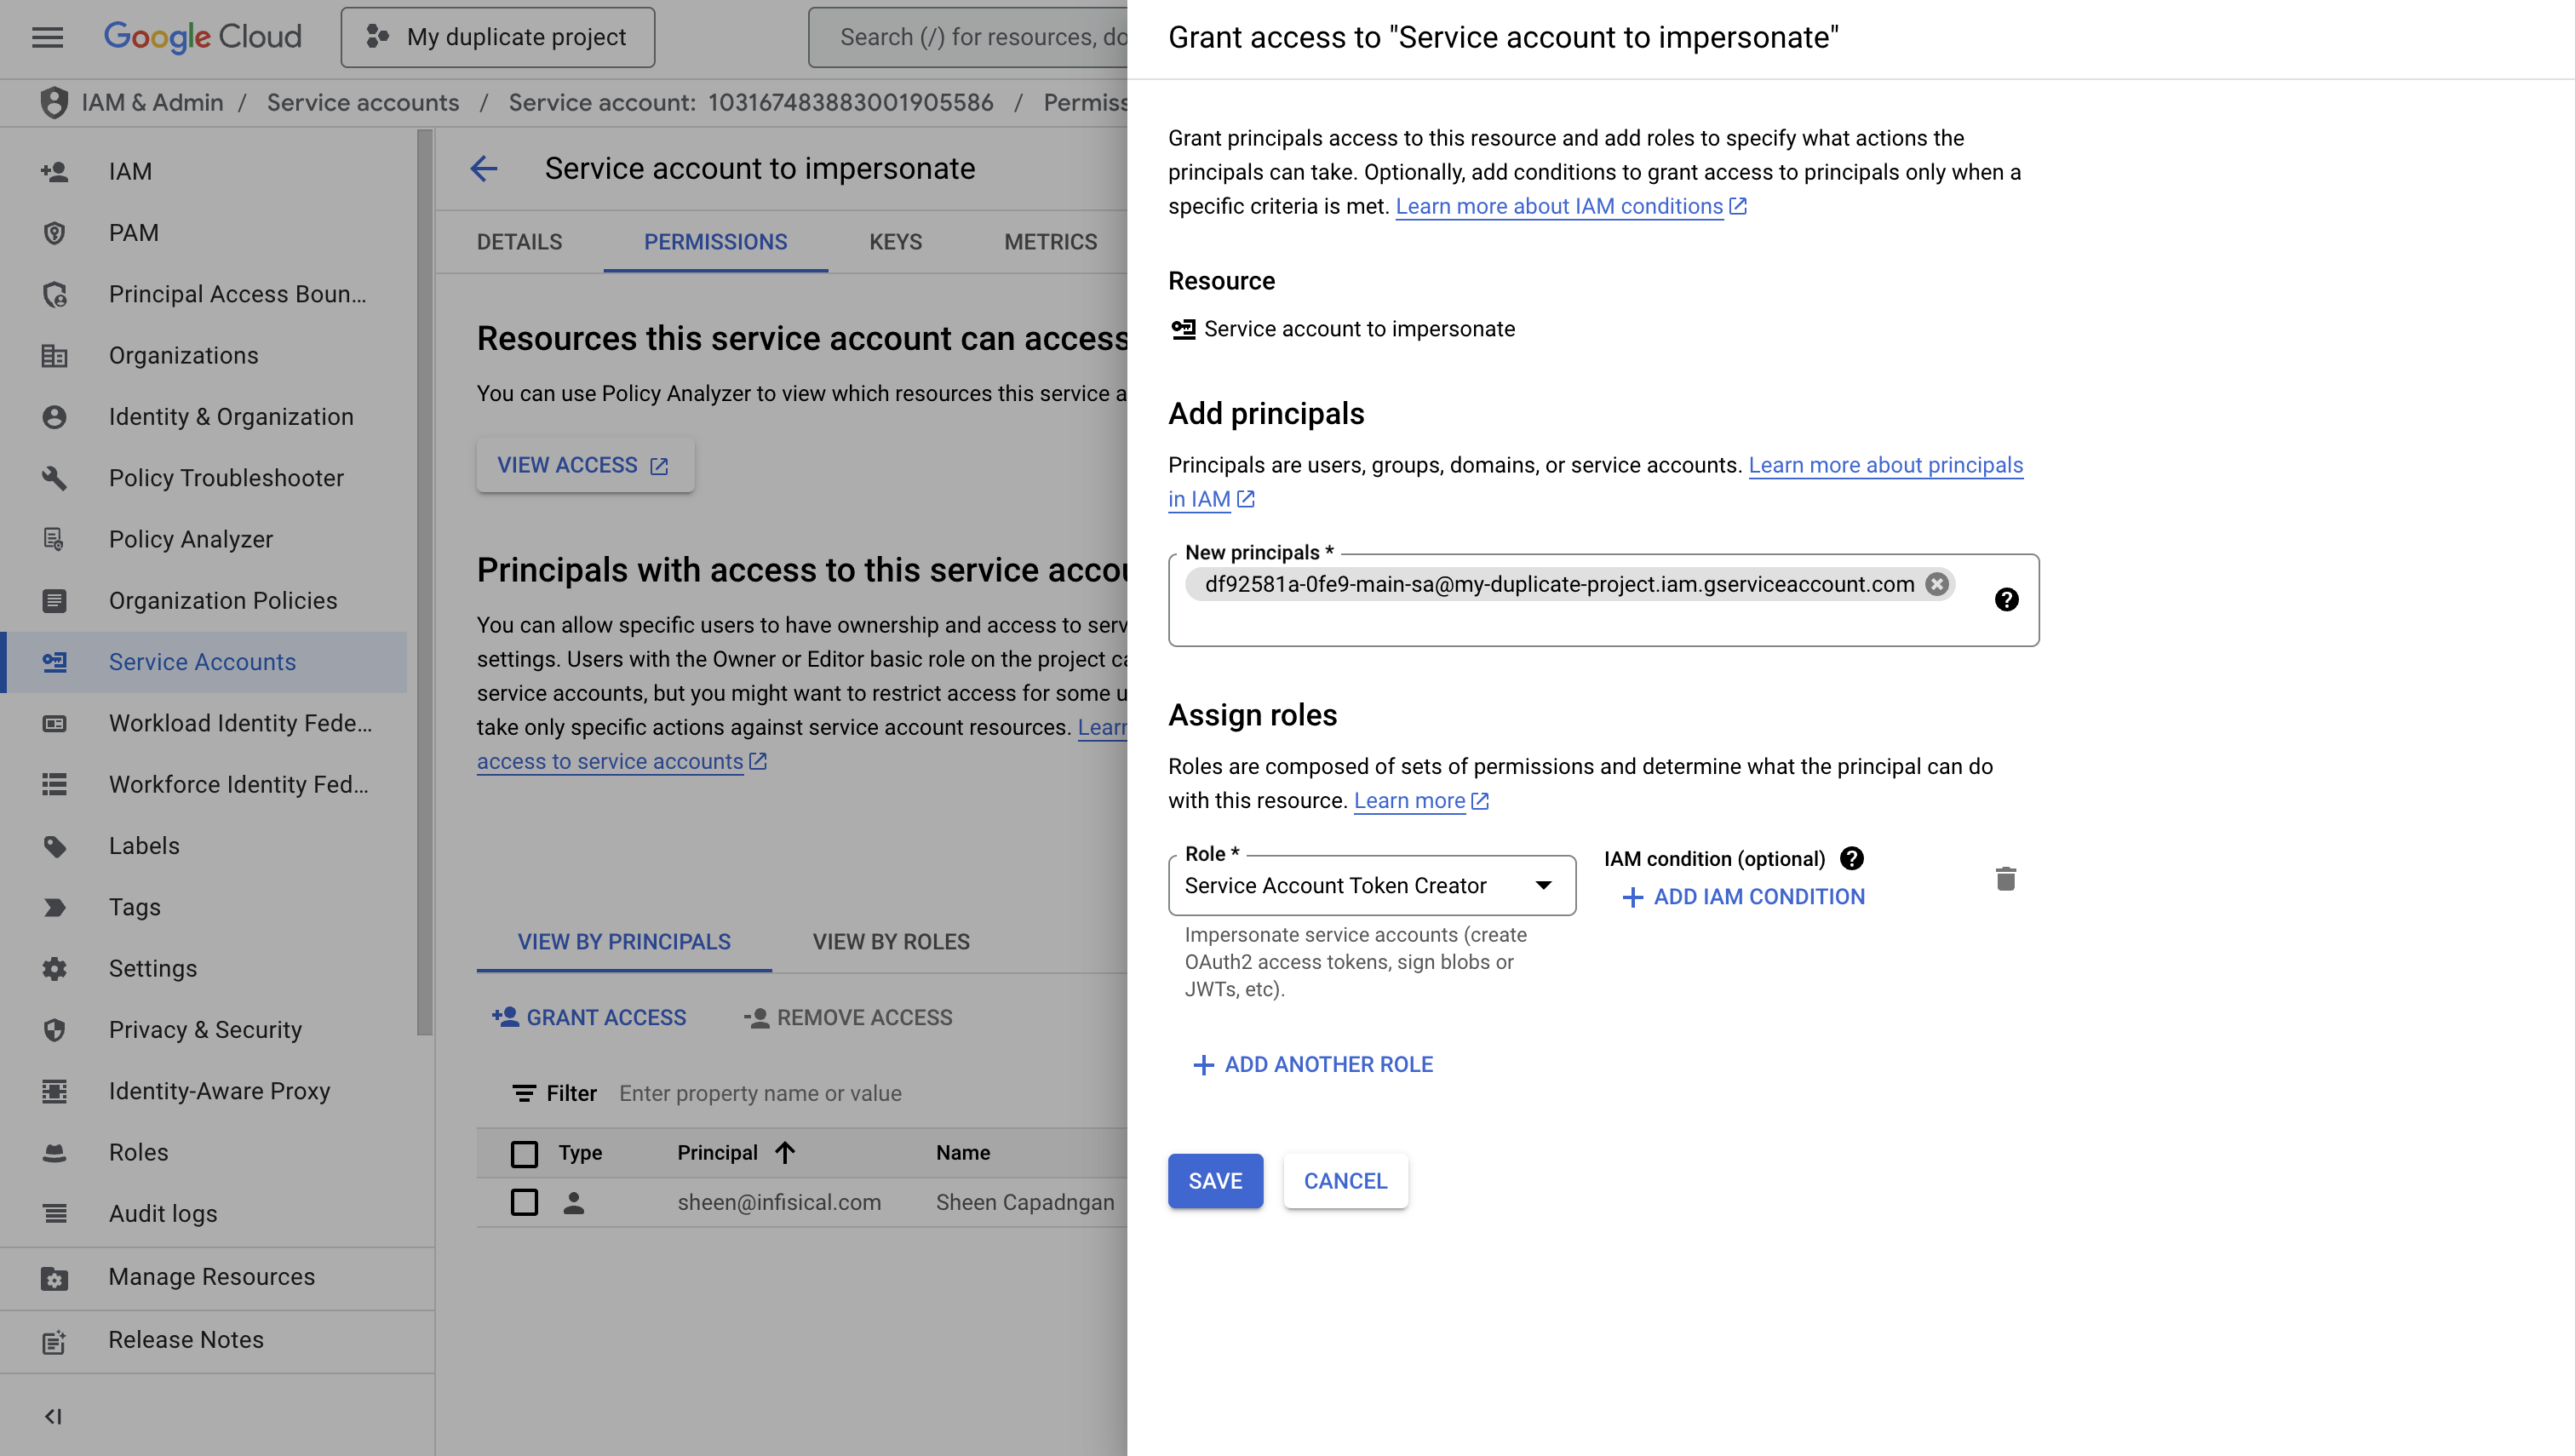
- Navigate to the IAM & Admin > Service Accounts section in your Google Cloud Console
- Select the newly created service account
- Click on the “PERMISSIONS” tab
- Click “Grant Access” to add a new principal
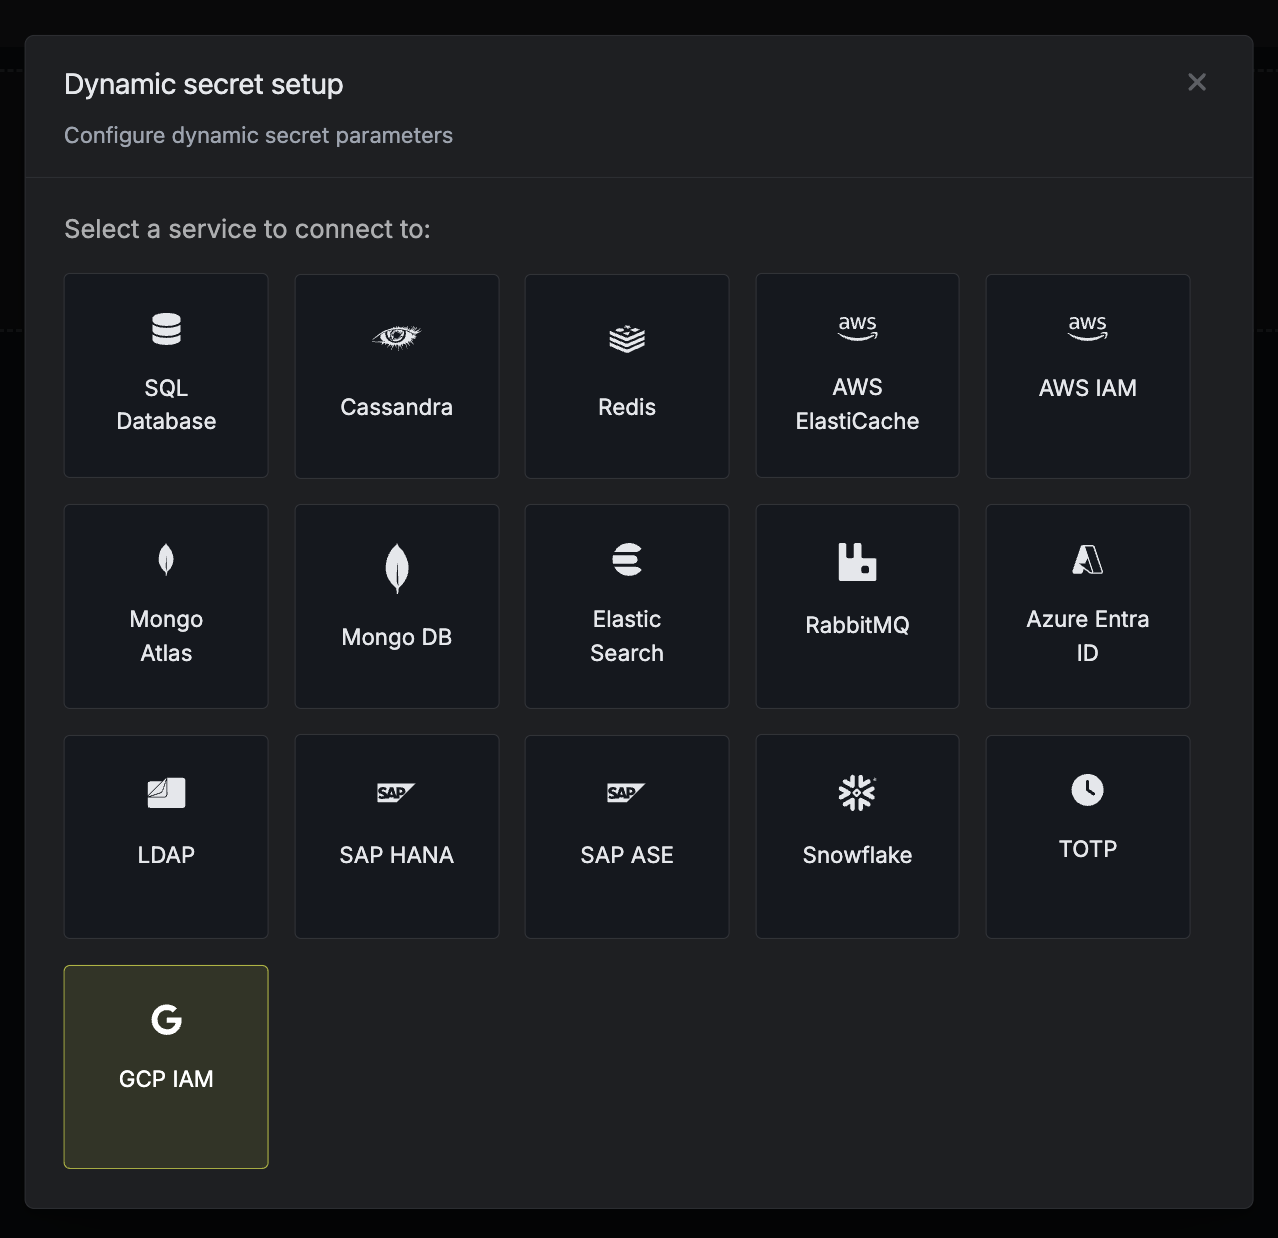
infisical-us@infisical-us.iam.gserviceaccount.comIf you’re using Infisical Cloud EU, use the following service account: infisical-eu@infisical-eu.iam.gserviceaccount.comIf you’re self-hosting, follow the “Self-Hosted Instance” guide at the top of the page and then use service account you createdSet up Dynamic Secrets with GCP IAM
Open Secret Overview Dashboard
Open the Secret Overview dashboard and select the environment in which you would like to add a dynamic secret.

Provide the inputs for dynamic secret parameters
Name by which you want the secret to be referenced
Default time-to-live for a generated secret (it is possible to modify this value after a secret is generated)
Maximum time-to-live for a generated secret
The email tied to the service account created in earlier steps.
The OAuth scopes granted to the generated access token. Defaults to
https://www.googleapis.com/auth/iam and https://www.googleapis.com/auth/cloud-platform scopes. You can add additional scopes such as https://www.googleapis.com/auth/drive.Generate dynamic secrets
Once you’ve successfully configured the dynamic secret, you’re ready to generate on-demand credentials.
To do this, simply click on the ‘Generate’ button which appears when hovering over the dynamic secret item.
Alternatively, you can initiate the creation of a new lease by selecting ‘New Lease’ from the dynamic secret lease list section.
 When generating these secrets, it’s important to specify a Time-to-Live (TTL) duration. This will dictate how long the credentials are valid for.
 Once you click the
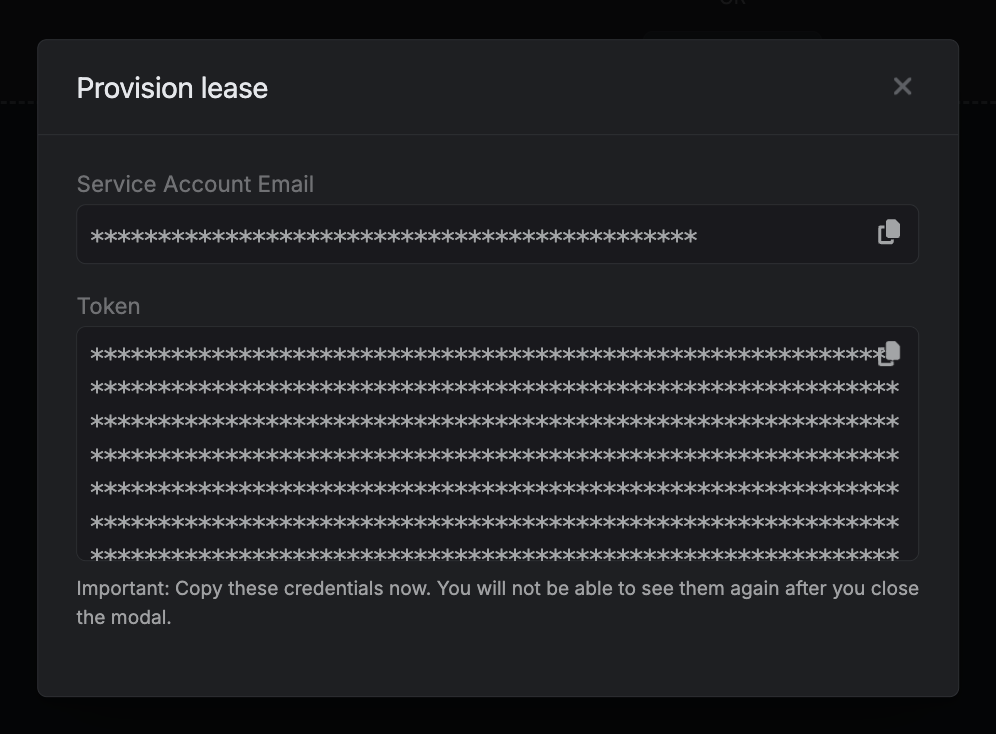
When generating these secrets, it’s important to specify a Time-to-Live (TTL) duration. This will dictate how long the credentials are valid for.Once you click the Submit button, a new secret lease will be generated and the credentials from it will be shown to you.Audit or Revoke Leases
Once you have created one or more leases, you will be able to access them by clicking on the respective dynamic secret item on the dashboard. This will allow you to see the expiration time of the lease or delete a lease before its set time to live.
Renew Leases
To extend the life of the generated dynamic secret leases past its initial time to live, simply click on the Renew button as illustrated below.