AWS STS Duration Limits
When using Temporary Credentials, AWS STS has specific maximum duration limits:- AssumeRole operations: Maximum 1 hour (3600 seconds) when using temporary credentials
- GetSessionToken operations (Access Key & IRSA): Maximum 12 hours (43200 seconds)
Automatic Duration Adjustment: If you specify a TTL that exceeds these AWS limits, Infisical will automatically use the maximum allowed duration instead of failing the operation. This ensures your dynamic secrets work reliably within AWS constraints.
Prerequisite
Infisical needs an AWS IAM principal (a user or a role) with the required permissions to create and manage other IAM users and temporary credentials. This principal will be responsible for the lifecycle of the dynamically generated users and temporary credentials.Required IAM Permissions
Required IAM Permissions
- IAM User
- Temporary Credentials
Required permissions for creating temporary IAM users:To minimize managing user access you can attach a resource in format
arn:aws:iam::<account-id>:user/<aws-scope-path>Replace <account id> with your AWS account id and <aws-scope-path> with a path to minimize managing user access.
Set up Dynamic Secrets with AWS IAM
- Assume Role (Recommended)
- IRSA (EKS)
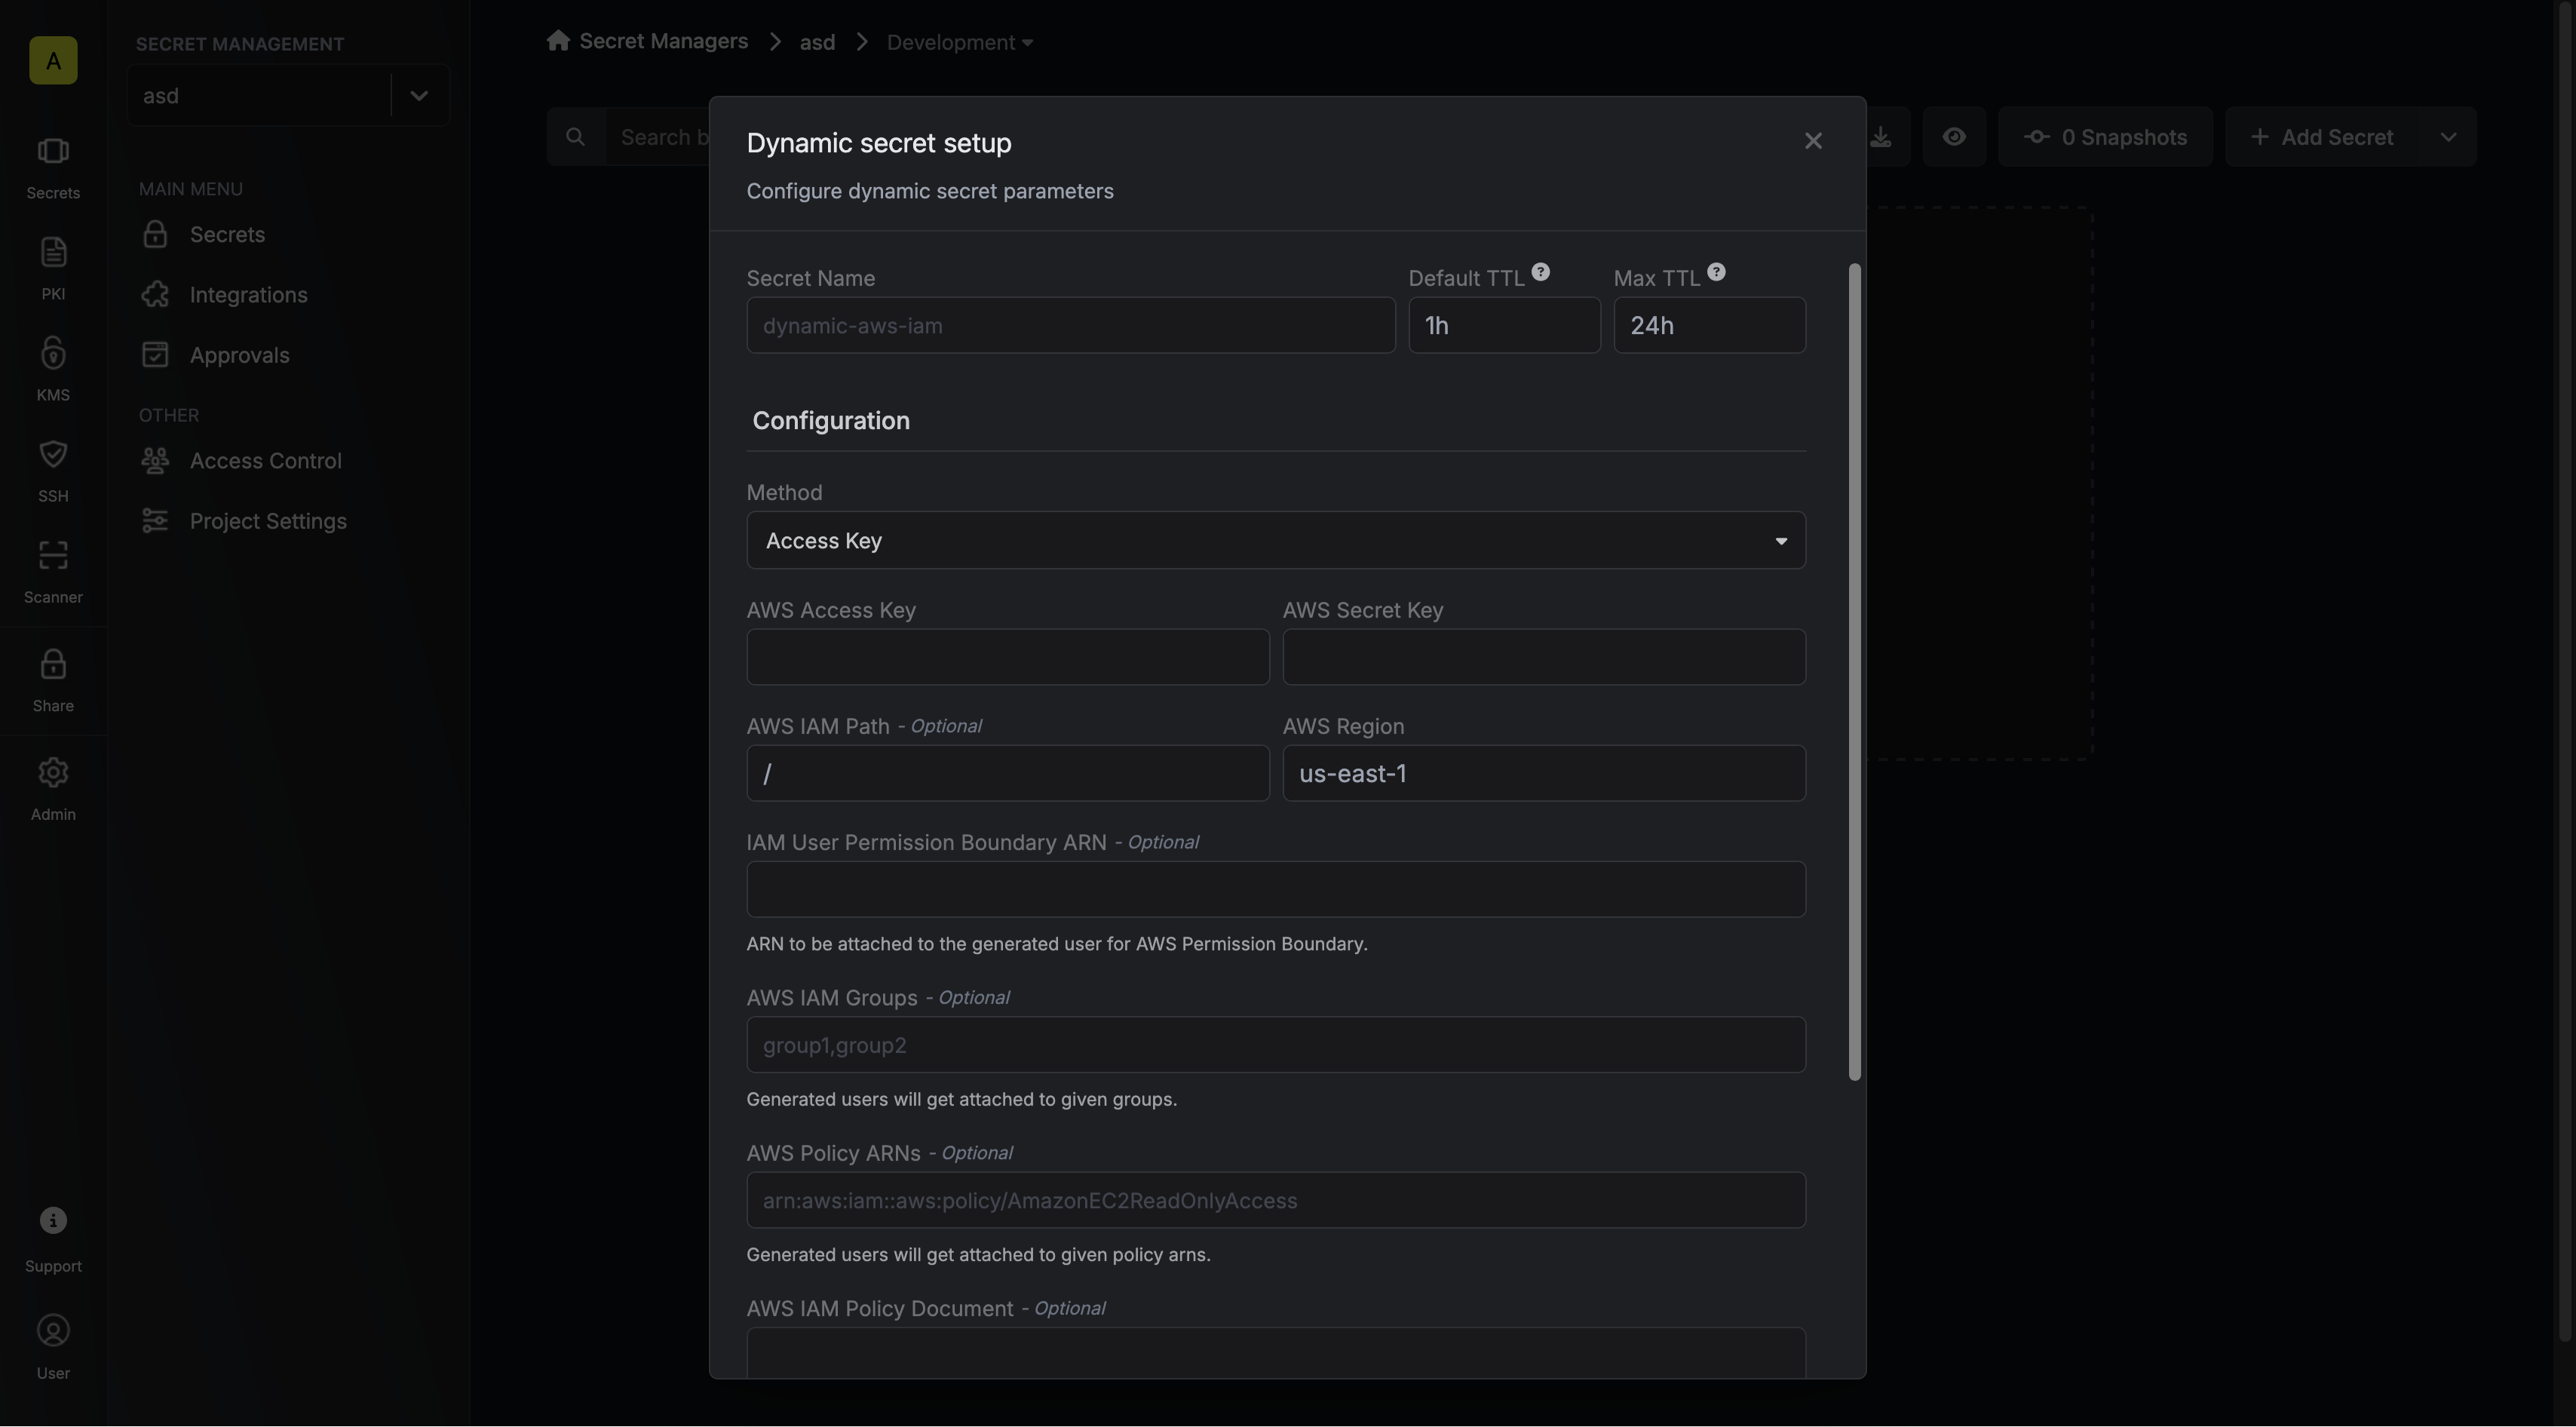
- Access Key
Infisical will assume the provided role in your AWS account securely, without the need to share any credentials.


Self-Hosted Instance
Self-Hosted Instance
To connect your self-hosted Infisical instance with AWS, you need to set up an AWS IAM User account that can assume the configured AWS IAM Role.If your instance is deployed on AWS, the aws-sdk will automatically retrieve the credentials. Ensure that you assign the provided permission policy to your deployed instance, such as ECS or EC2.The following steps are for instances not deployed on AWS:
1
Create an IAM User
Navigate to Create IAM User in your AWS Console.
2
Create an Inline Policy
Attach the following inline permission policy to the IAM User to allow it to assume any IAM Roles:
3
Obtain the IAM User Credentials
Obtain the AWS access key ID and secret access key for your IAM User by navigating to IAM > Users > [Your User] > Security credentials > Access keys.


4
Set Up Connection Keys
- Set the access key as DYNAMIC_SECRET_AWS_ACCESS_KEY_ID.
- Set the secret key as DYNAMIC_SECRET_AWS_SECRET_ACCESS_KEY.
1
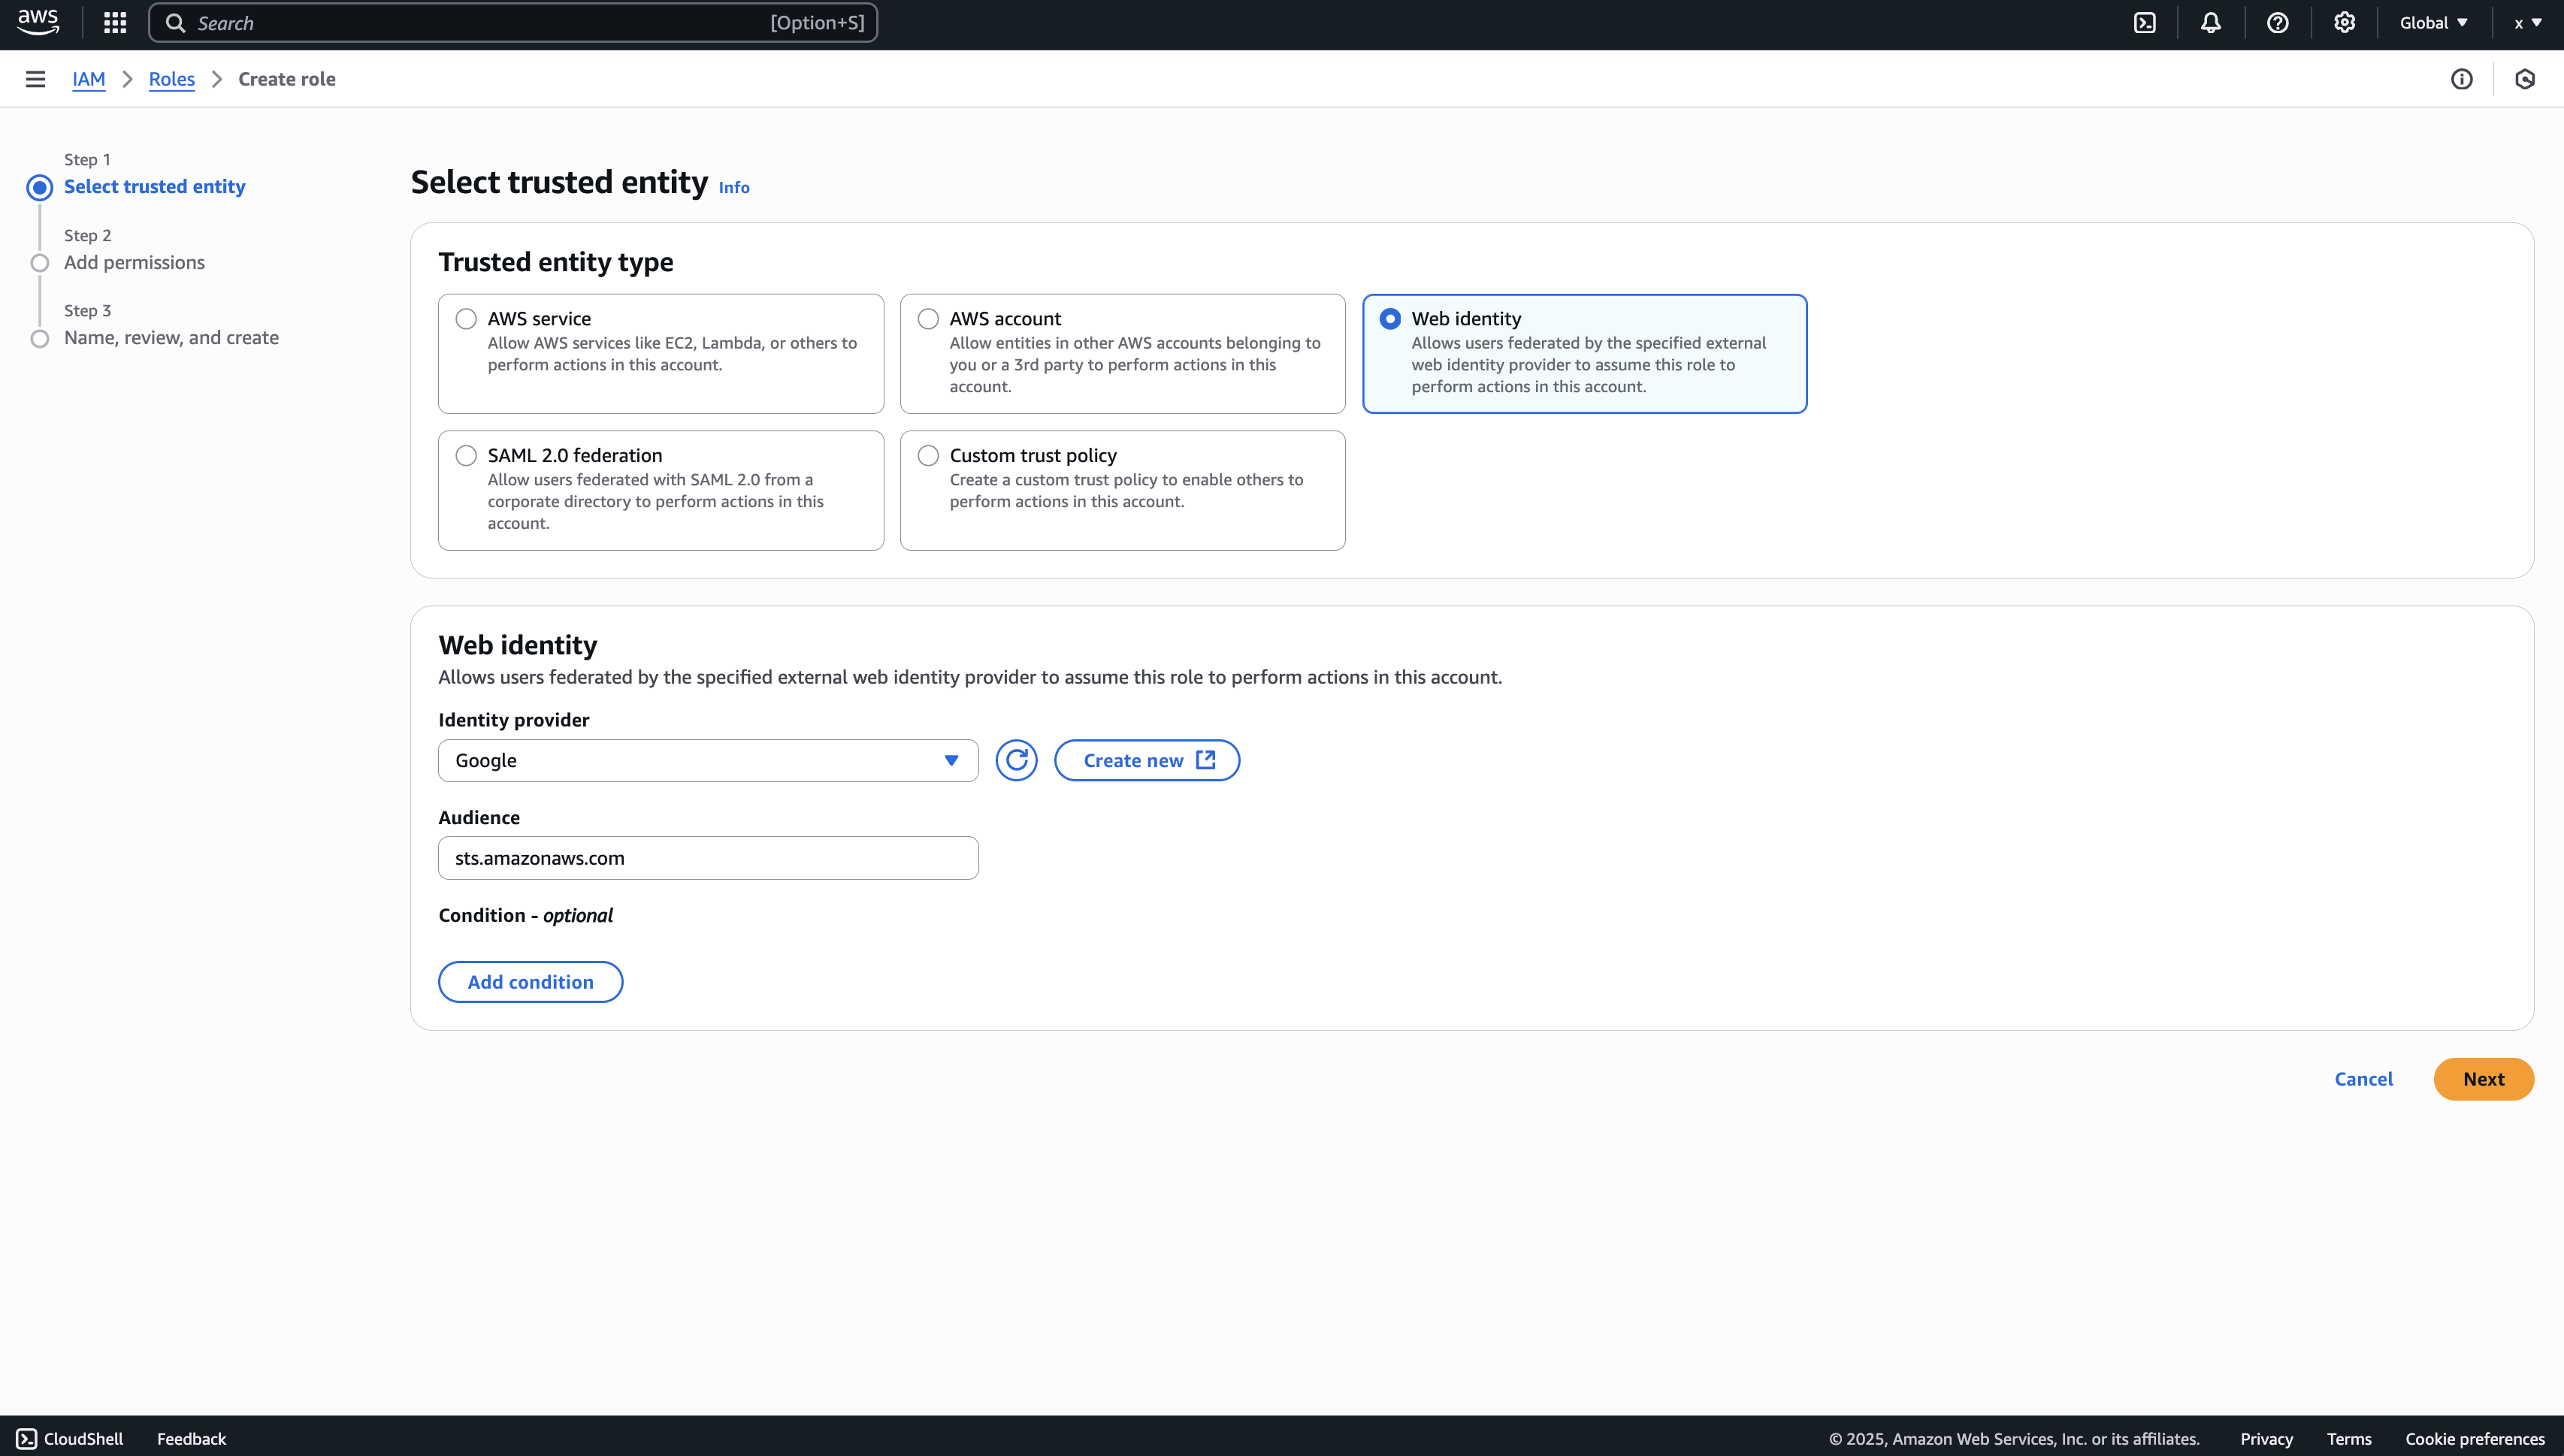
Create the Managing User IAM Role for Infisical
-
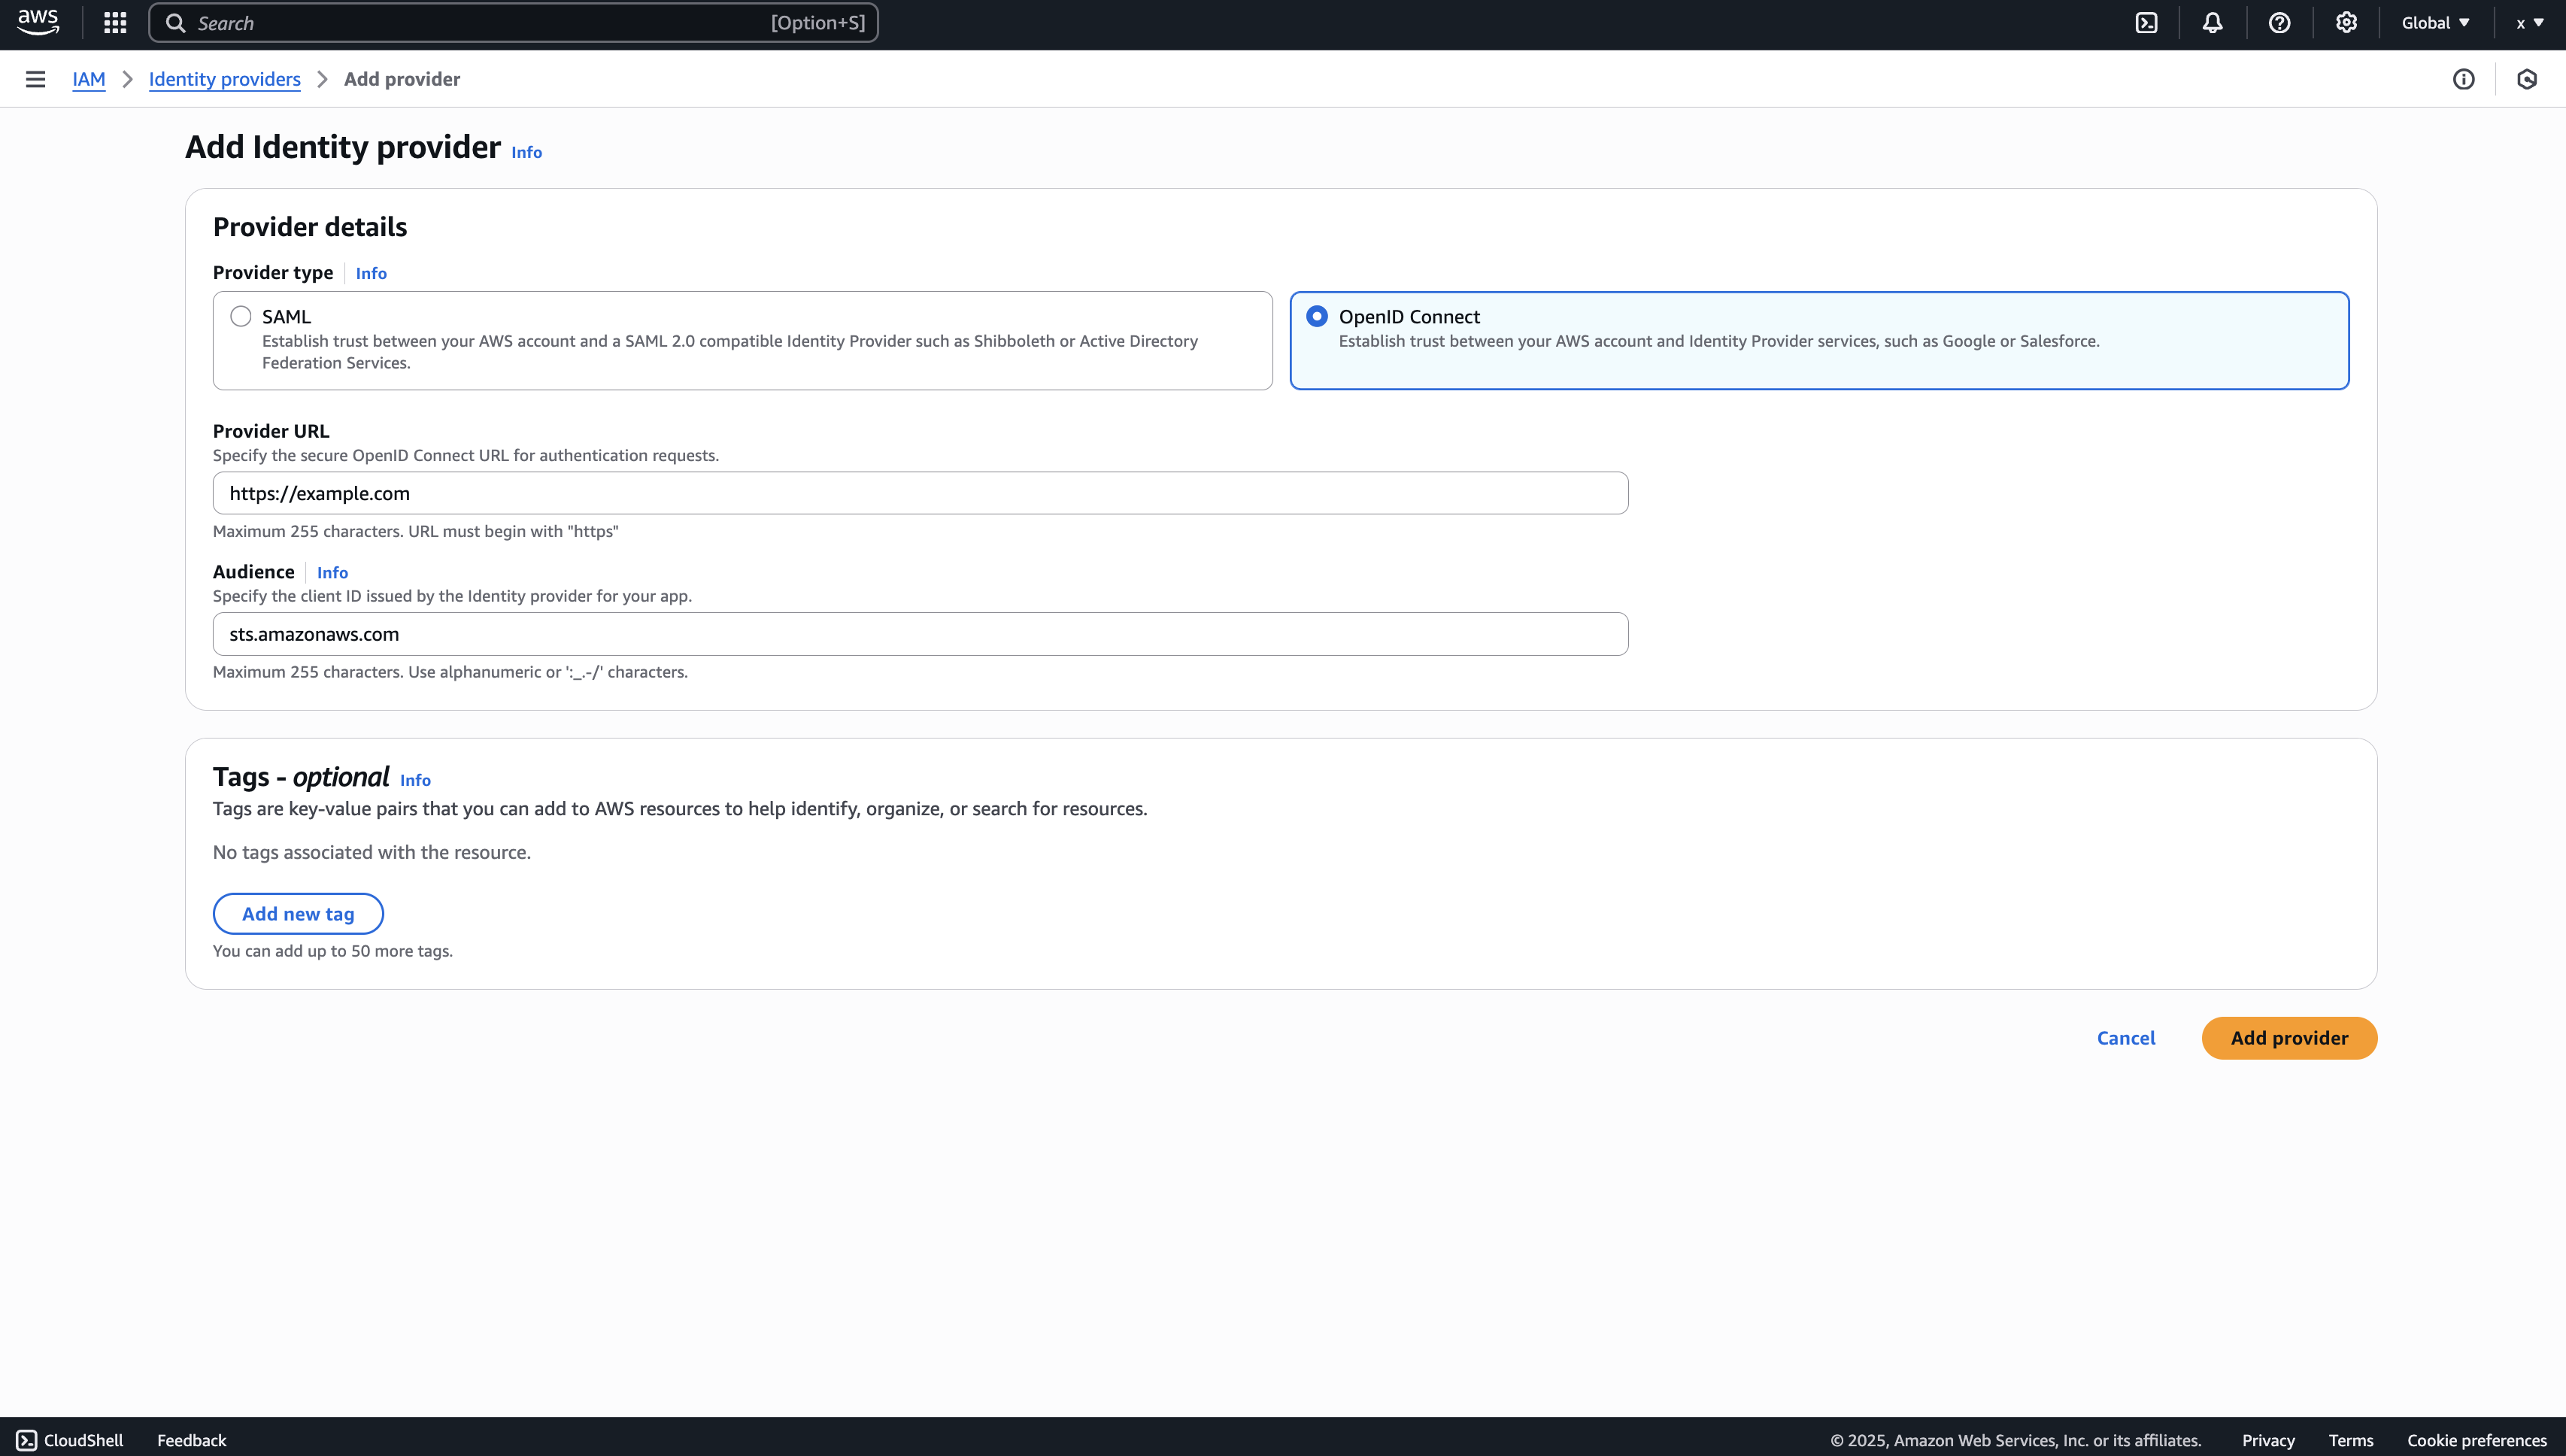
Navigate to the Create IAM Role page in your AWS Console.

- Select AWS Account as the Trusted Entity Type.
- Select Another AWS Account and provide the appropriate Infisical AWS Account ID: use 381492033652 for the US region, and 345594589636 for the EU region. This restricts the role to be assumed only by Infisical. If self-hosting, provide your AWS account number instead.
For Dedicated Instances: Your AWS account ID differs from the one provided above. Please reach out to Infisical support to obtain your AWS account ID.
- (Recommended) Enable “Require external ID” and input your Project ID to strengthen security and mitigate the confused deputy problem.
- Assign permission as shared in prerequisite.
2
Copy the AWS IAM Role ARN
3
Secret Overview Dashboard
Navigate to the Secret Overview dashboard and select the environment in which you would like to add a dynamic secret to.
4
Click on the 'Add Dynamic Secret' button
5
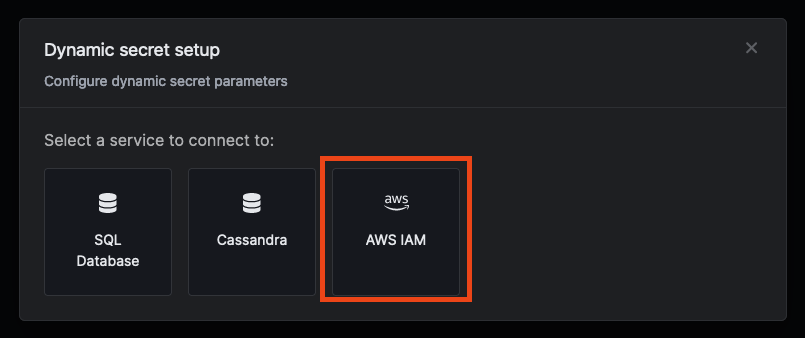
Select AWS IAM
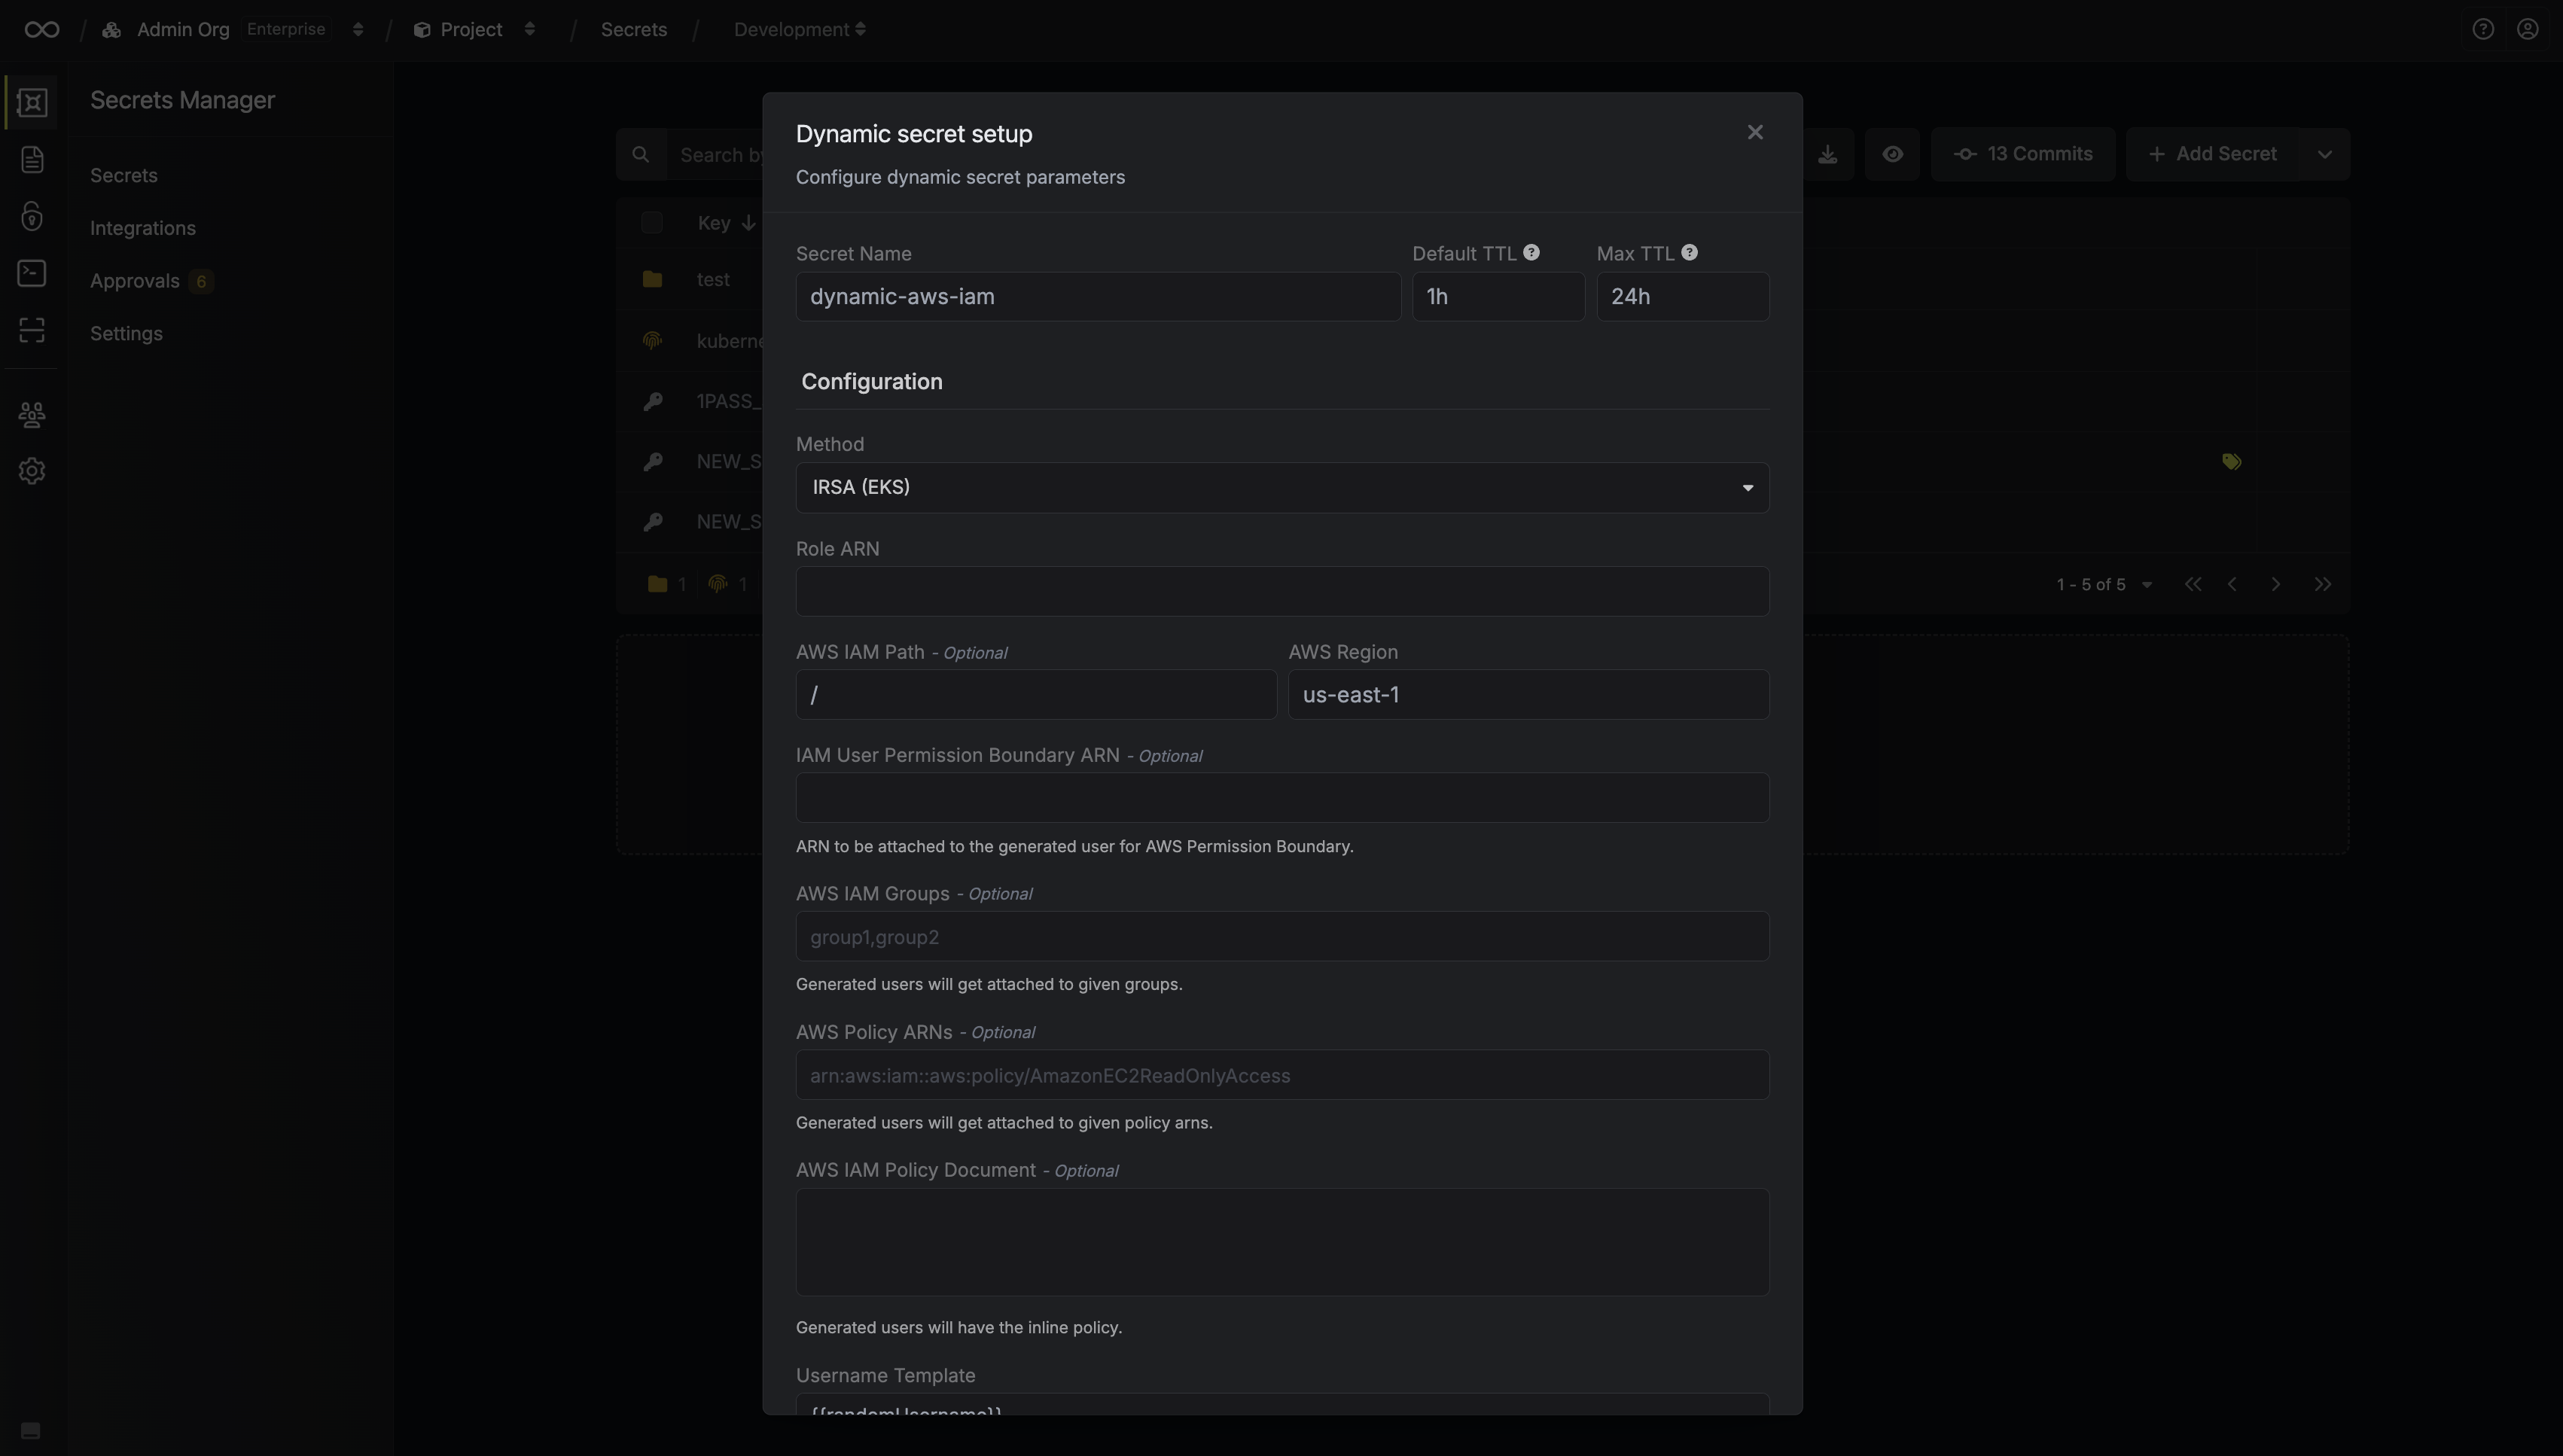
6
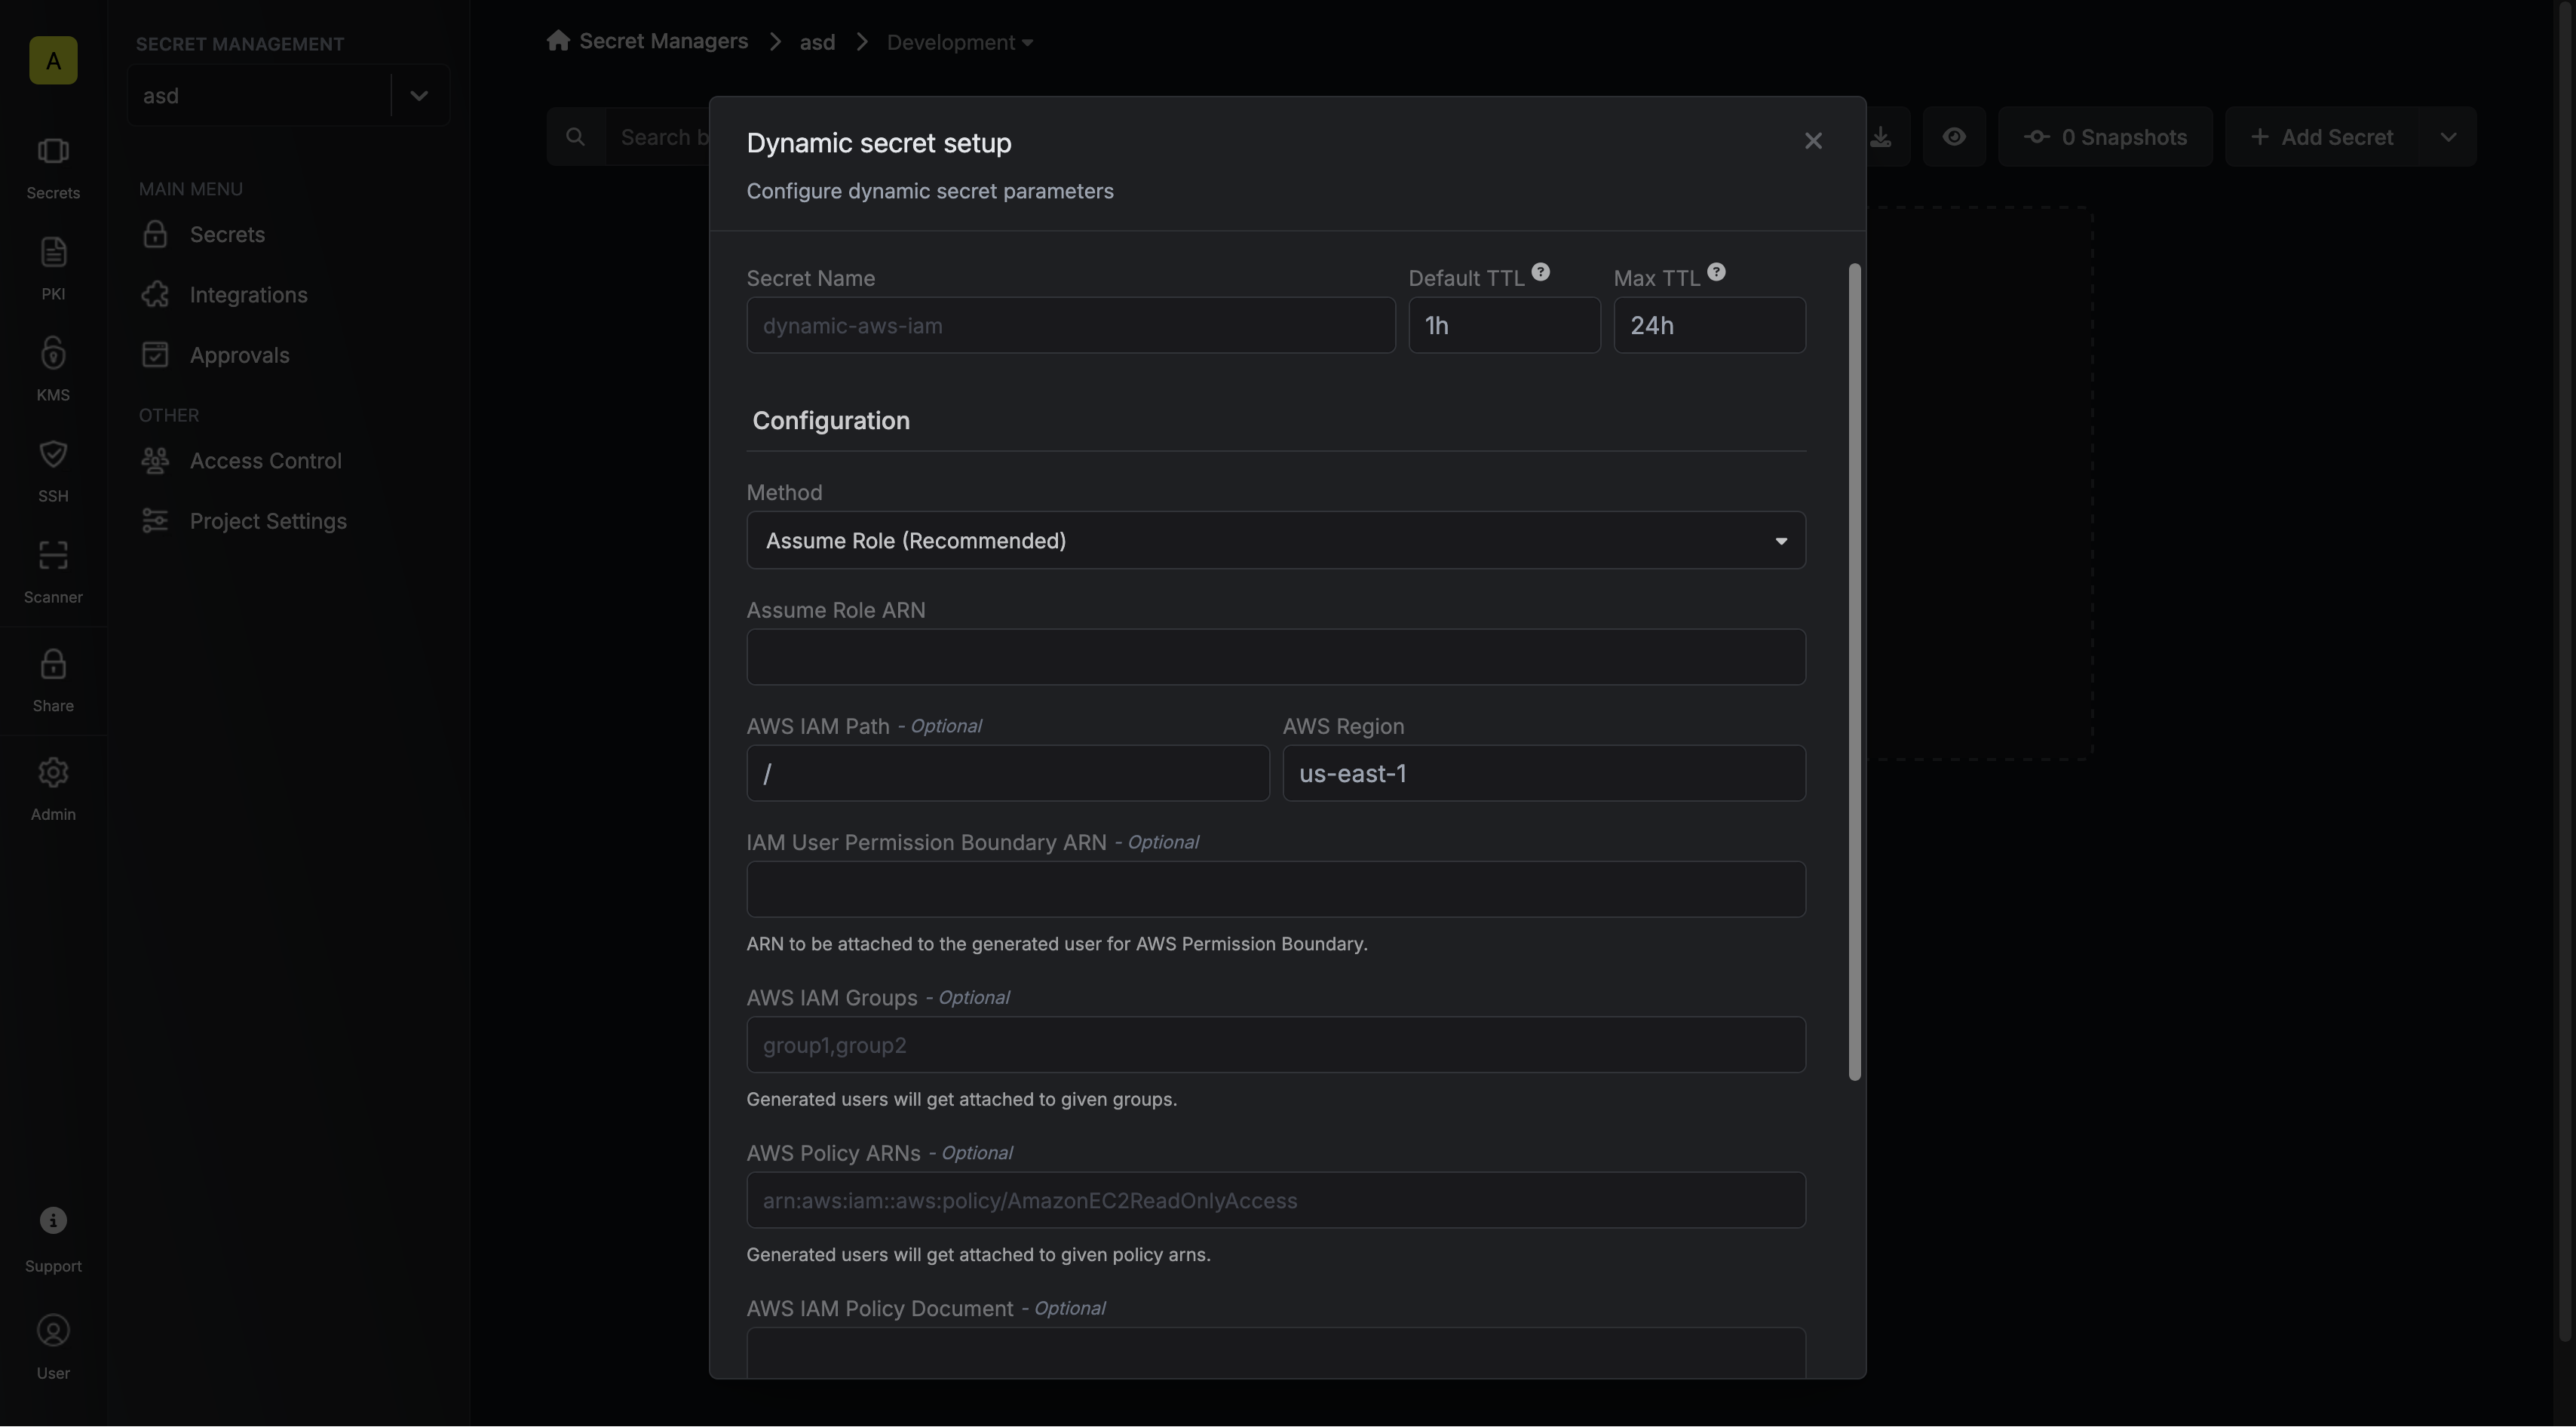
Provide the inputs for dynamic secret parameters
string
required
Name by which you want the secret to be referenced
string
required
Default time-to-live for a generated secret (it is possible to modify this value after a secret is generated)
string
required
Maximum time-to-live for a generated secret
string
default:"{{randomUsername}}"
Specifies a template for generating usernames. This field allows customization of how usernames are automatically created.Allowed template variables are:
{{randomUsername}}: Random username string.{{unixTimestamp}}: Current Unix timestamp at the time of lease creation.{{identity.name}}: Name of the identity that is generating the lease.{{dynamicSecret.name}}: Name of the associated dynamic secret.{{dynamicSecret.type}}: Type of the associated dynamic secret.{{random N}}: Random string of N characters.
truncate: Truncates a string to a specified length.replace: Replaces a substring with another value.uppercase: Converts a string to uppercase.lowercase: Converts a string to lowercase.
map<string, string>[]
Tags to be added to the created IAM User resource.
string
required
Select Assume Role method.
string
required
Choose the credential generation approach:
- IAM User (Default): Creates new temporary IAM users in your AWS account
- Temporary Credentials: Generates temporary credentials from your role connection
string
required
The ARN of the AWS Role to assume.
string
required
The AWS data center region.
- IAM User
- Temporary Credentials
string
IAM AWS Path to scope created IAM User resource access.
string
The IAM Policy ARN of the AWS Permissions Boundary to attach to IAM users created in the role.
string
The AWS IAM groups that should be assigned to the created users. Multiple values can be provided by separating them with commas.
string
The AWS IAM managed policies that should be attached to the created users. Multiple values can be provided by separating them with commas. AWS allows at most 10 managed policies attached to a user.
string
The AWS IAM inline policy (JSON) that should be attached to the created users. Maximum 2,048 non-whitespace characters (AWS excludes whitespace from this quota).
string
default:"{{randomUsername}}"
Specifies a template for generating usernames. This field allows customization of how usernames are automatically created.Allowed template variables are:
{{randomUsername}}: Random username string.{{unixTimestamp}}: Current Unix timestamp at the time of lease creation.{{identity.name}}: Name of the identity that is generating the lease.{{dynamicSecret.name}}: Name of the associated dynamic secret.{{dynamicSecret.type}}: Type of the associated dynamic secret.{{random N}}: Random string of N characters.
truncate: Truncates a string to a specified length.replace: Replaces a substring with another value.uppercase: Converts a string to uppercase.lowercase: Converts a string to lowercase.
map<string, string>[]
Tags to be added to the created IAM User resource.

7
Click 'Submit'
After submitting the form, you will see a dynamic secret created in the dashboard.
8
Generate dynamic secrets
Once you’ve successfully configured the dynamic secret, you’re ready to generate on-demand credentials.
To do this, simply click on the ‘Generate’ button which appears when hovering over the dynamic secret item.
Alternatively, you can initiate the creation of a new lease by selecting ‘New Lease’ from the dynamic secret lease list section.
 When generating these secrets, it’s important to specify a Time-to-Live (TTL) duration. This will dictate how long the credentials are valid for.
 Once you click the
When generating these secrets, it’s important to specify a Time-to-Live (TTL) duration. This will dictate how long the credentials are valid for.Once you click the Submit button, a new secret lease will be generated and the credentials for it will be shown to you.Credentials format depends on your chosen credential type:IAM User credential type:- AWS Username
- AWS Access Key ID
- AWS Secret Access Key
- AWS Access Key ID
- AWS Secret Access Key
-
AWS Session Token

Audit or Revoke Leases
Once you have created one or more leases, you will be able to access them by clicking on the respective dynamic secret item on the dashboard. This will allow you to see the lease details and delete the lease ahead of its expiration time.
Renew Leases
To extend the life of the generated dynamic secret lease past its initial time to live, simply click on the Renew button as illustrated below.