

GENERIC_STRING secret in the schema, with the same name unless you customize key names to add a prefix or suffix.
The Snowflake Secret Sync requires a Snowflake app connection. This guide walks you through creating a project-scoped app connection.
Prerequisites
- A project with secrets configured
- A Snowflake account where you can create users, roles, and network policies, such as with the
ACCOUNTADMINrole - A Snowflake database and schema for the synced secrets
Step 1: Create a Snowflake user and programmatic access token
Infisical needs a Snowflake user with a programmatic access token, a network policy, and a role that can create and own secrets in the schema. When you grant privileges, use the statements in the Secret syncs tab.1
In Snowsight, open the sidebar and select Users & roles under Governance & Security.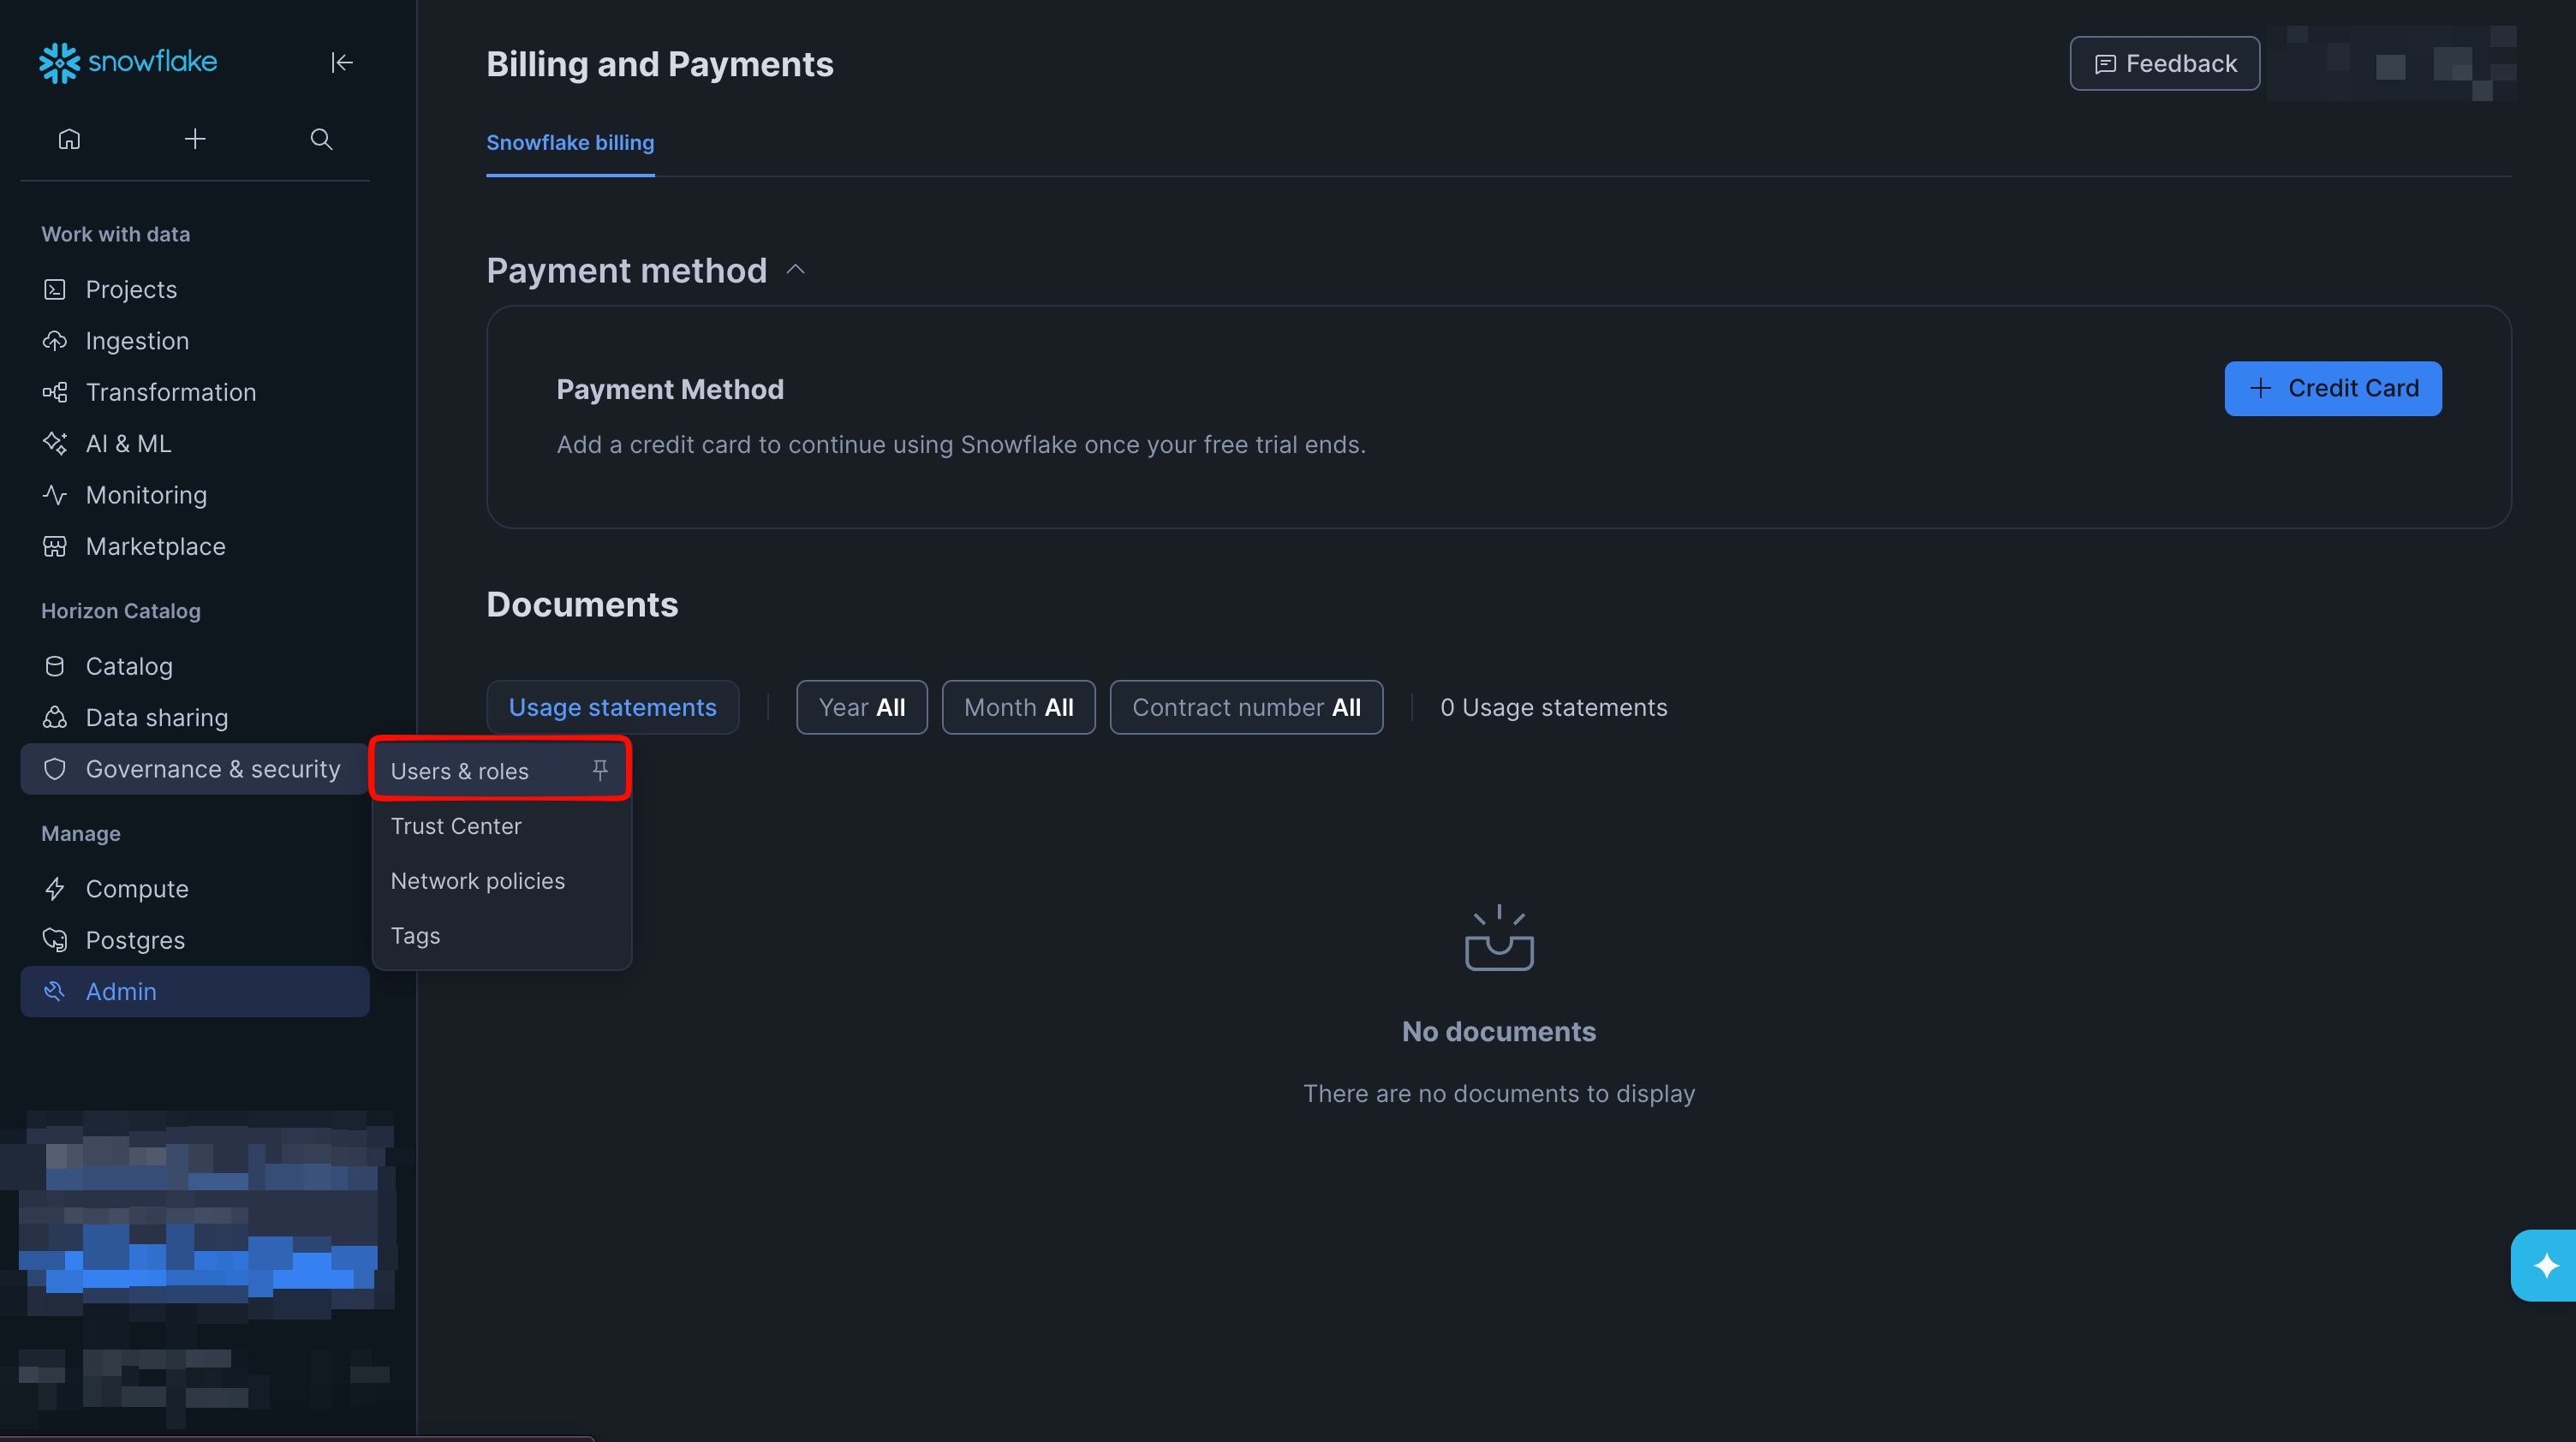
2
Select Create user, then enter a Username for the user Infisical will authenticate as.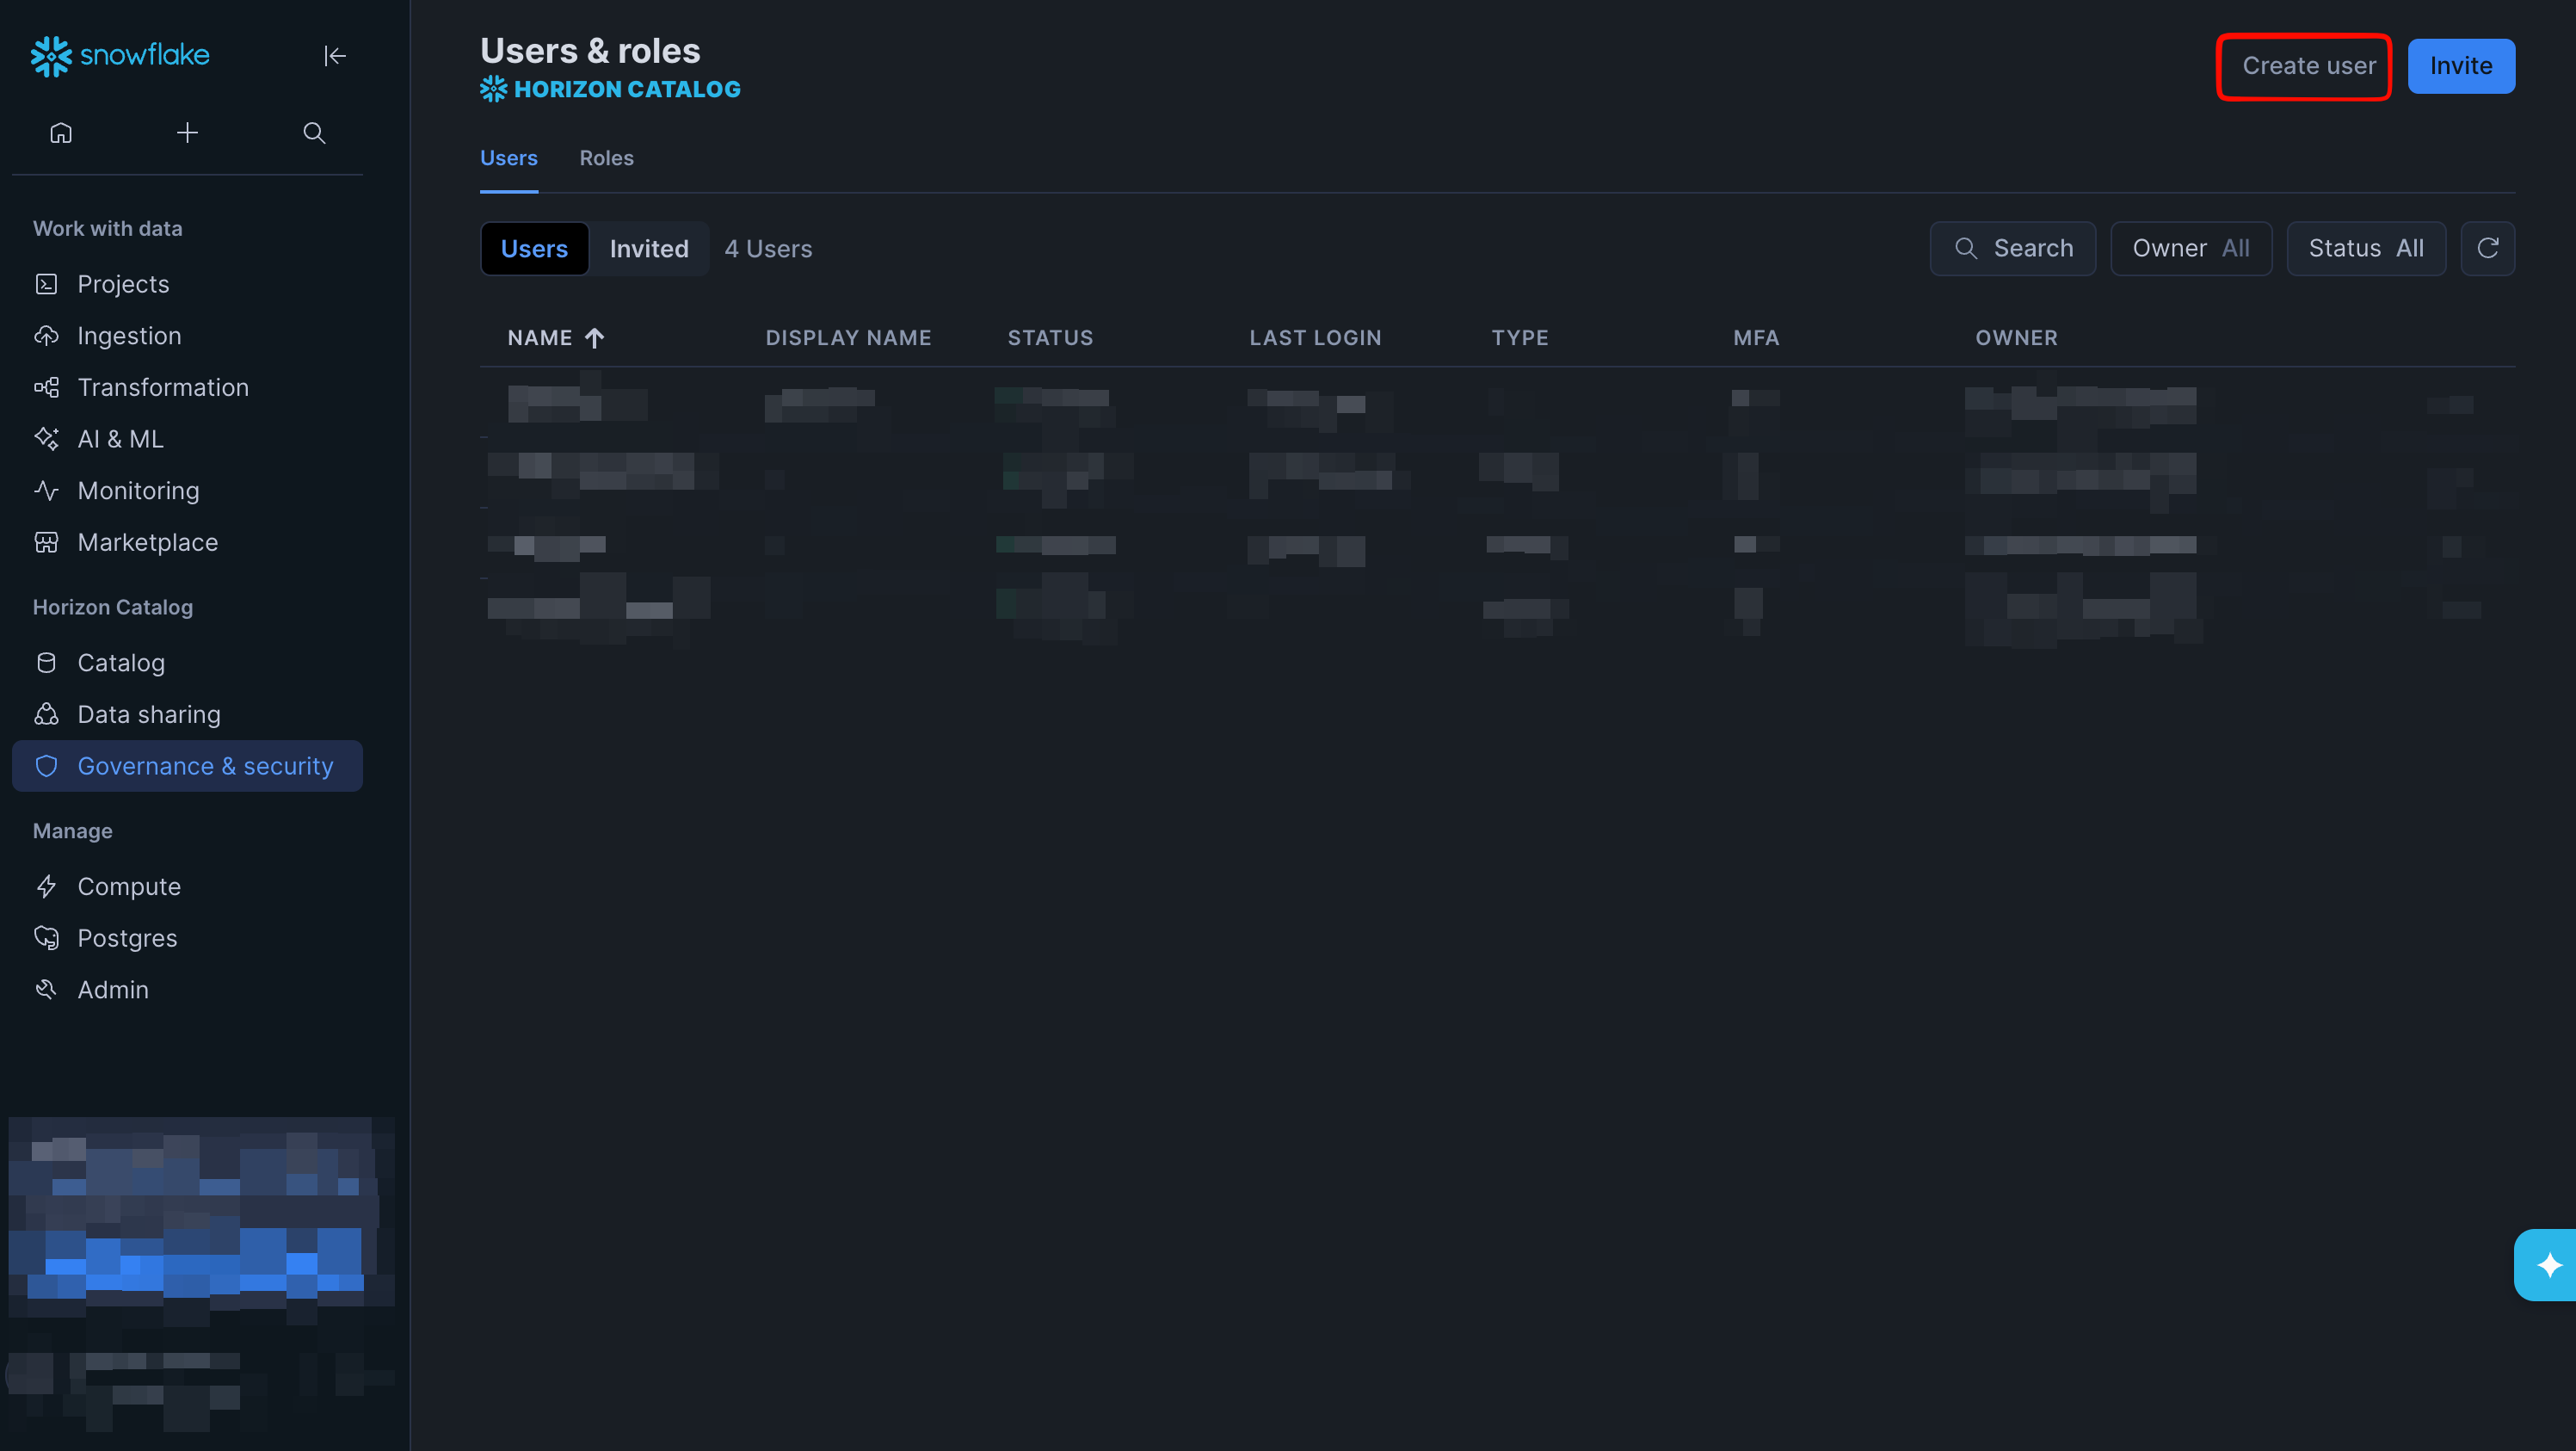
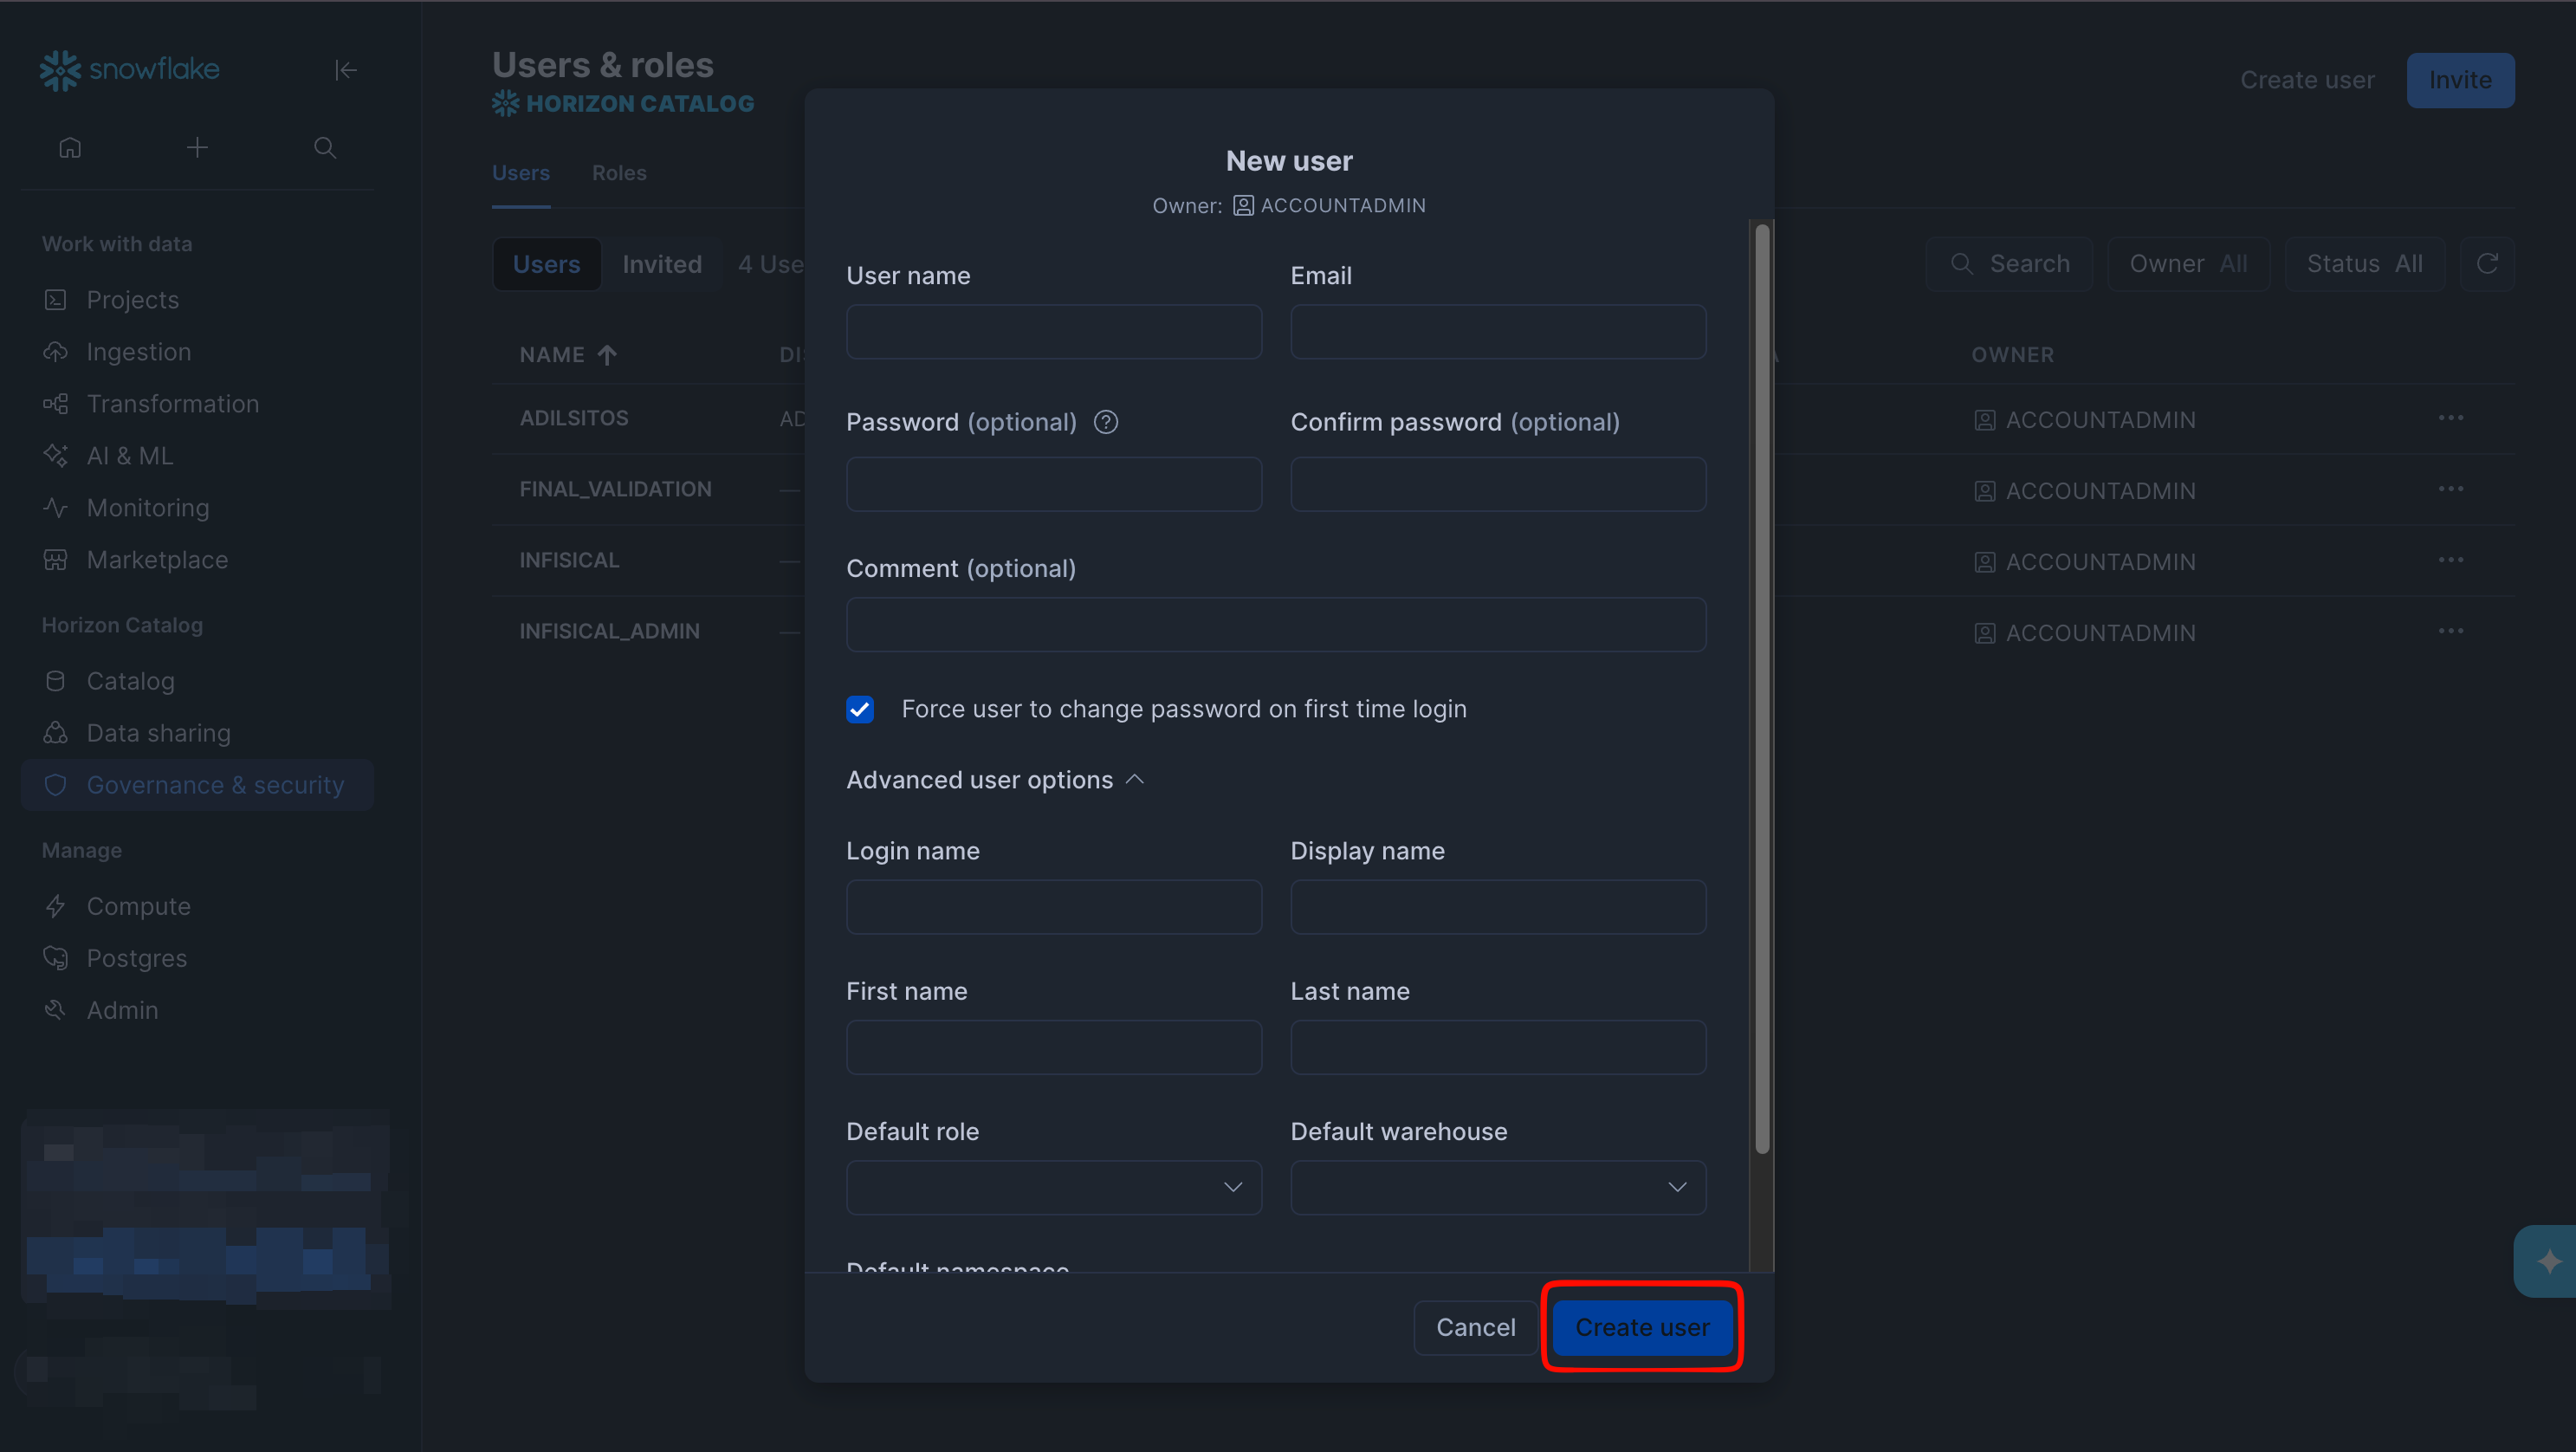
3
If a user authenticates with a programmatic access token, Snowflake requires the user to have a network policy. Attach one to the user:To run SQL in Snowflake, select Projects, then Workspaces, to open the query editor.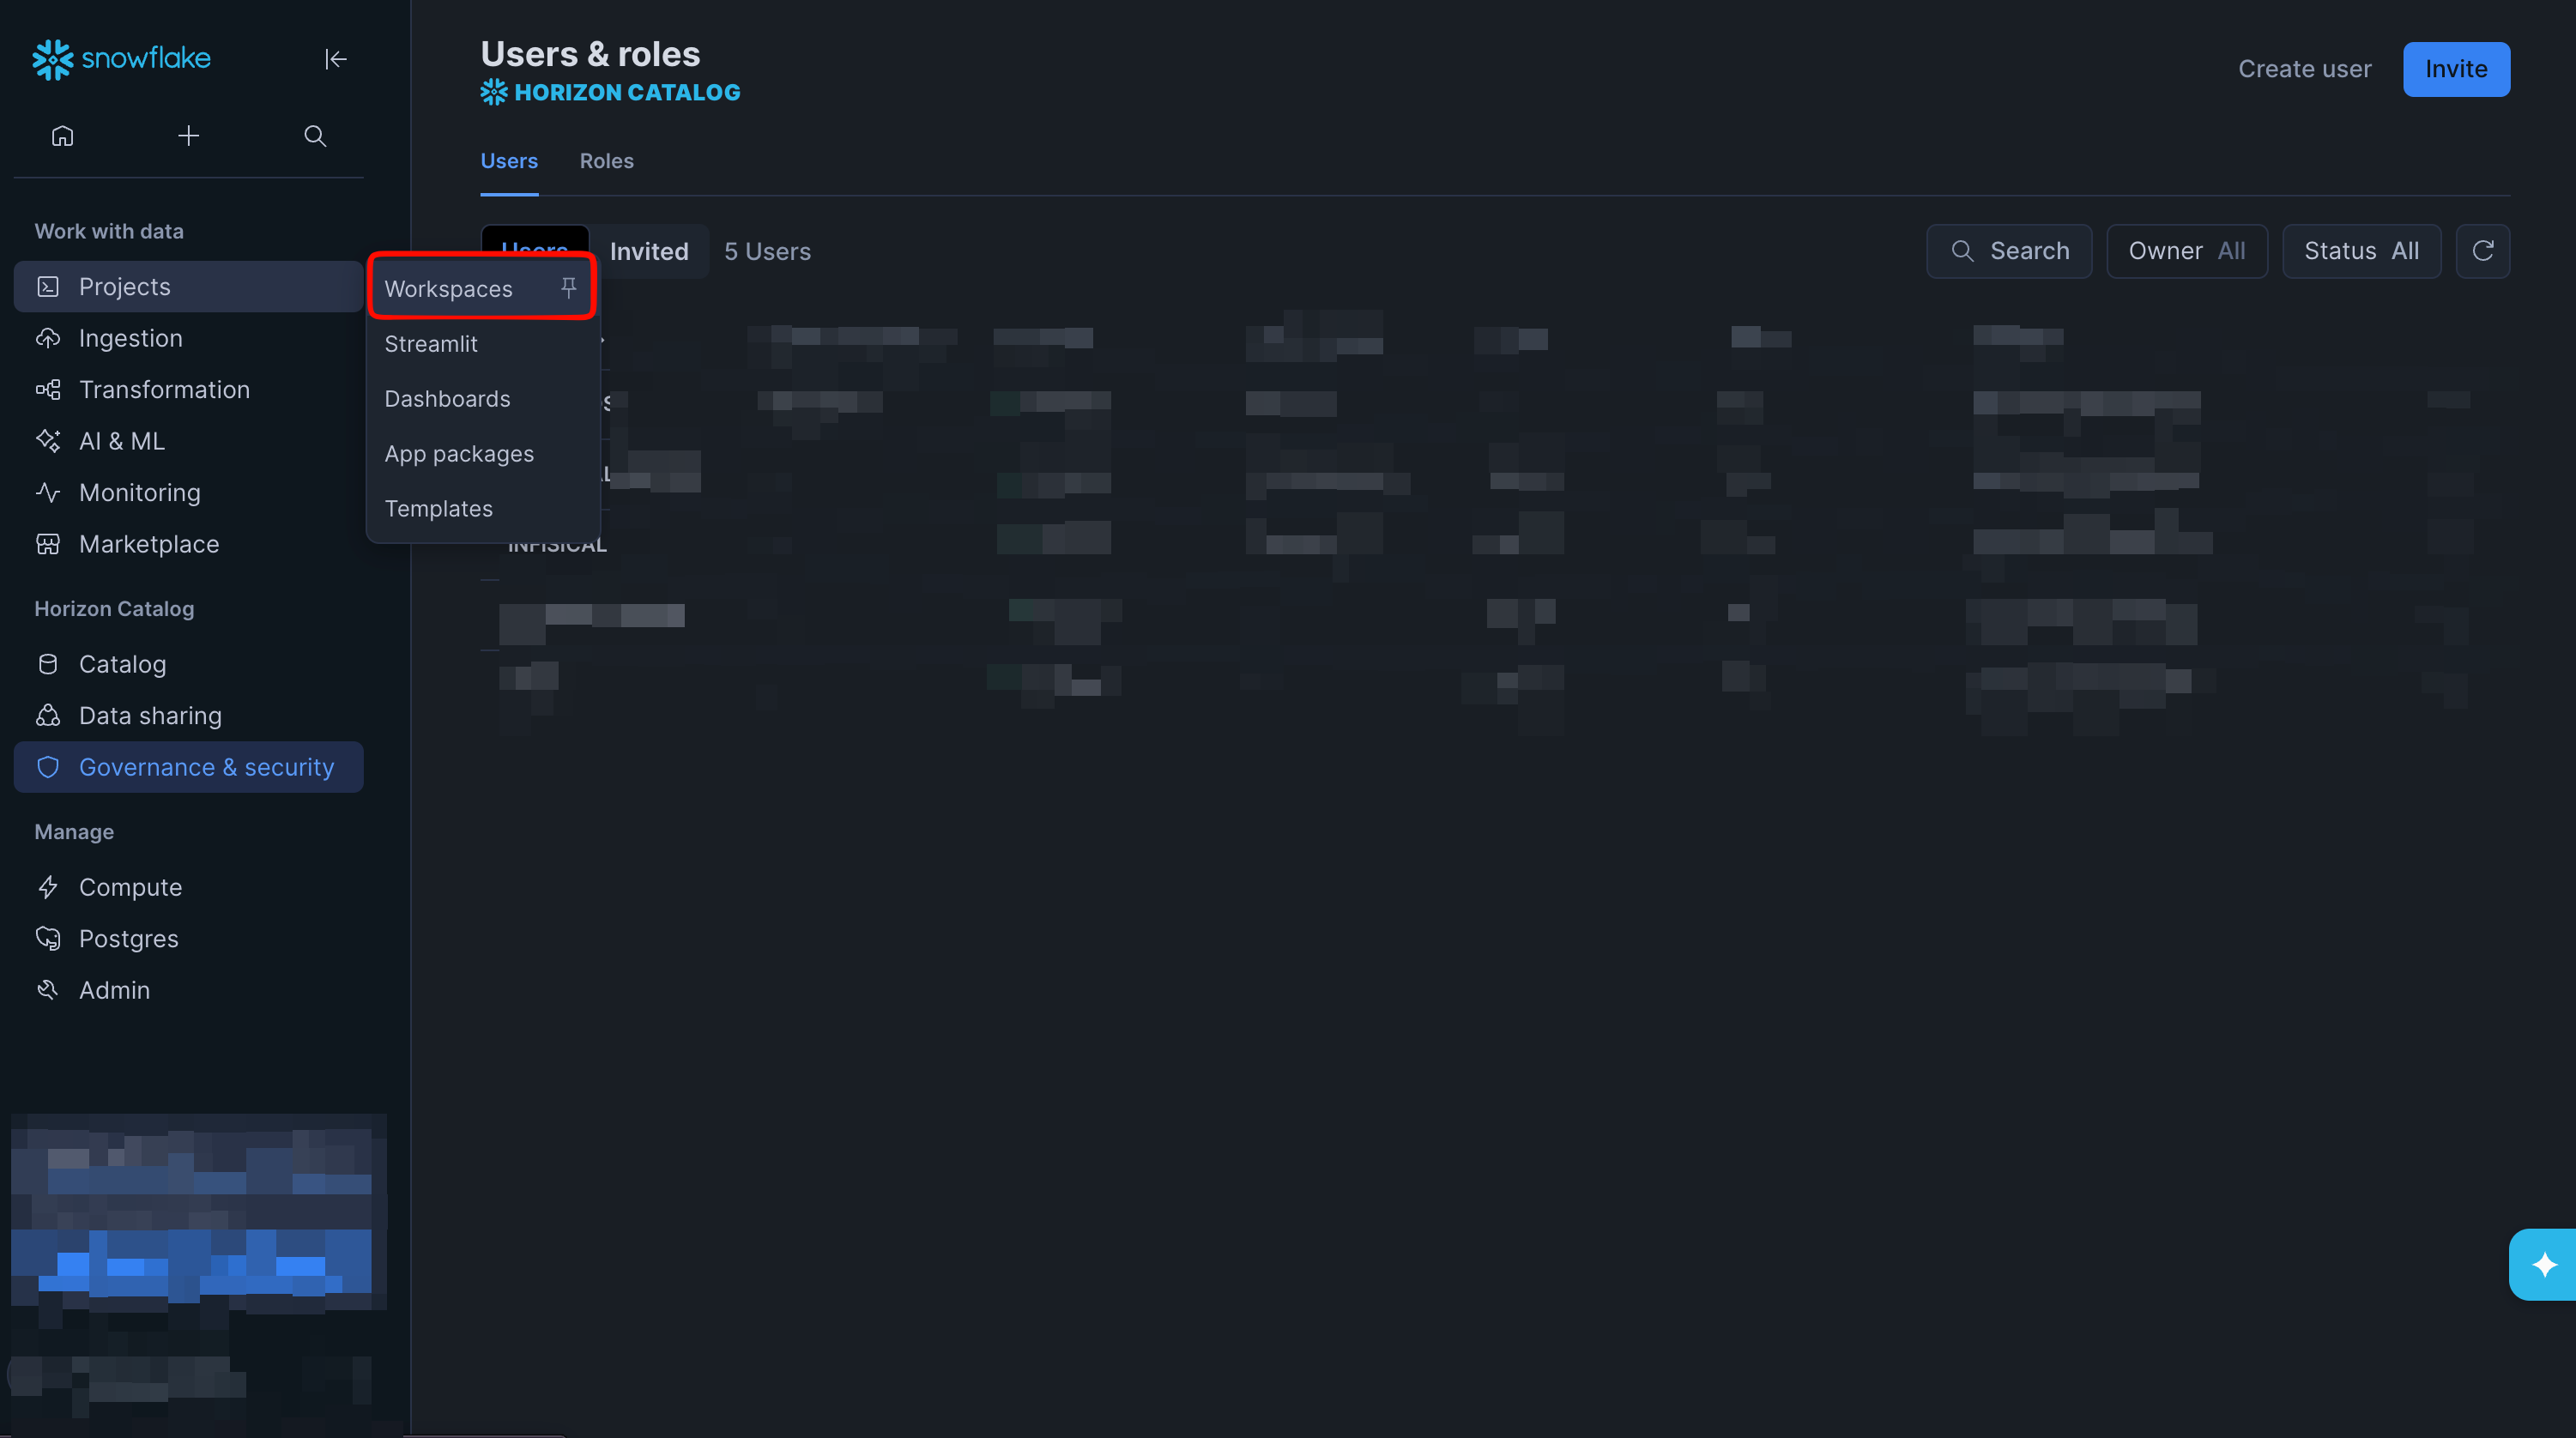 The following statements create a network policy and attach it to a user named
The following statements create a network policy and attach it to a user named INFISICAL. Replace INFISICAL with the username you entered.4
Create a role for the user, grant the role the privileges for the integration you’ll set up, and make it the user’s default role, using the same query editor.A connection signs in with one role. If you want one connection for both a sync and a rotation, grant both sets of privileges to the same role and make that role the user’s default.
Infisical doesn’t choose a role when it signs in, so Snowflake runs every Infisical operation under the user’s default role. If you skip the
ALTER USER statement, the default role stays PUBLIC, and syncs and rotations fail even though the grants exist.- Secret syncs
- Secret rotations
The role needs access to the database and schema the sync writes to, and ownership of every secret in that schema that the sync manages. The following statements grant those privileges on the
PUBLIC schema of a database named SECRET_SYNC_TEST:Snowflake only lets the role that owns a secret replace or drop it. If a secret already exists in the schema, it stays owned by the role that created it, so the sync fails on that secret until you transfer ownership with the
GRANT OWNERSHIP ON ALL SECRETS statement. The GRANT OWNERSHIP ON FUTURE SECRETS statement covers secrets created later.5
Go back to Governance & Security > Users & roles and select the user. Open the Programmatic access tokens tab and select Generate new token. Give the token a name, such as 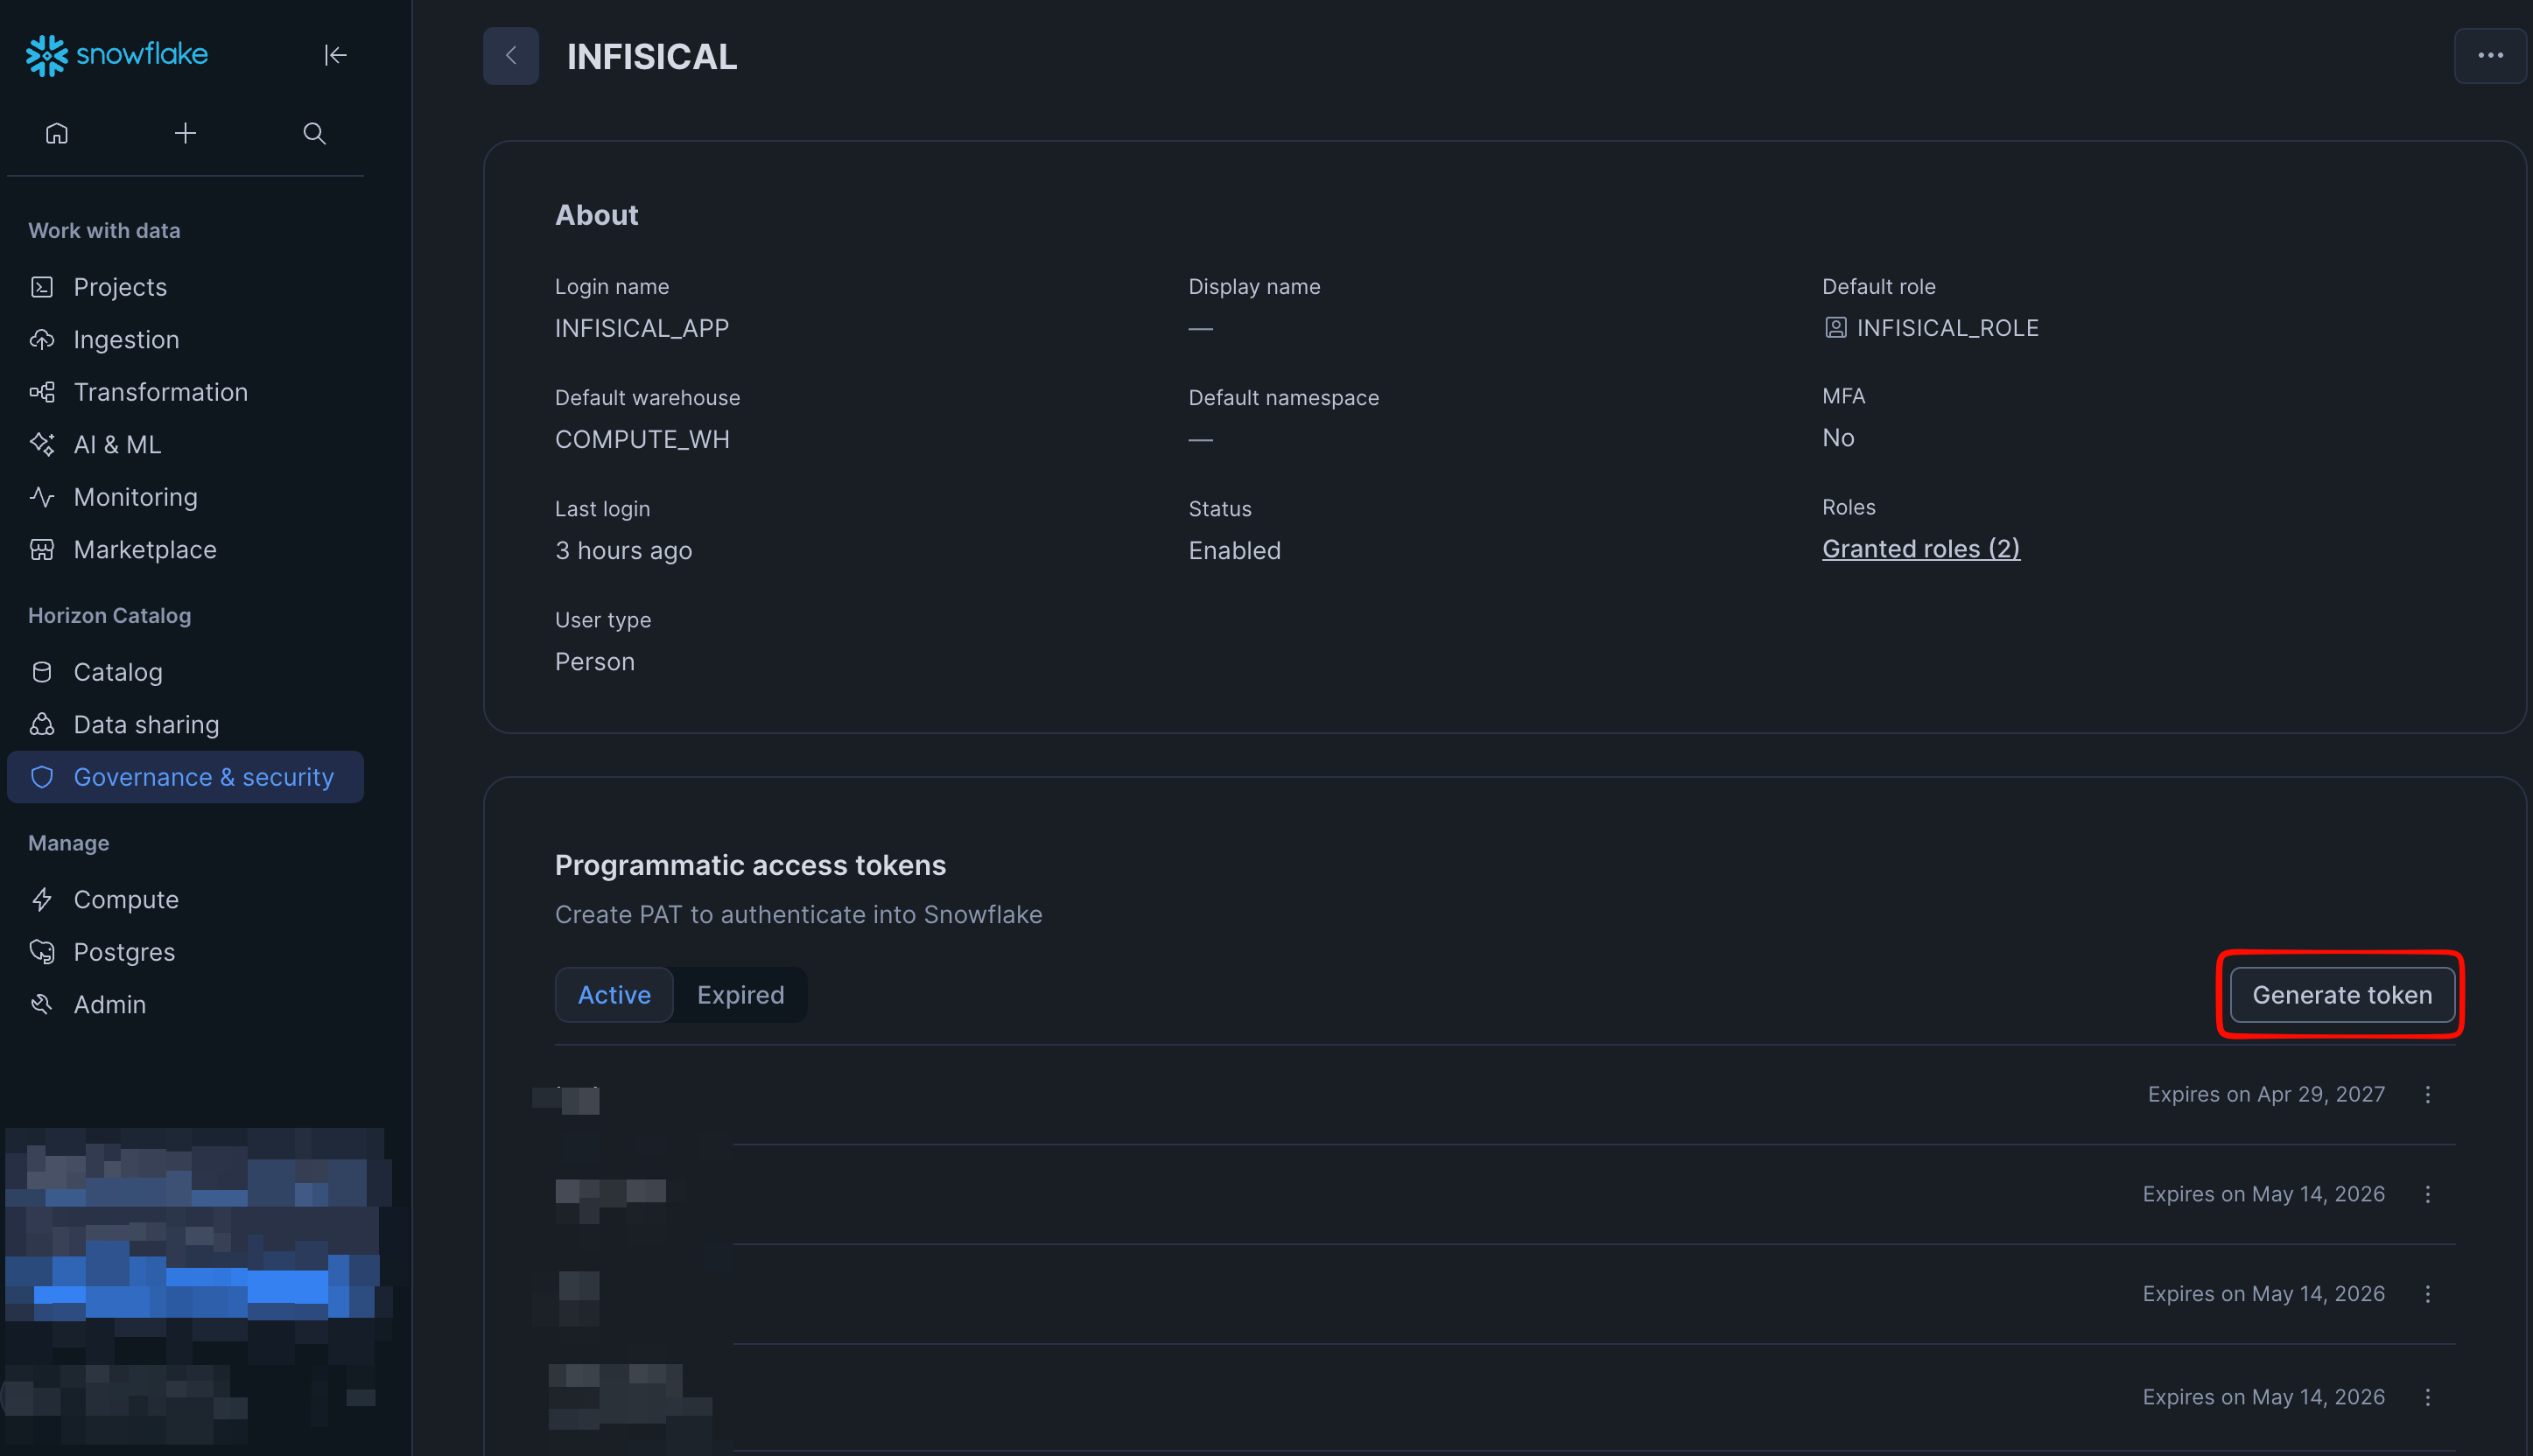
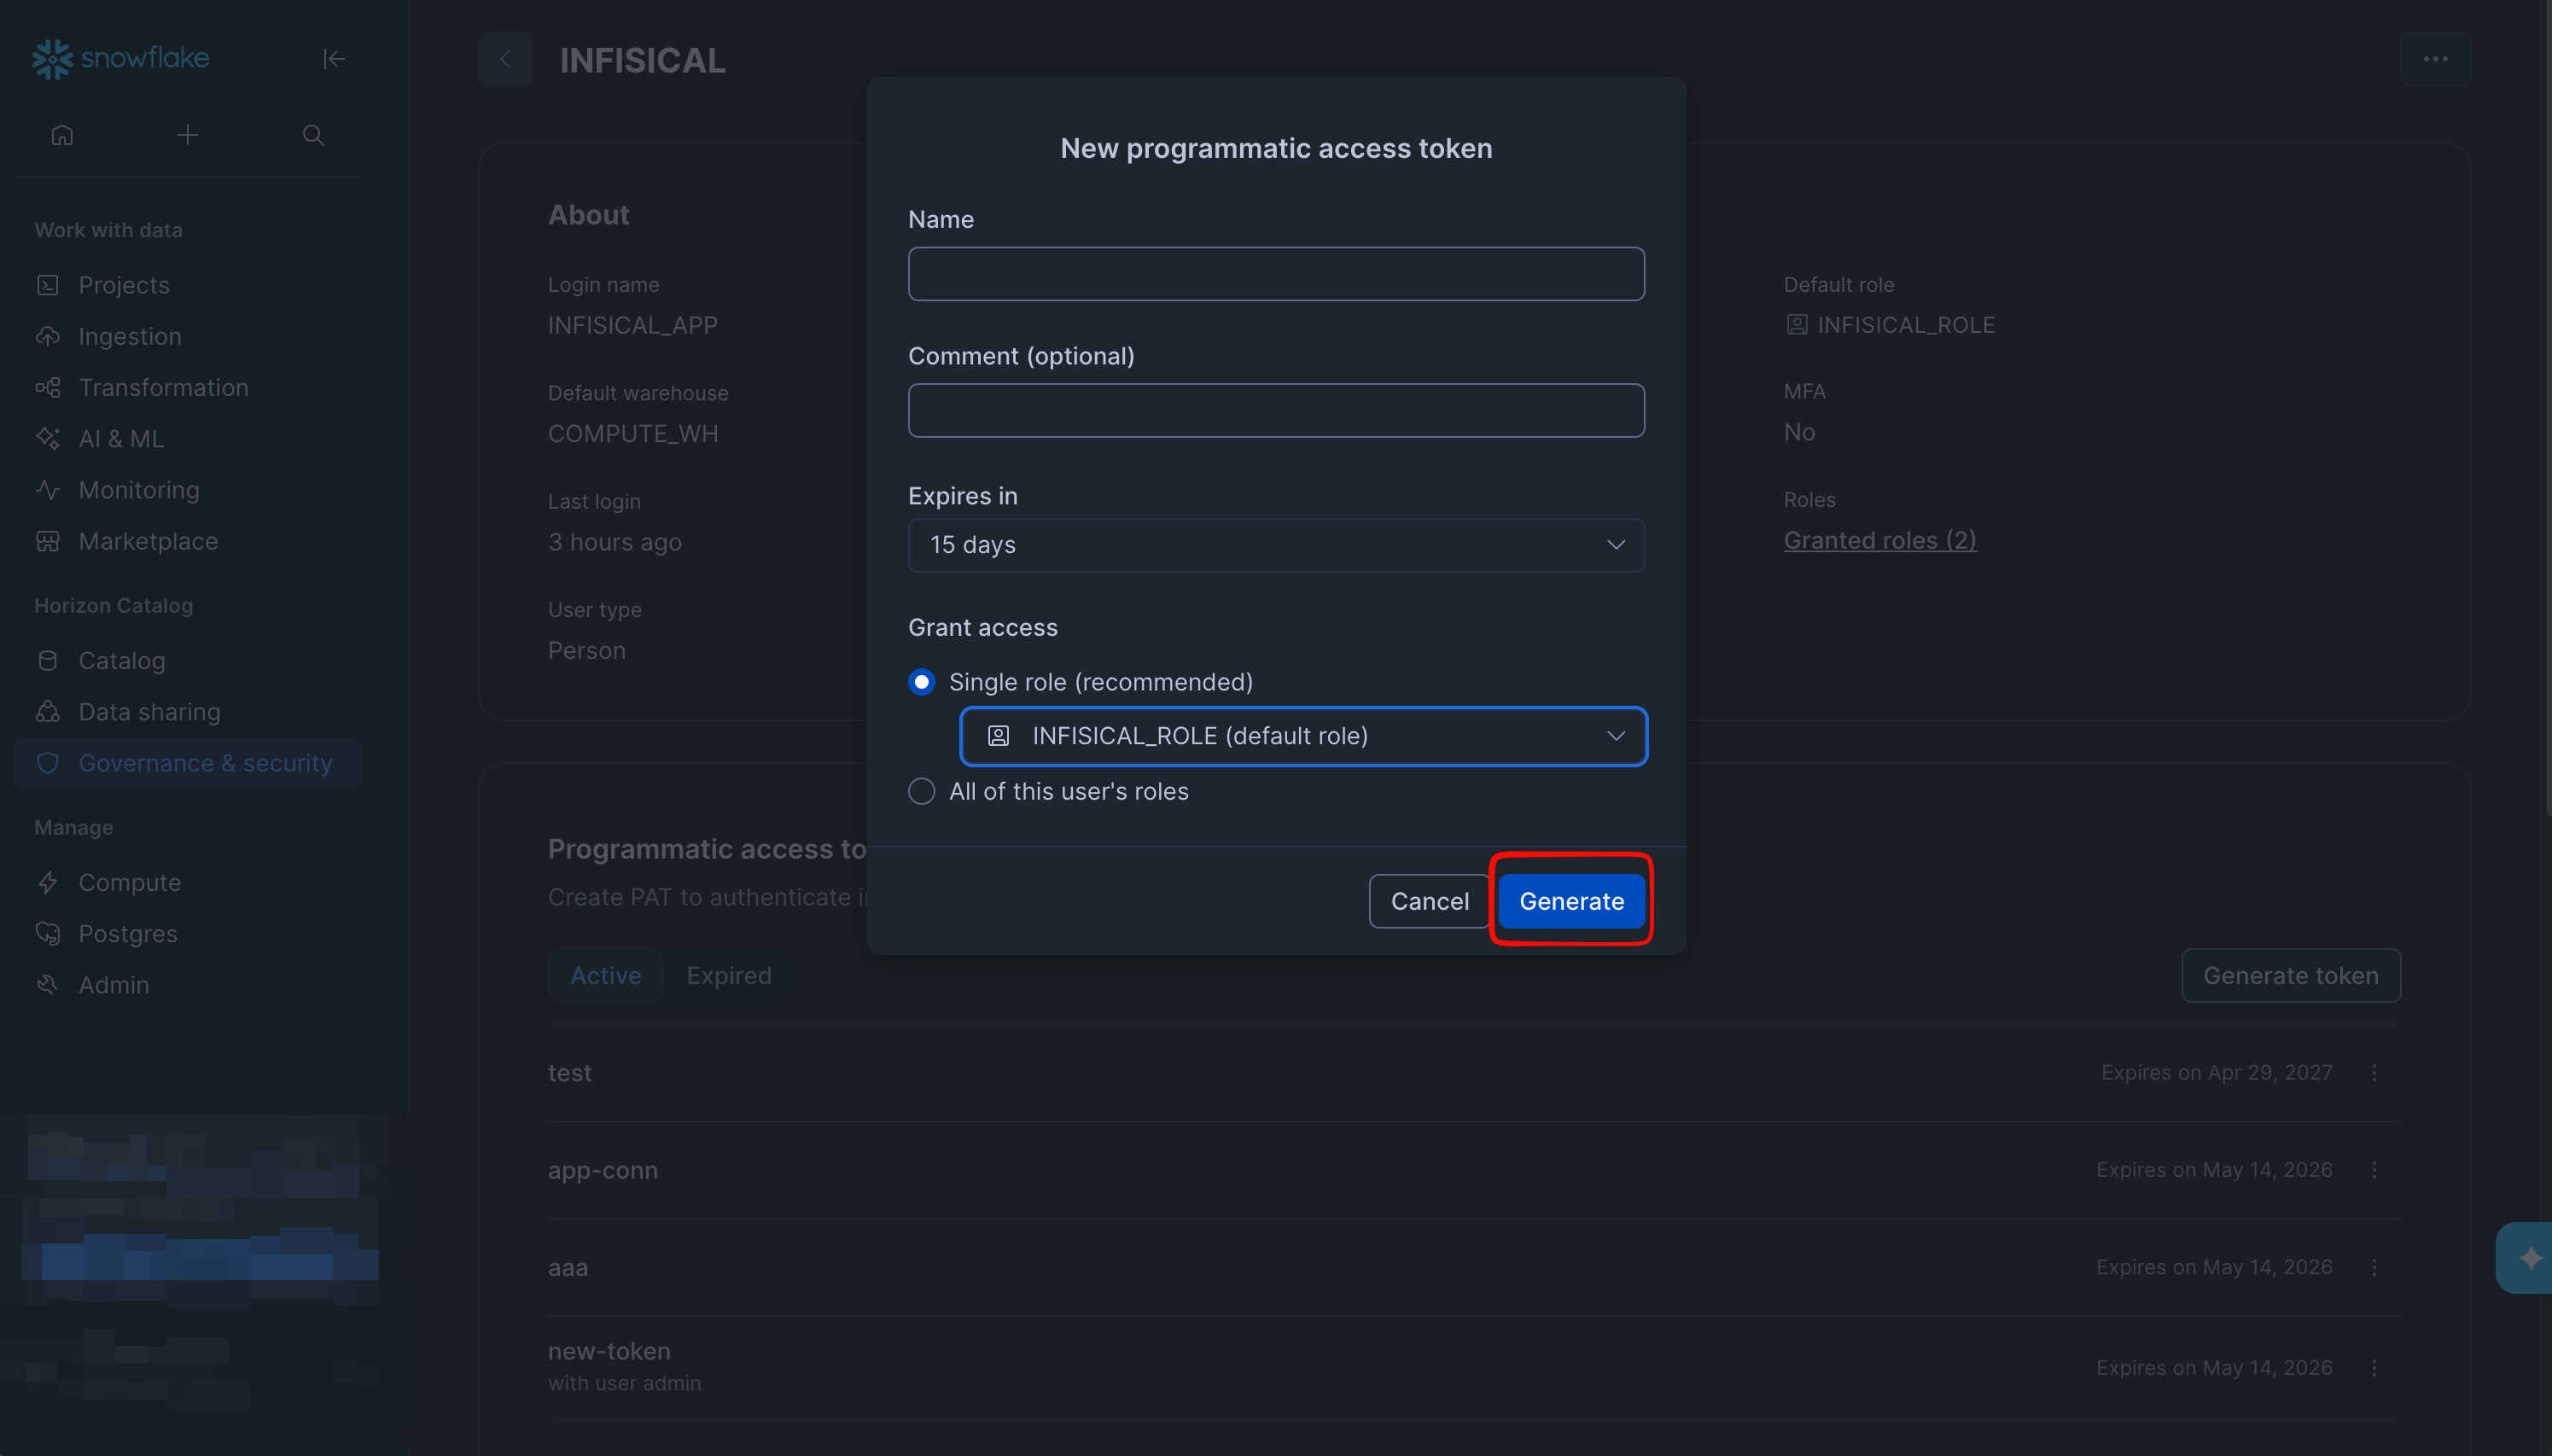
infisical, restrict it to the role you made the user’s default, and set its expiration to match your security policy.6
Copy the token. Snowflake shows the token only once, so save it for the Infisical form.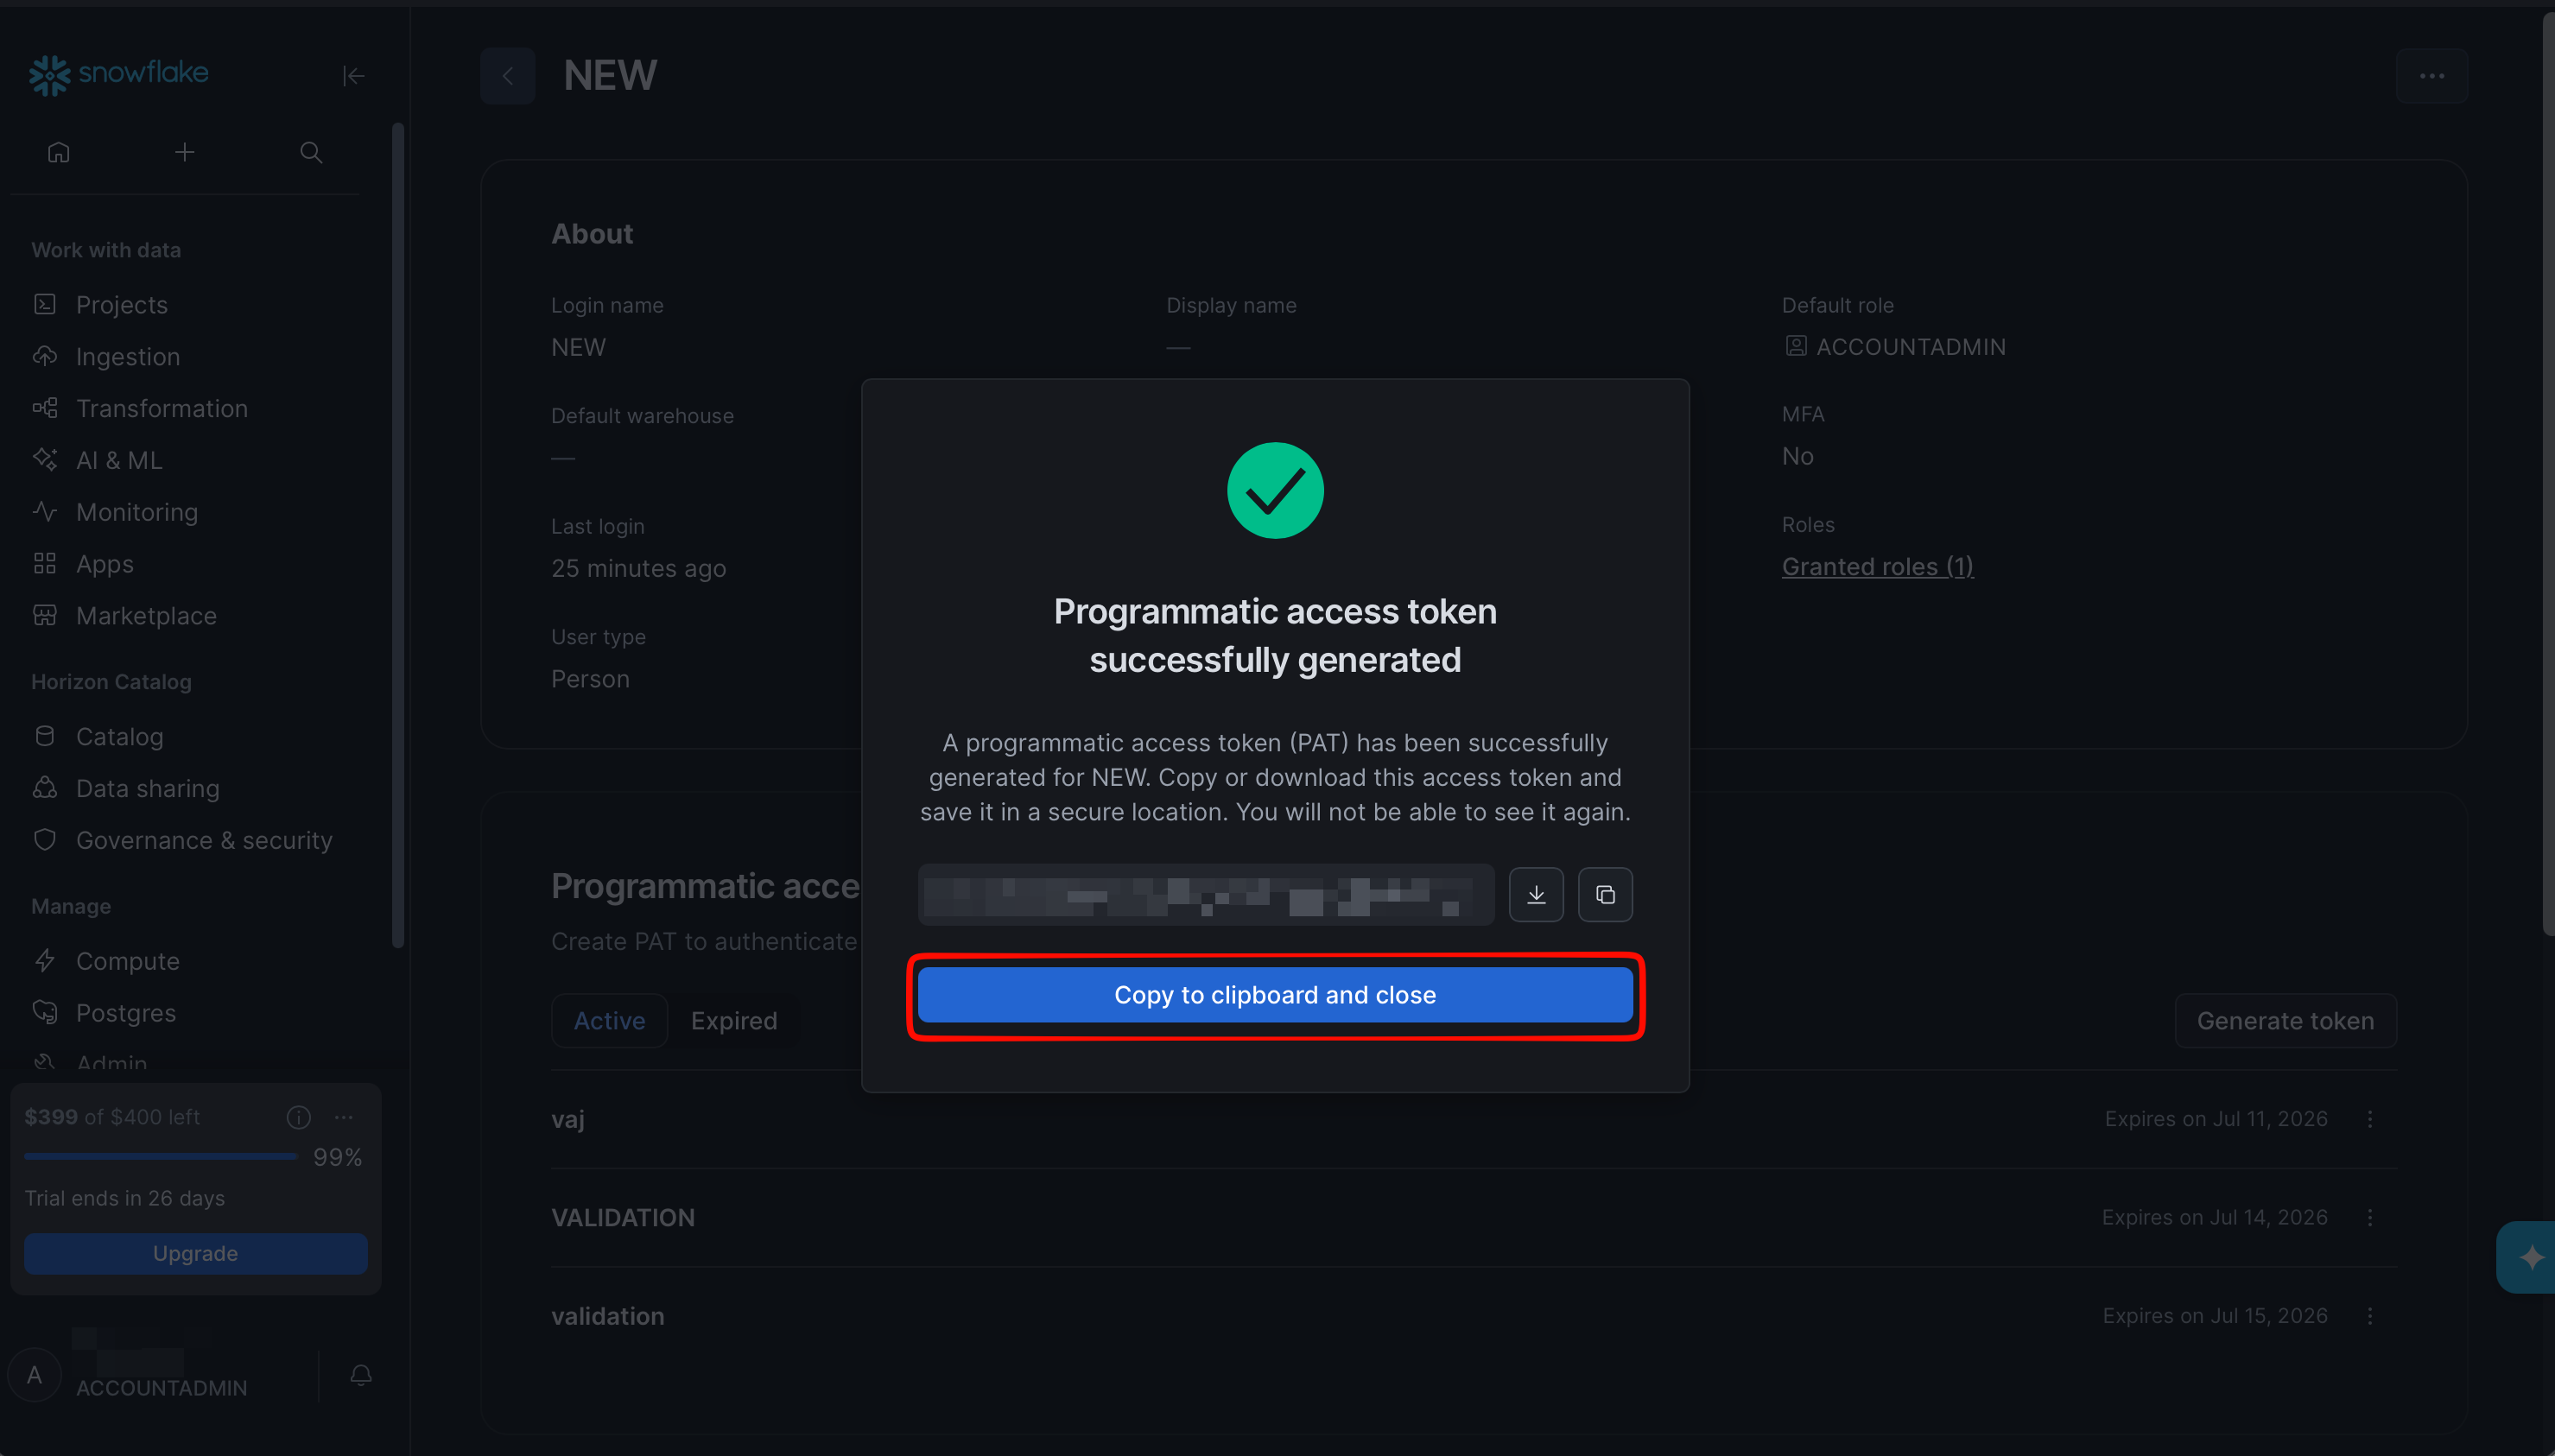
7
Copy your account identifier, which has the form 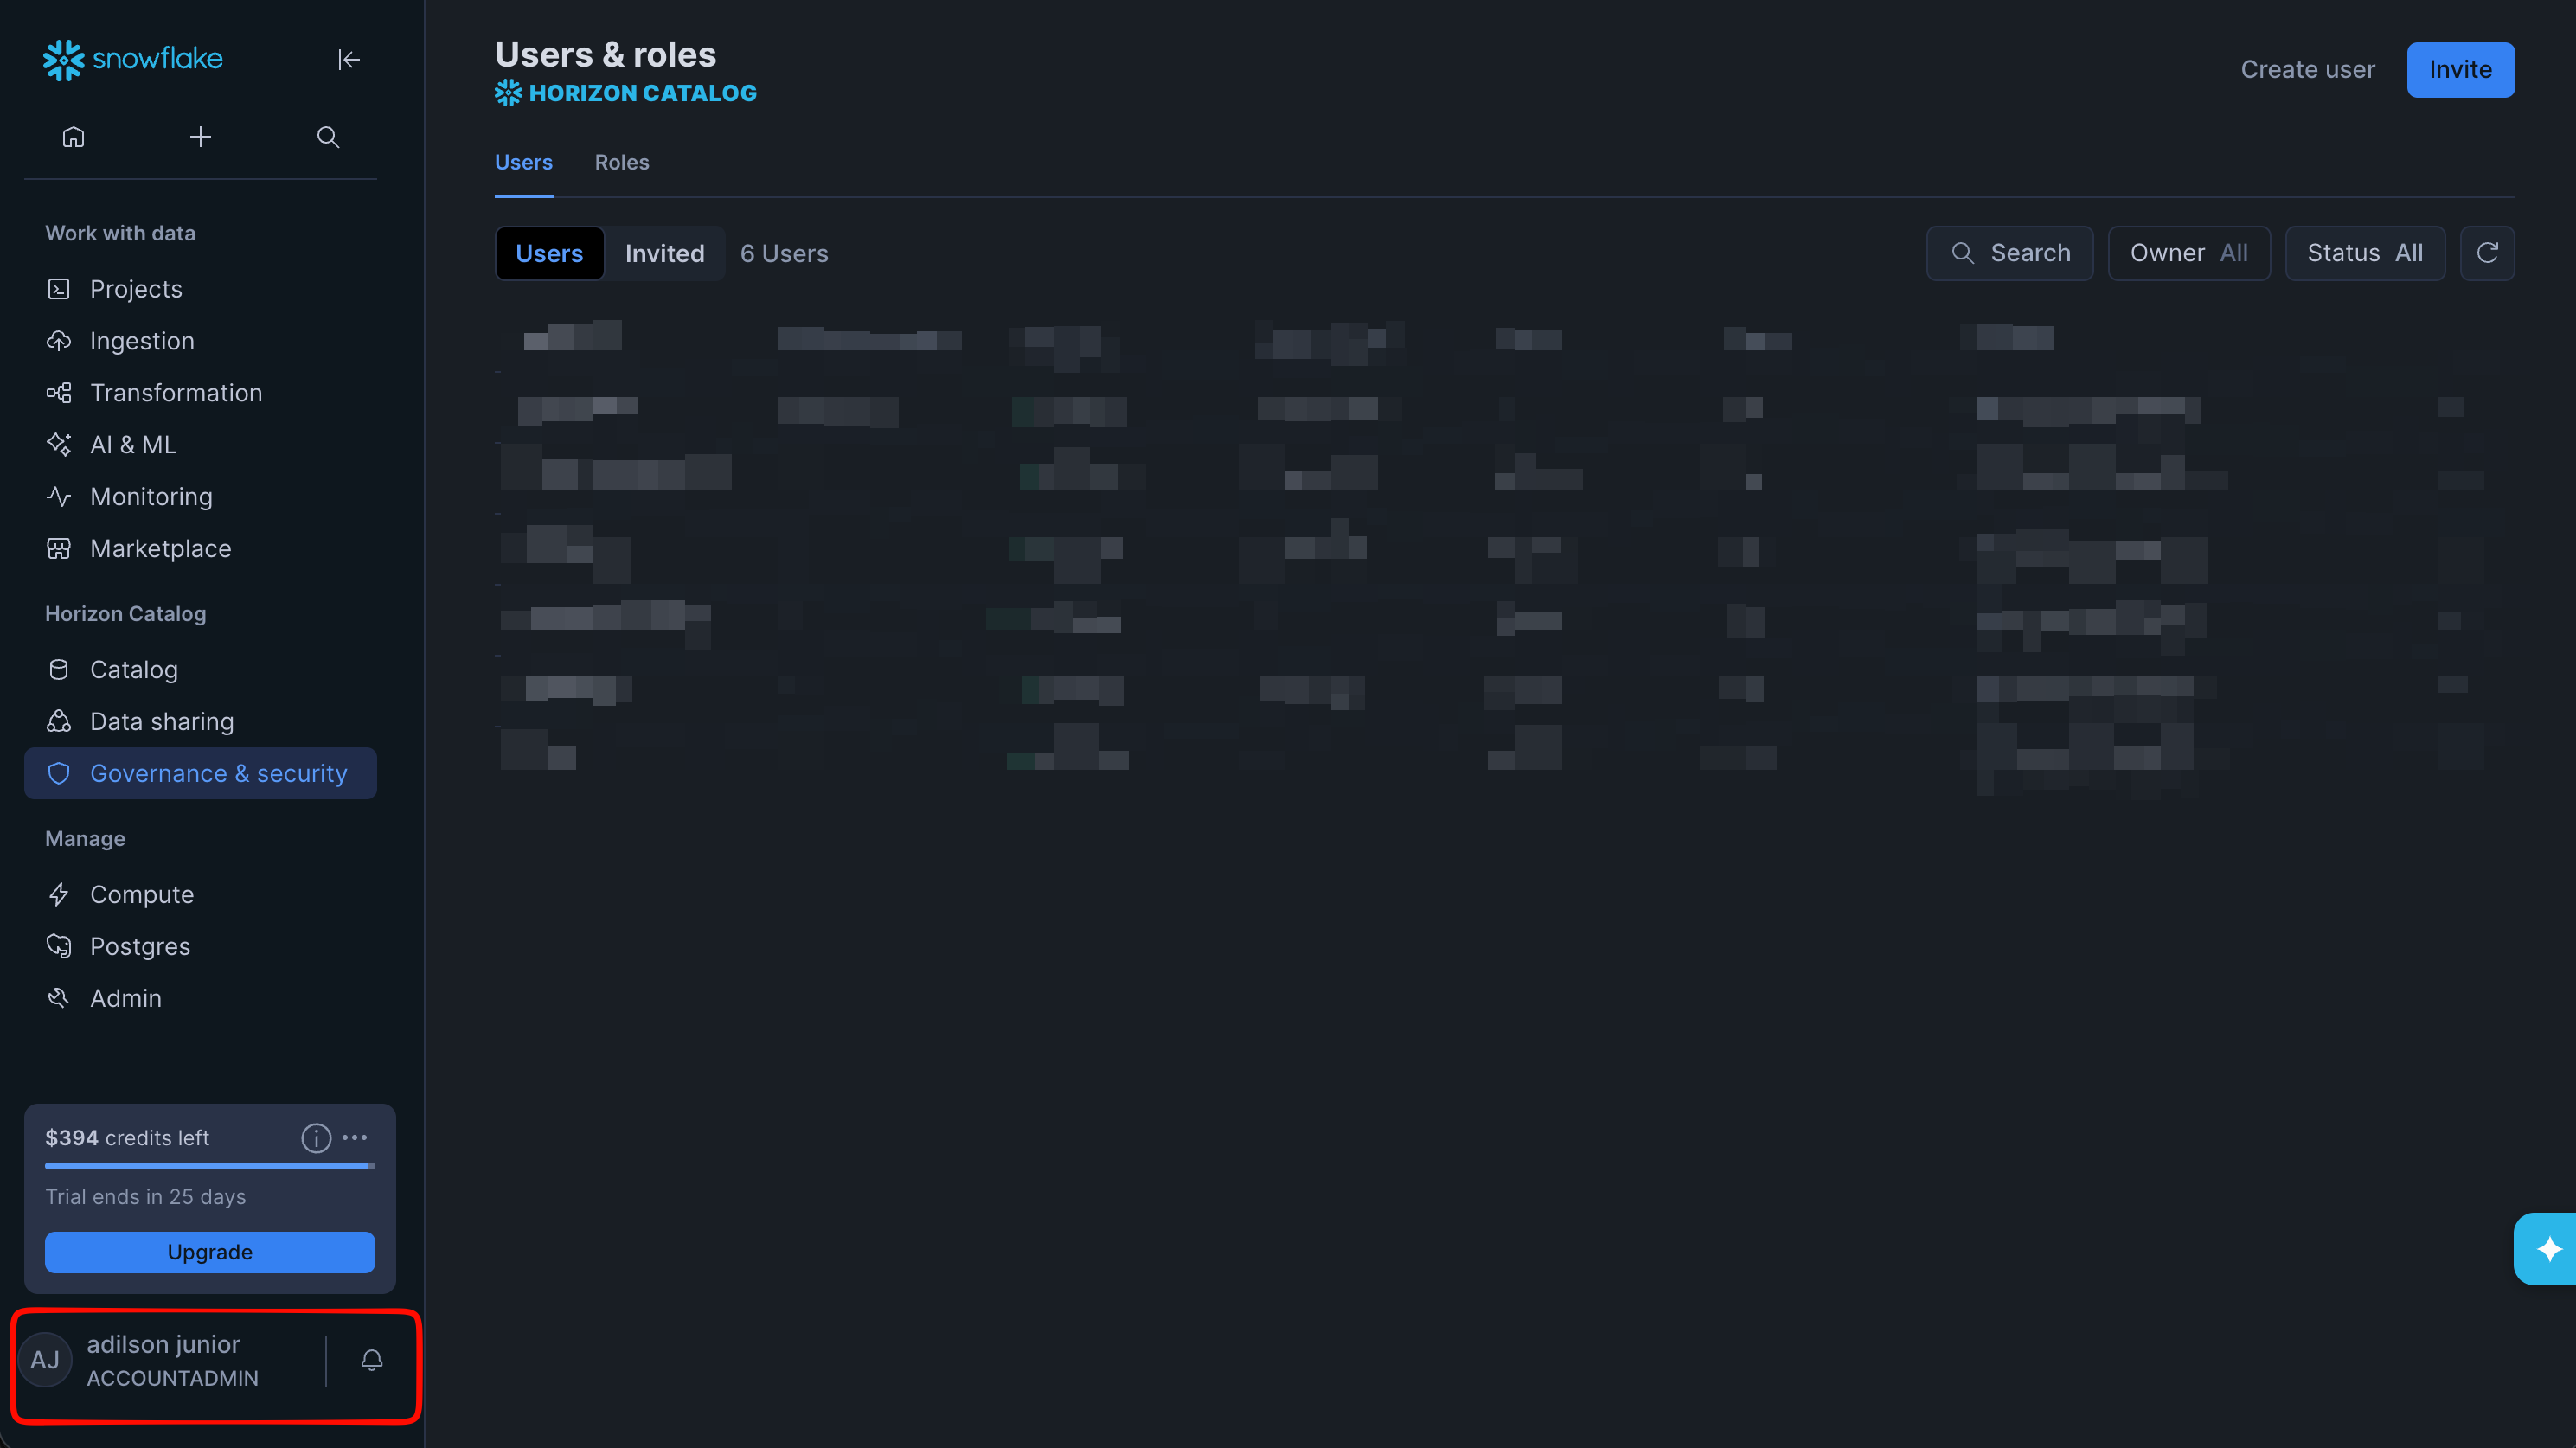
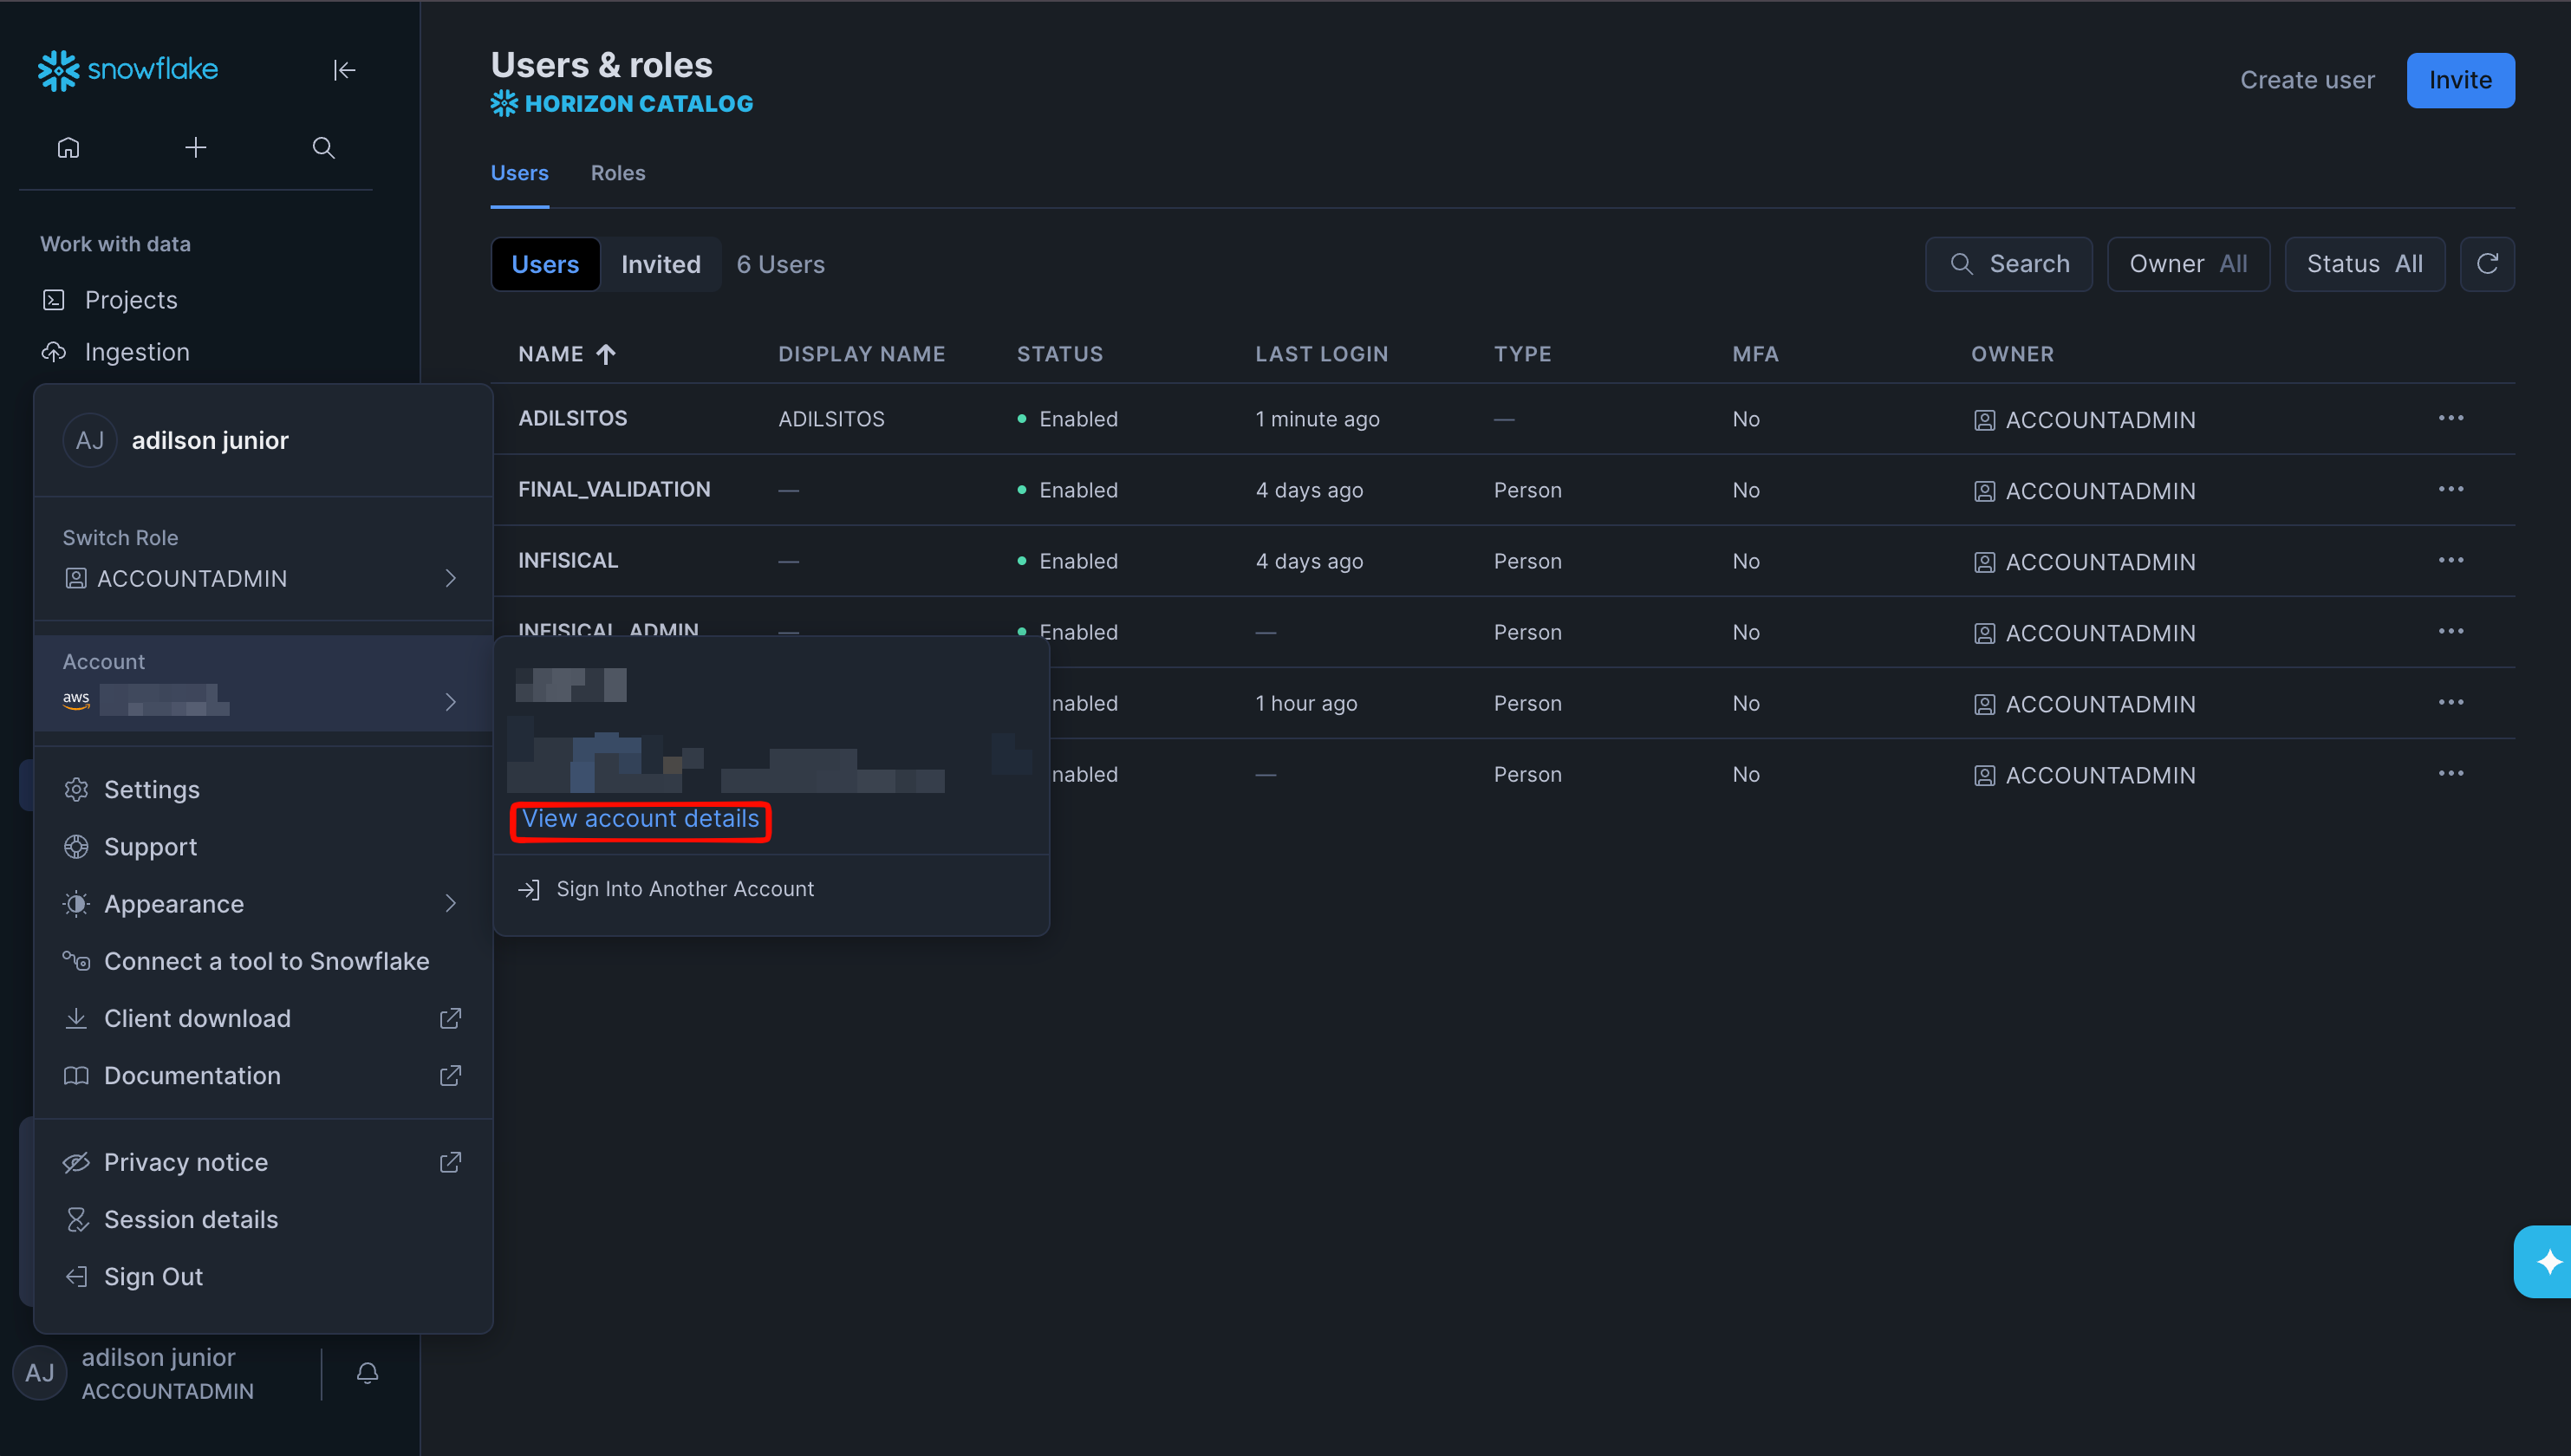
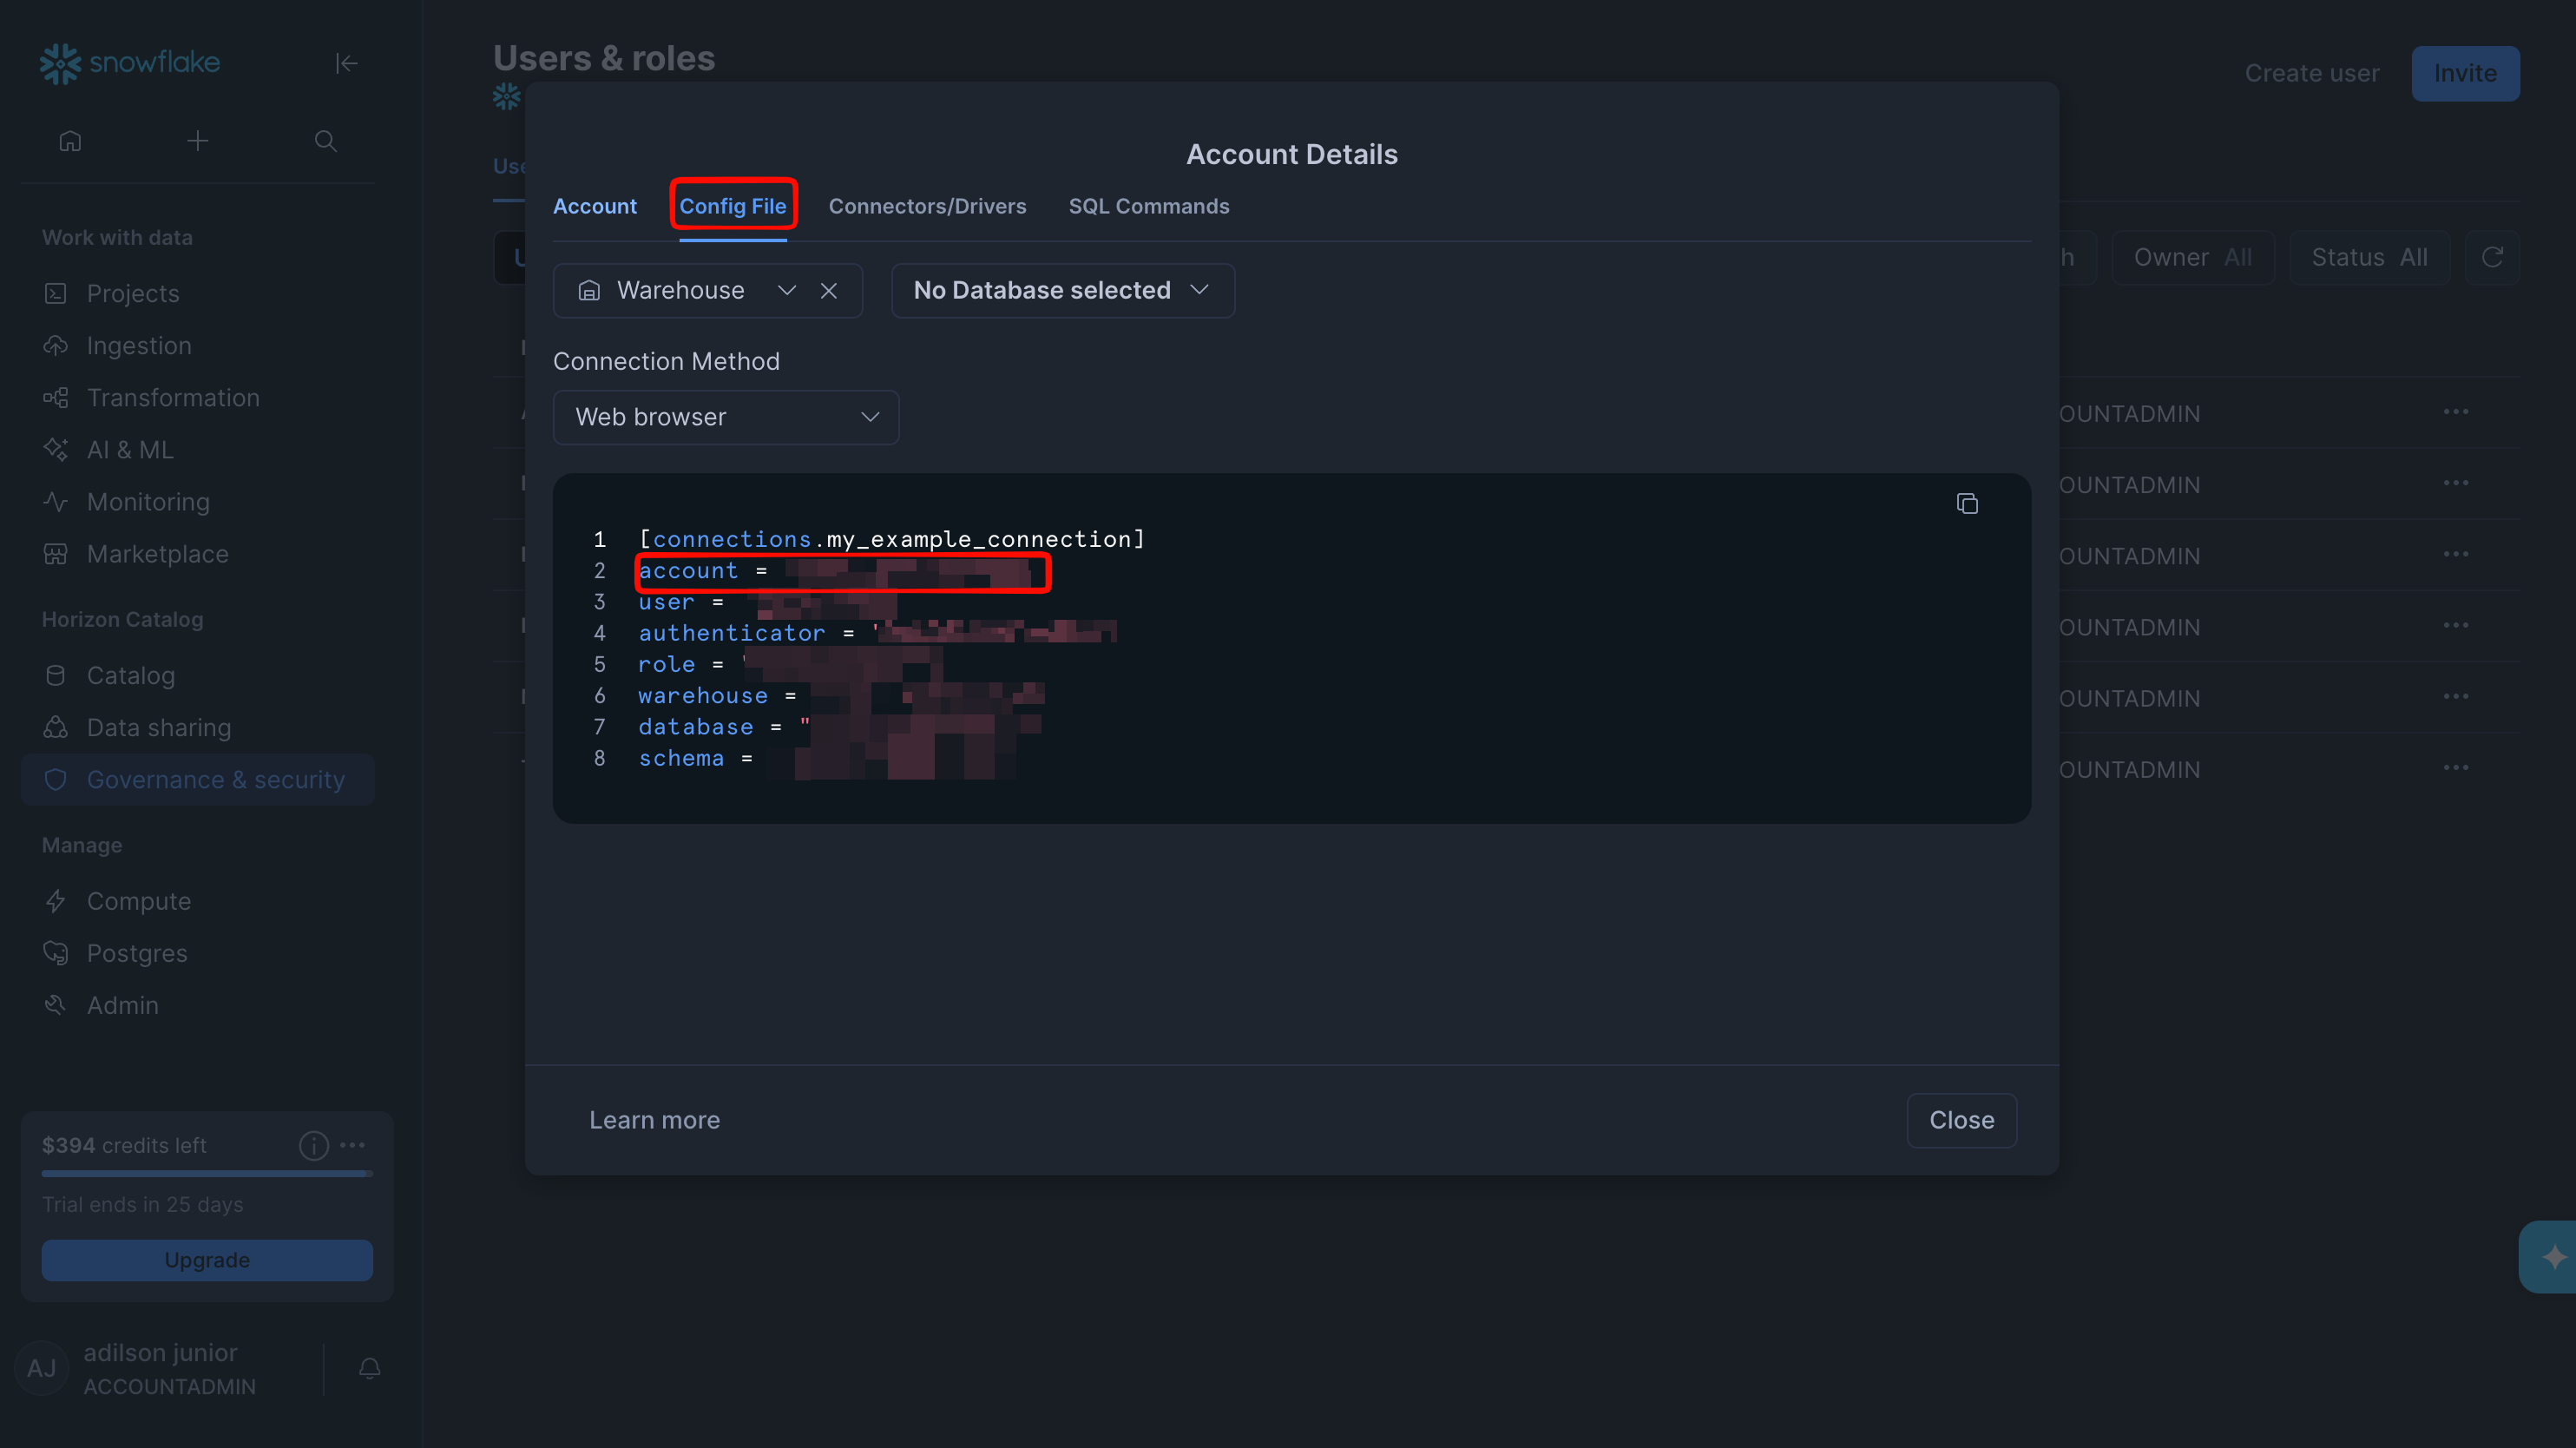
orgName-accountName. You can read both parts from your Snowsight URL: https://app.snowflake.com/orgName/accountName/.You can also select your username in the bottom-left corner, open Account details, and copy the Account value from the Config File tab.Step 2: Set up the sync in Infisical
1
In your project, go to Integrations and open the Secret Syncs tab. Select + Add Sync.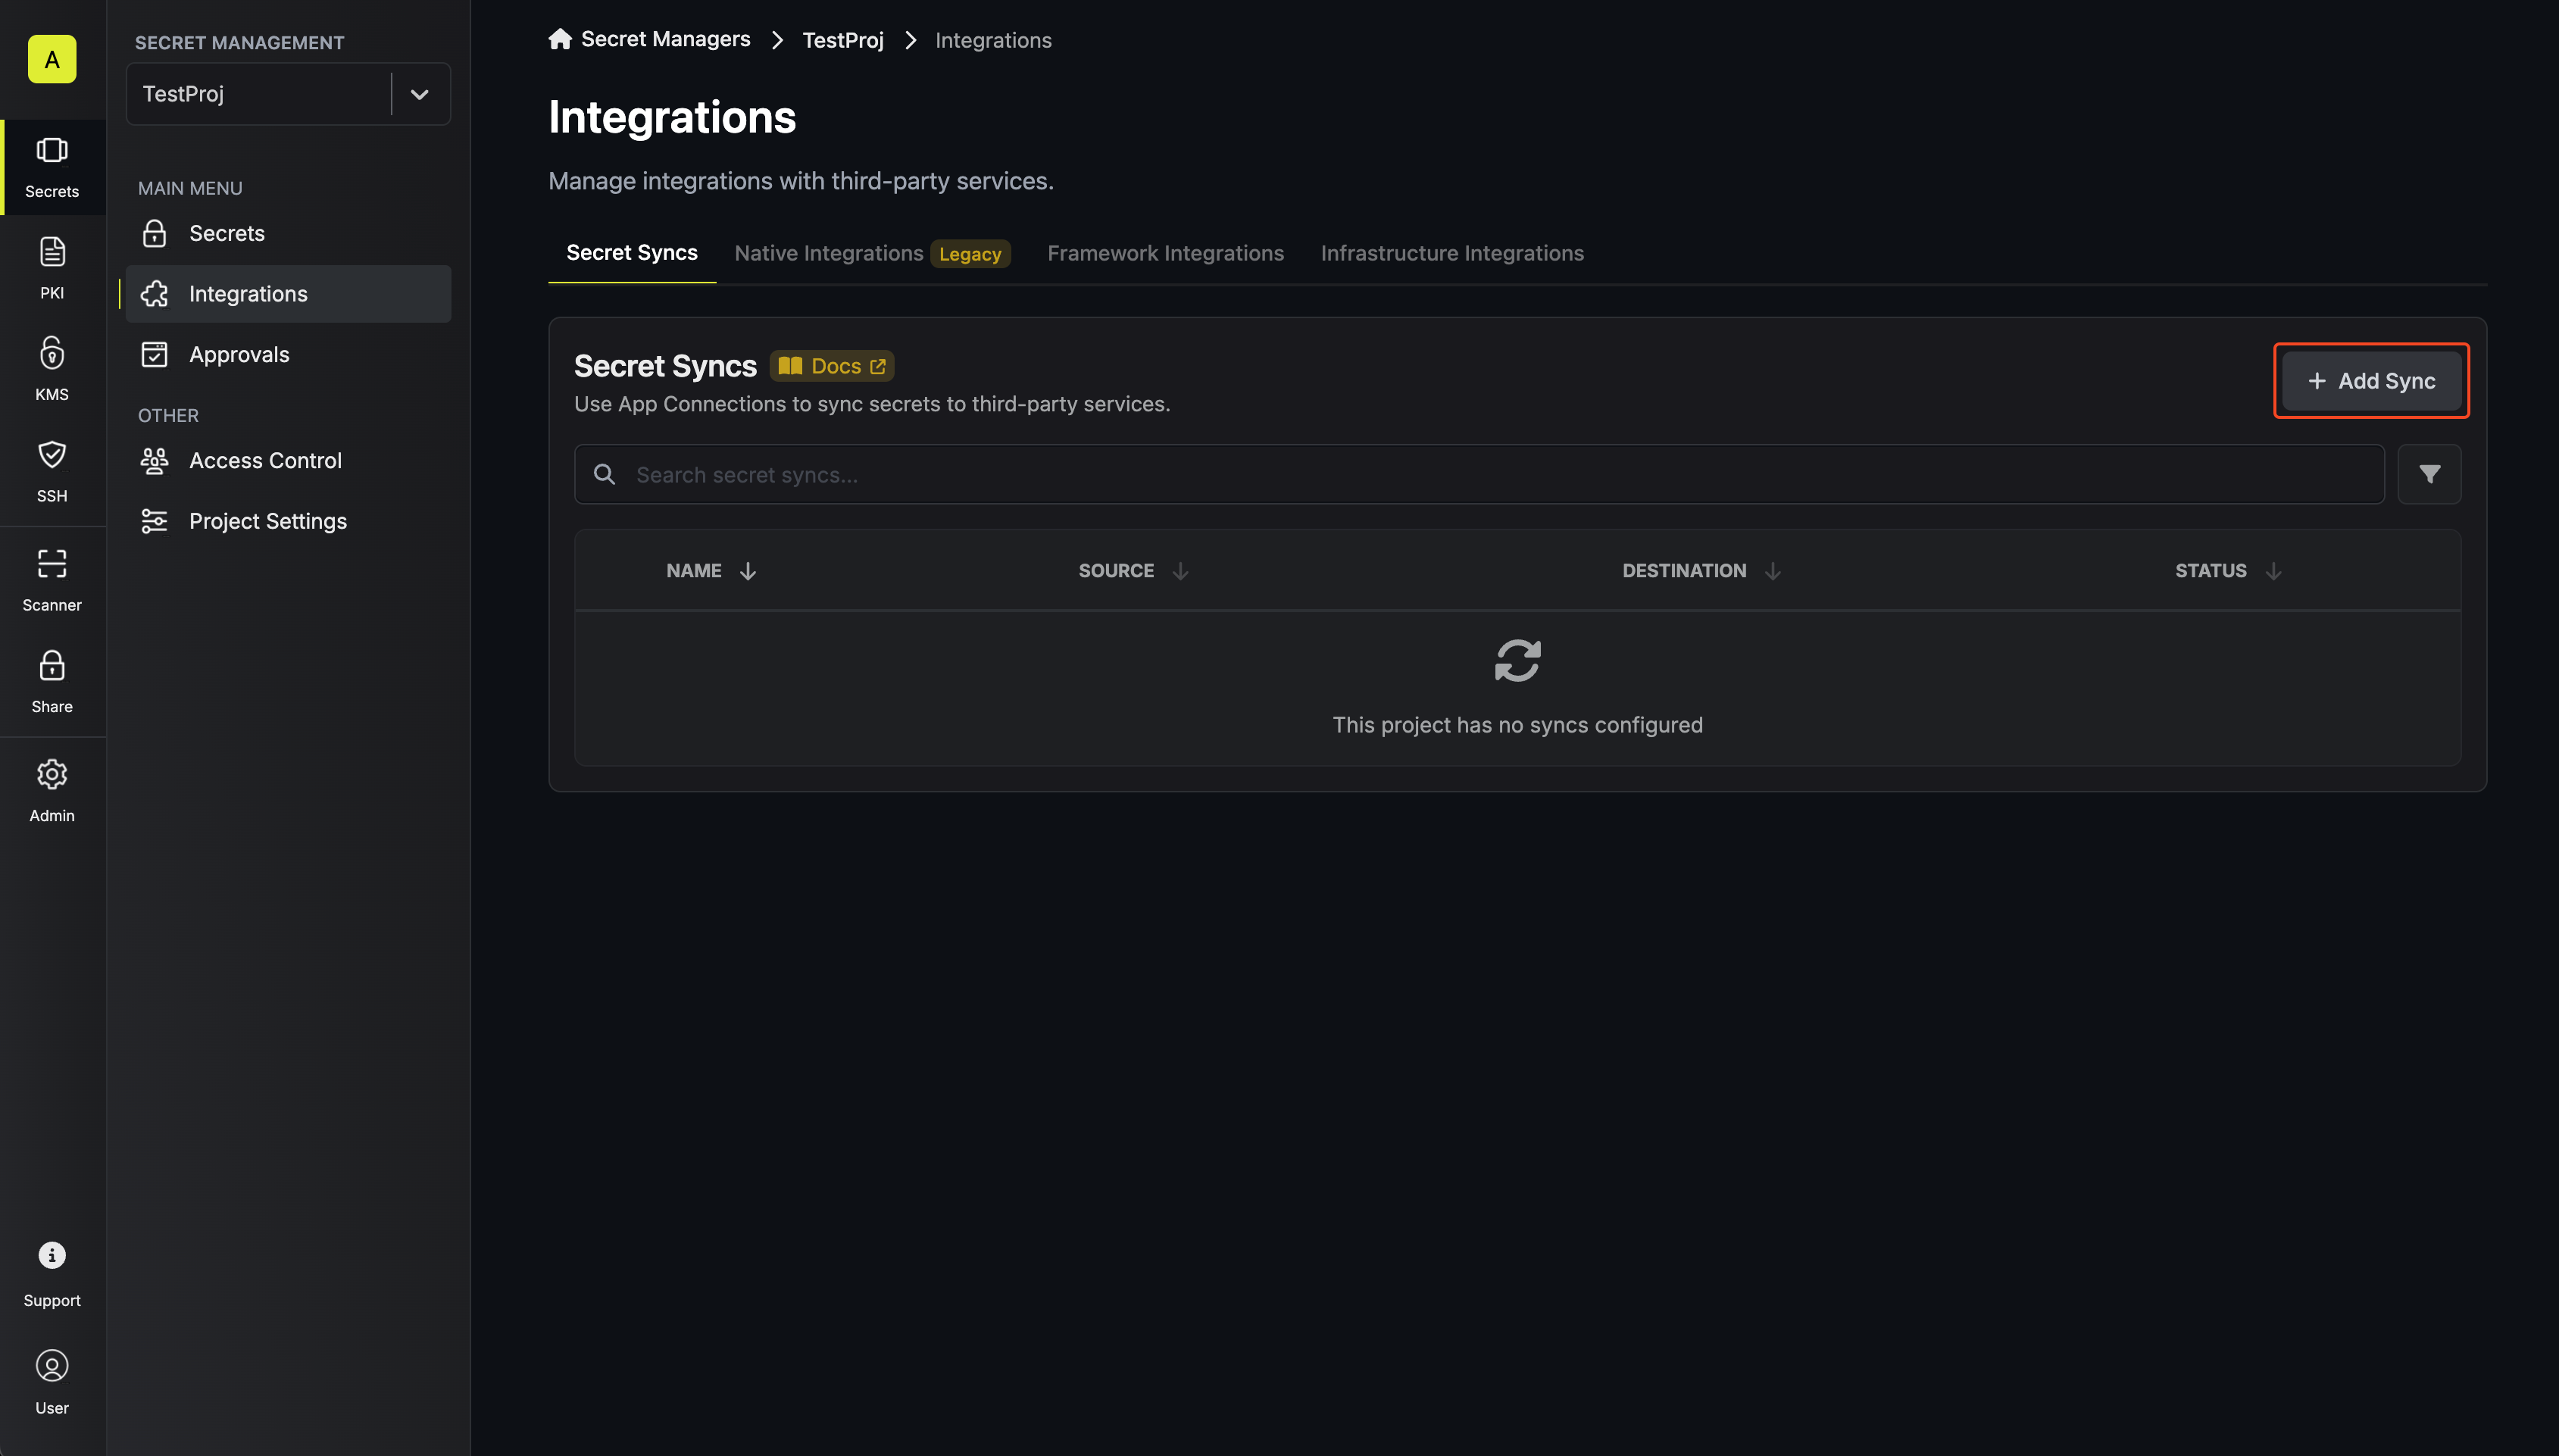 Then, select the Snowflake sync.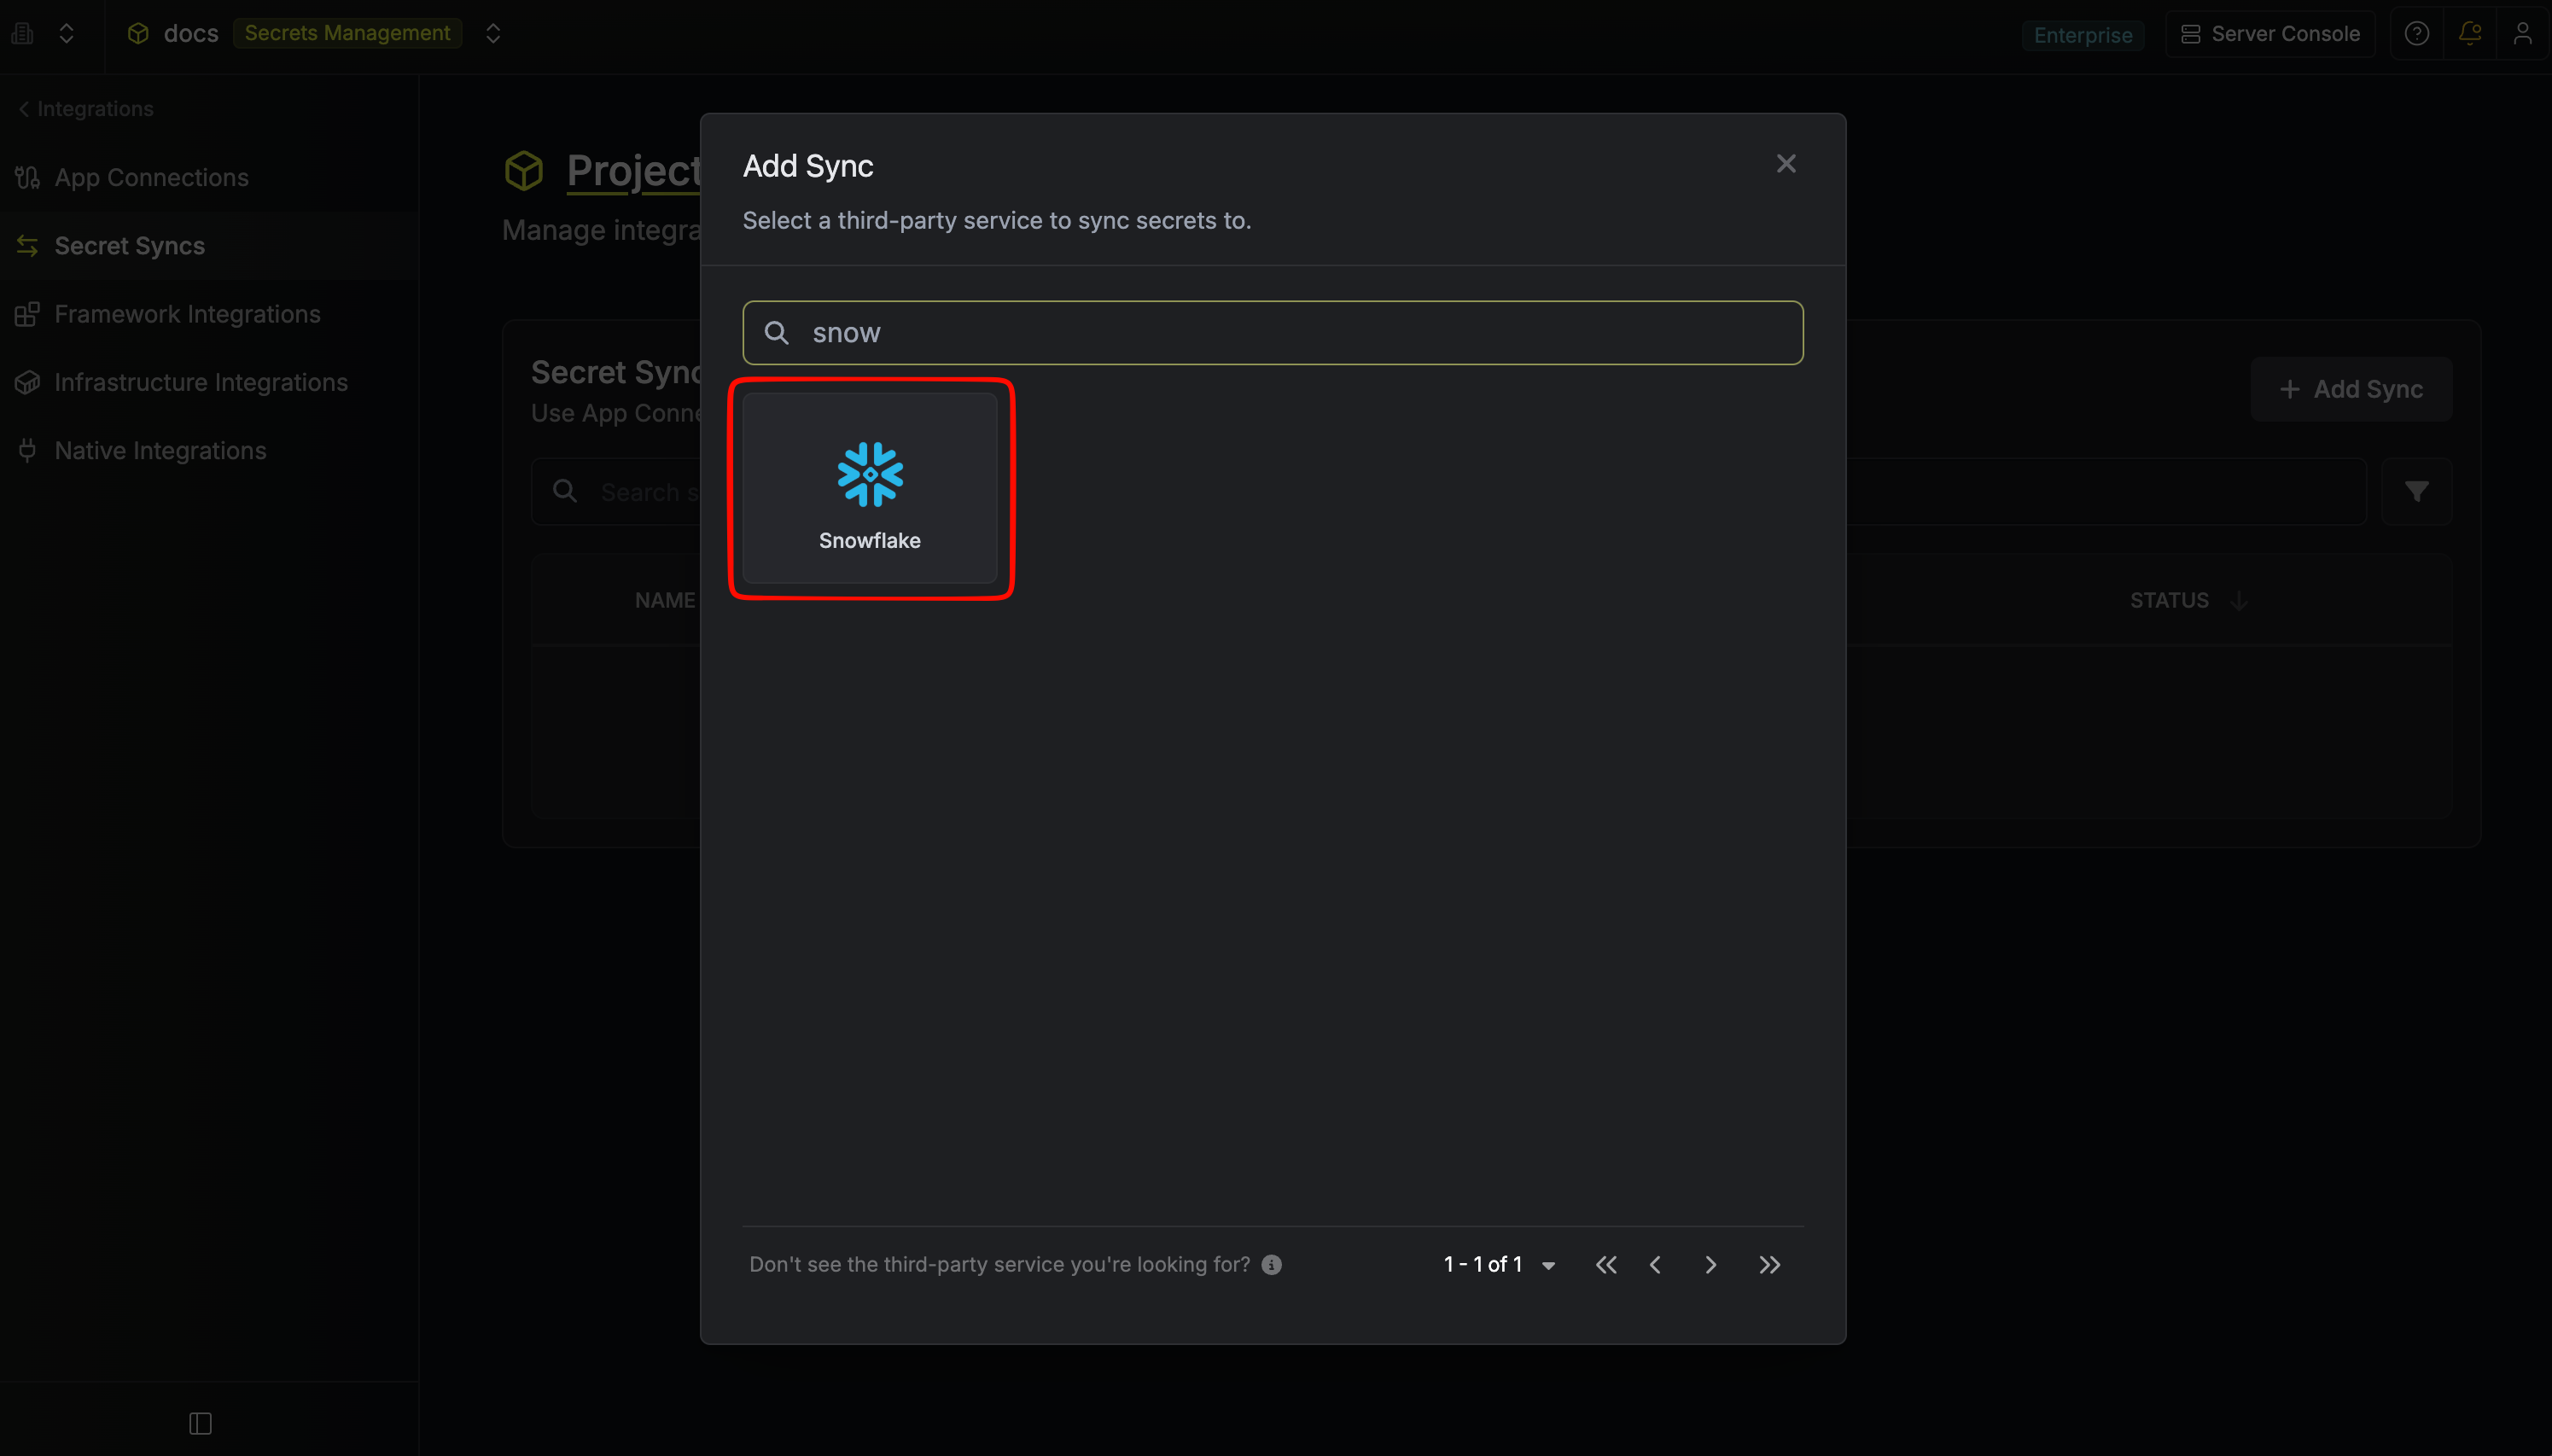
Then, select the Snowflake sync.2
Under Source, choose which secrets to sync from Infisical: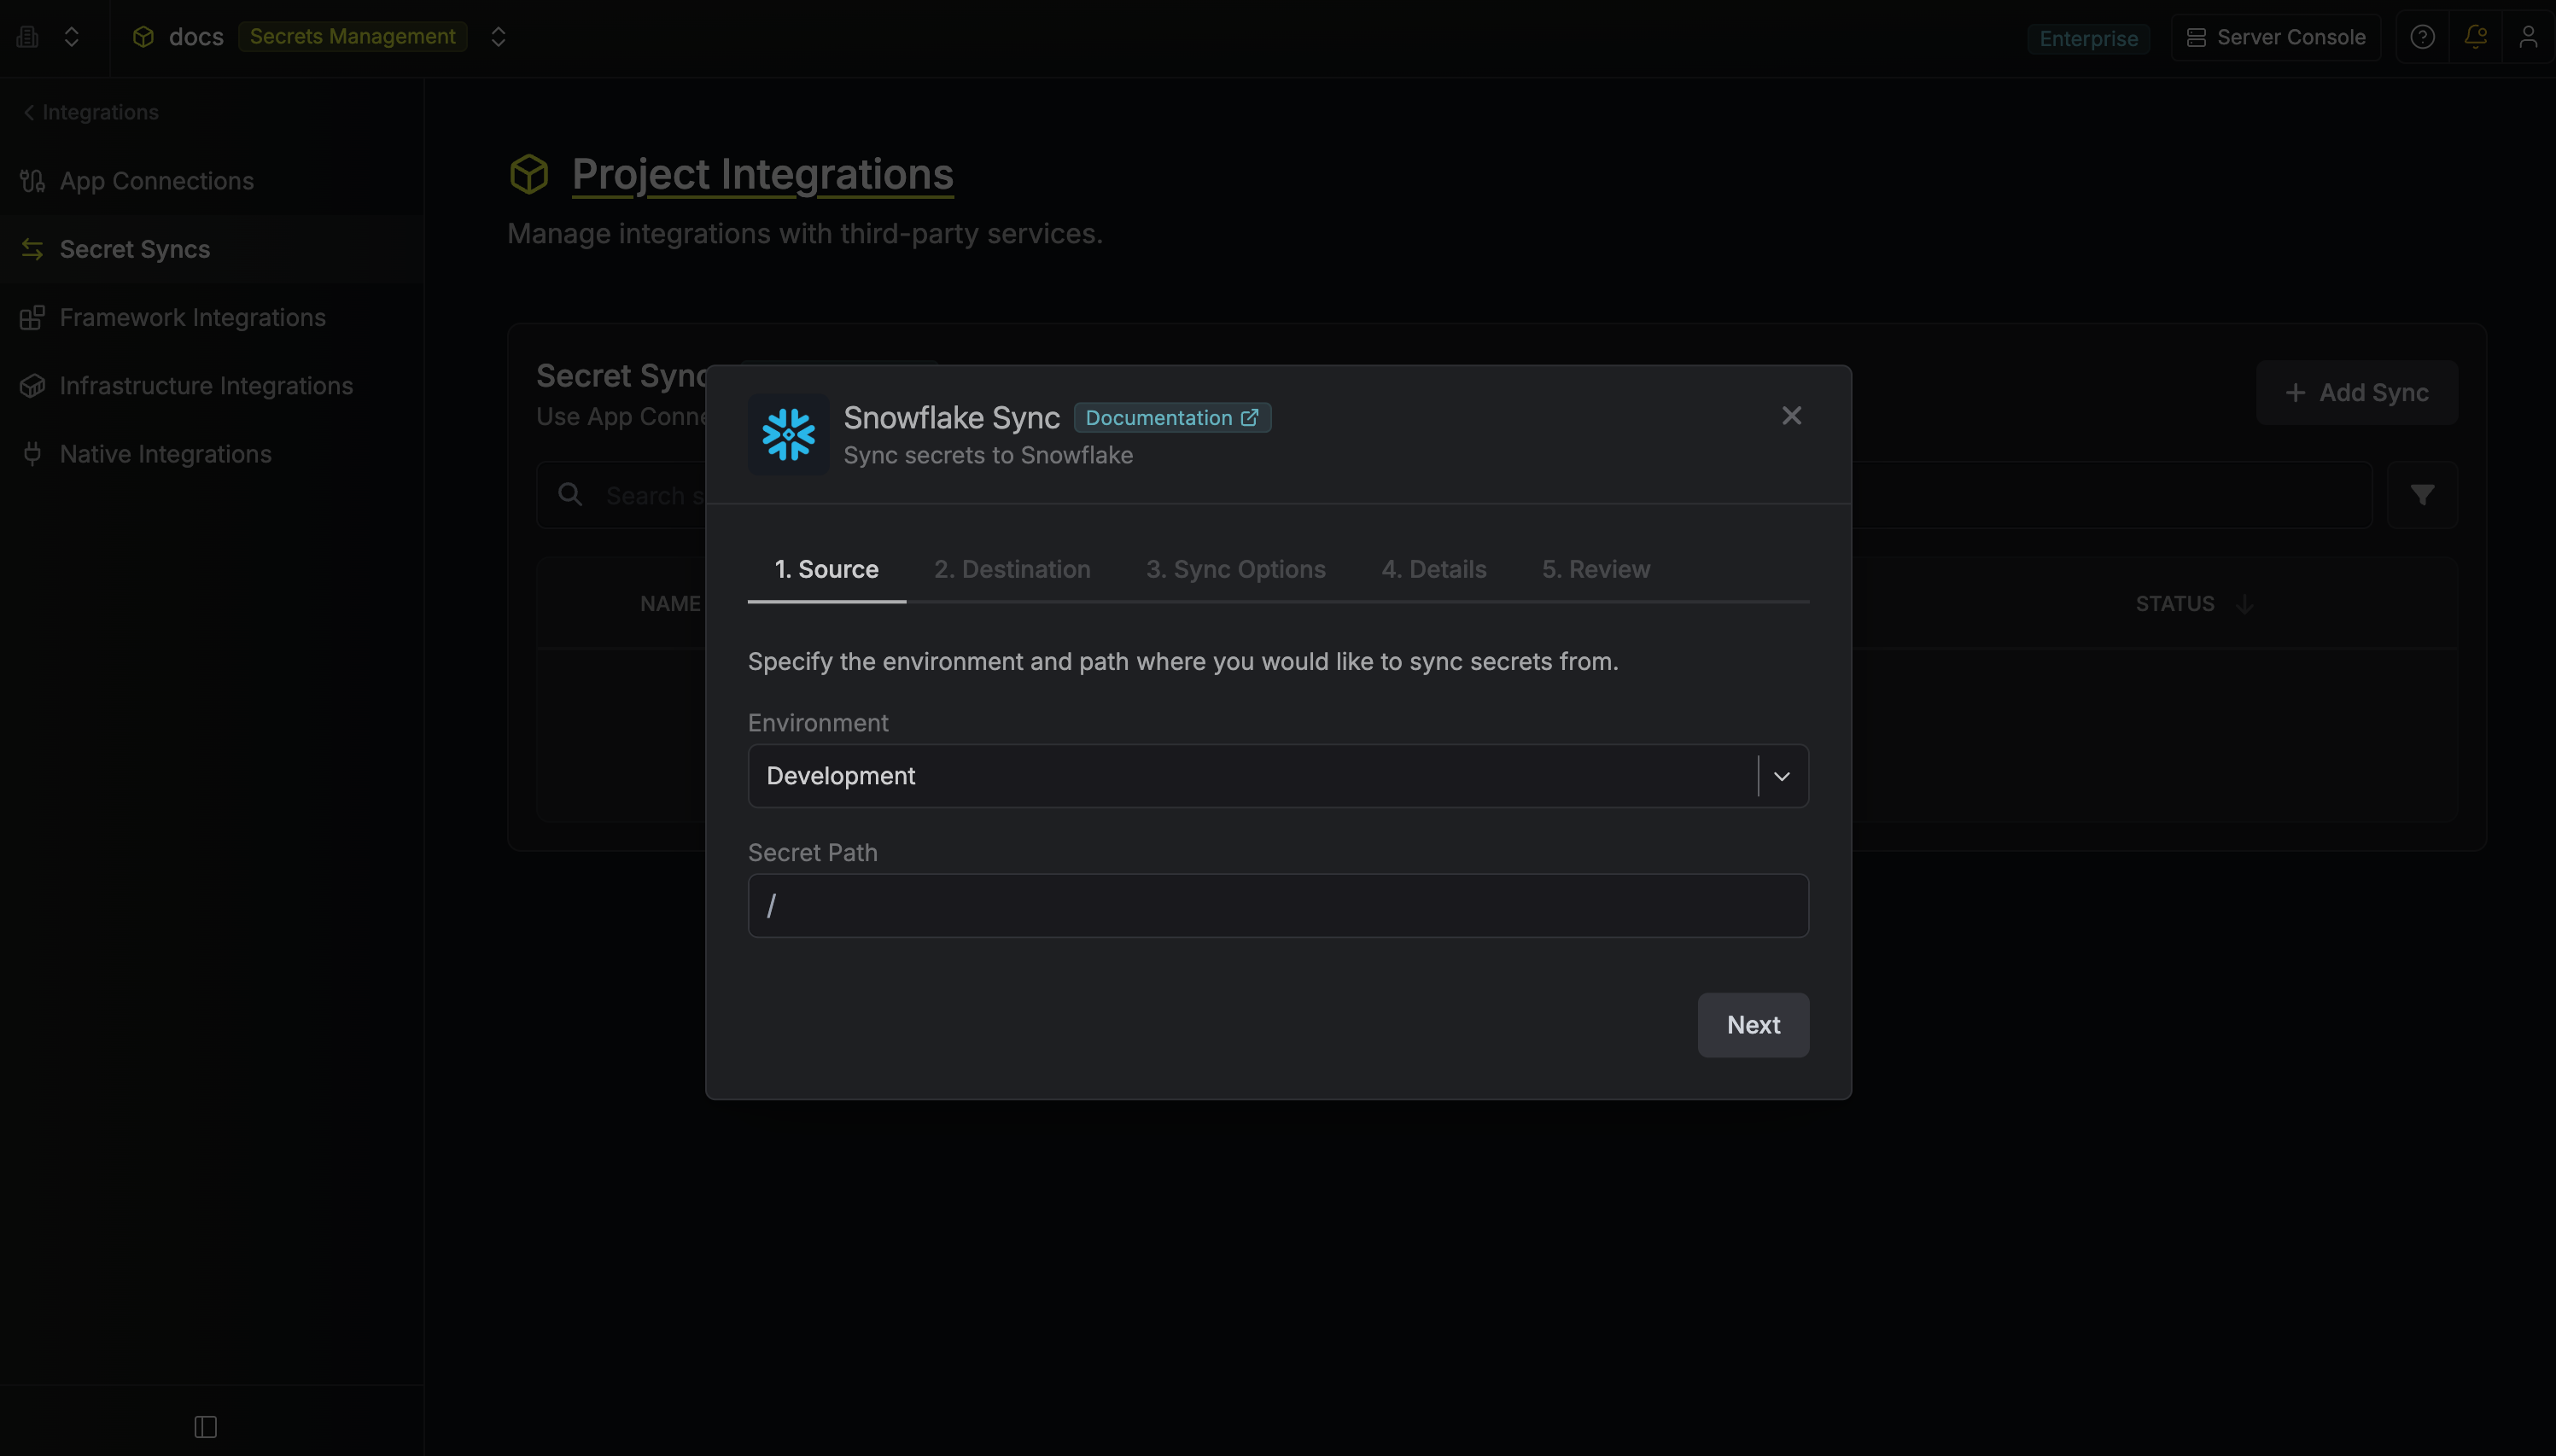 Then select Continue.
- Environment: The project environment to retrieve secrets from
- Secret Path: The folder path to retrieve secrets from
- Include secrets from all subfolders: When enabled, also syncs secrets from every folder under the secret path (secret names must be unique across those folders)
Then select Continue.3
Under Destination, create or select the Snowflake app connection the sync will use, then choose where secrets go in Snowflake.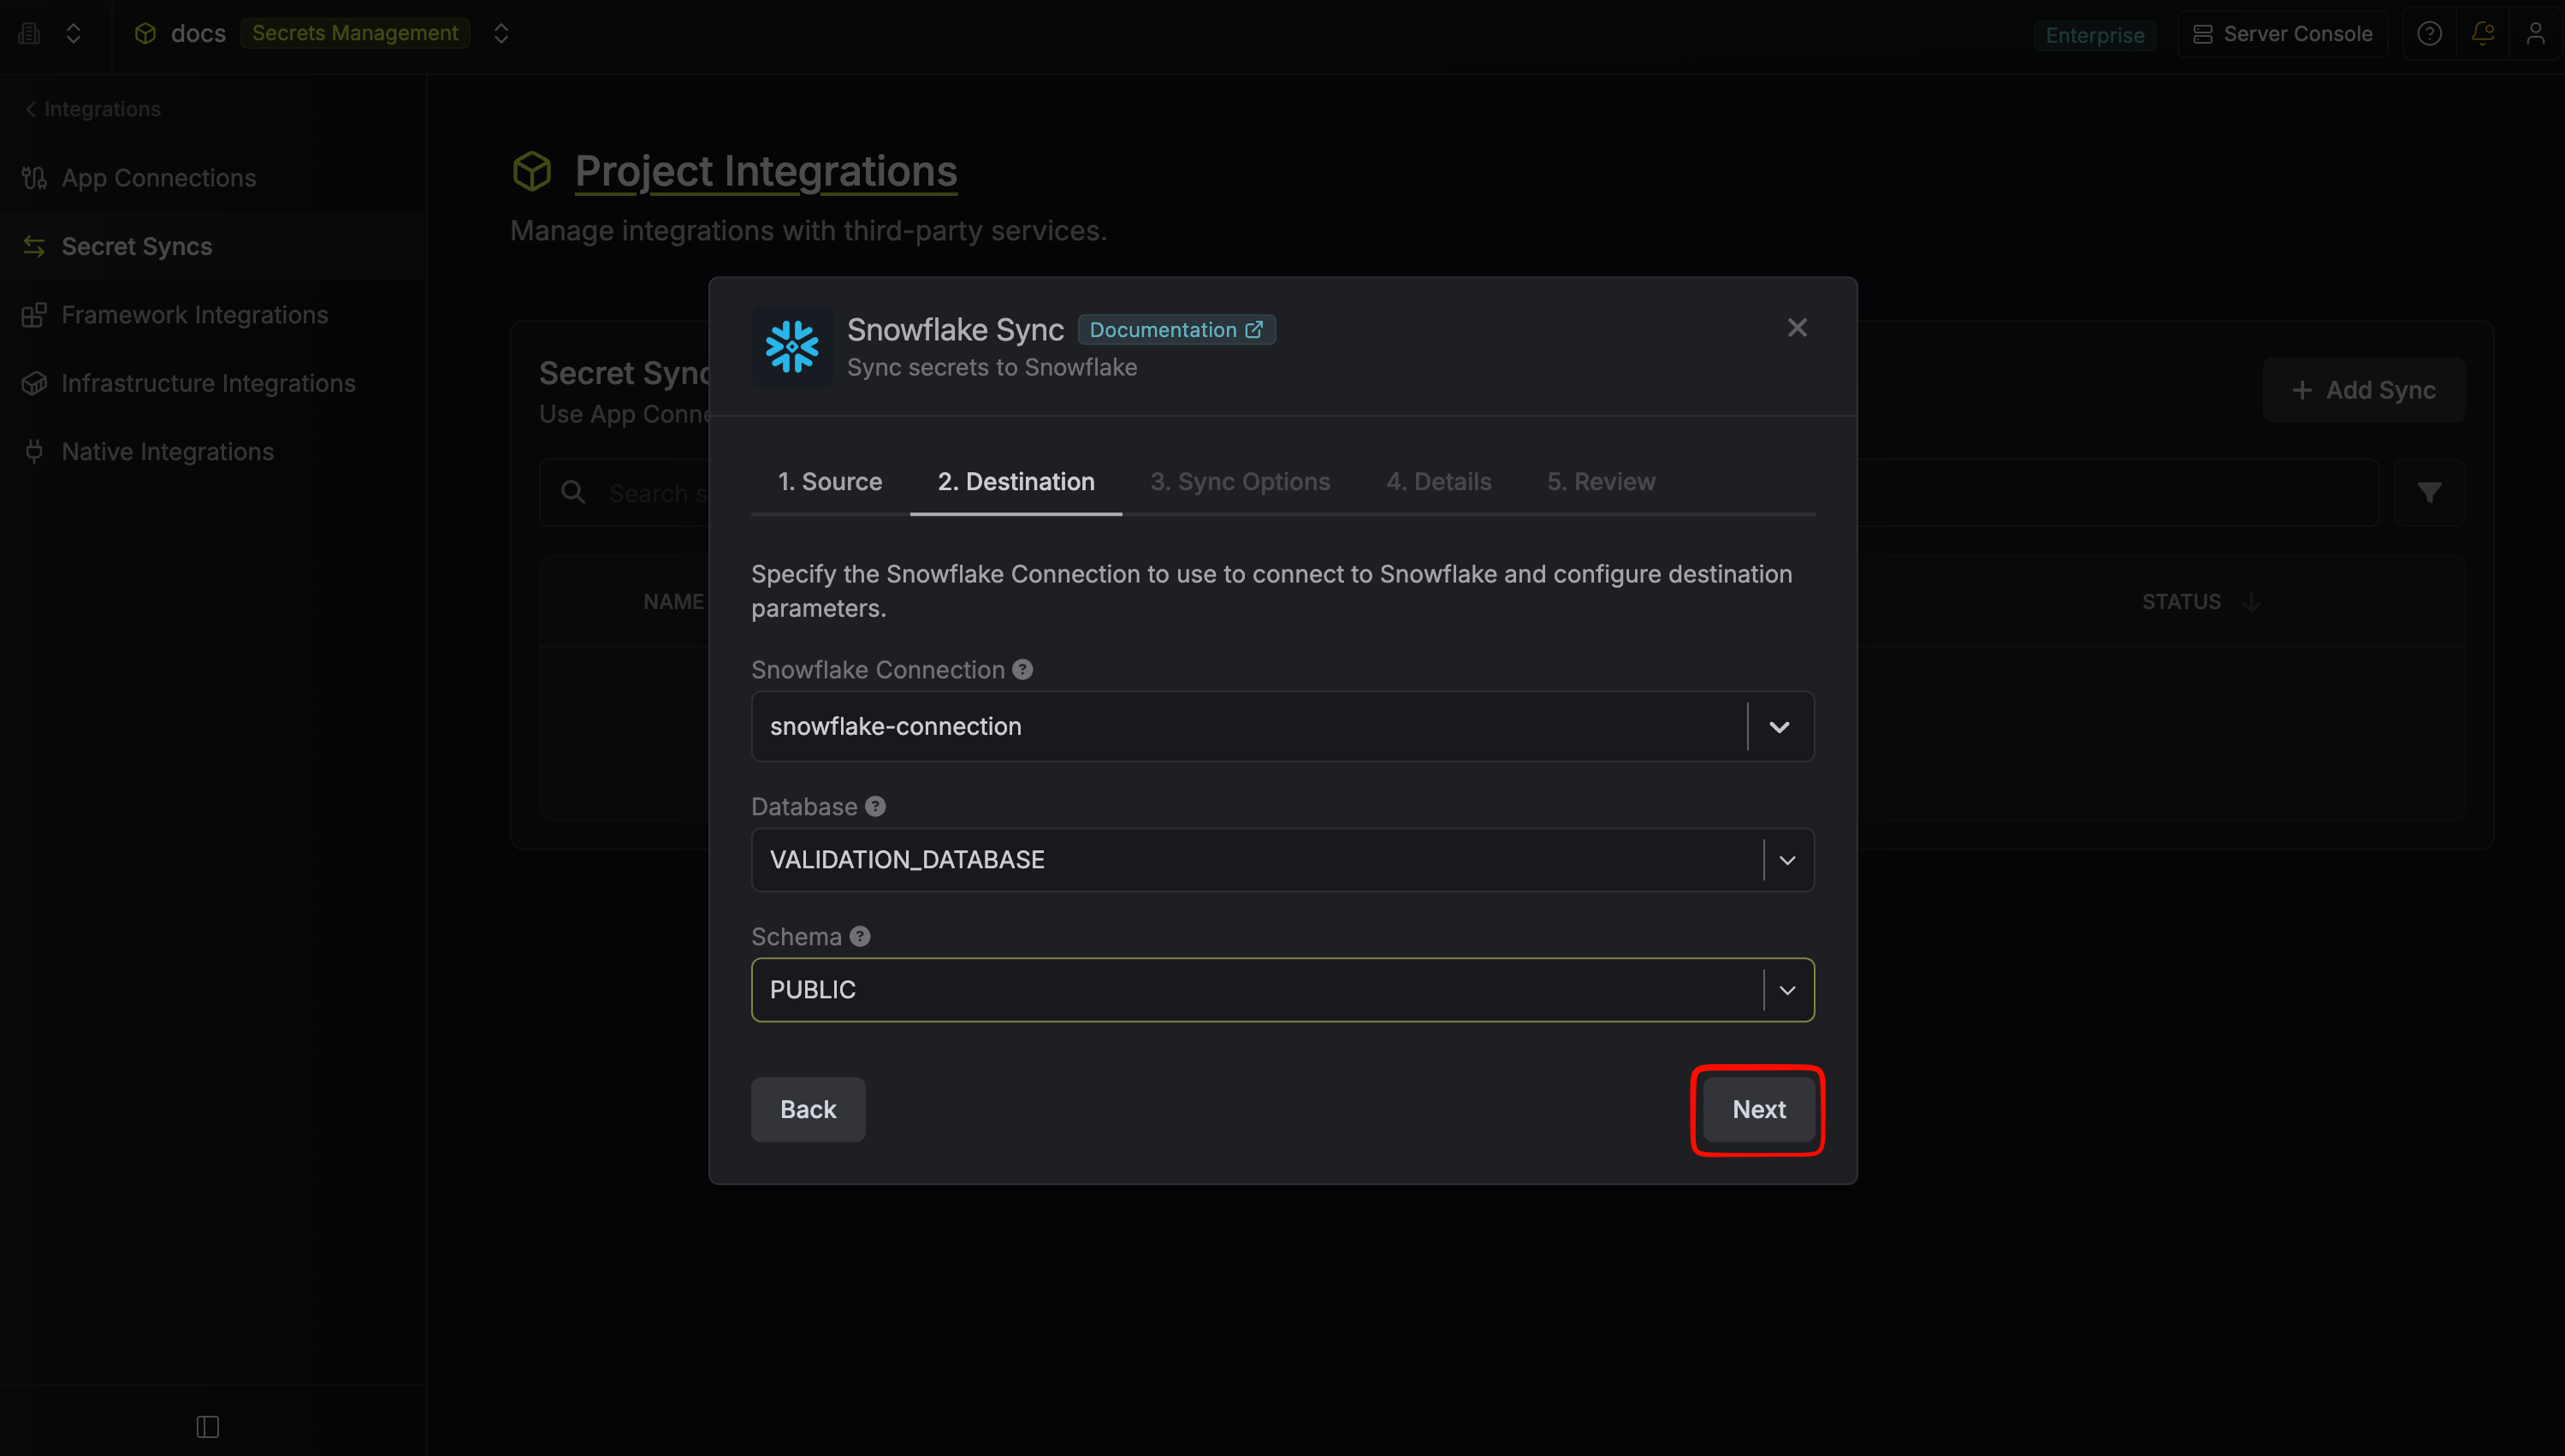 Then select Continue.
- Create a new app connection
- Use an existing connection
Under Snowflake Connection, select Create Connection in the dropdown, then fill in:
- Name: A descriptive name for the connection
- Description (optional): A note for future reference
- Account: Your Snowflake account identifier, such as
orgName-accountName - Username: The Snowflake user you created for Infisical
- Programmatic Access Token: The token you generated for that user
This creates a connection scoped to the current project. To share the connection across other projects, create it at the organization level first, then select it here.
- Database: The Snowflake database that contains the schema
- Schema: The schema the sync writes secrets to
Then select Continue.4
Under Initial Sync Behavior, select Overwrite Snowflake, then select Continue.
Snowflake doesn’t return a secret’s value after the secret is created, so this sync can’t import existing Snowflake secrets into Infisical. Overwrite Snowflake is the only option.
5
Under Sync Options, choose how secrets are synced: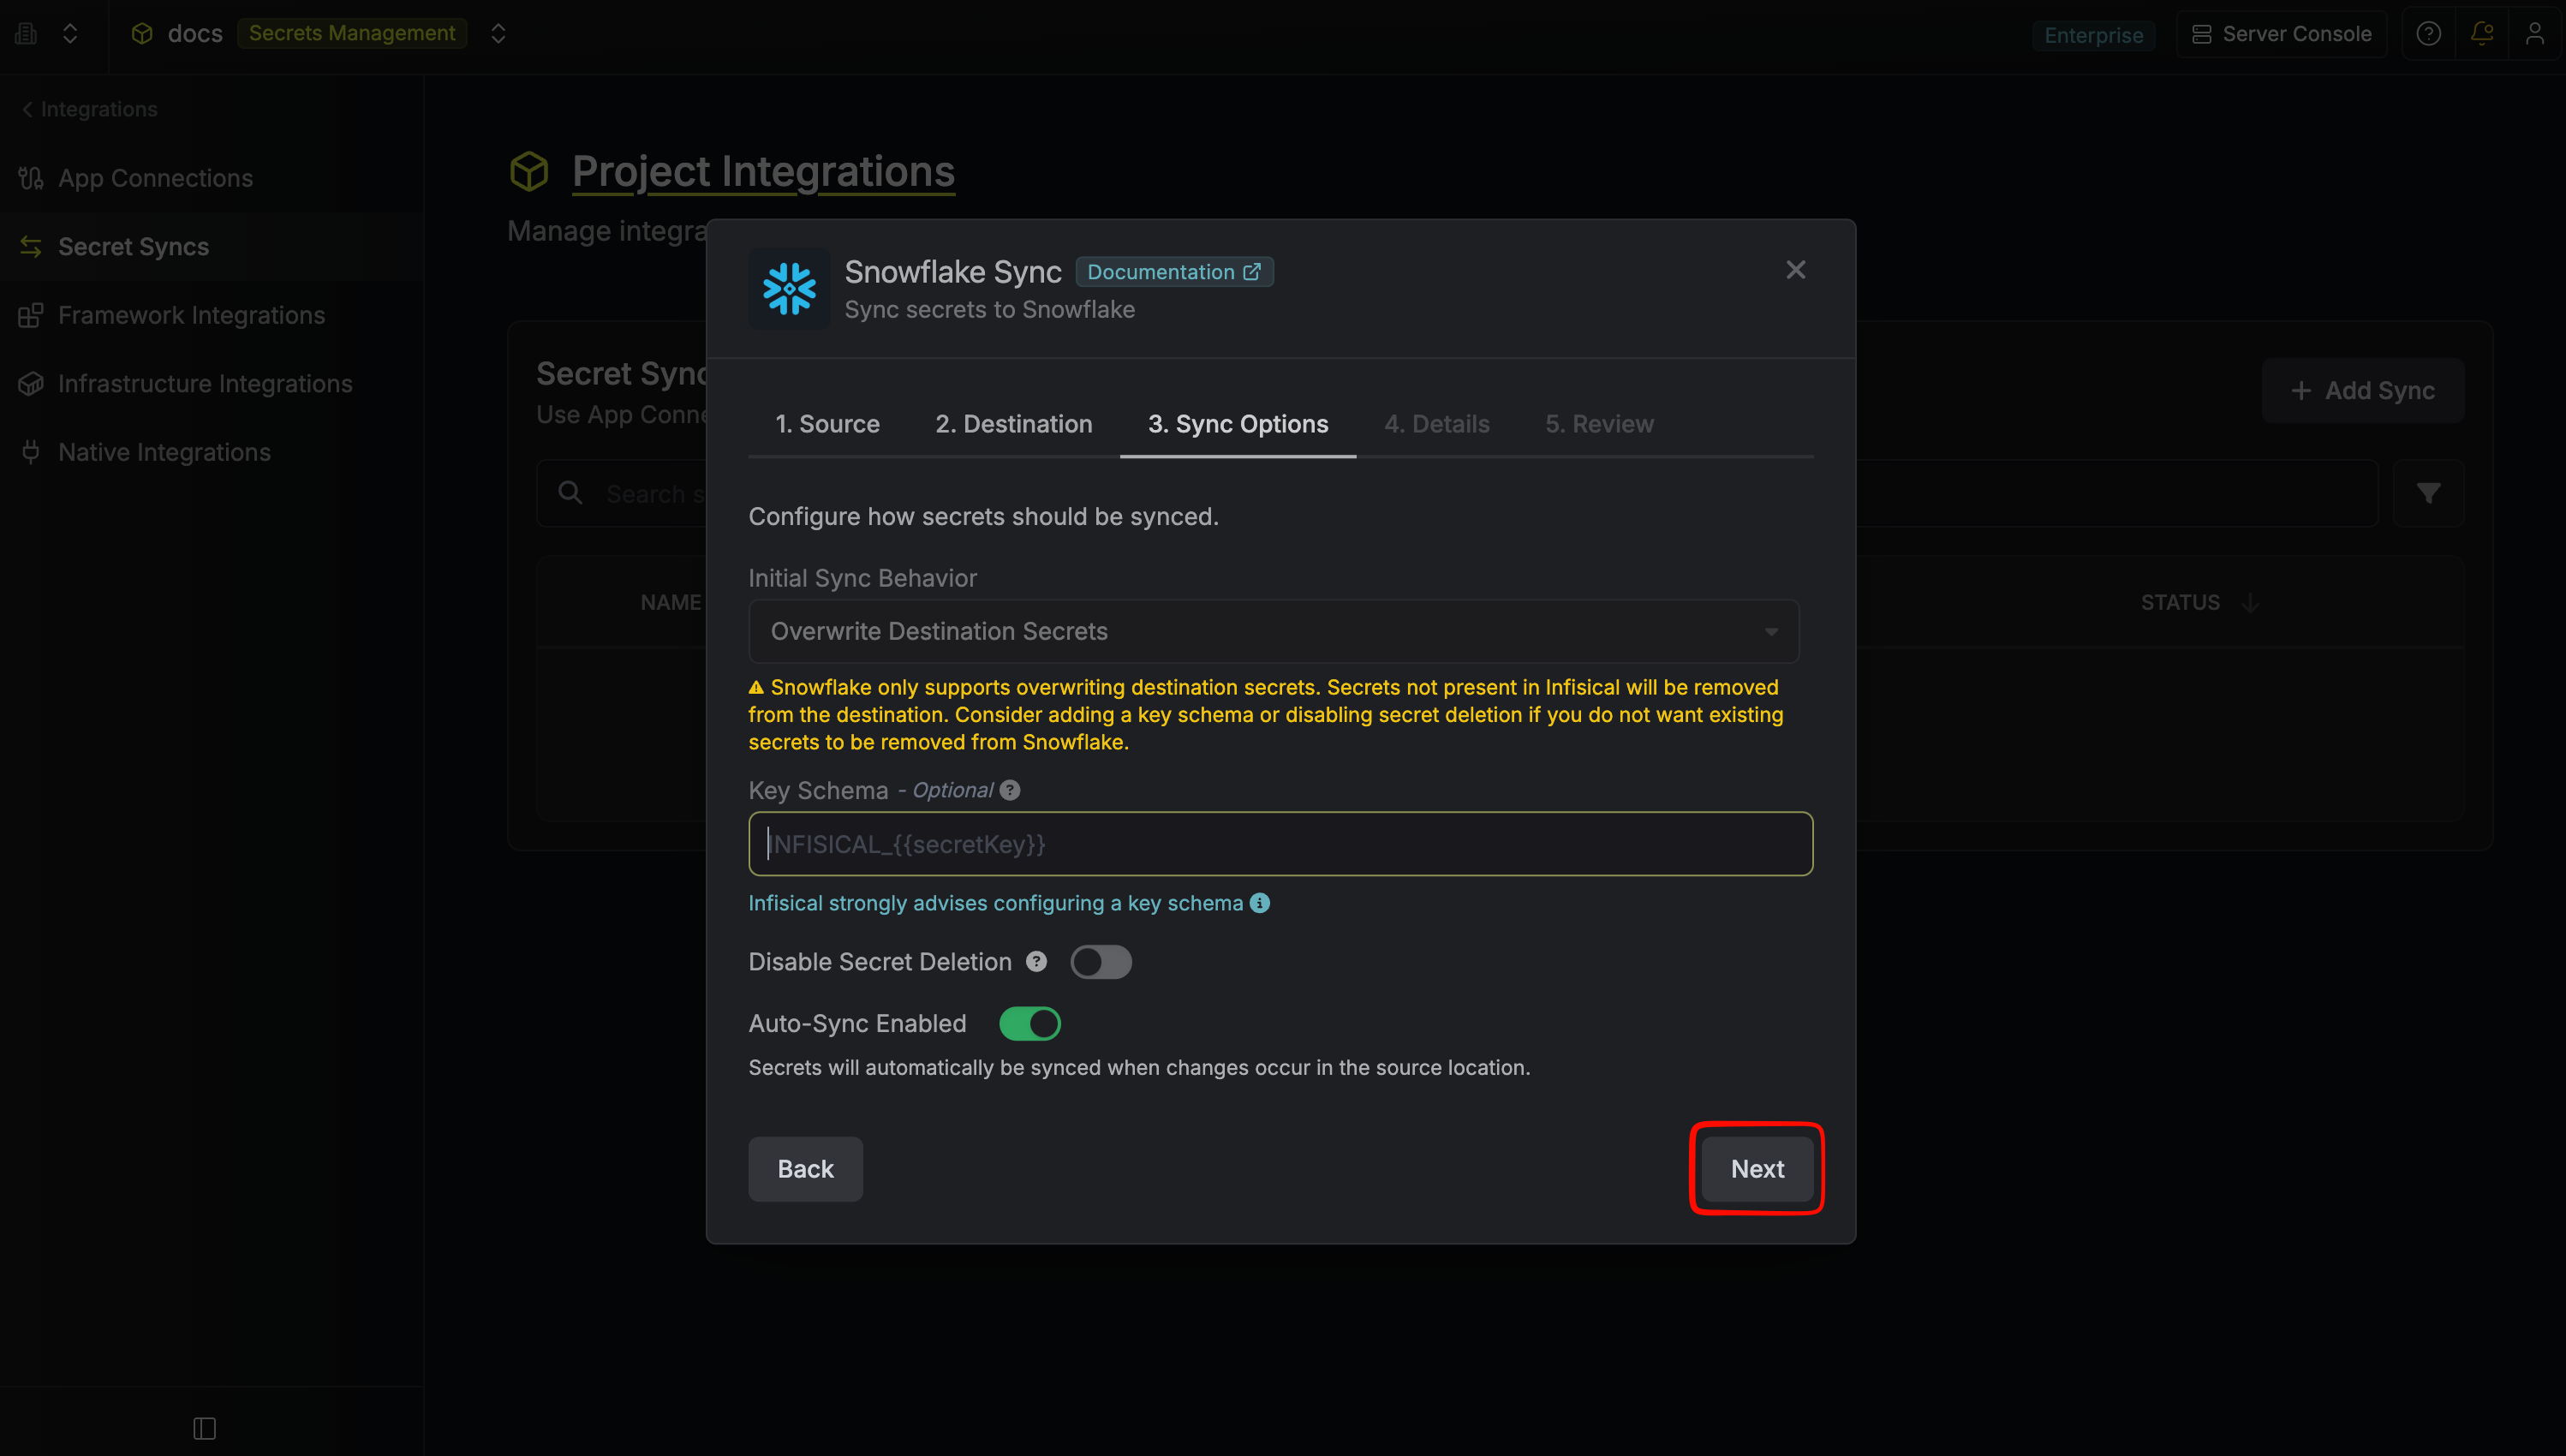 Then select Continue.
- Prevent secret deletion: When enabled, Infisical adds and updates secrets in Snowflake but never deletes them; enable this if you manage some Snowflake secrets outside of Infisical
- Auto-sync on changes: When enabled, secrets sync to Snowflake automatically as the source changes; turn it off to sync manually only
- Customize key names: Adds a prefix or suffix to every synced name, using
{{secretKey}}for the original name and{{environment}}for the environment slug
Then select Continue.6
Give the sync a Name and an optional Description. The name must be slug-friendly.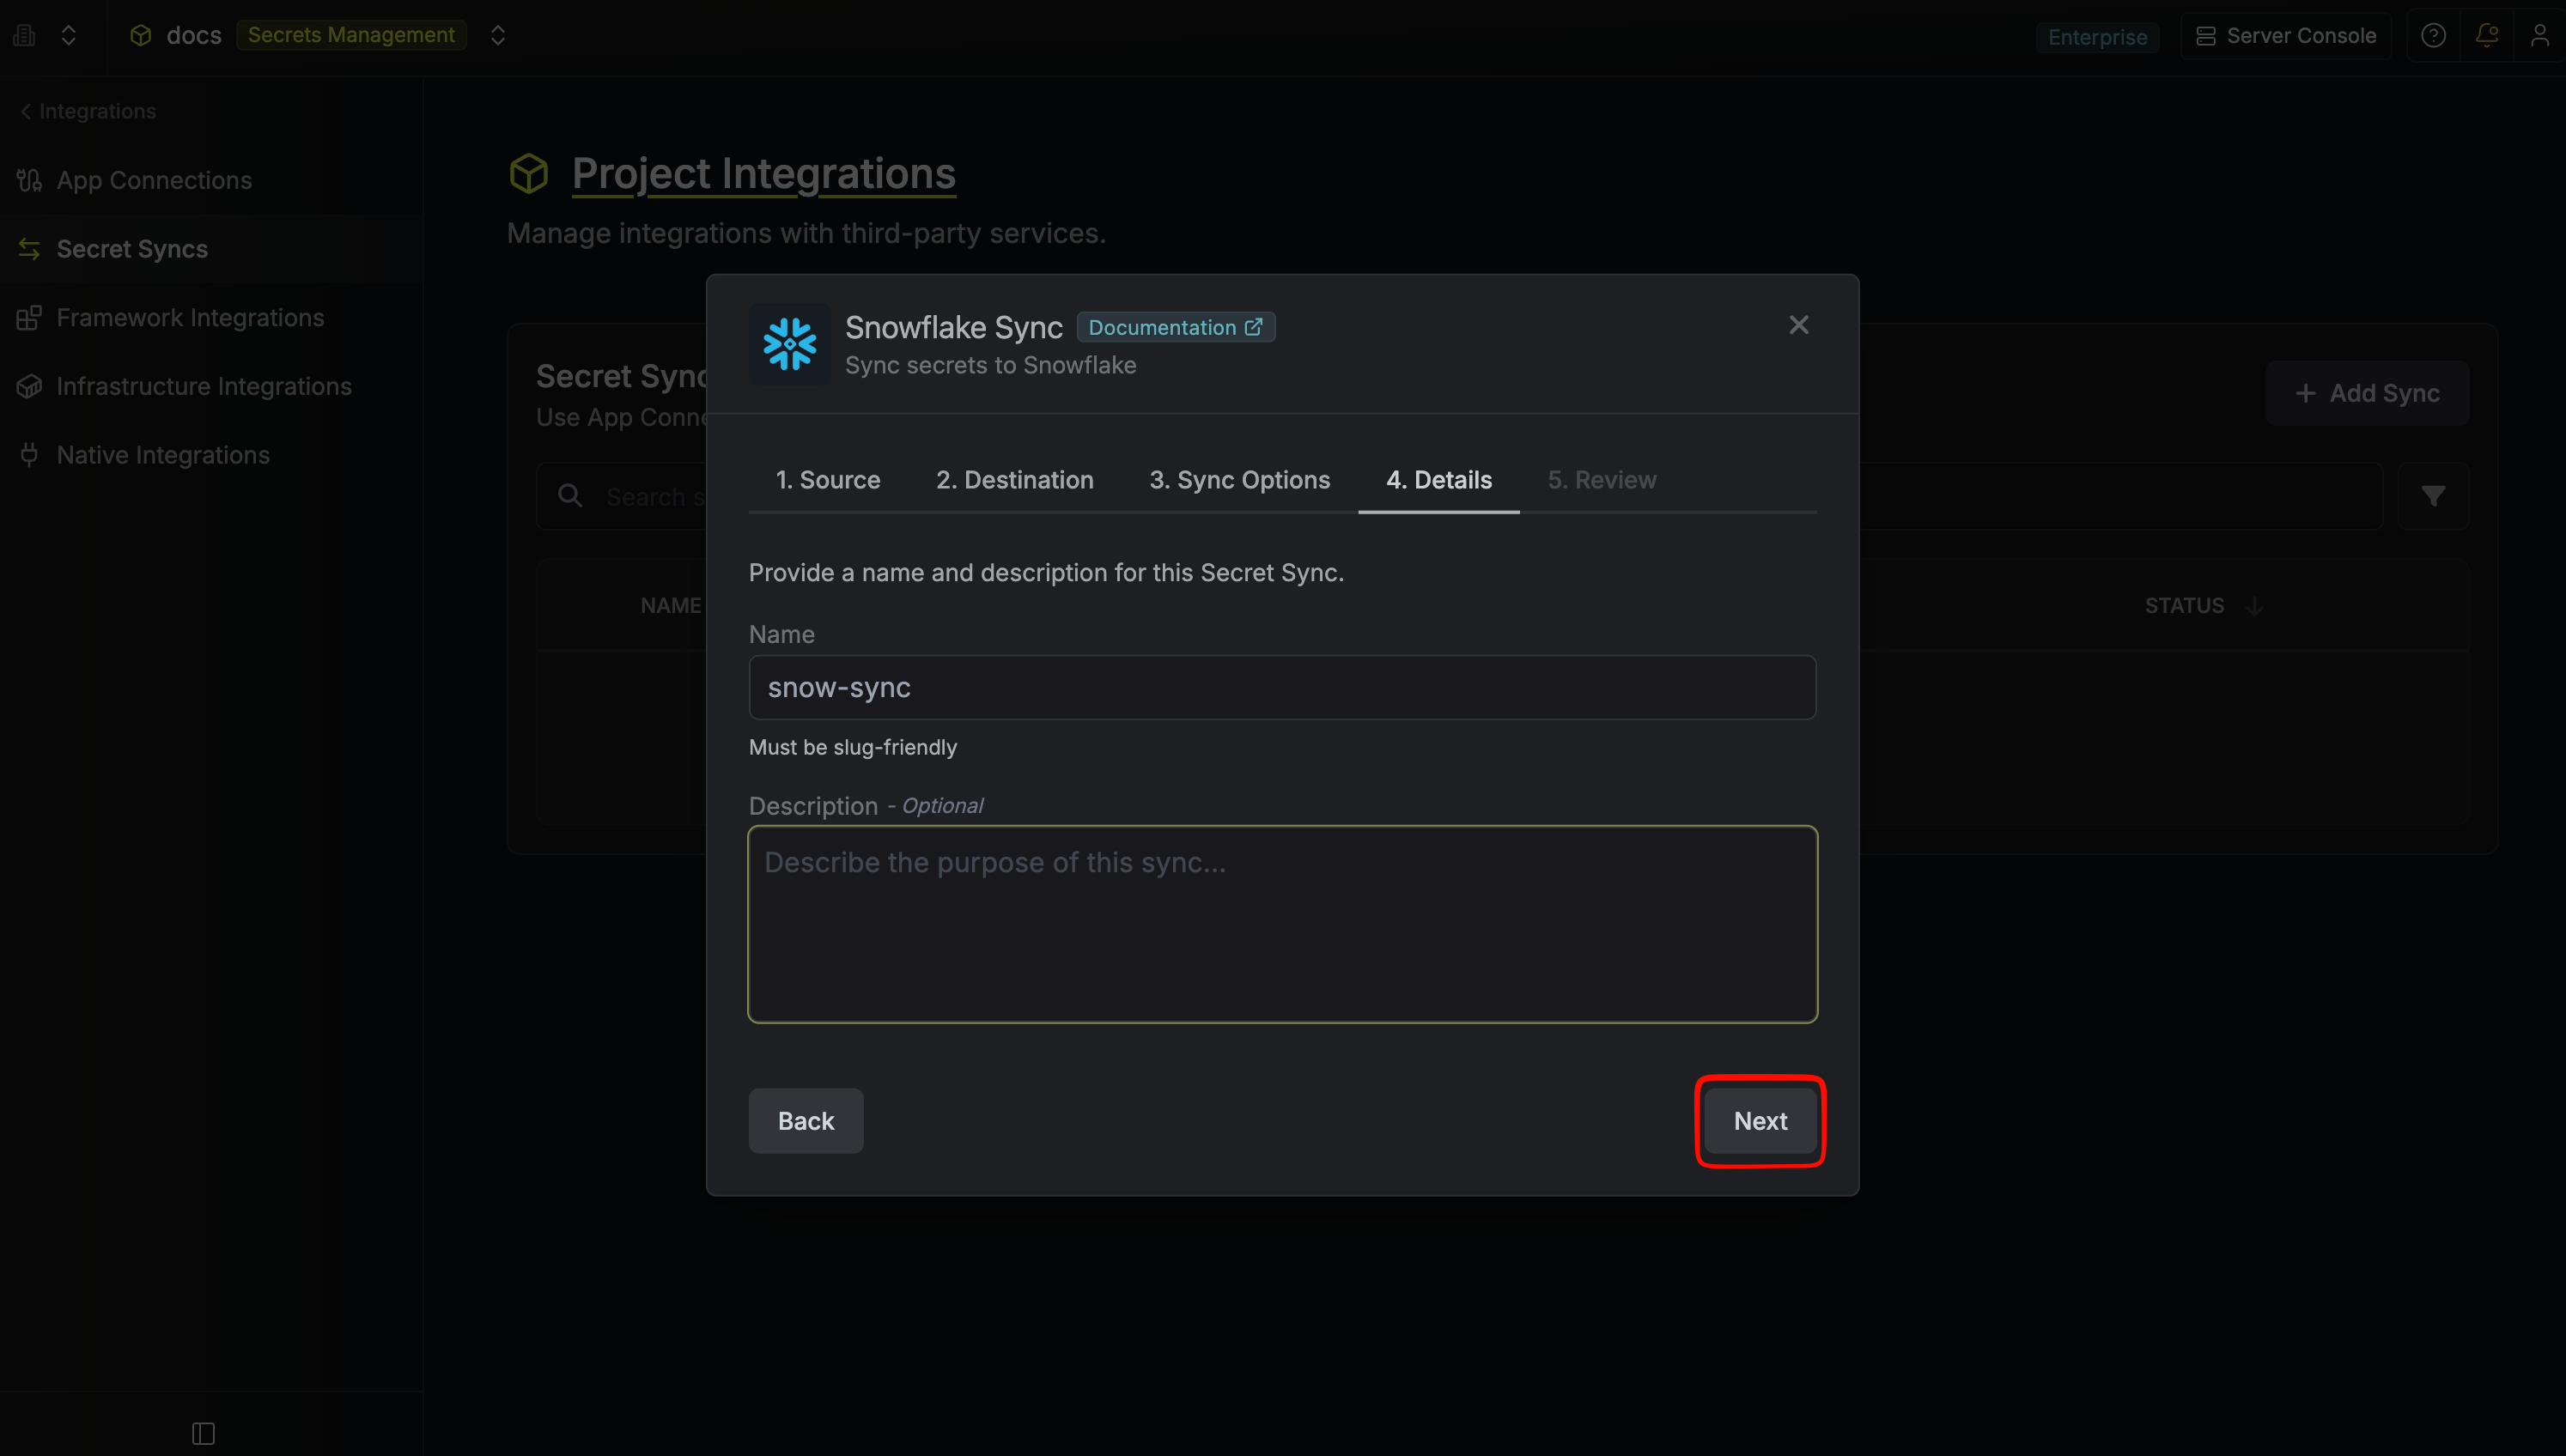 Then select Continue.
Then select Continue.7
Review your Snowflake Sync configuration, then select Create Sync.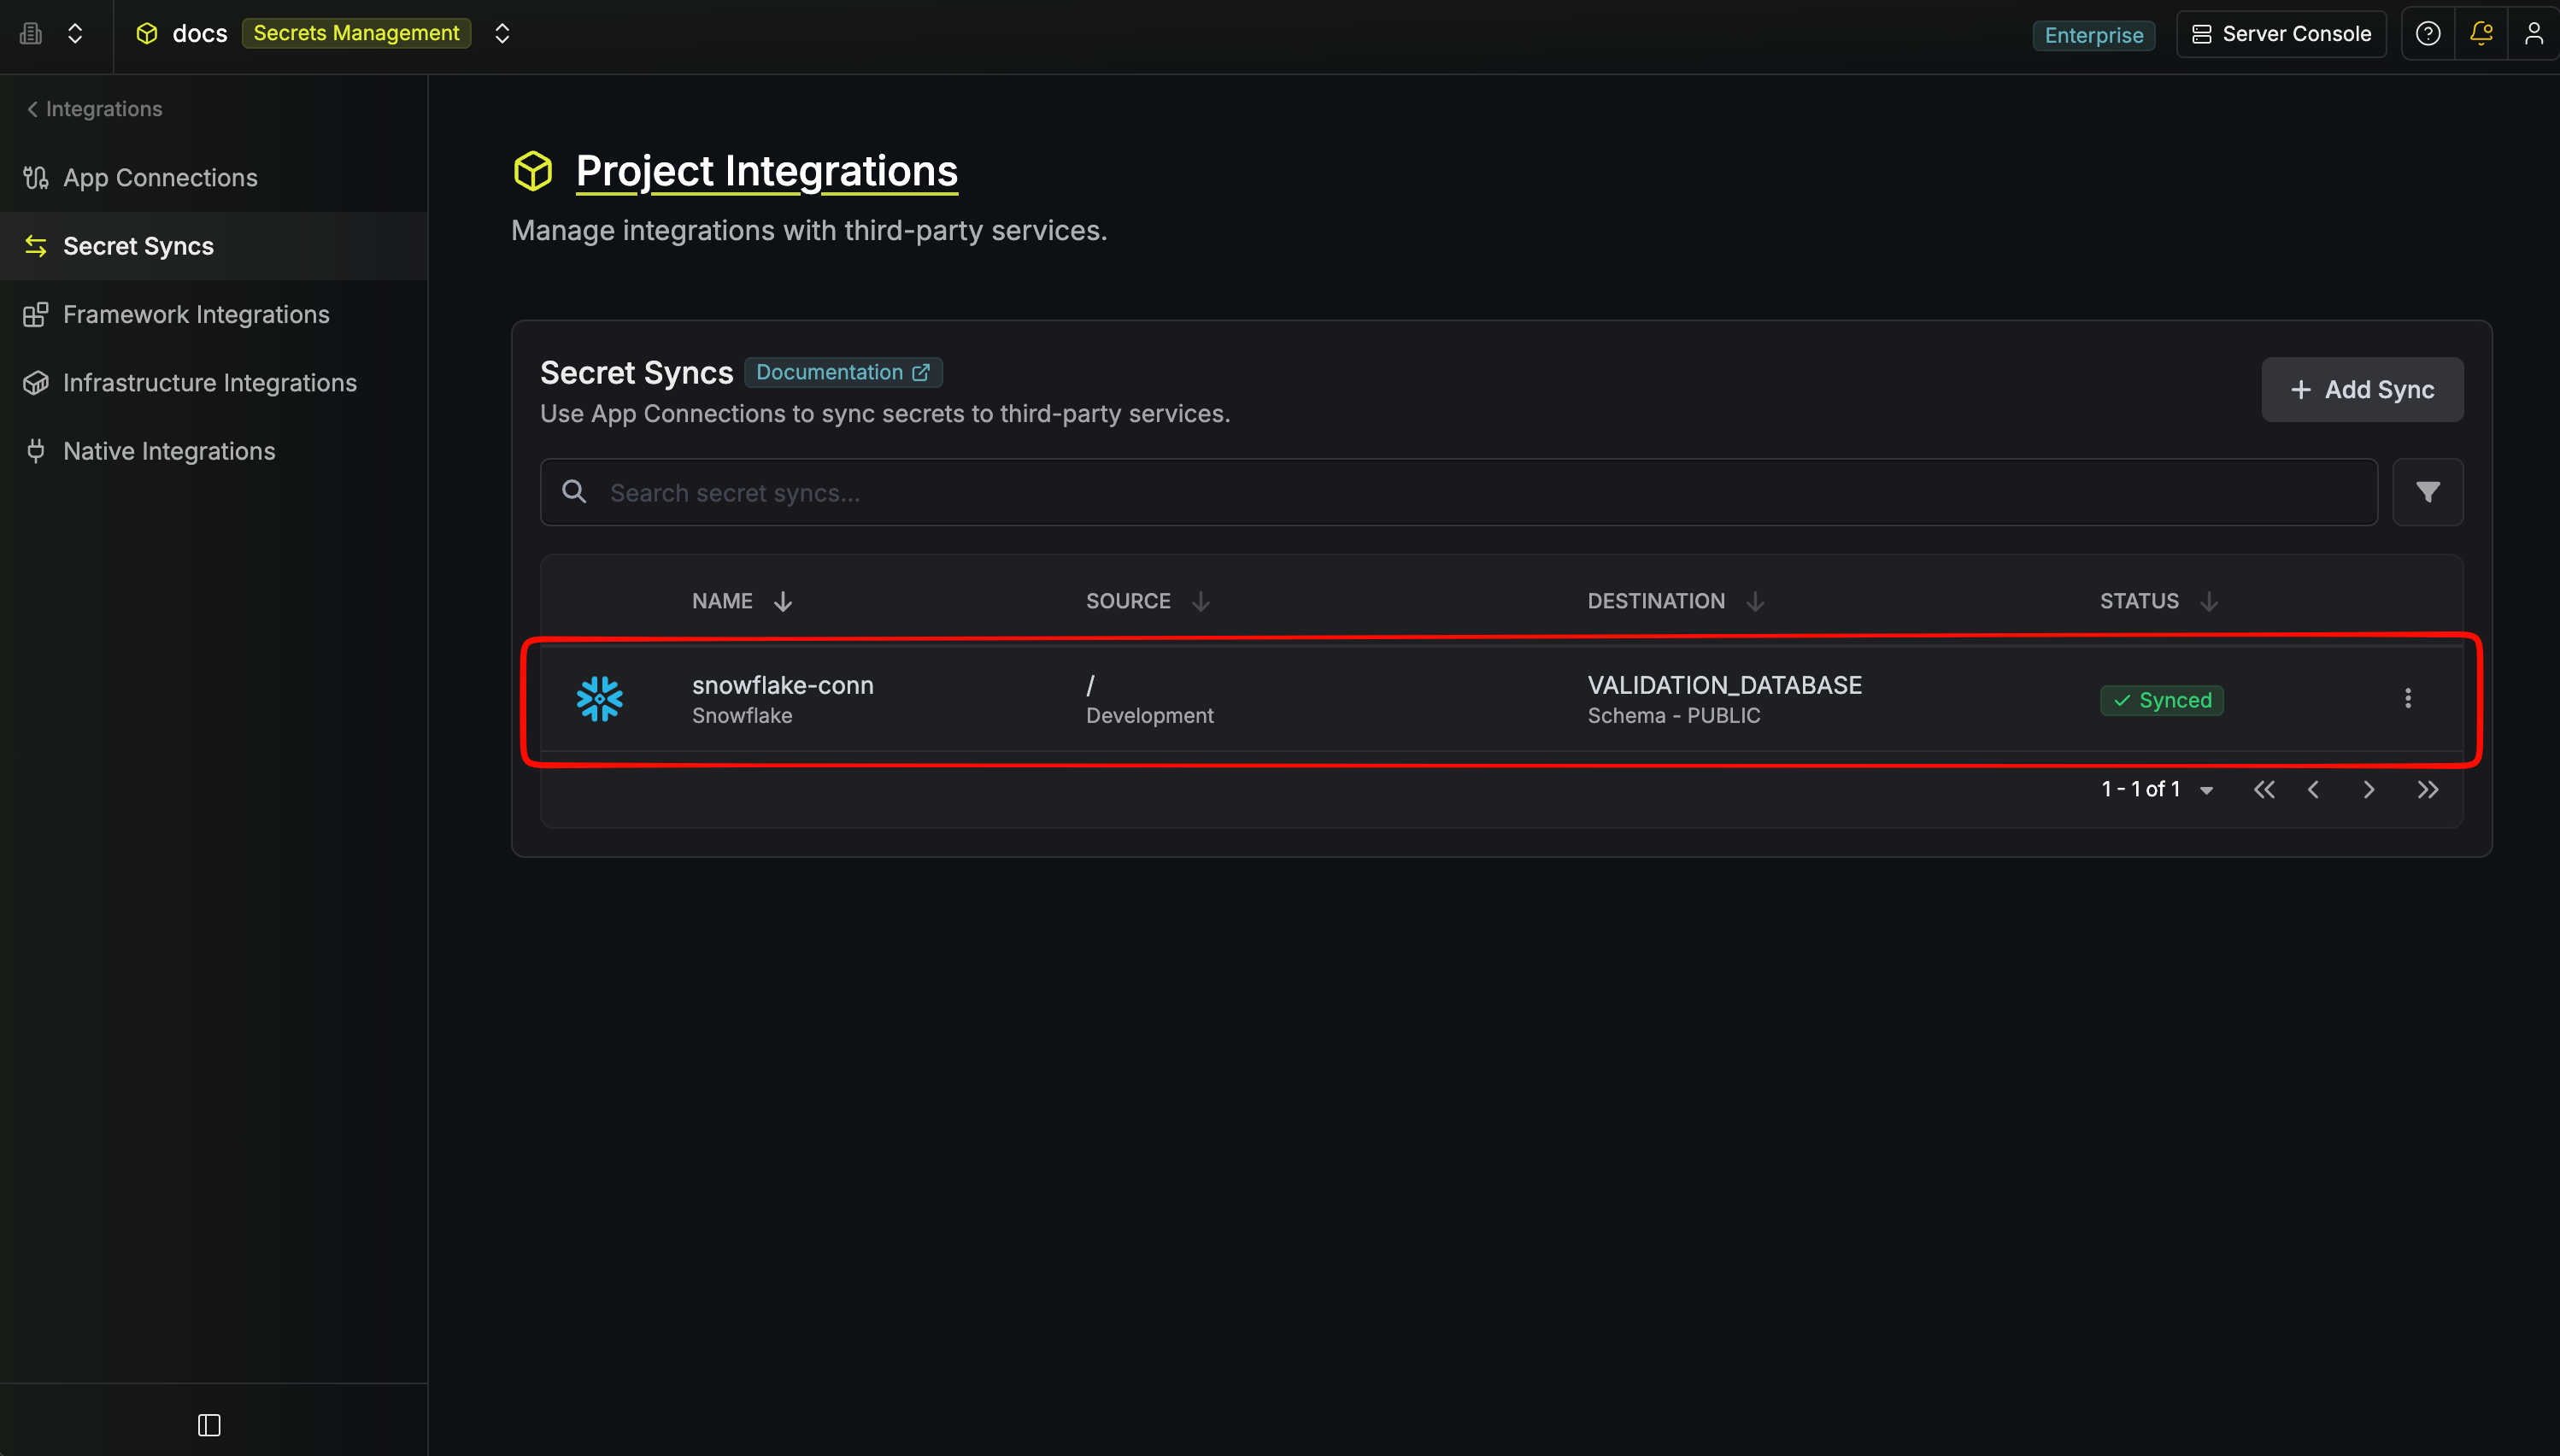
The sync is created. If Auto-sync on changes is enabled, it begins syncing secrets to the schema right away.
Next steps
Secret syncs overview
Learn how syncs run, how key schemas work, and how to sync subfolders.
Snowflake user key pair rotation
Rotate the RSA key pair of a Snowflake user with the same app connection.