- Set up and add secrets to Infisical Cloud
- Create an Azure Entra ID Connection
- Have an existing Enterprise Application in Azure Entra ID with SCIM provisioning already configured
How It Works
The Azure Entra ID SCIM Sync lets you manage SCIM provisioning tokens for your Azure Entra ID Enterprise Applications through Infisical. Each sync manages the token for a single Enterprise Application — if you use SCIM provisioning across multiple apps, you’ll need a separate sync for each one. Example workflow:- You have an Enterprise Application (e.g., ServiceNow) in Azure Entra ID with SCIM provisioning already configured.
- You obtain the SCIM bearer token from the third-party service (e.g., from ServiceNow’s admin panel) and store it as a secret in Infisical.
- You create an Azure Entra ID SCIM Sync that points to this secret and targets the Enterprise Application.
- Infisical pushes the token value to Azure, keeping your SCIM provisioning credentials in sync.
- When the third-party service rotates the token, you update the secret in Infisical — the new value is automatically synced to Azure.
- Infisical UI
- API
1
Add Sync
Navigate to Project > Integrations and select the Secret Syncs tab. Click on the Add Sync button.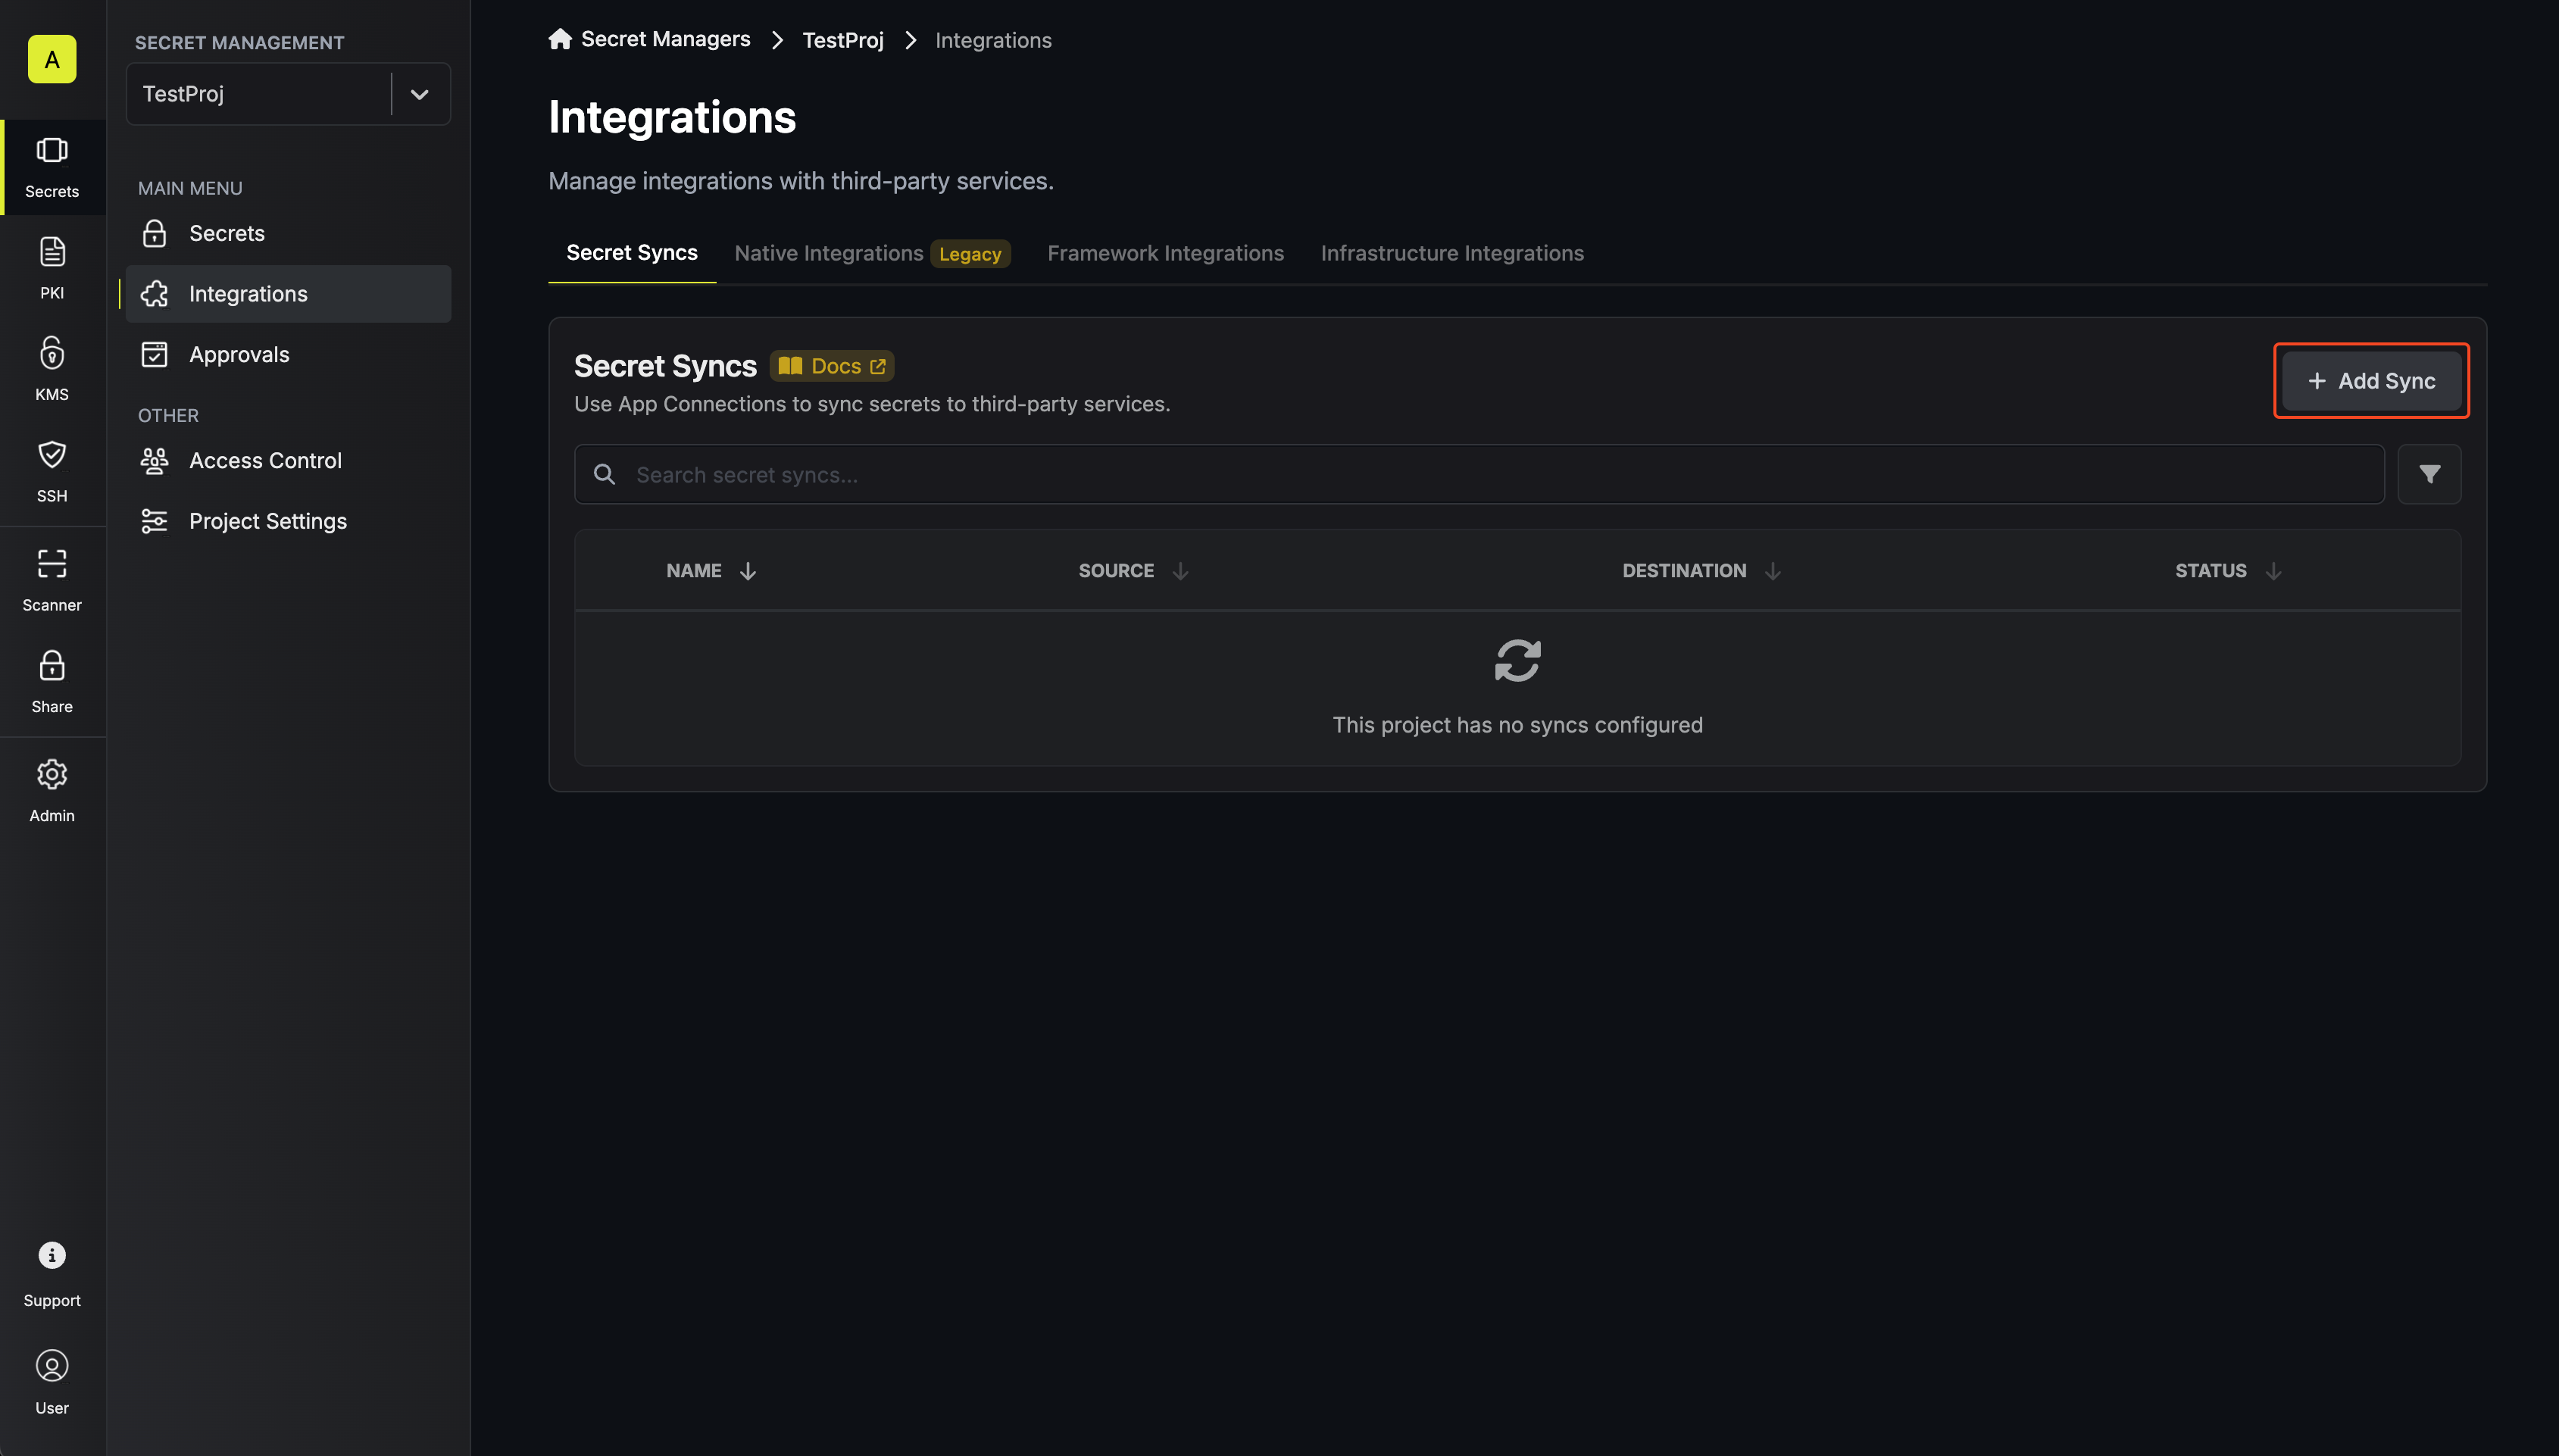
2
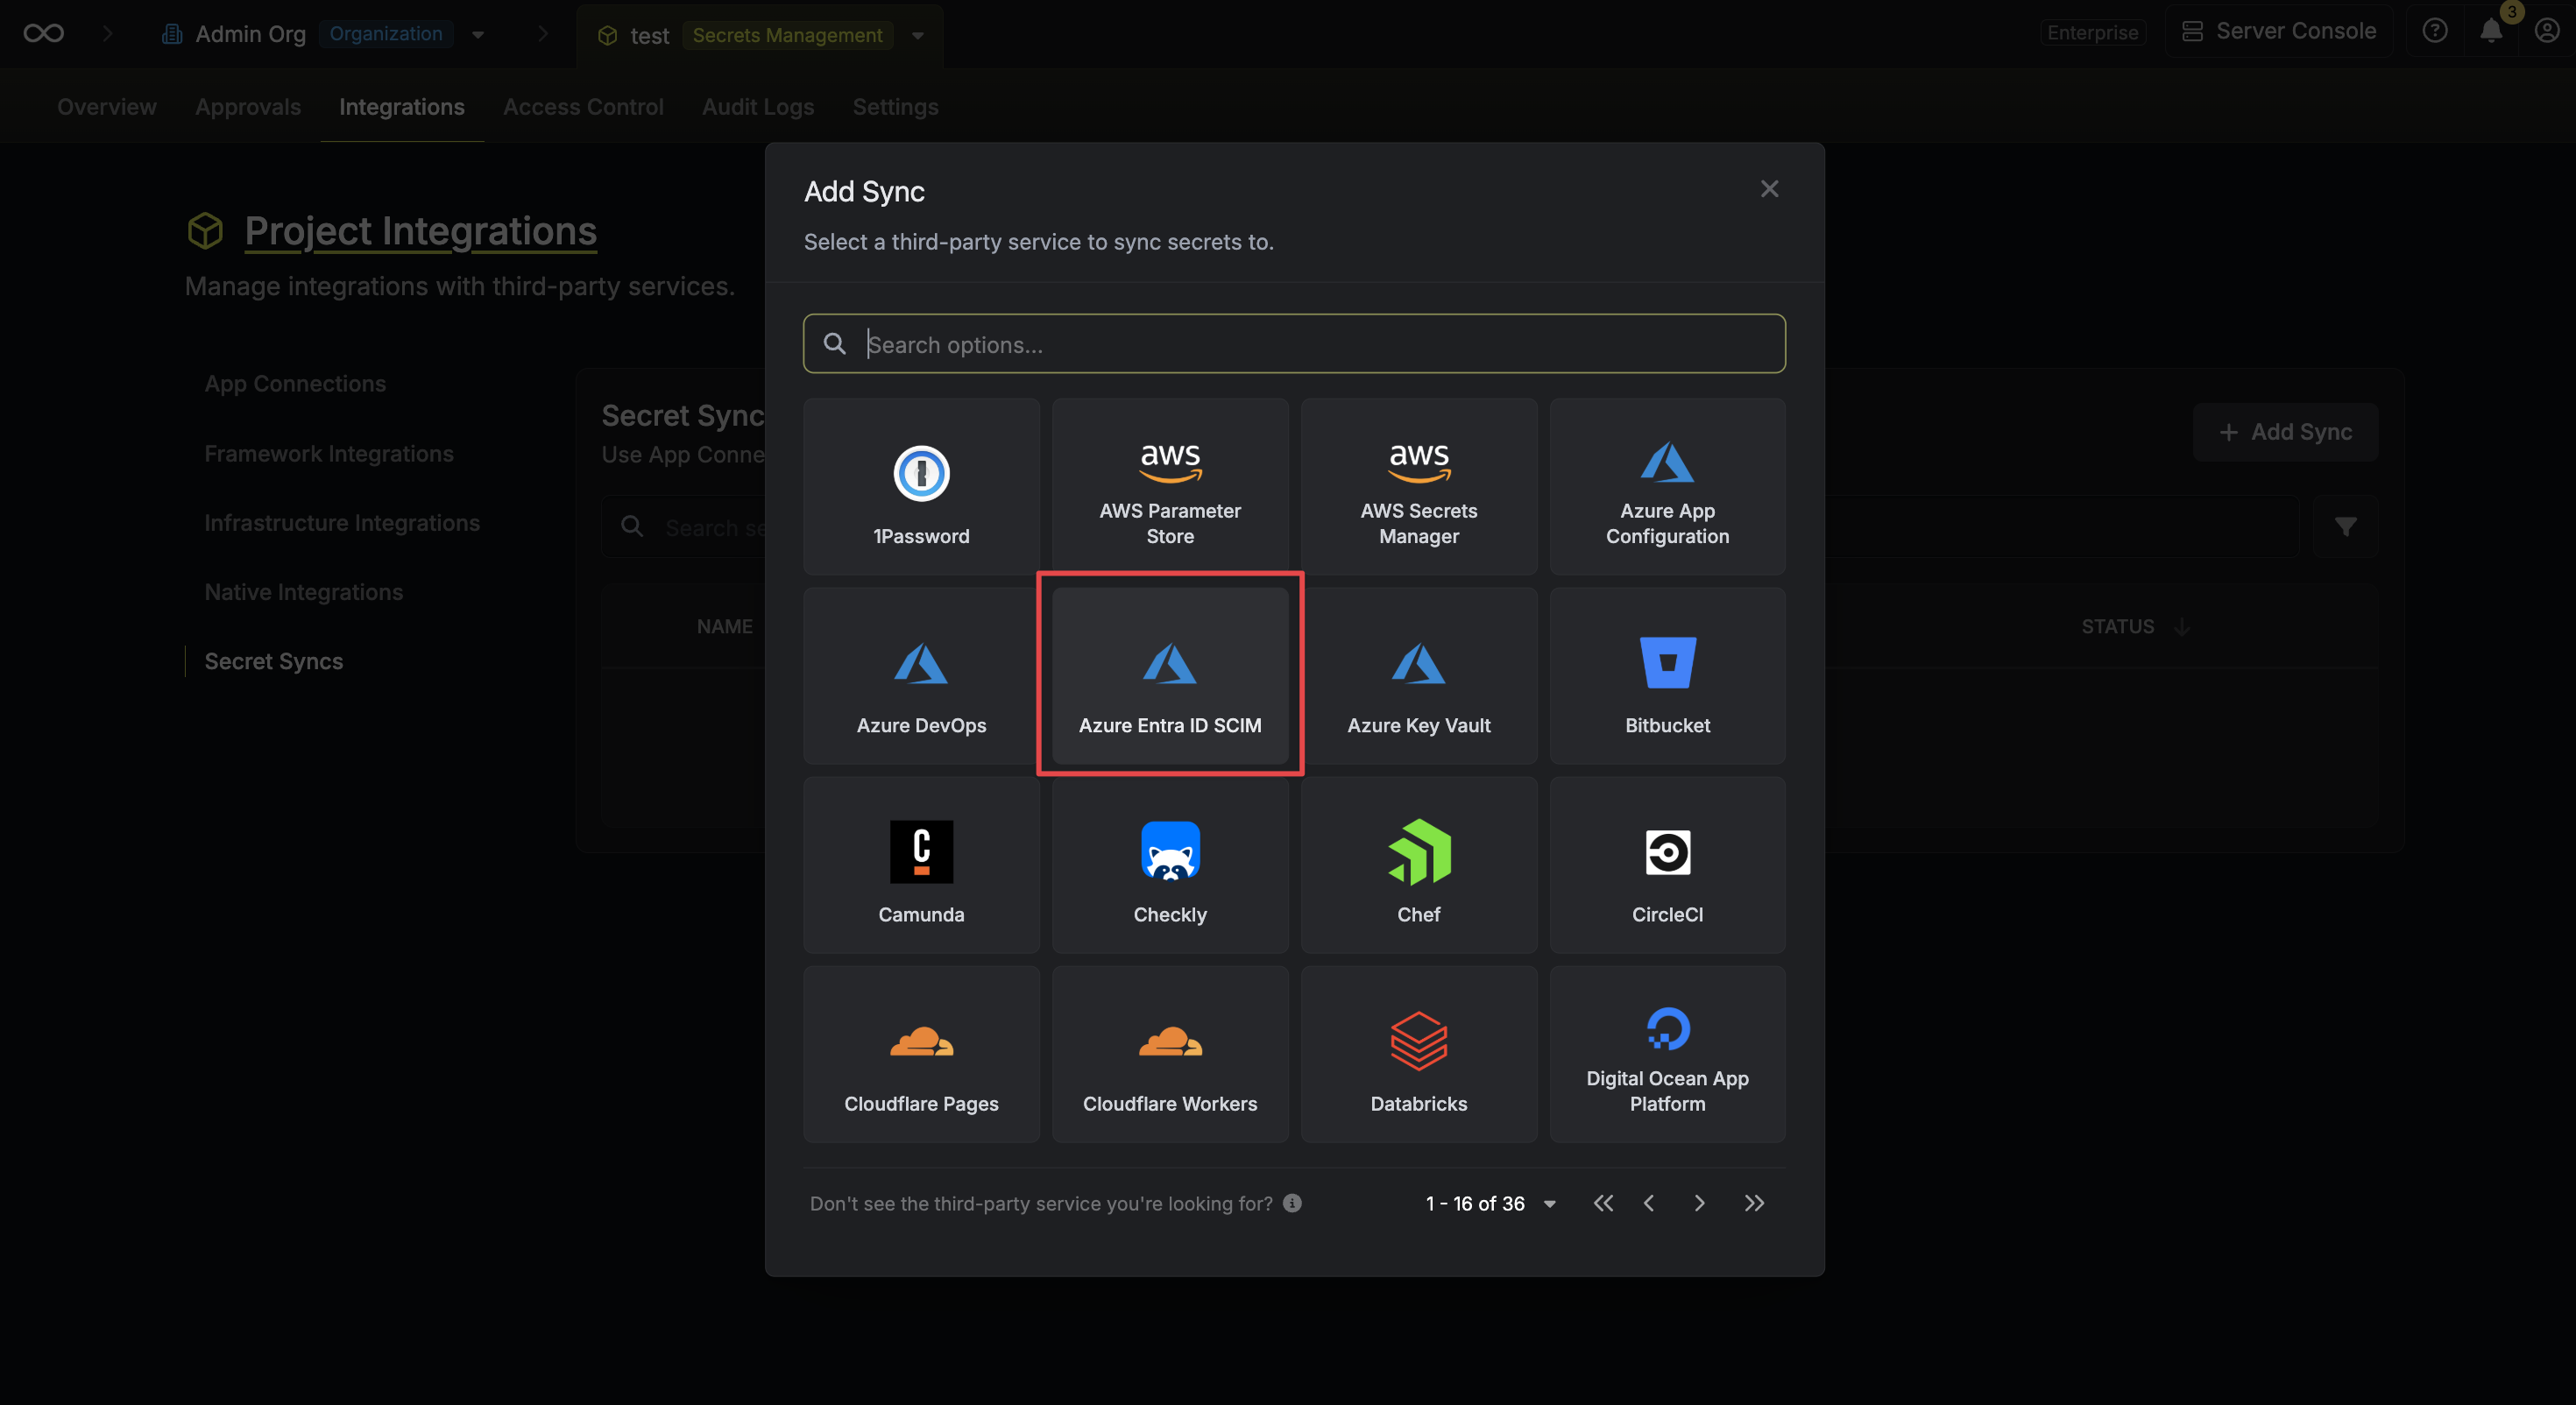
Select 'Azure Entra ID SCIM'
3
Configure source
Configure the Source from where the secret should be retrieved, then click Next.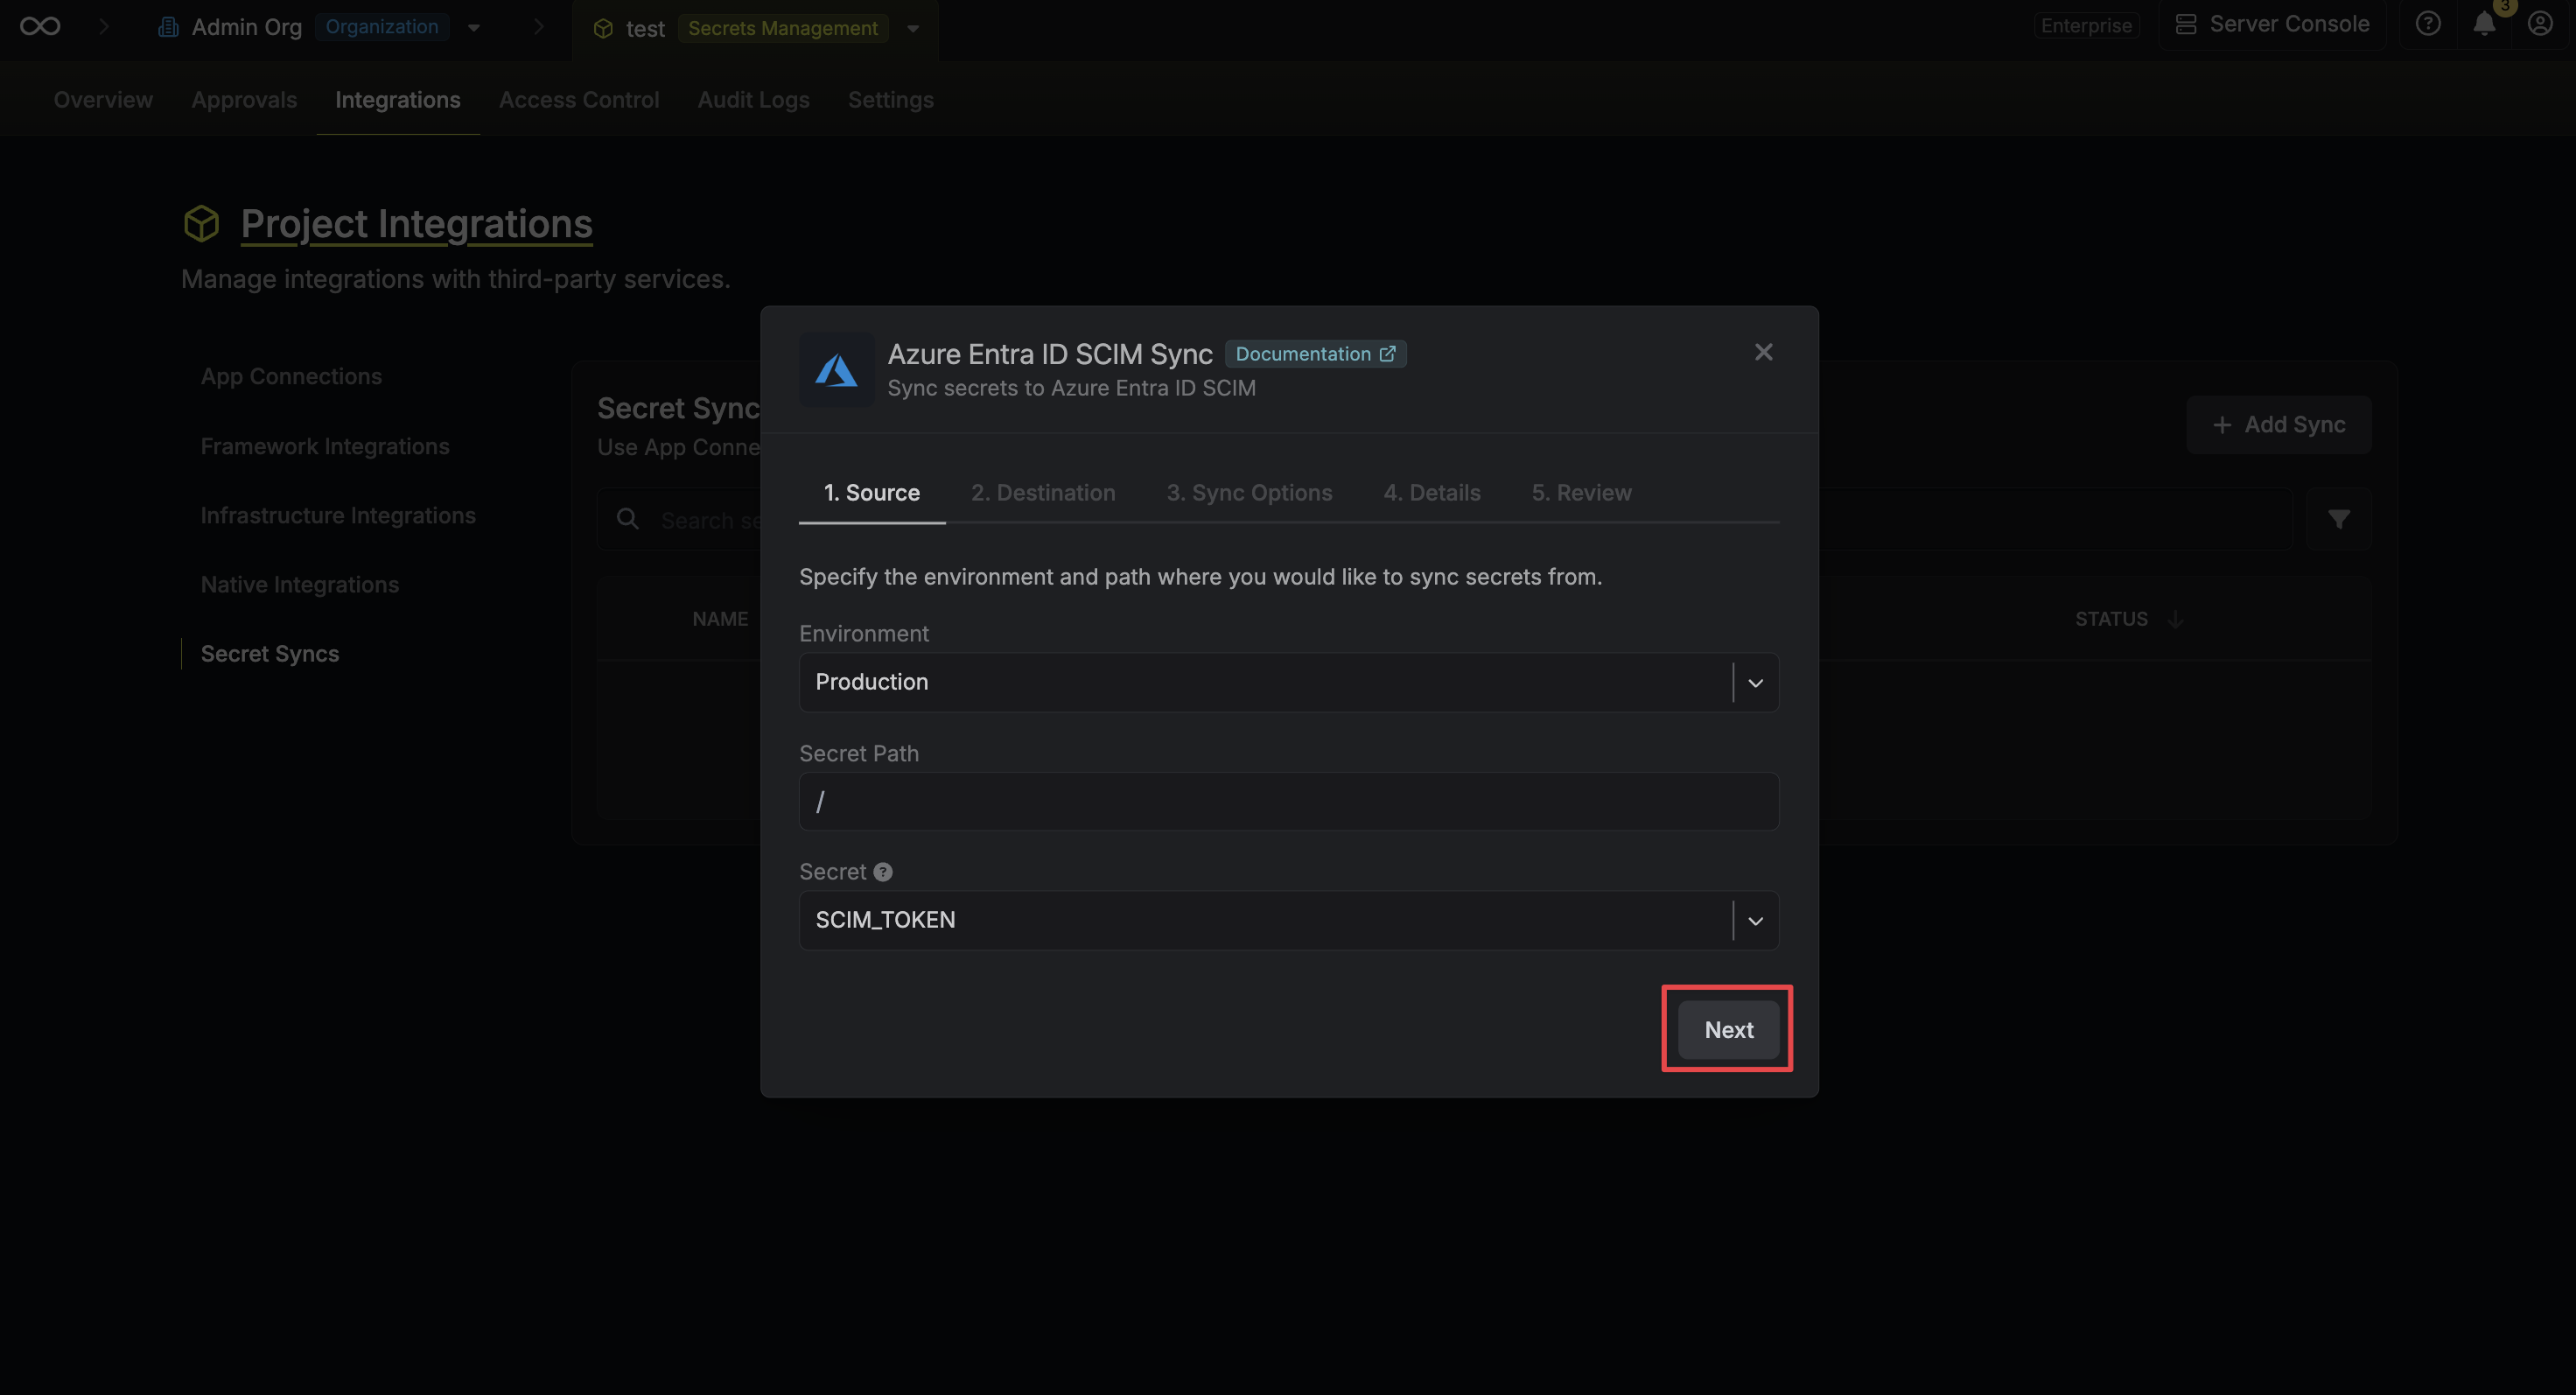
- Environment: The project environment to retrieve the secret from.
- Secret Path: The folder path to retrieve the secret from.
- Secret: The secret containing the SCIM bearer token obtained from the third-party service. This value will be pushed to the Enterprise Application’s SCIM configuration in Azure.
4
Configure destination
Configure the Destination to where the SCIM token should be deployed, then click Next.
- Azure Entra ID Connection: The Azure Entra ID Connection to authenticate with.
- Service Principal: The Enterprise Application service principal to sync the SCIM token to.
5
Configure sync options
Configure the Sync Options to specify how the sync should behave, then click Next.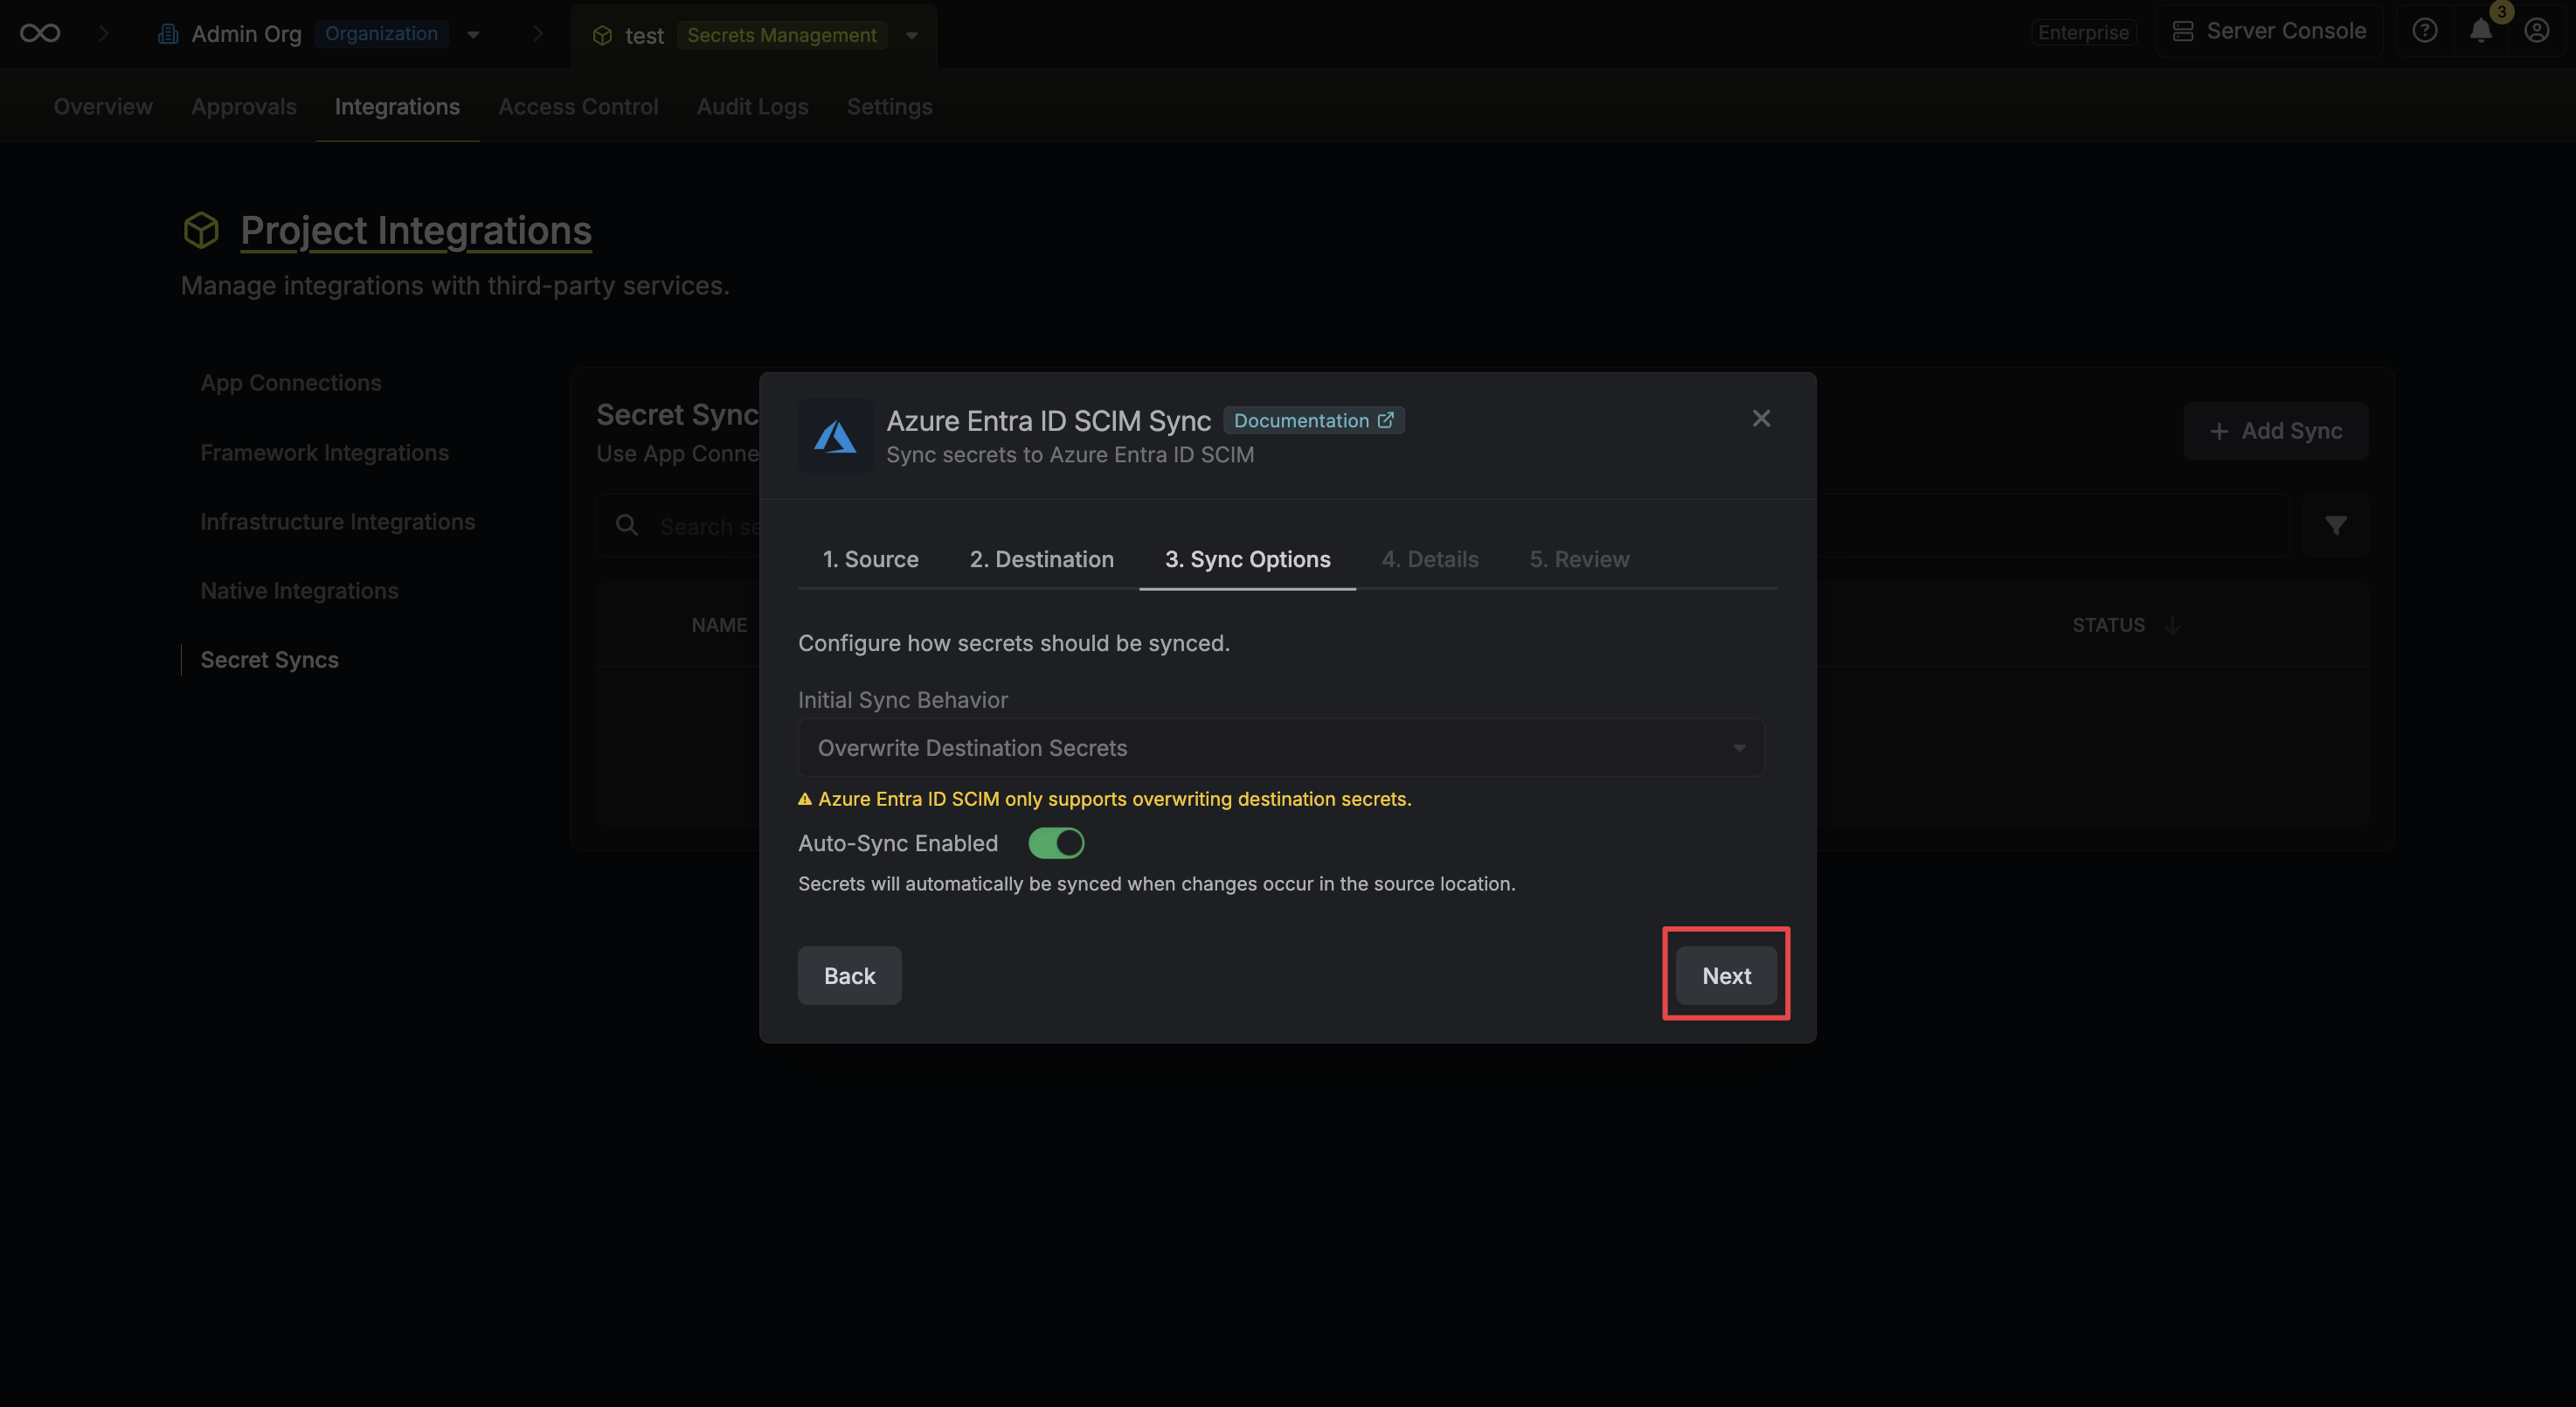
- Initial Sync Behavior: Determines how Infisical should resolve the initial sync. For SCIM token syncing, only Overwrite Destination is supported since import is not available. Please note that this will overwrite your current token with the selected secret value.
- Auto-Sync Enabled: If enabled, the SCIM token will automatically be synced when the source secret changes. Disable to enforce manual syncing only.
6
Configure details
Configure the Details of your Azure Entra ID SCIM Sync, then click Next.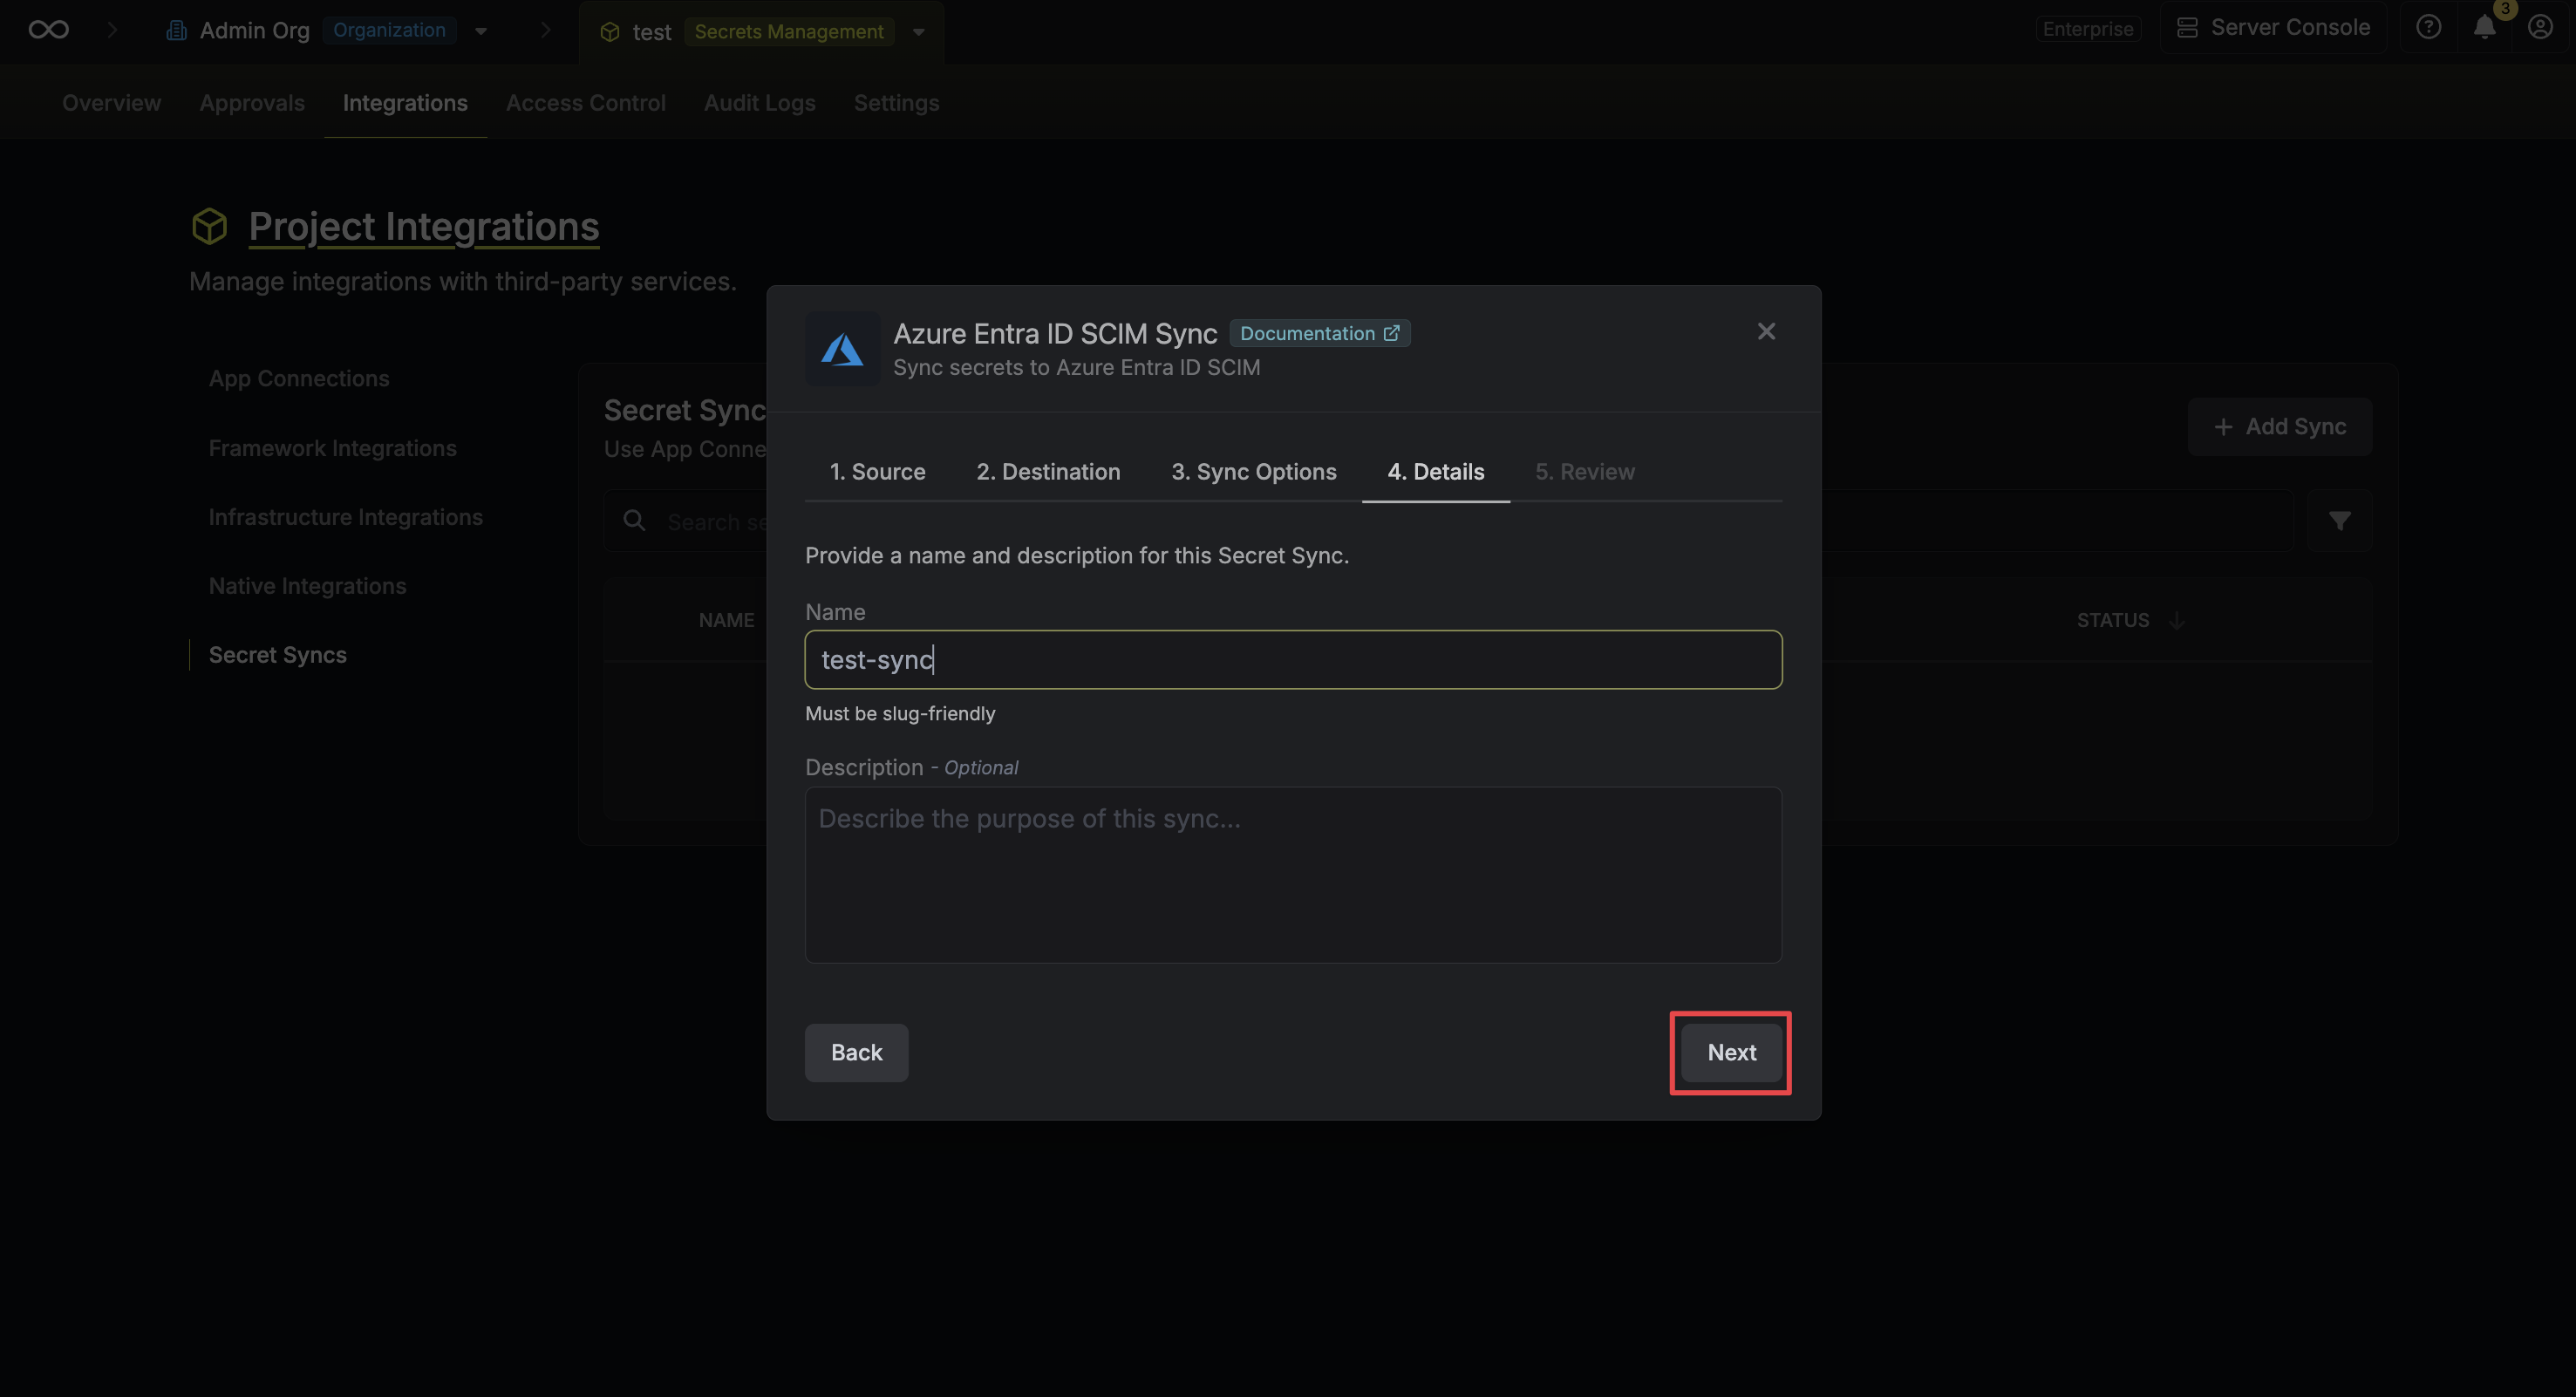
- Name: The name of your sync. Must be slug-friendly.
- Description: An optional description for your sync.
7
Review configuration
Review your Azure Entra ID SCIM Sync configuration, then click Create Sync.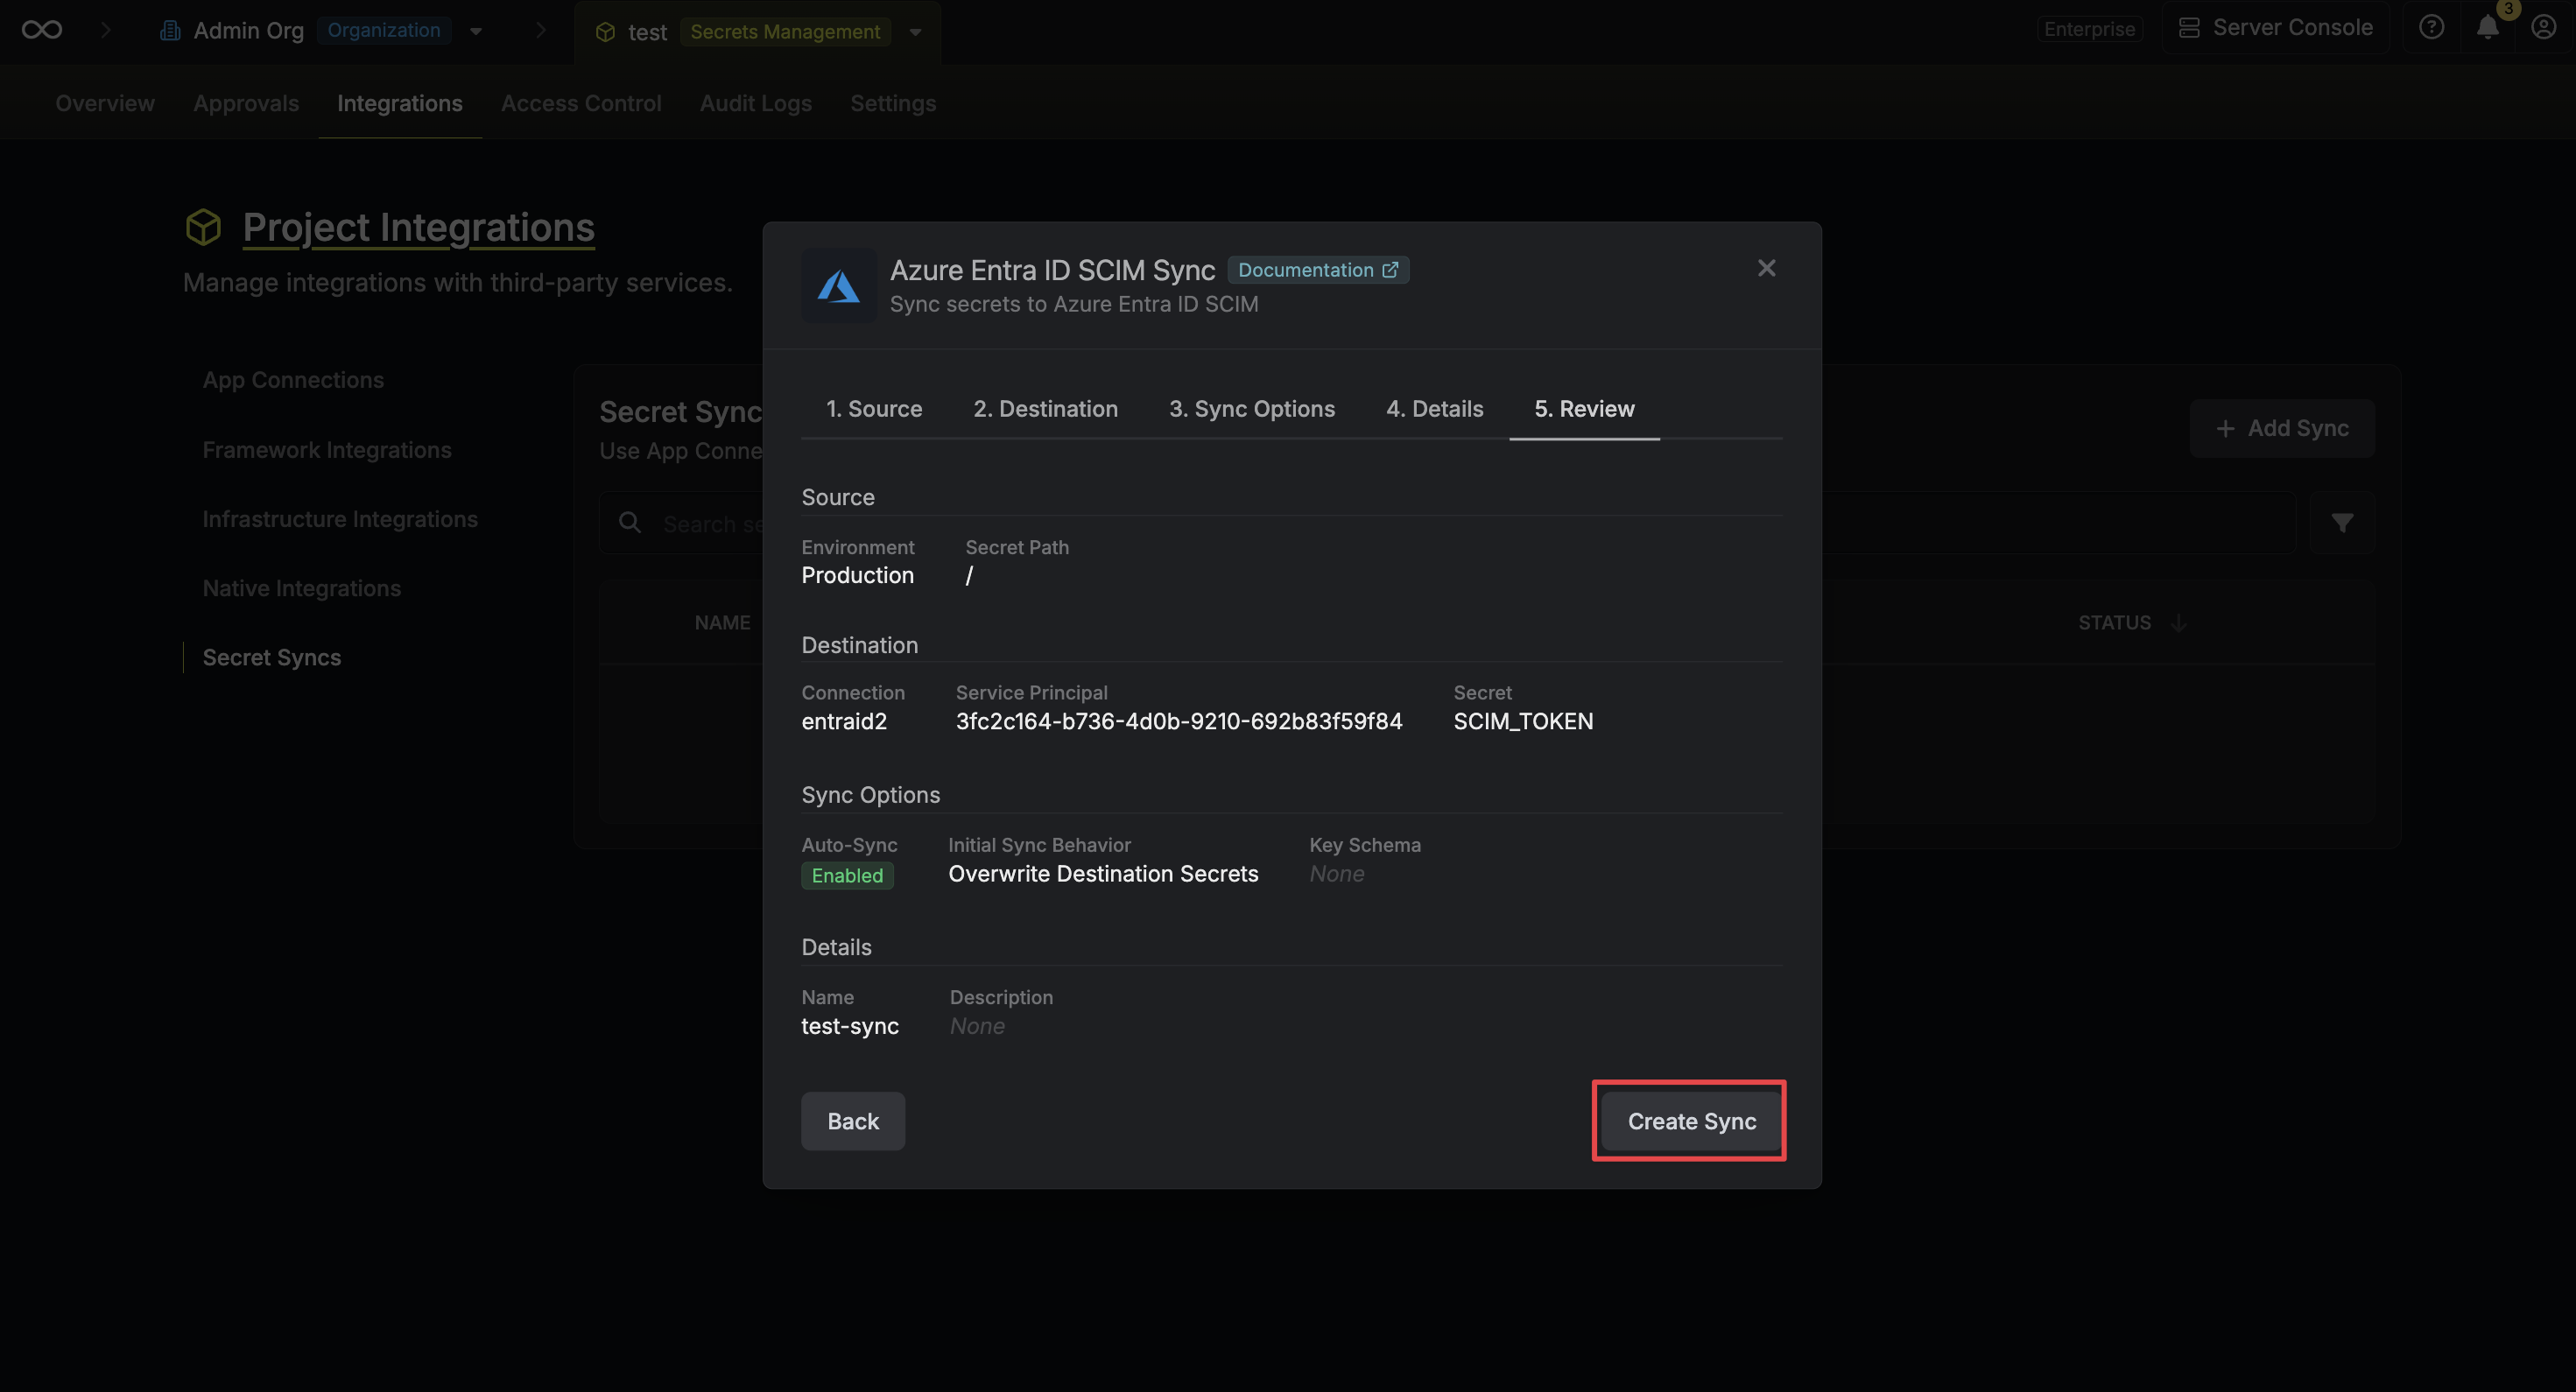
8
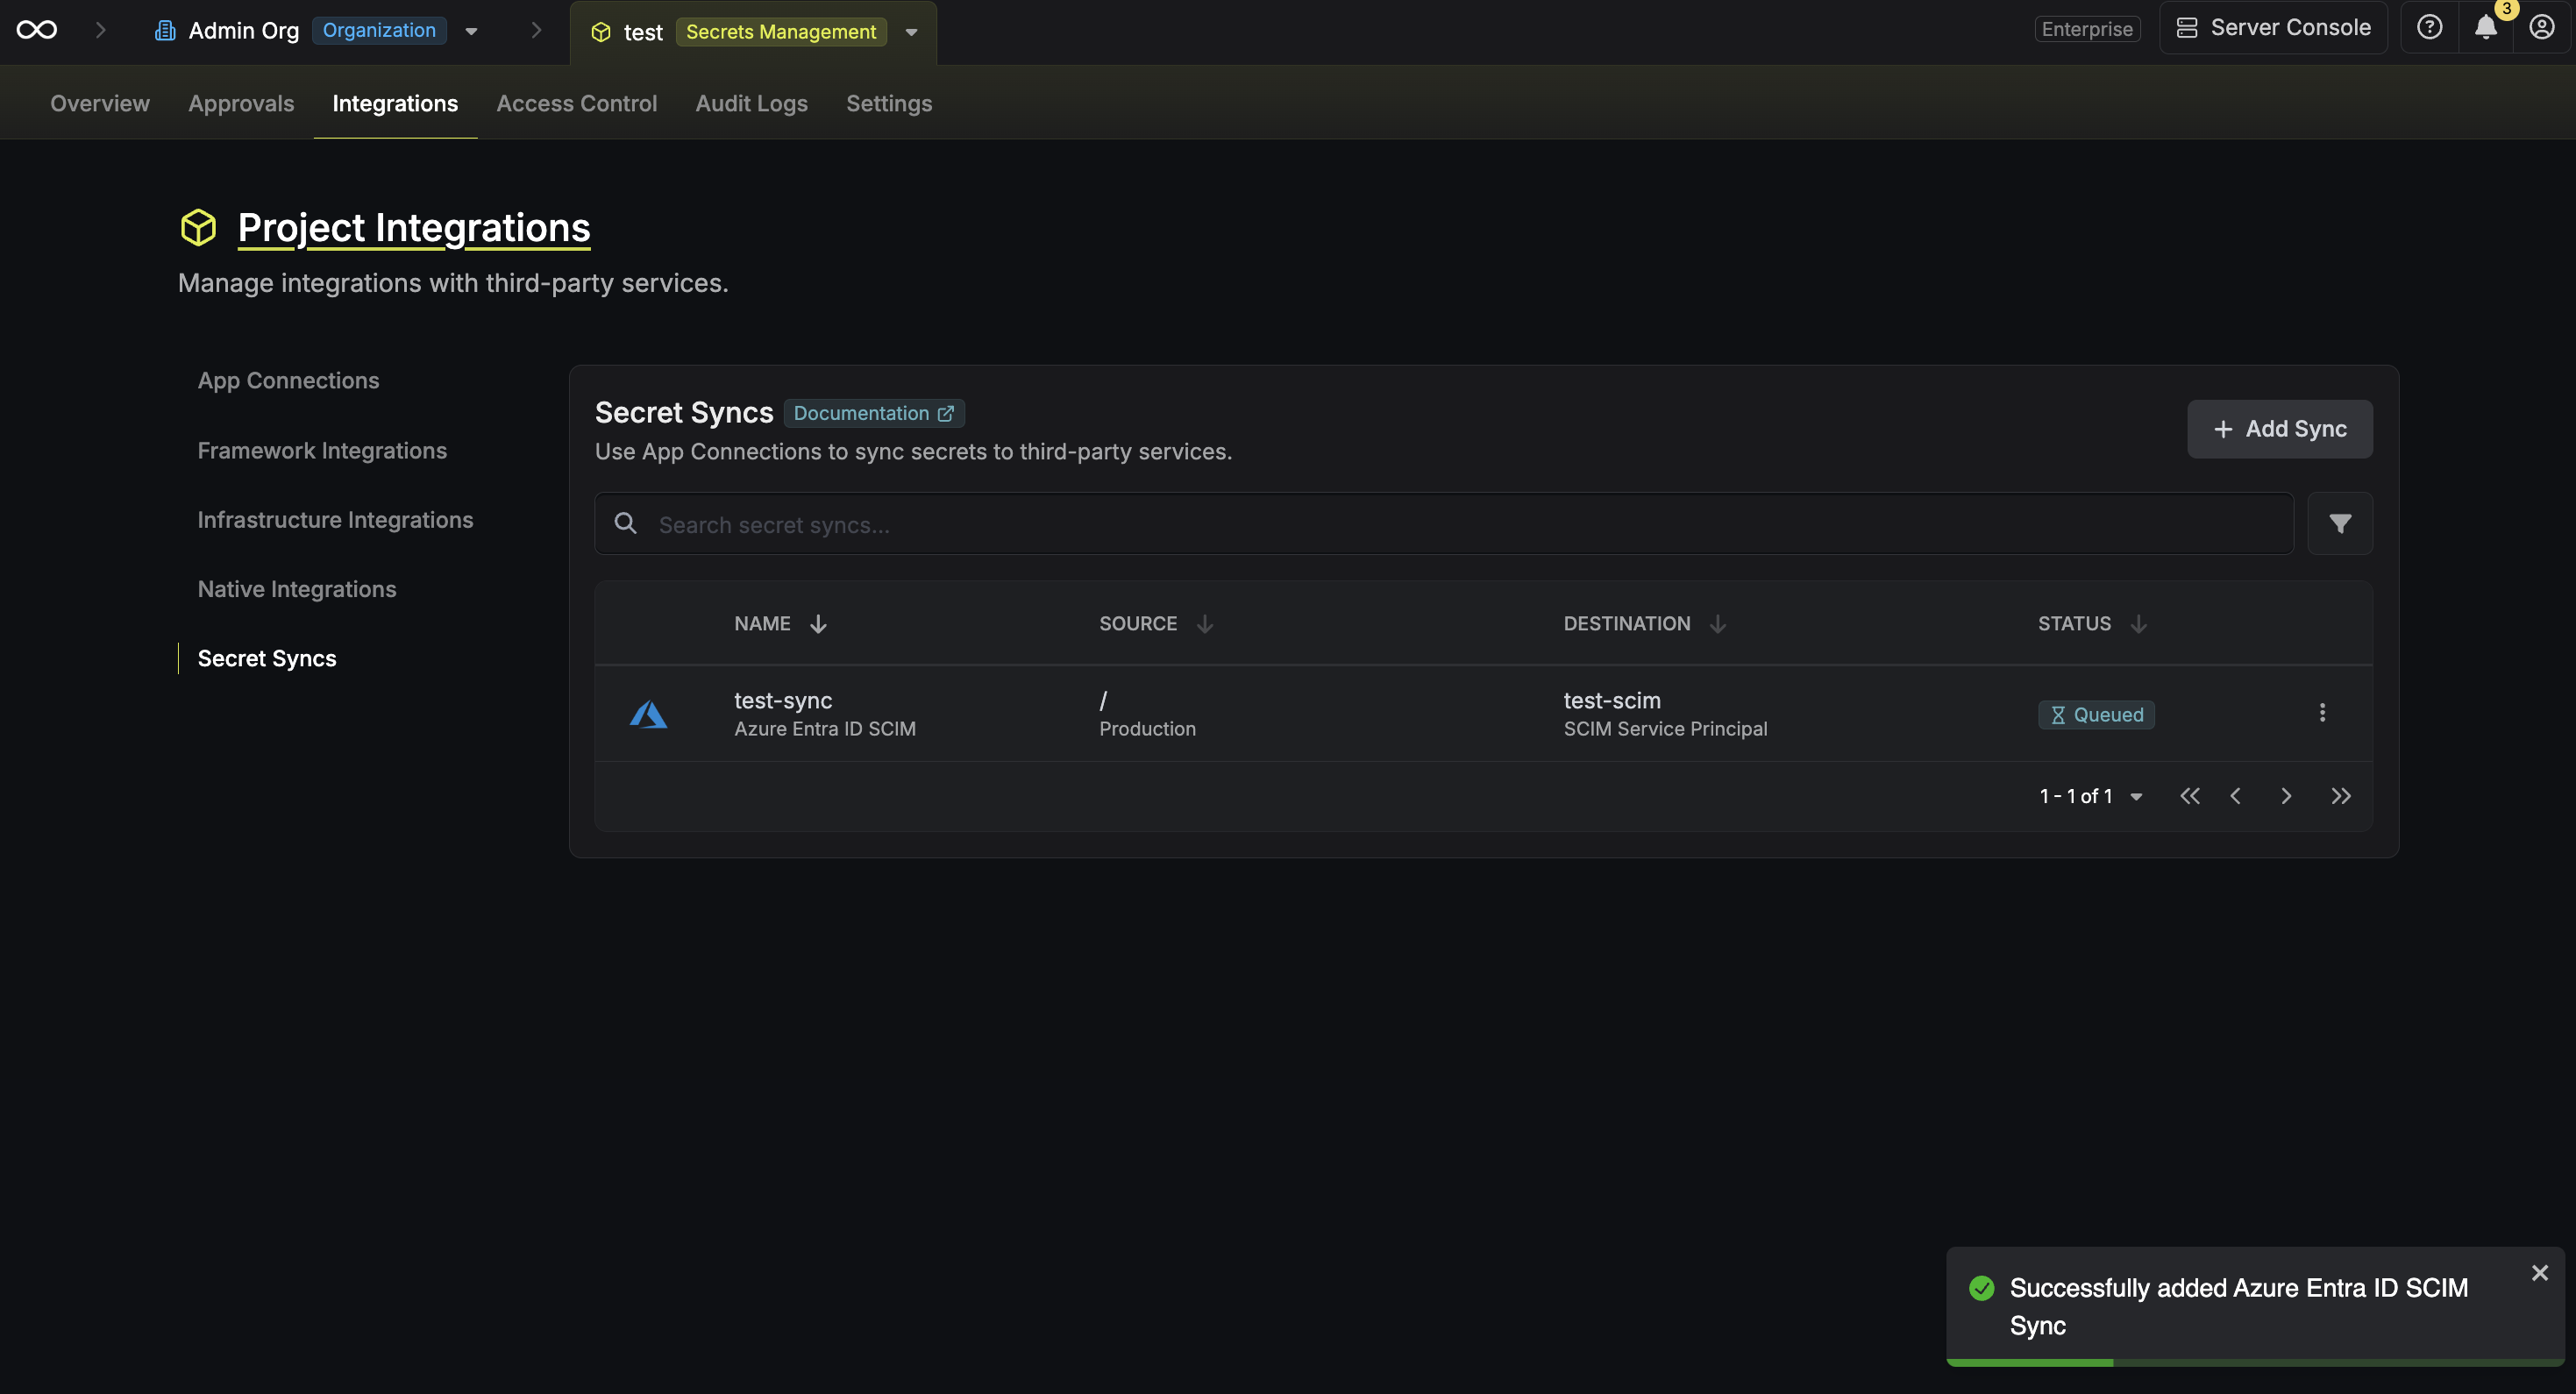
Sync created
If enabled, your Azure Entra ID SCIM Sync will begin syncing the secret to the destination service principal.