- Grant access to a specific secret path that the member’s current role doesn’t cover.
- Provide temporary, time-bound access for a particular task or incident.
- Layer extra permissions on top of existing roles without affecting other members who share those roles.
If you find yourself assigning the same additional privileges repeatedly, consider creating a custom role instead.
Adding additional privileges
Additional privileges can be configured through the Infisical Dashboard or the API. The steps below apply to both users and machine identities.- Infisical UI
- API
1
Select the user or machine identity
Navigate to the Access Controls page of your project and select the user or machine identity you want to grant additional privileges to.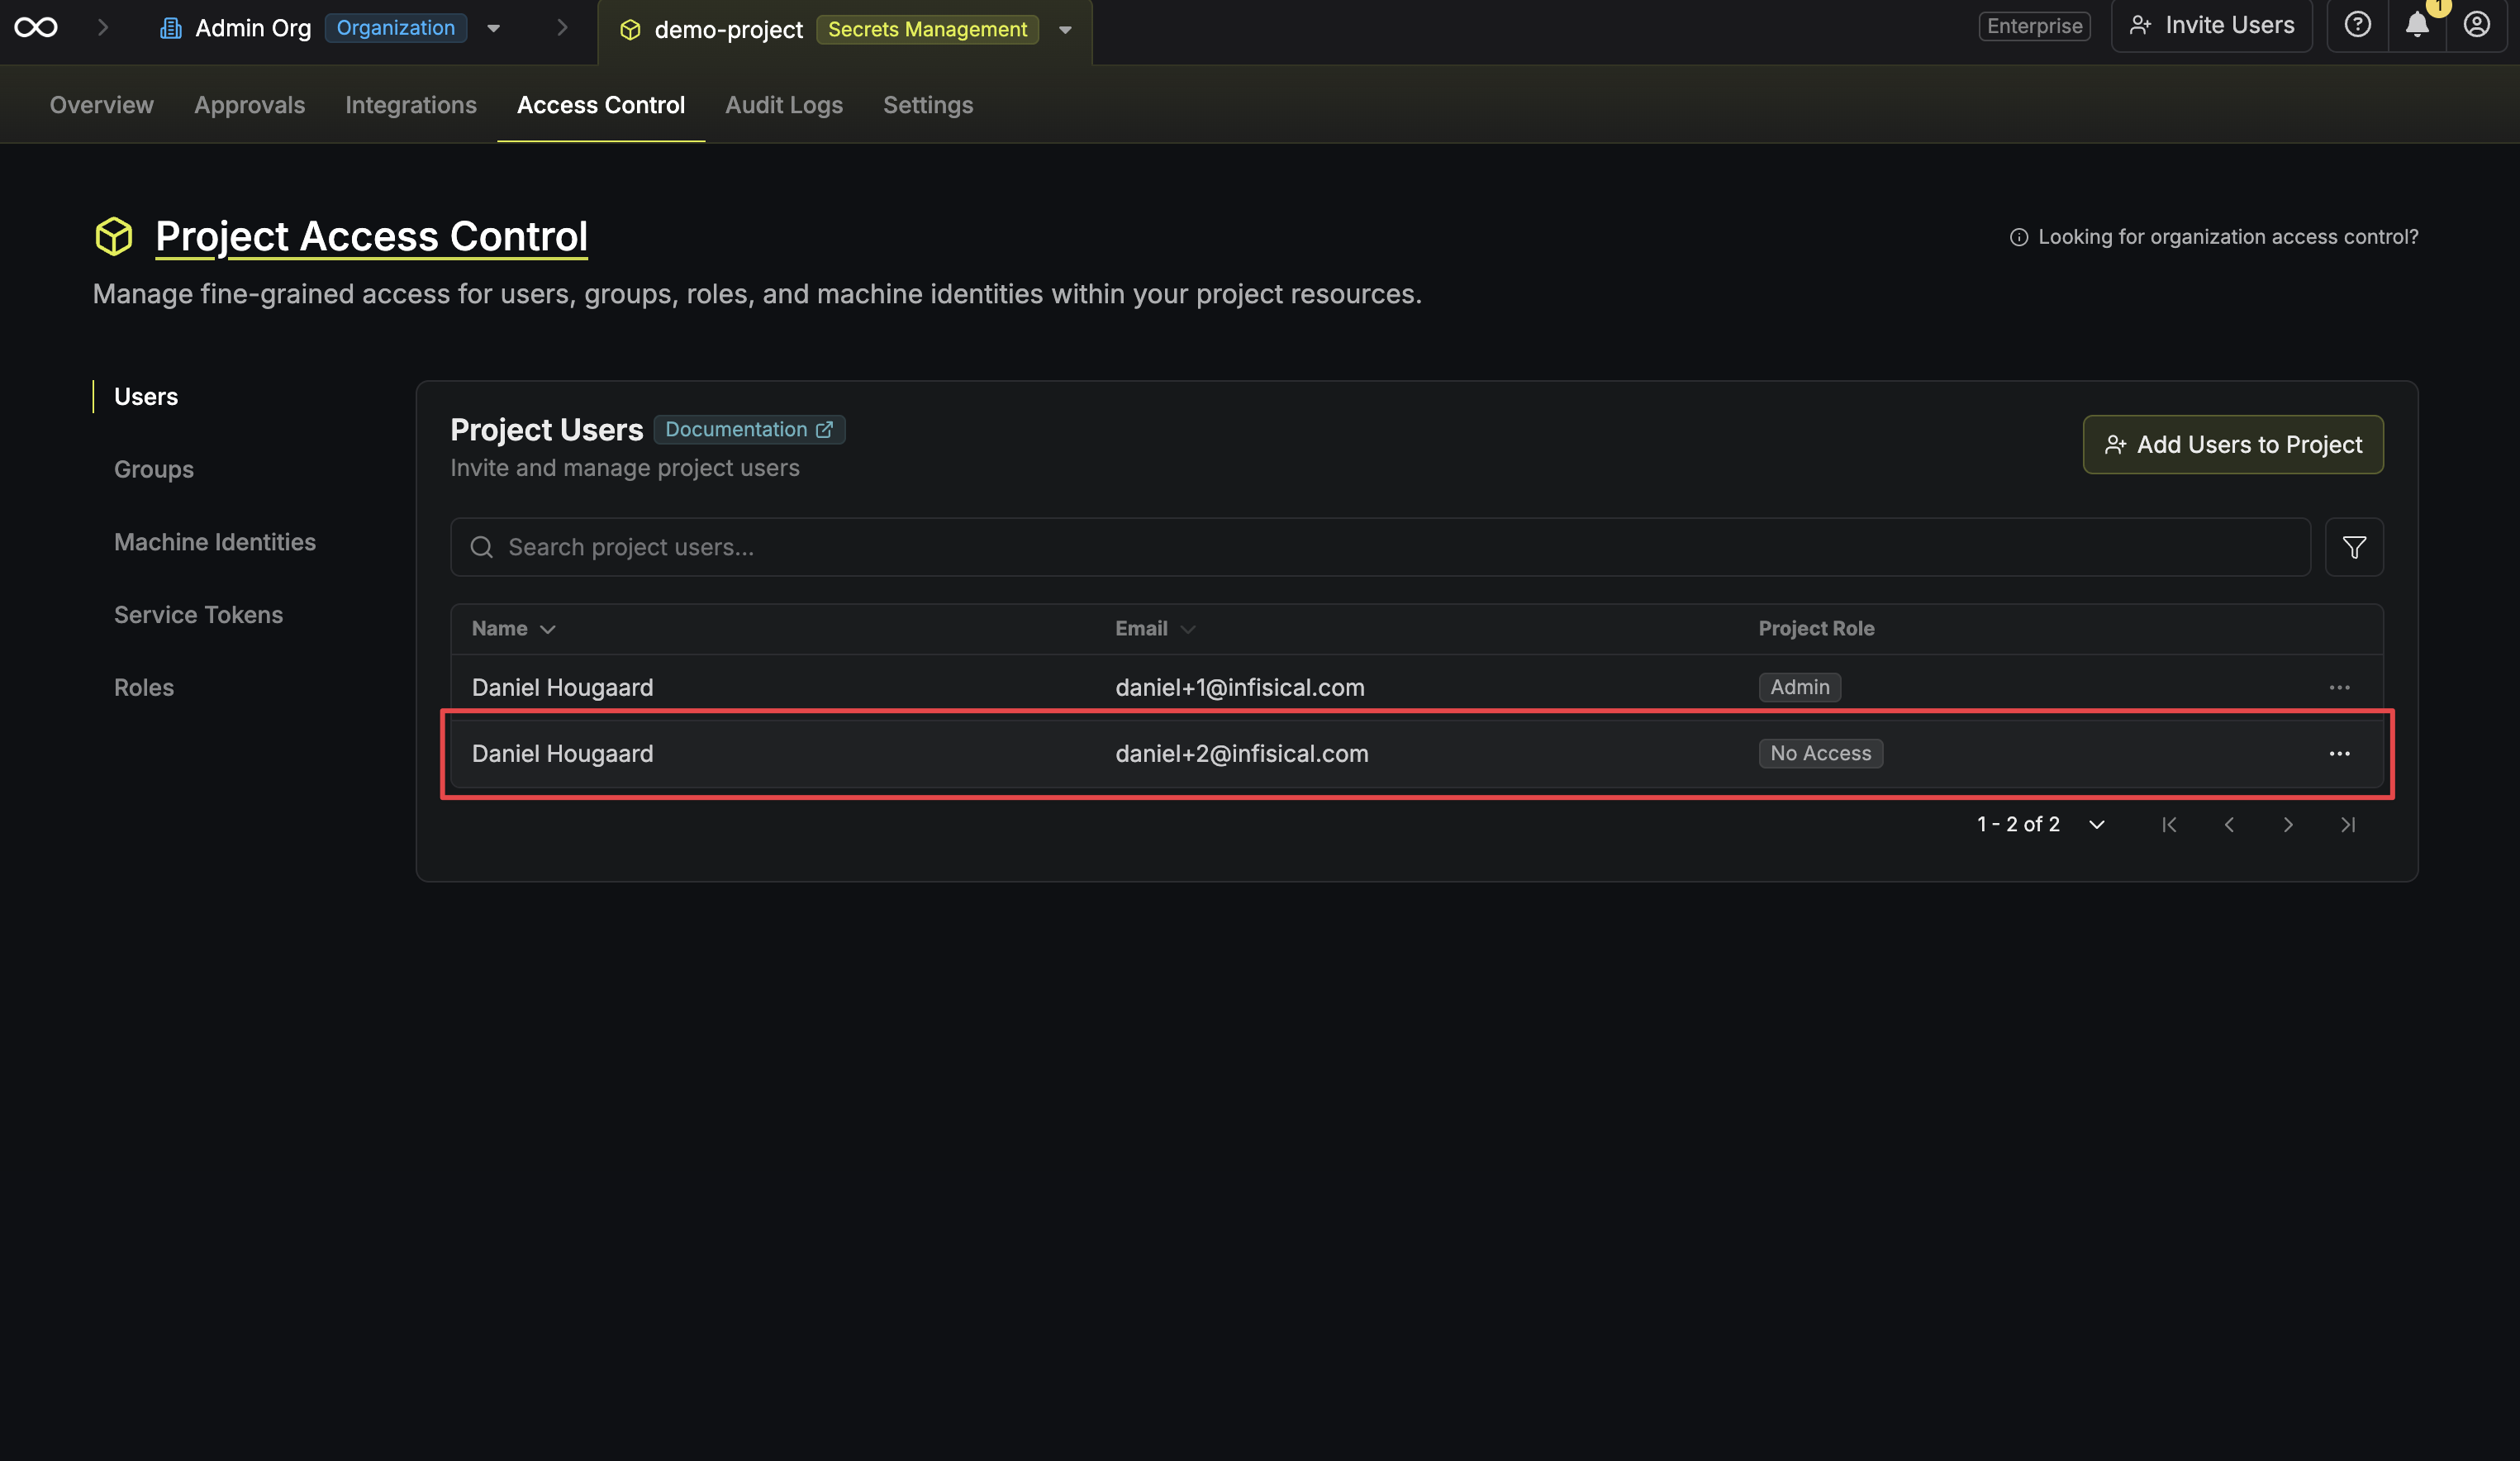
2
Add additional privileges
In the member detail view, click the Add Additional Privileges button. This opens a configuration panel for the new privilege.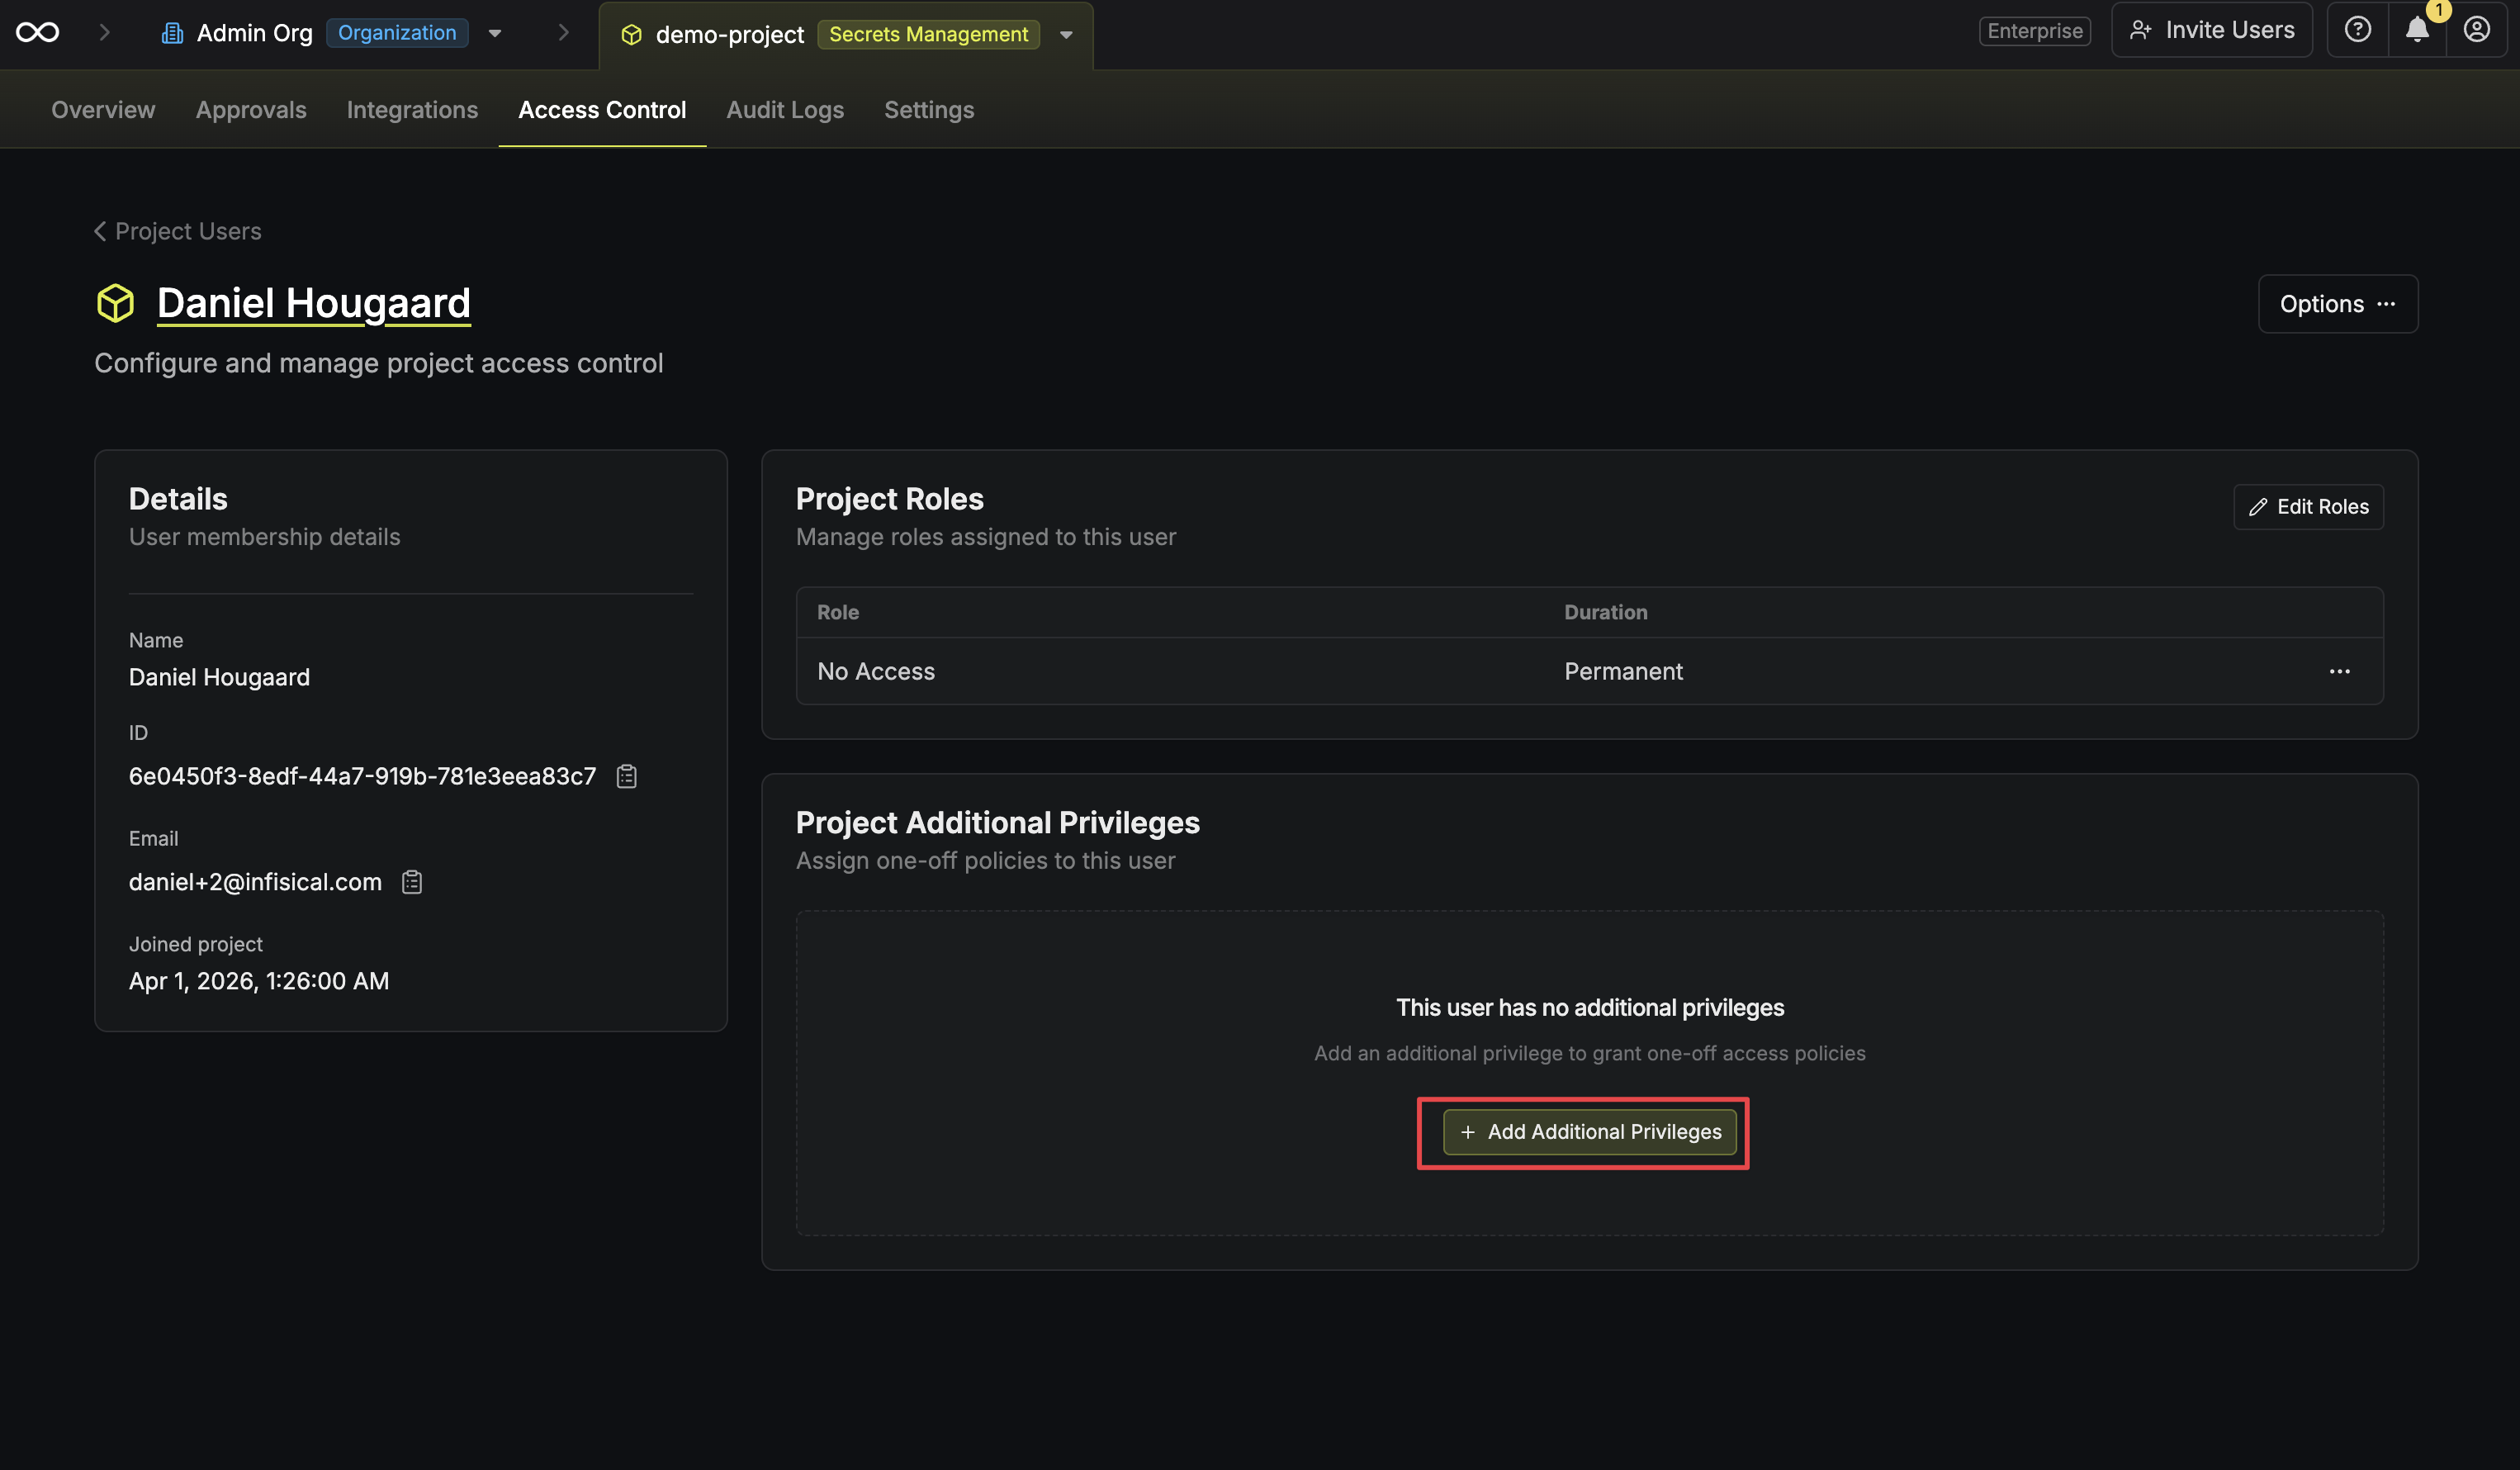
3
Add policies
Click the Add Policies button to open the policy selector dropdown.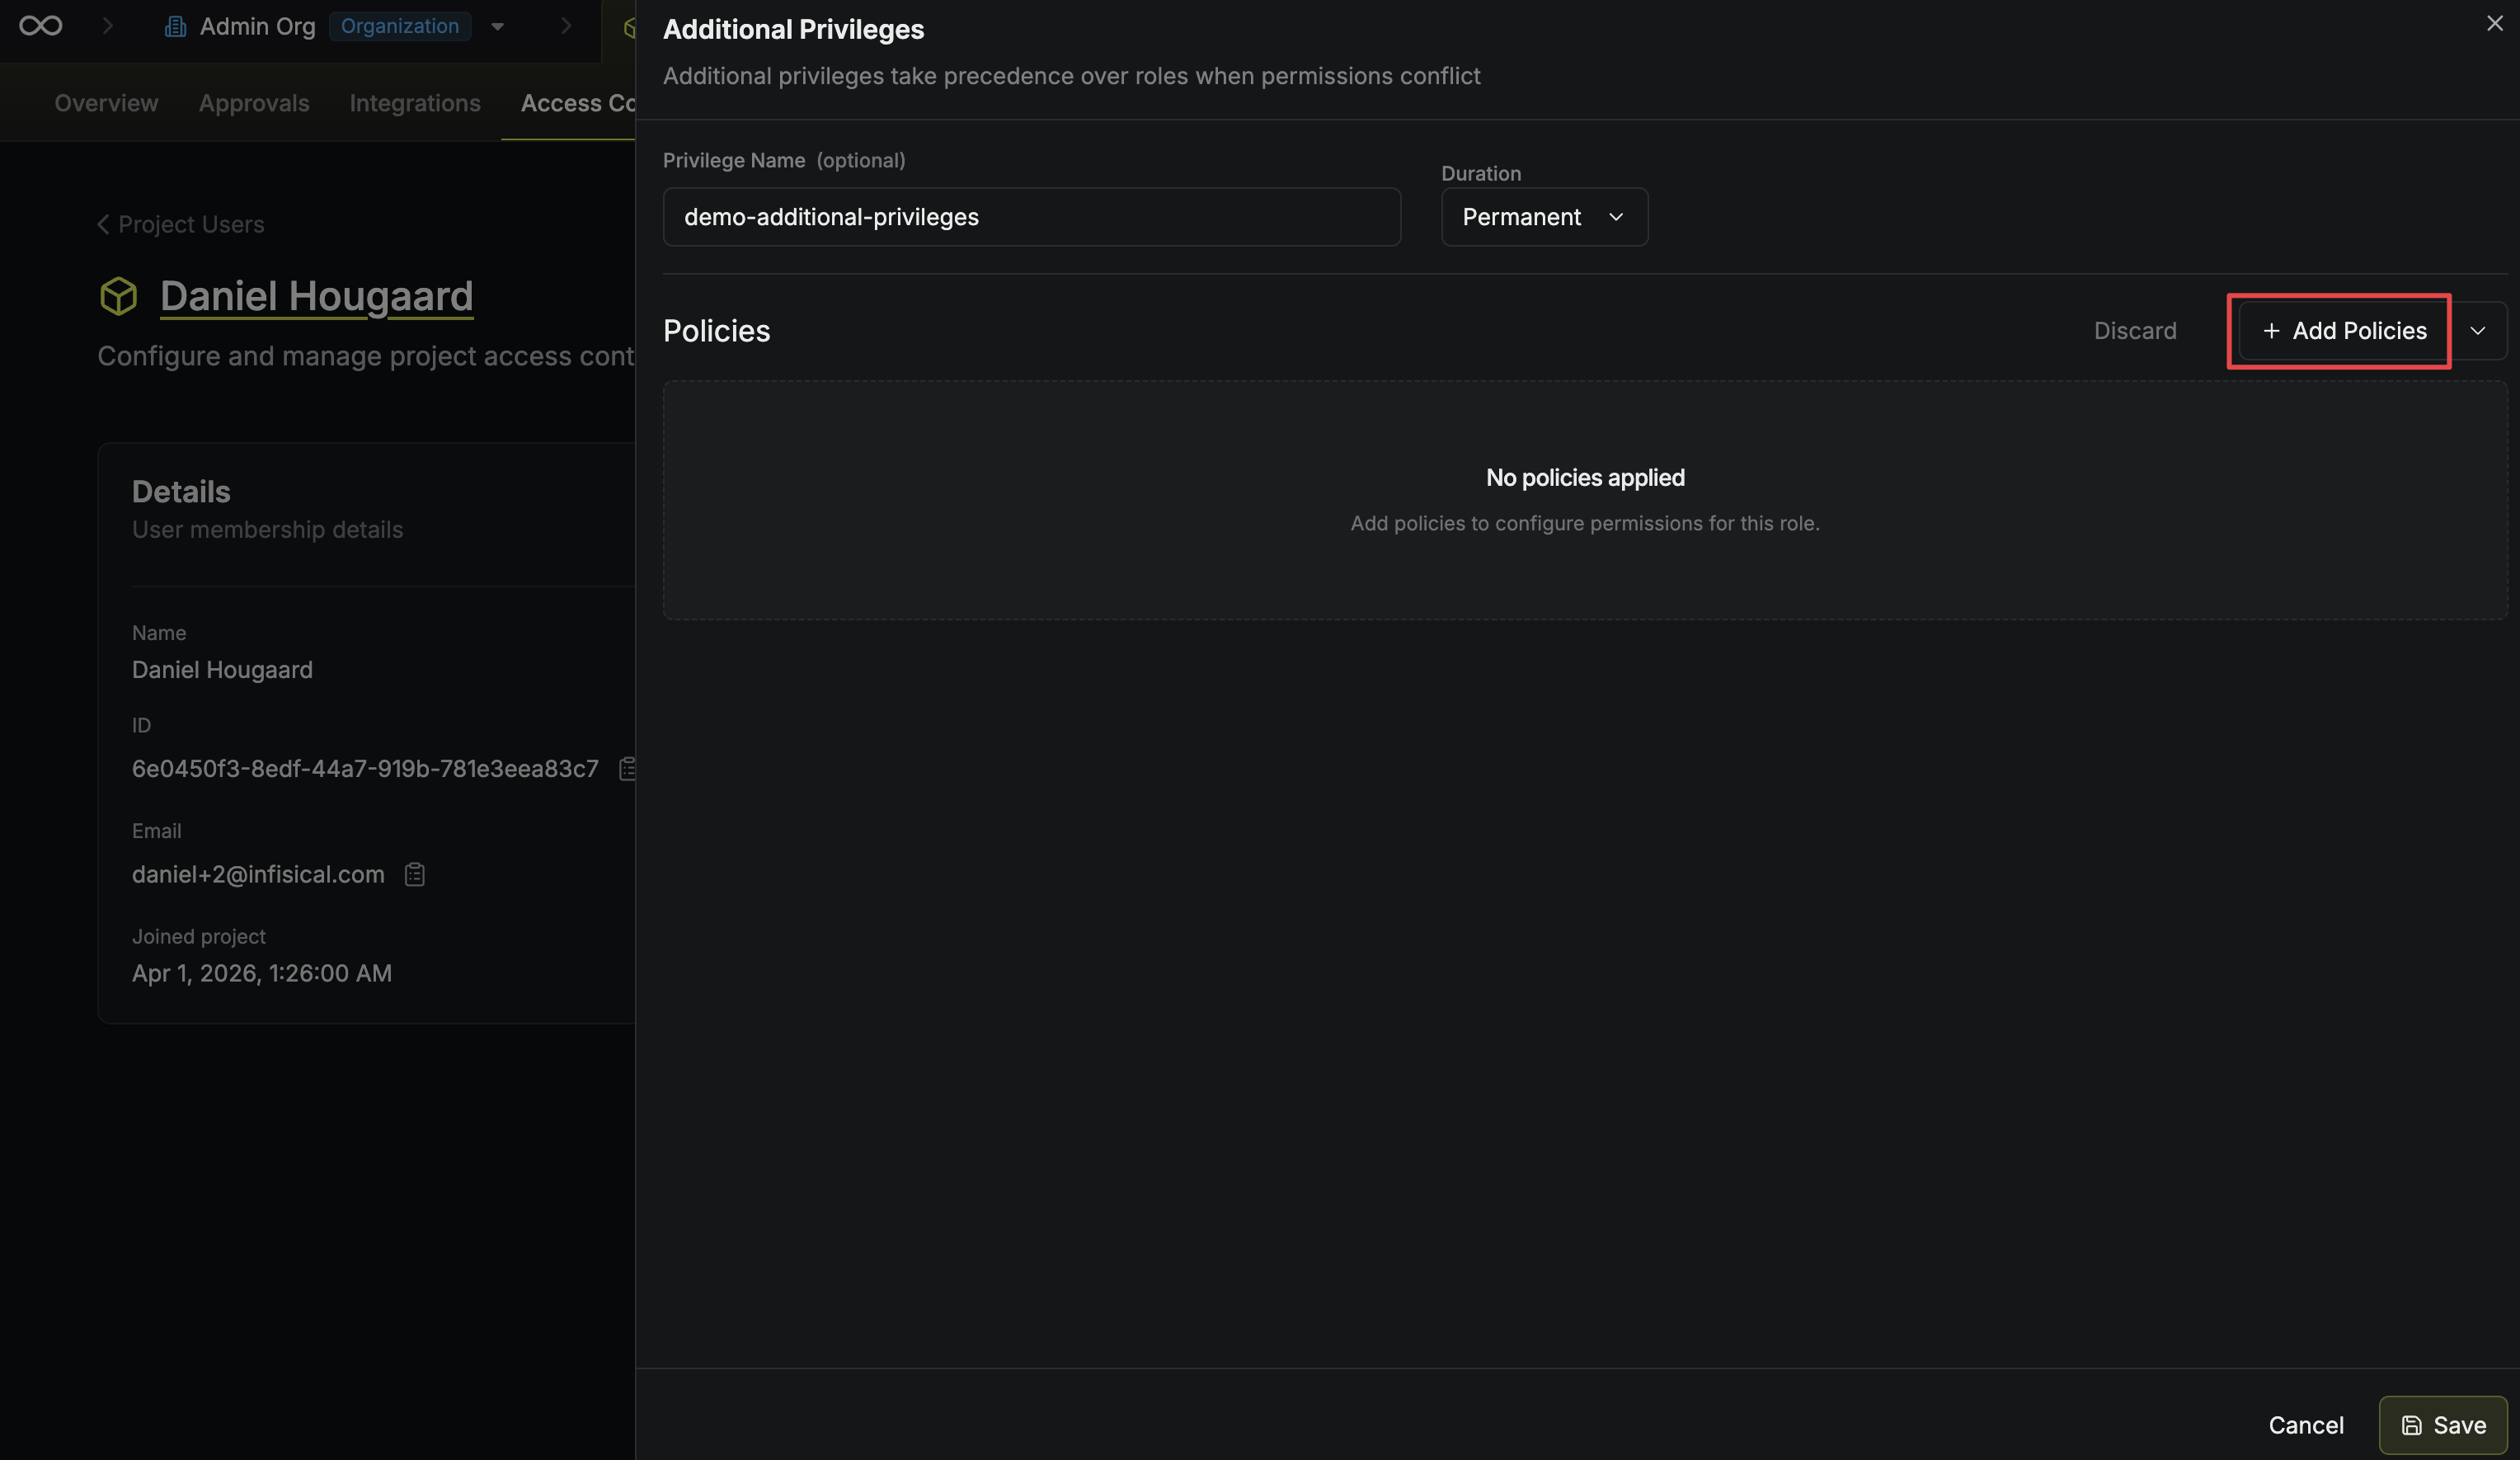
4
Select the policies to apply
Choose the policies you want to include in this additional privilege from the dropdown.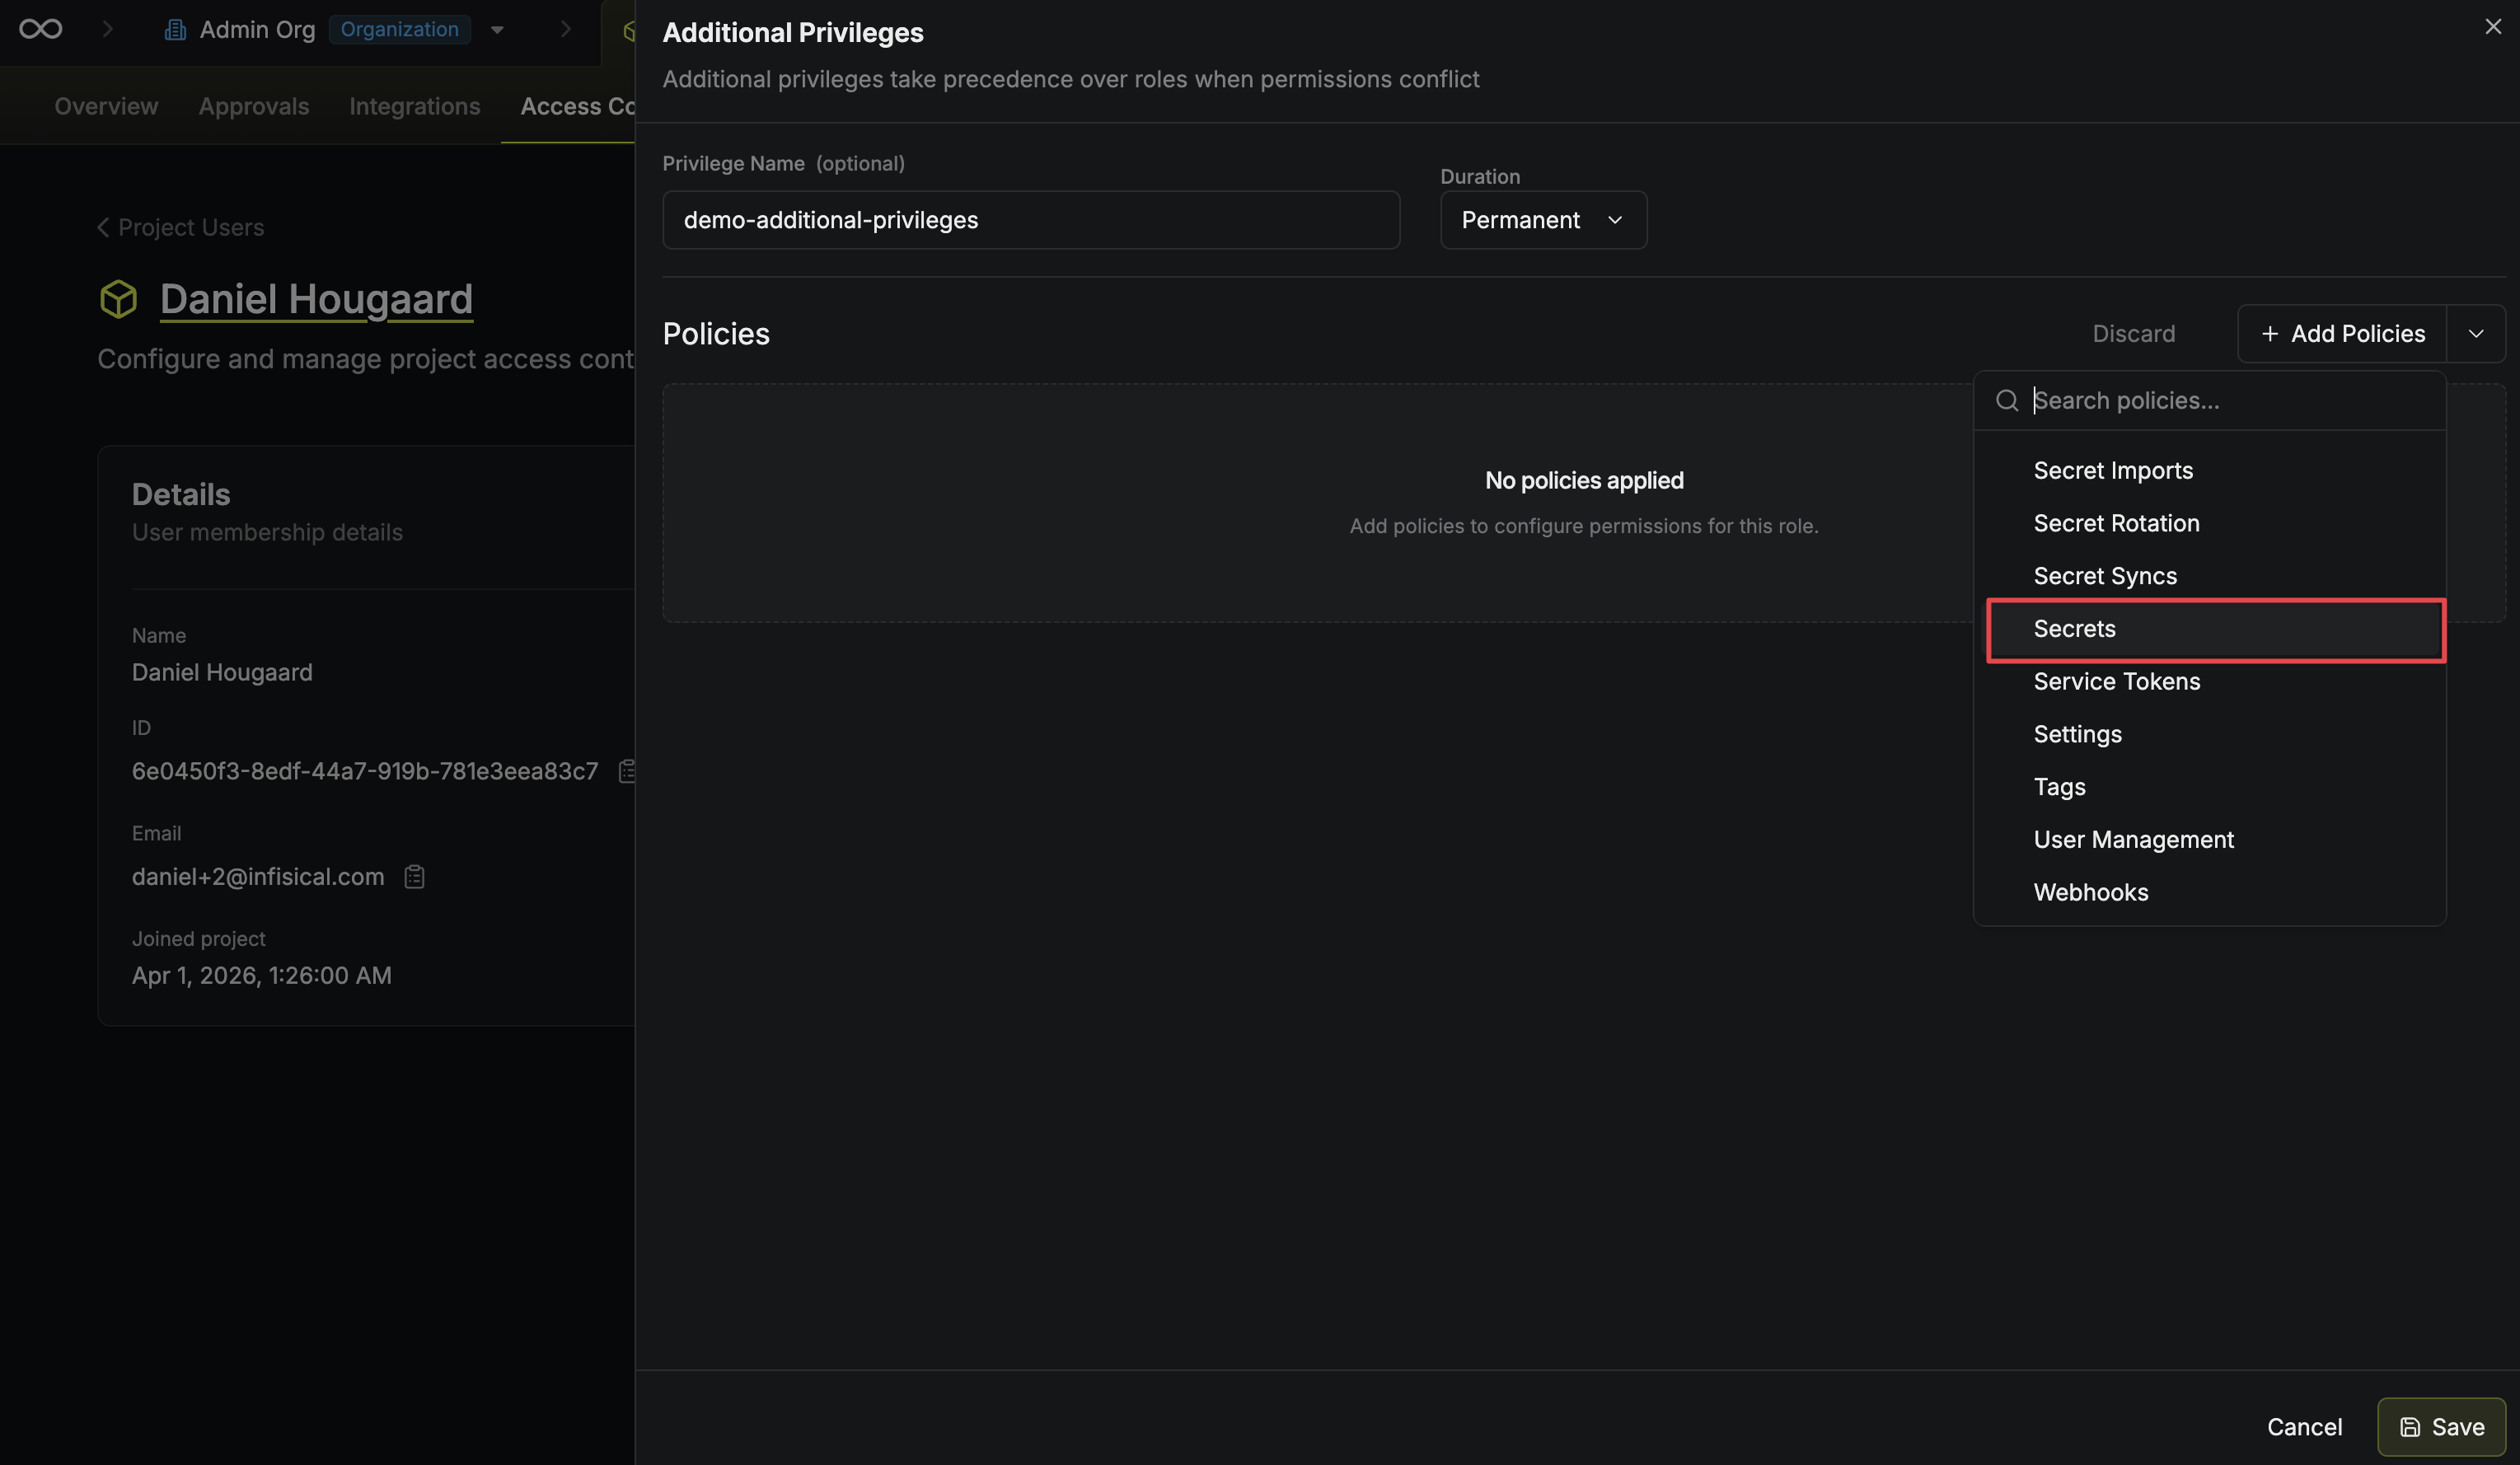
5
Configure the privilege
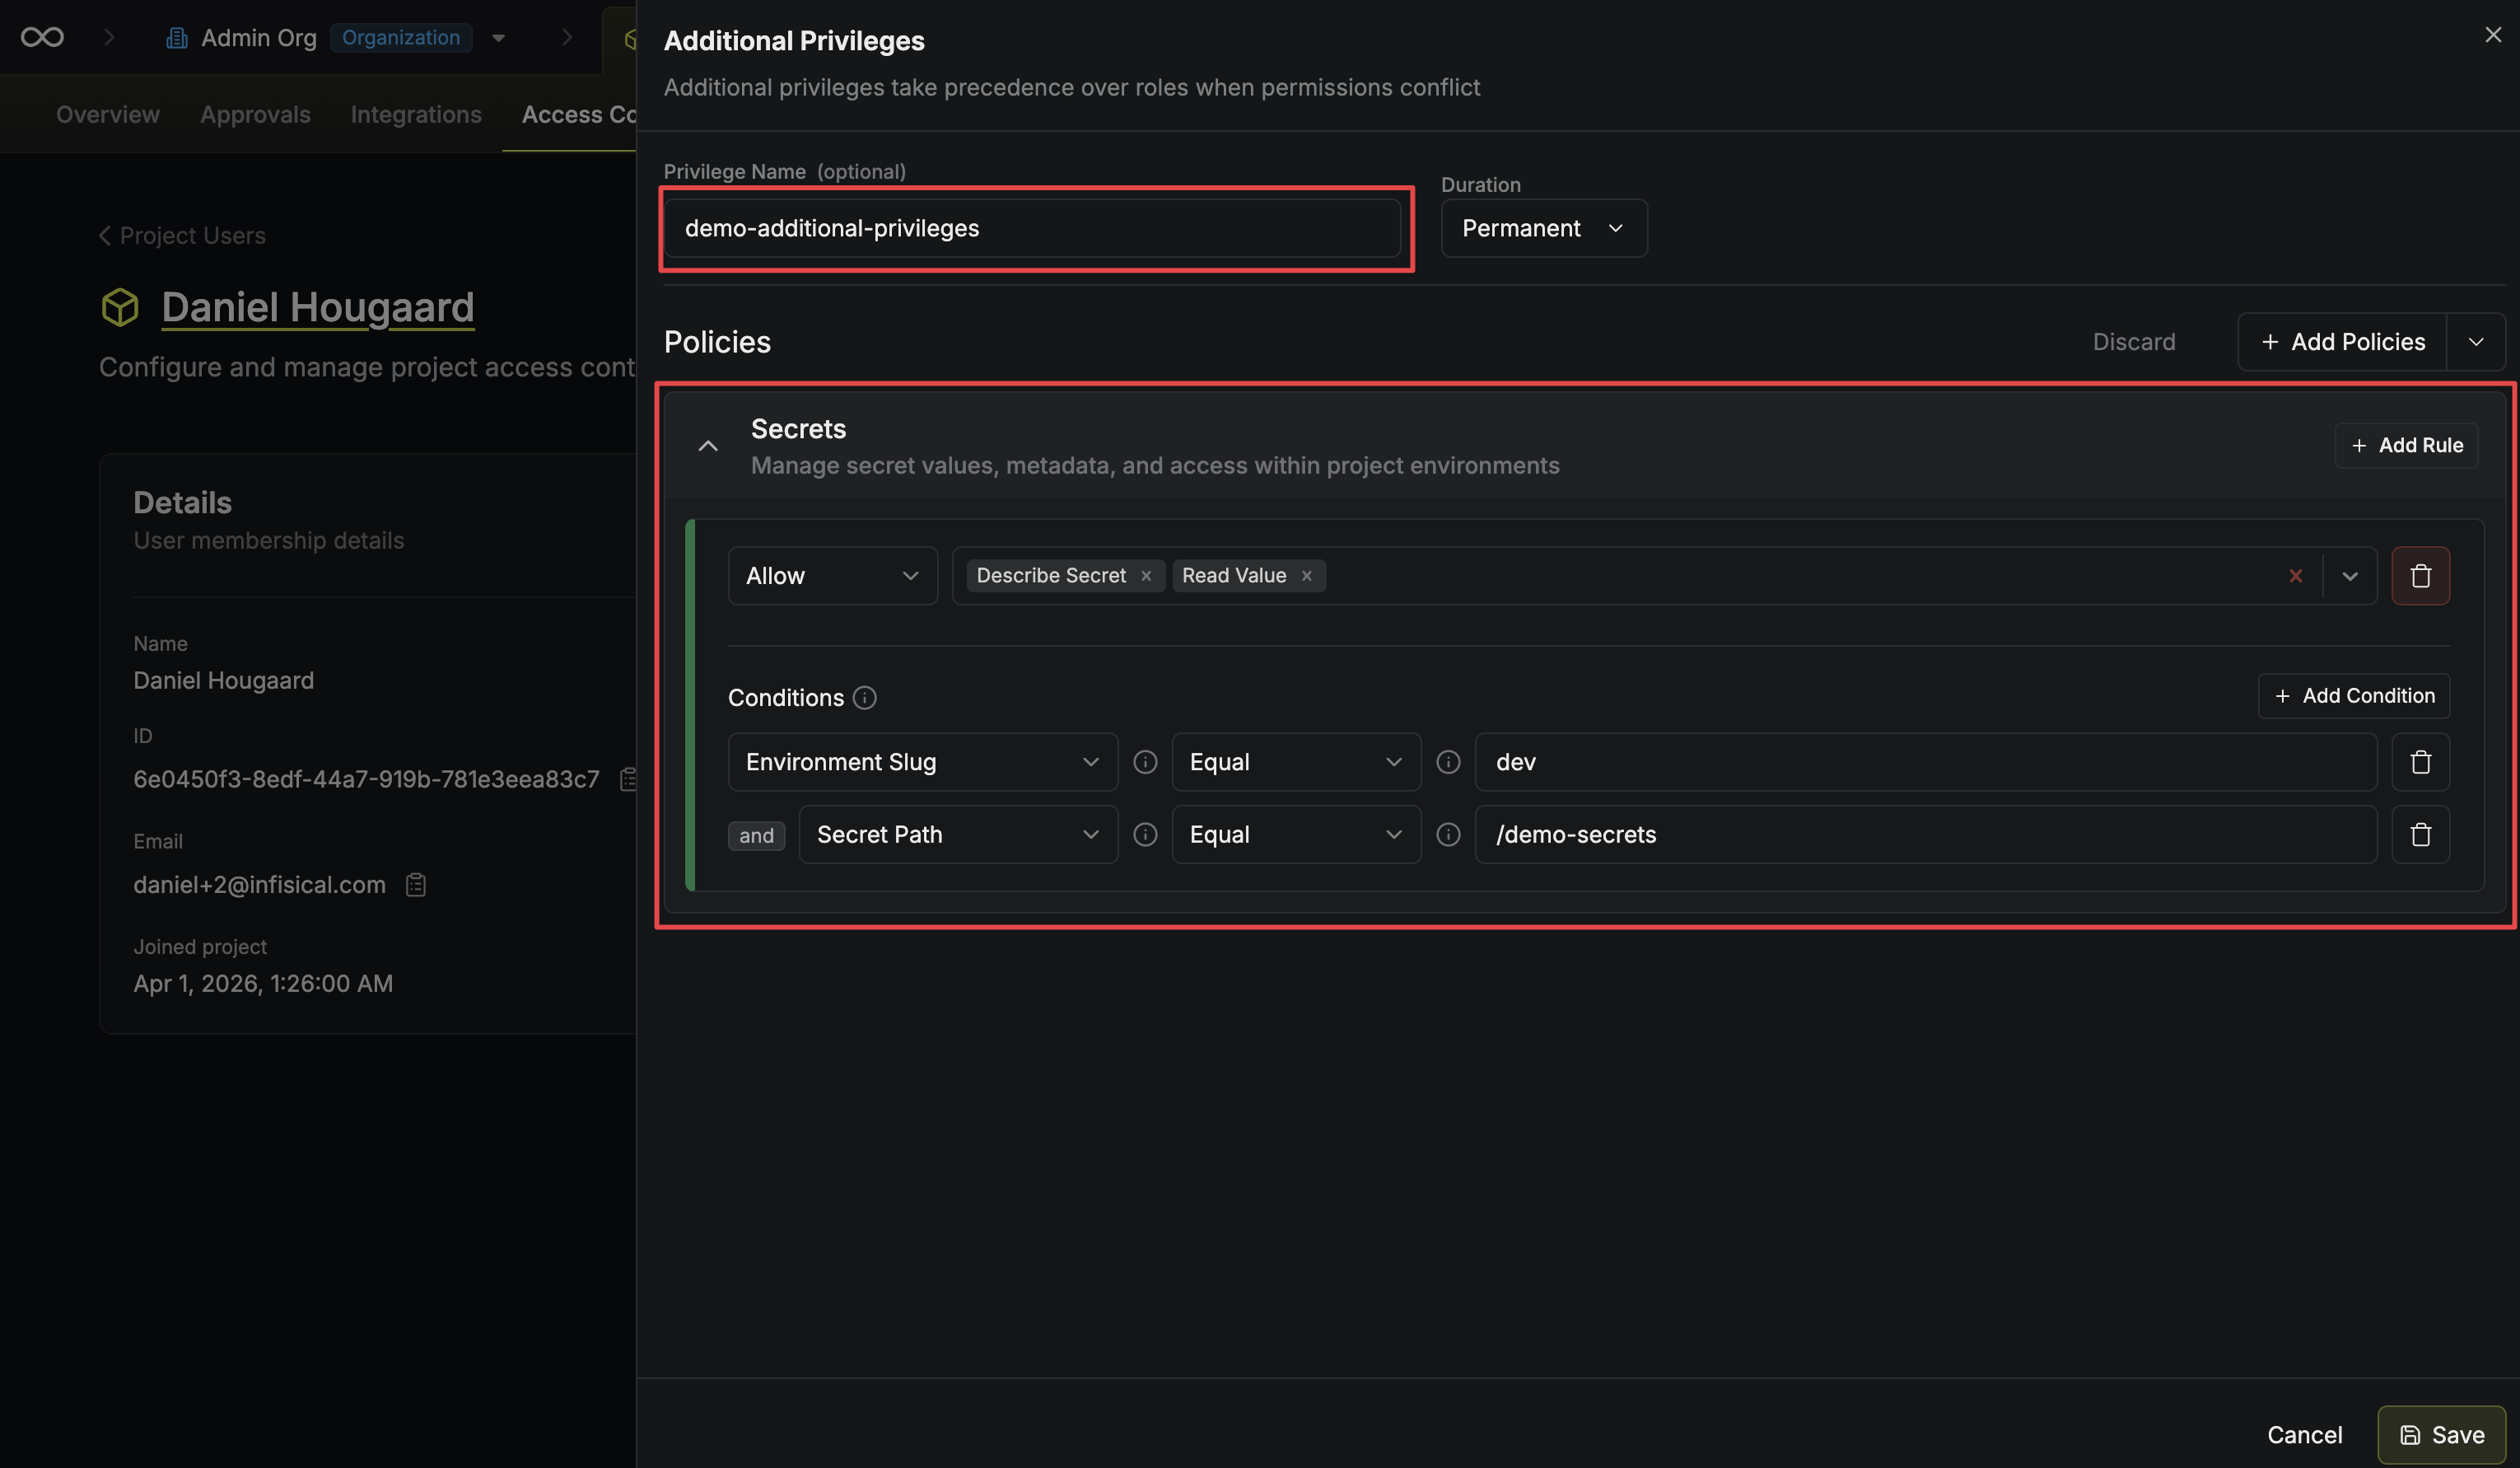
Fill in the privilege details and configure each policy you selected:
- Privilege Name — A slug-friendly identifier for the privilege.
- Duration — How long the privilege remains active. Defaults to Permanent. Set a limited duration for temporary access grants.
-
Policies — The specific permission policies (e.g., read/write access to certain secret paths) included in this privilege.
6
Save the privilege
Click Save to apply the additional privilege. It takes effect immediately.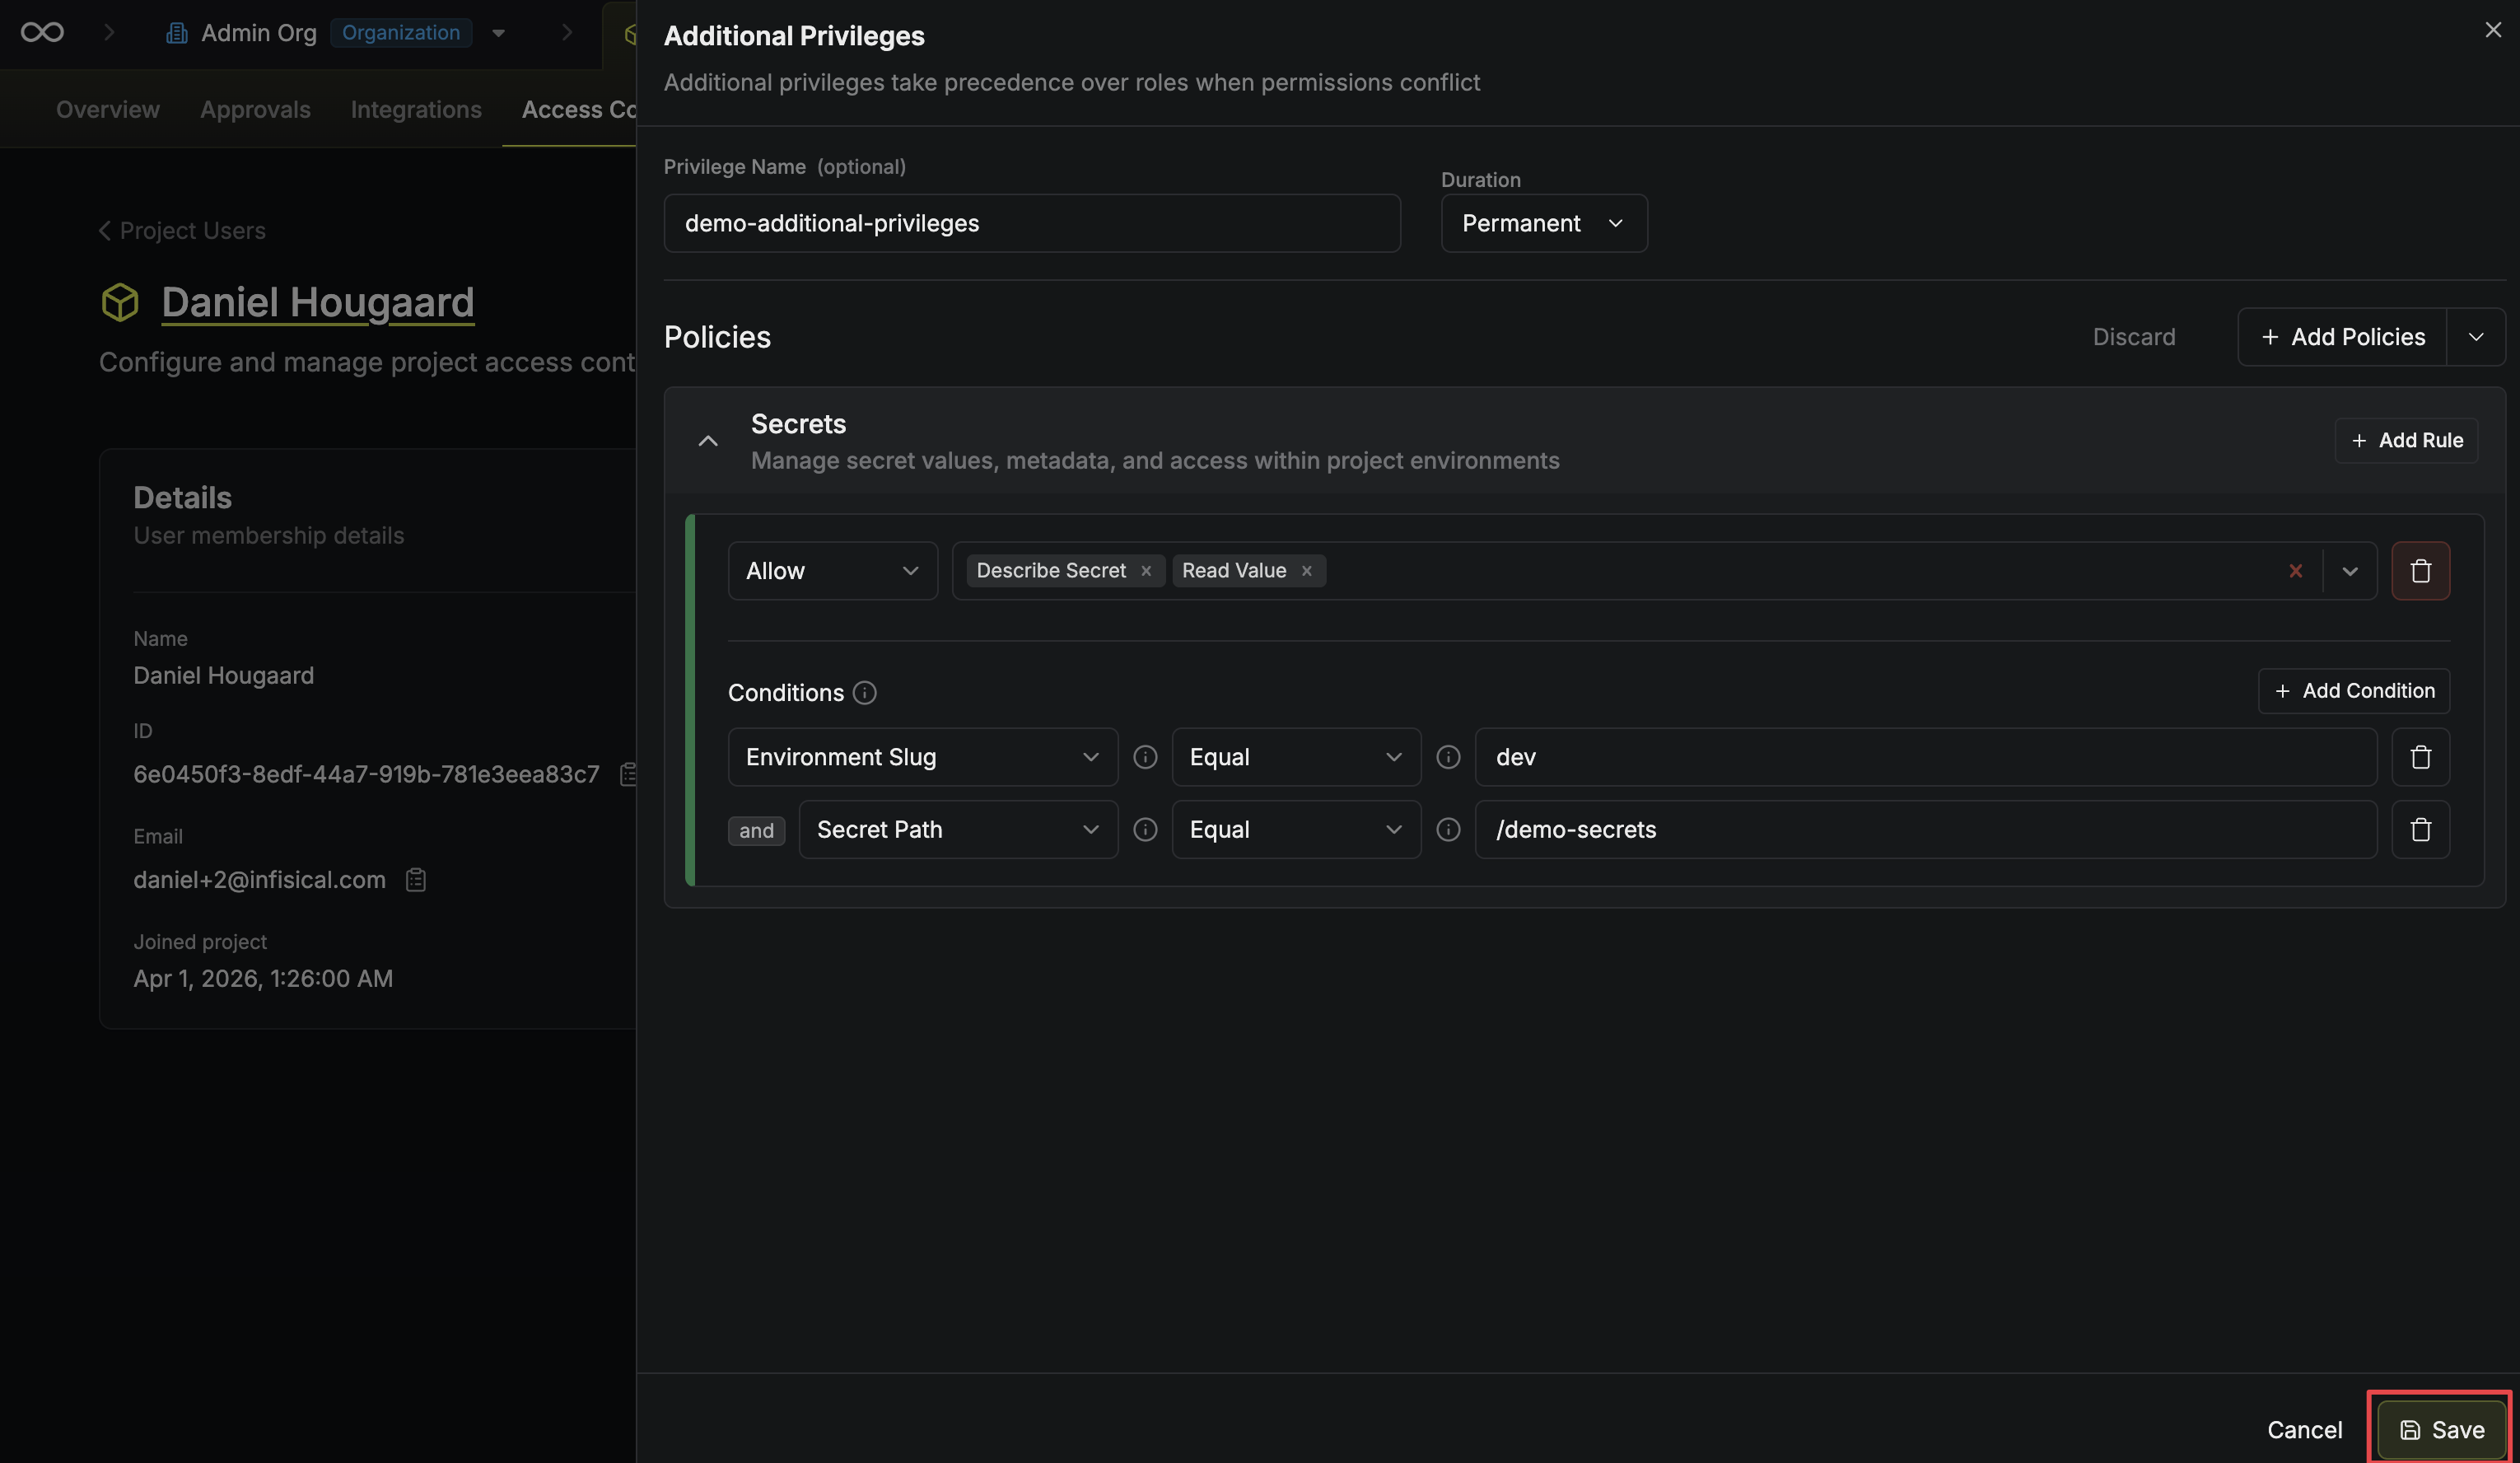
7
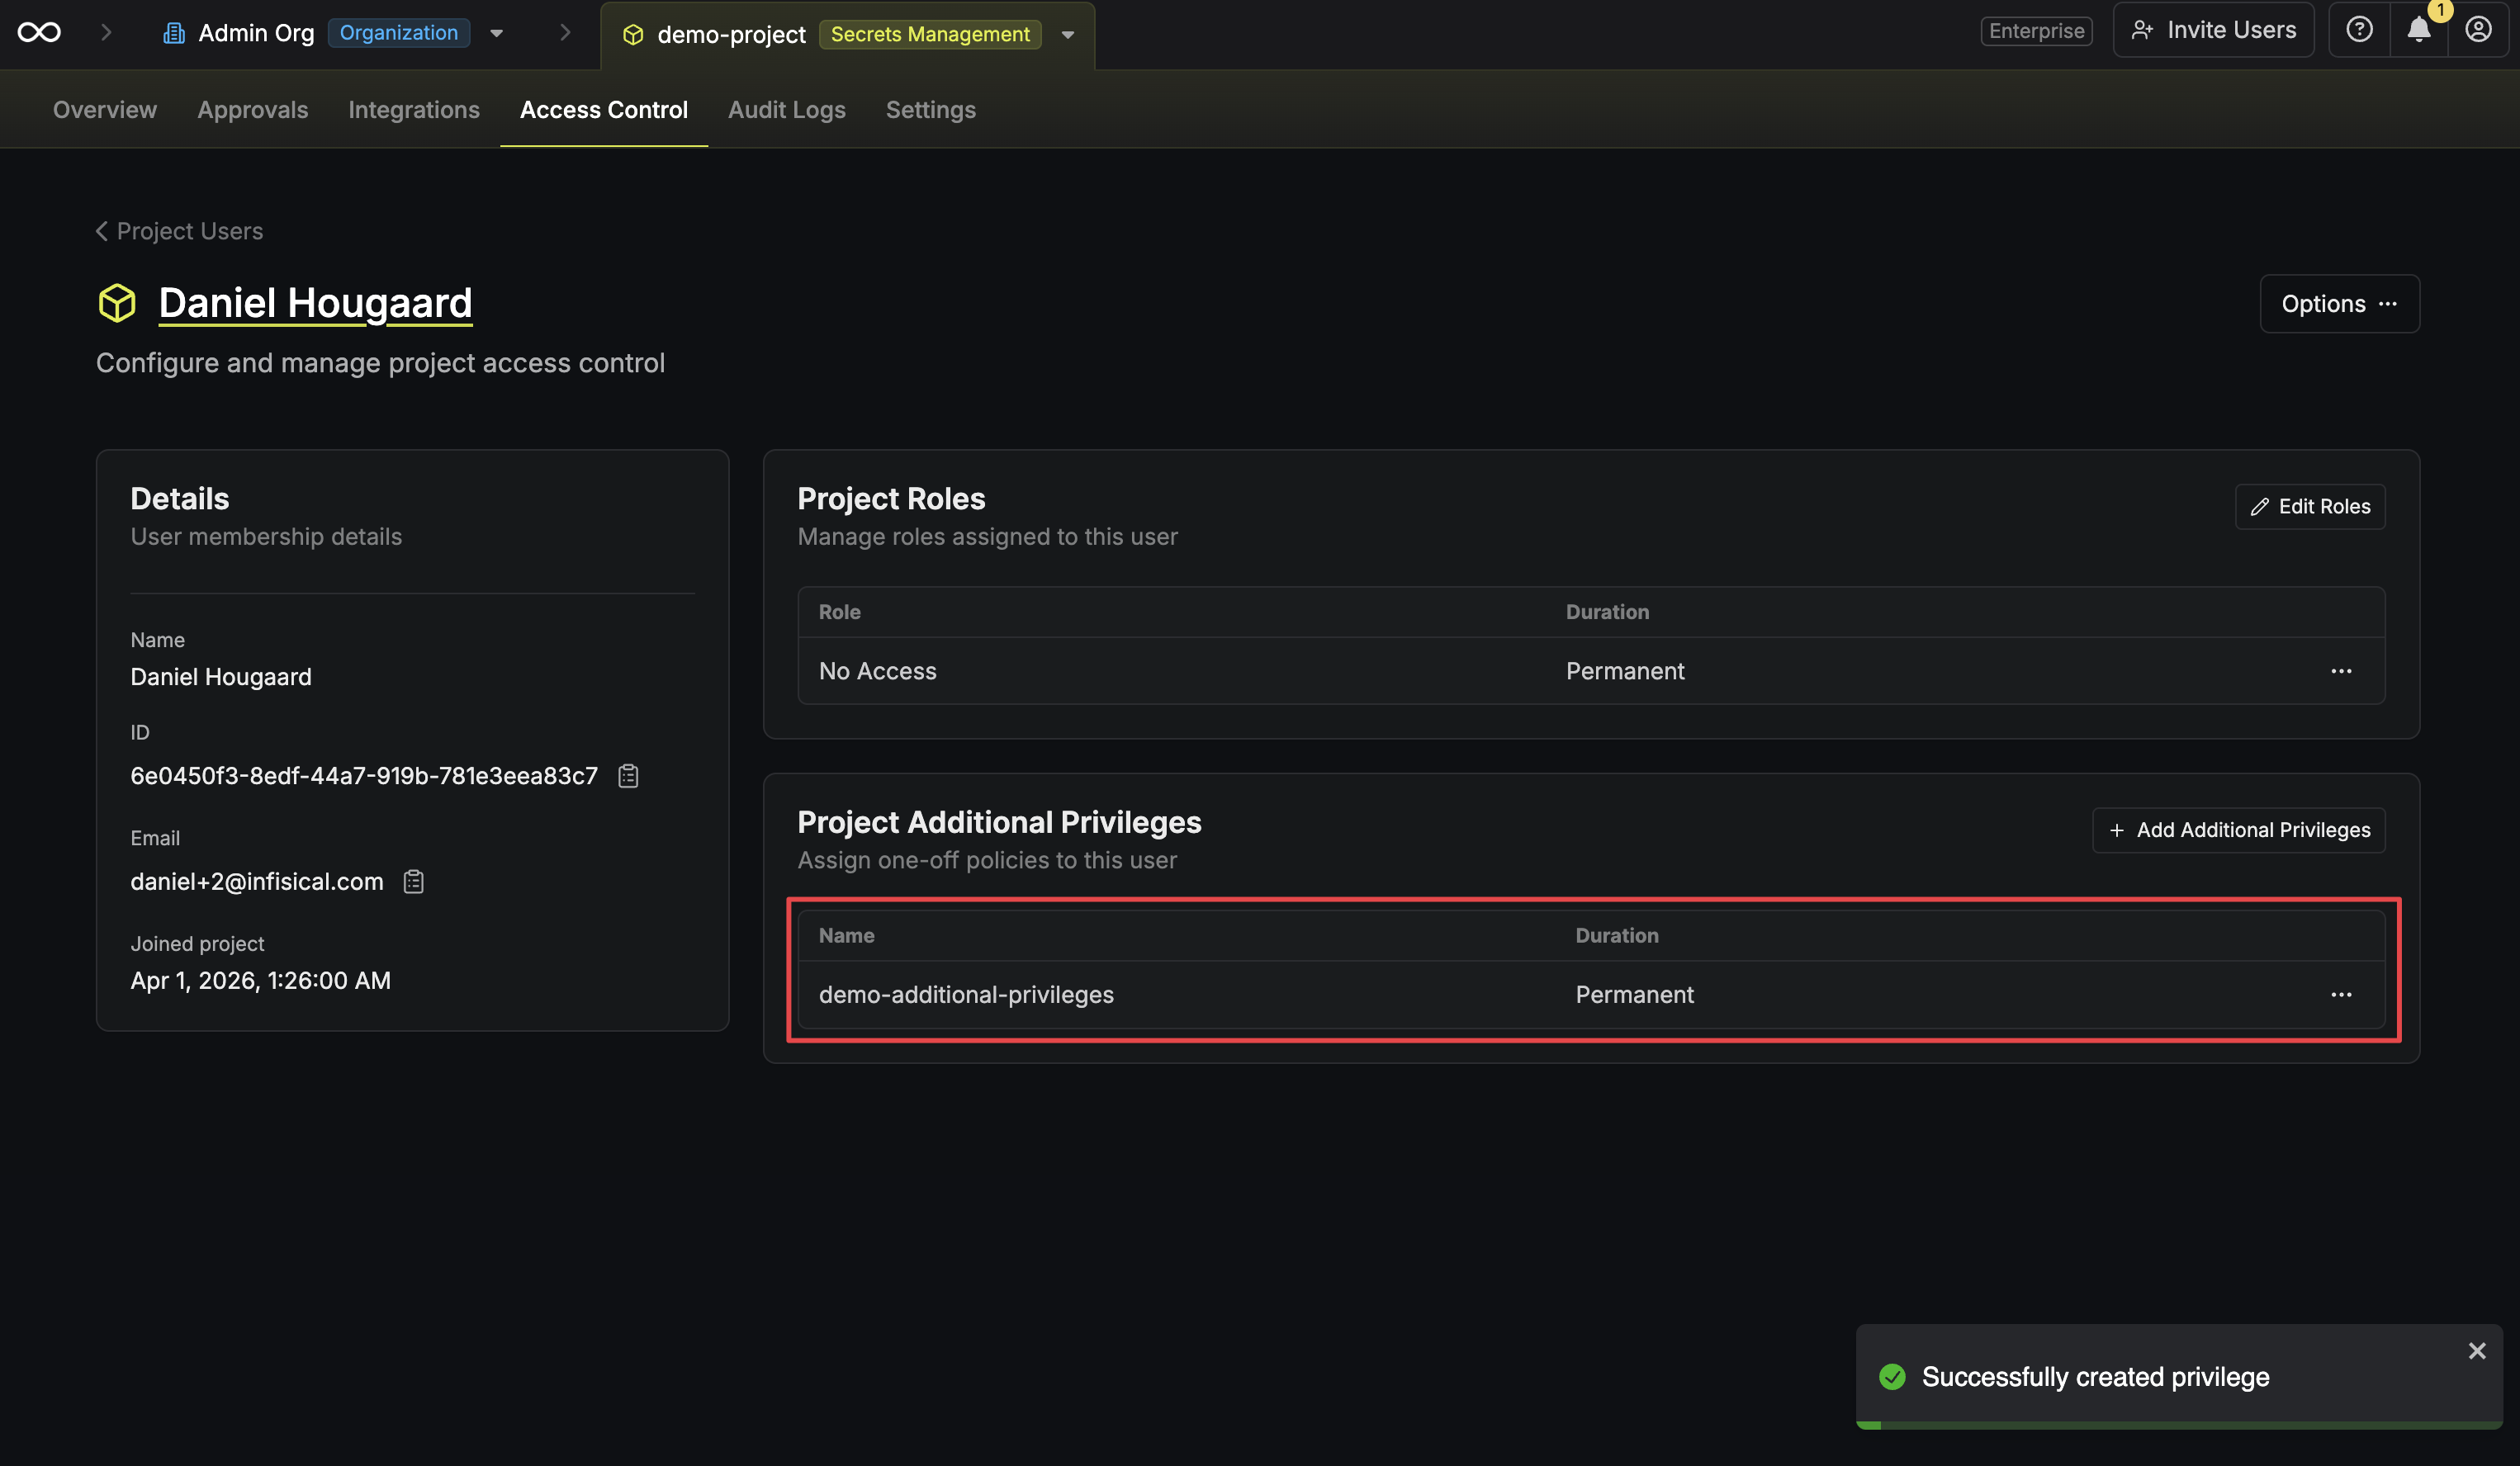
Verify the privilege
The new additional privilege now appears in the member’s detail page. You can edit or remove it at any time from here.