Prerequisites
- Create a GitHub Radar Connection
Create a GitHub Data Source in Infisical
- Infisical UI
- API
-
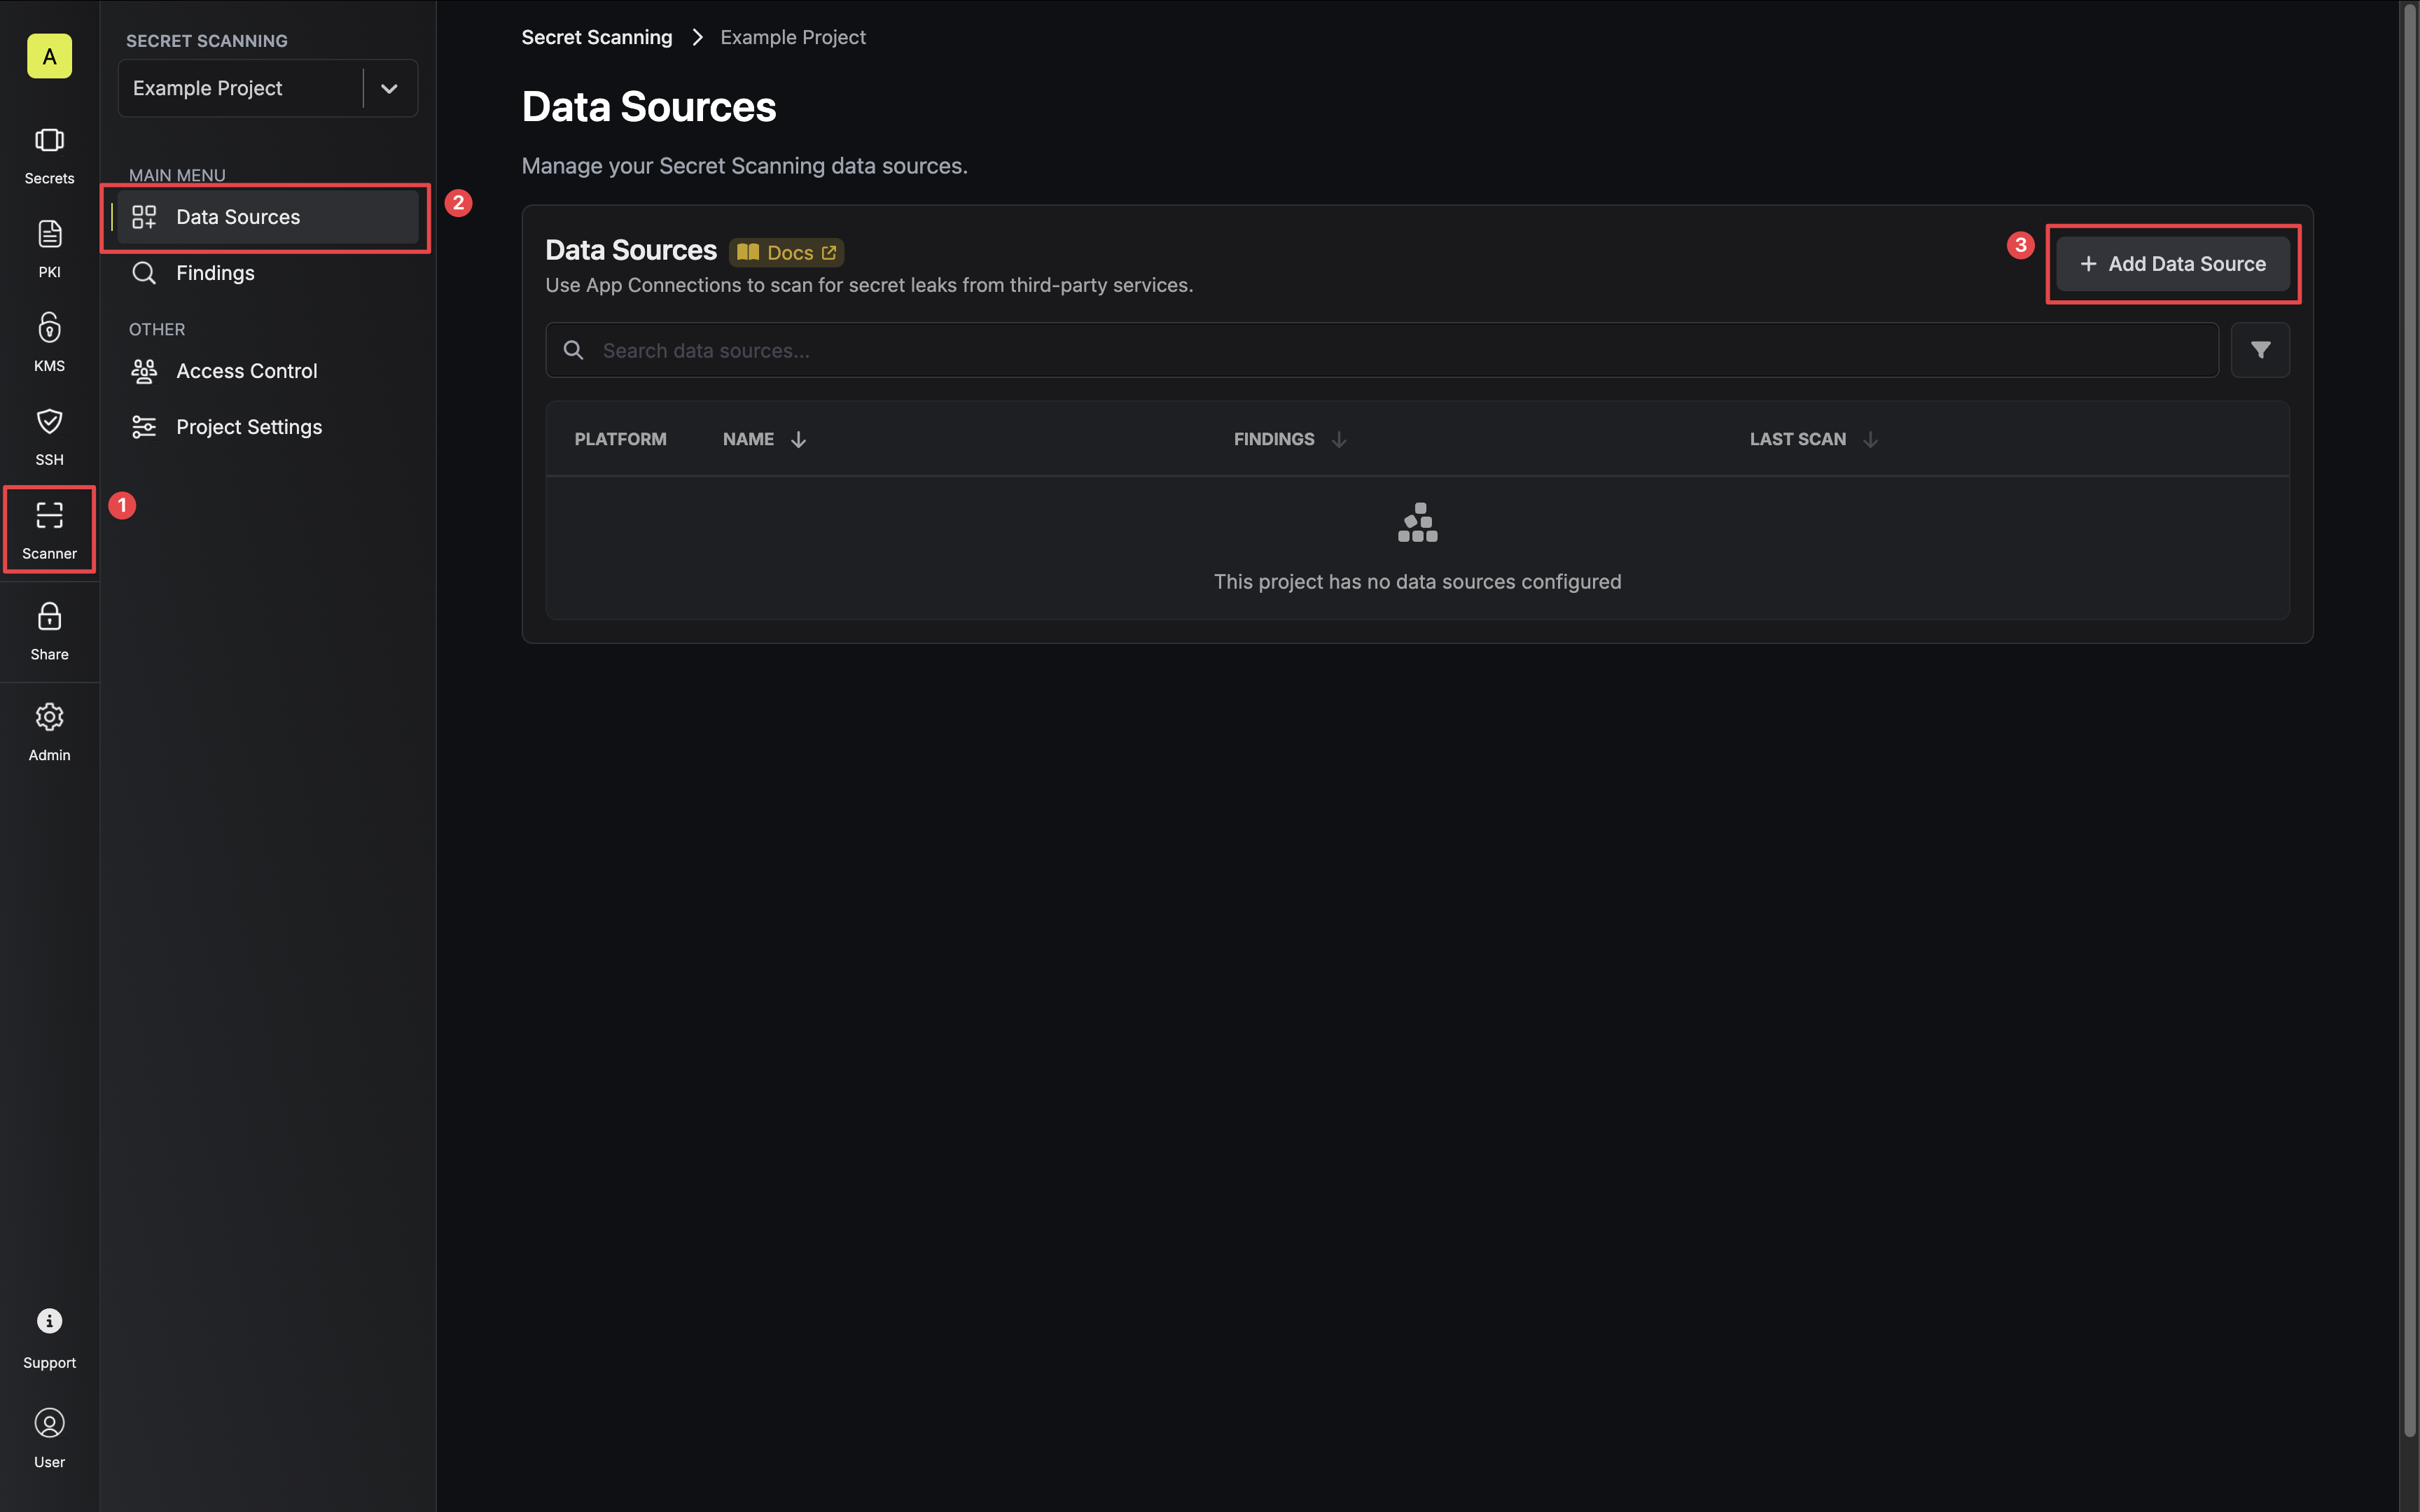
Navigate to your Secret Scanning Project’s Dashboard and click the Add Data Source button.
-
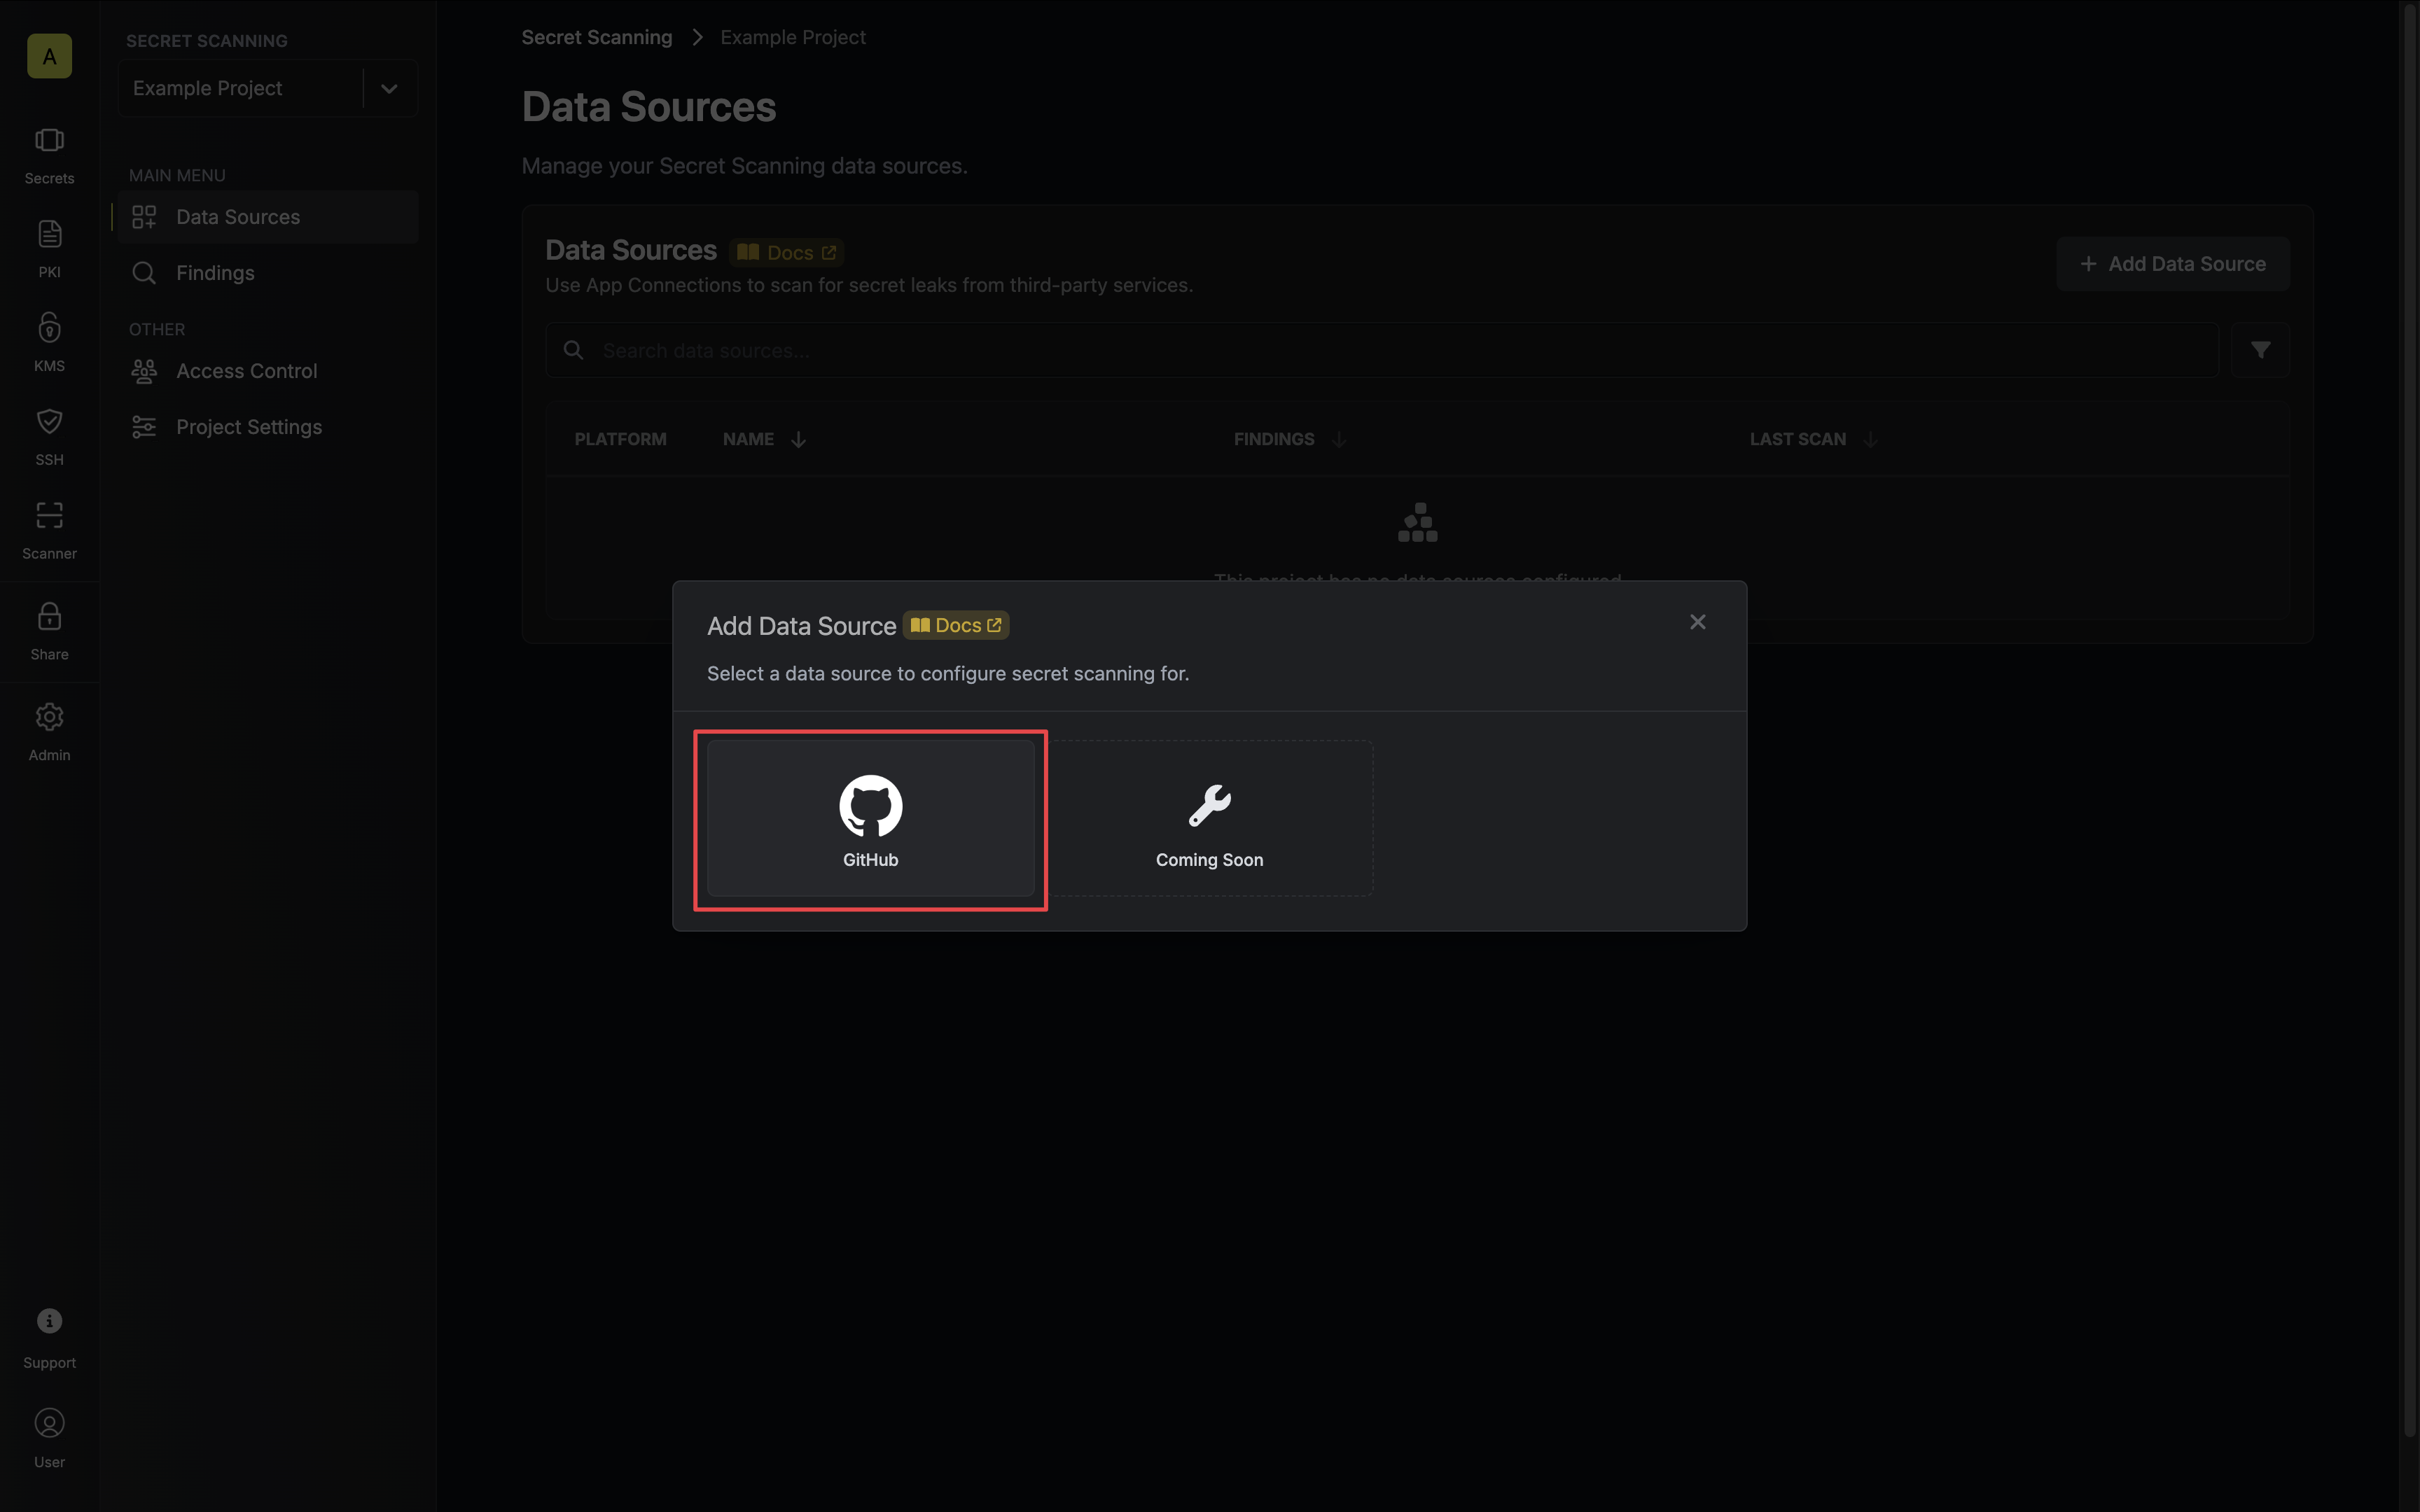
Select the GitHub option.
-
Select the GitHub Radar Connection to use and configure which repositories you would like to scan. Then click Next.
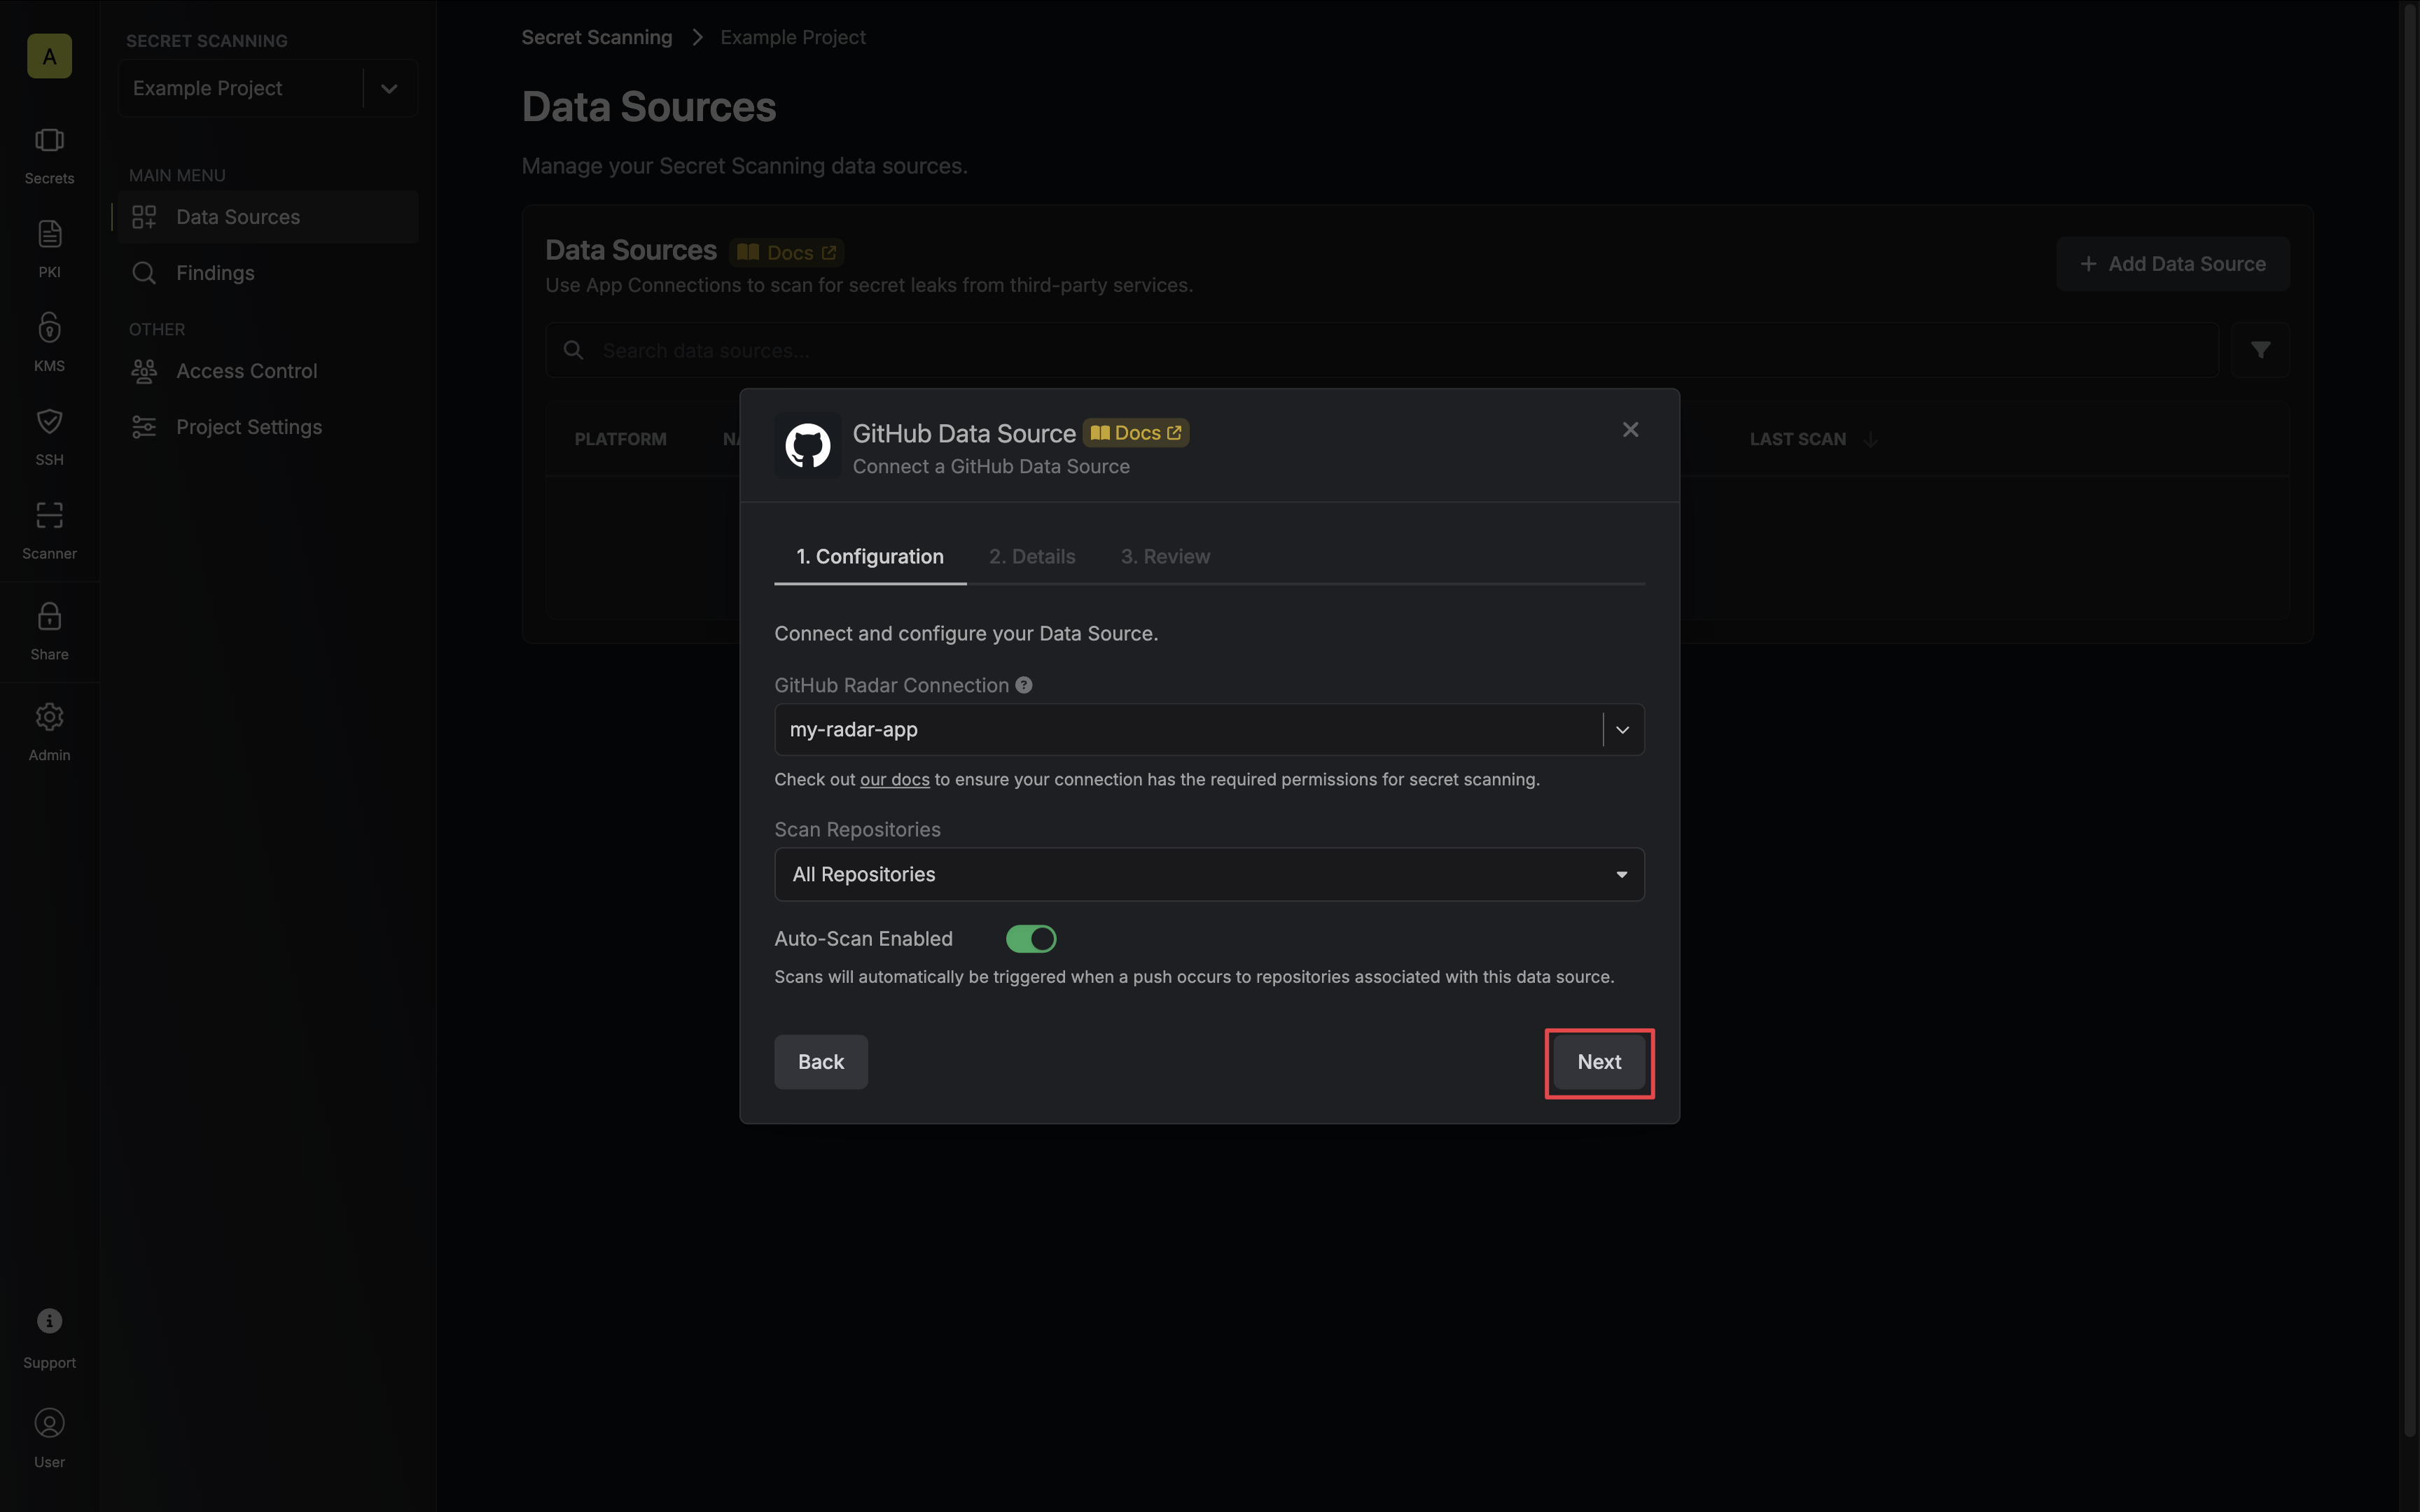
- GitHub Radar Connection - the connection that has access to the repositories you want to scan.
- Scan Repositories - select which repositories you would like to scan.
- All Repositories - Infisical will scan all repositories associated with your connection.
- Select Repositories - Infisical will scan the selected repositories.
- Auto-Scan Enabled - whether Infisical should automatically perform a scan when a push is made to configured repositories.
-
Give your data source a name and description (optional). Then click Next.
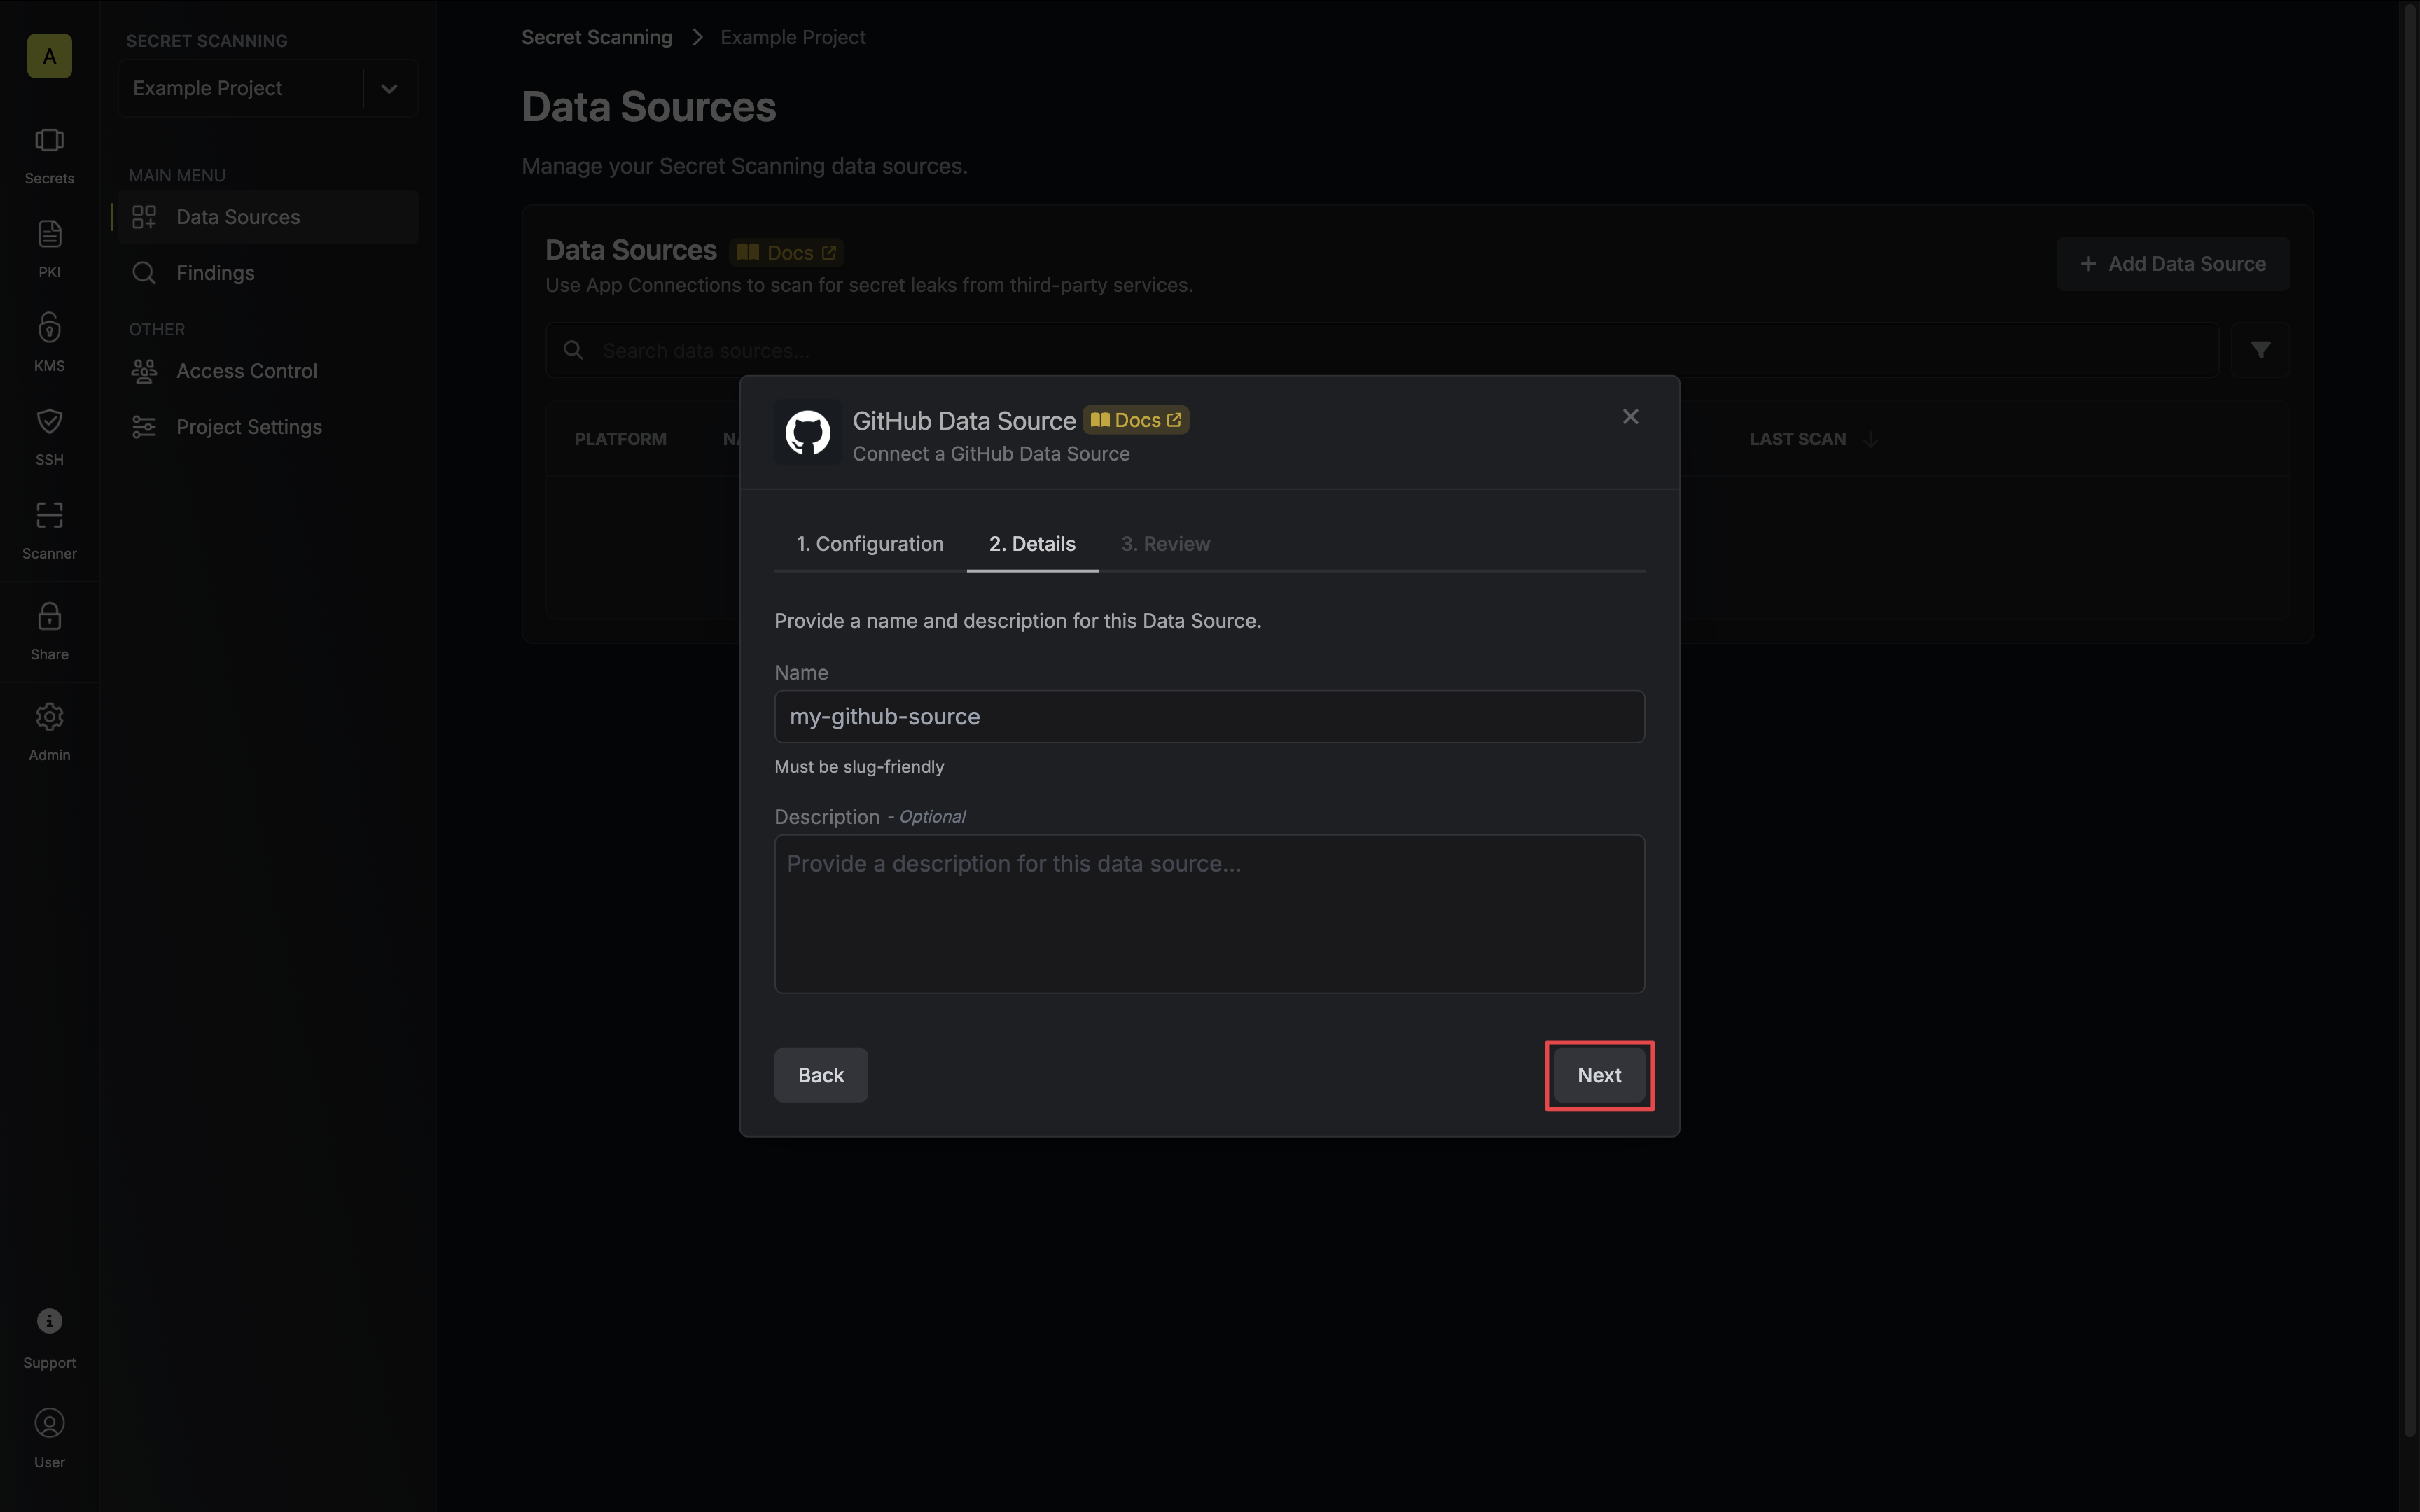
- Name - the name of the data source. Must be slug-friendly.
- Description (optional) - a description of this data source.
-
Review your data source, then click Create Data Source.

-
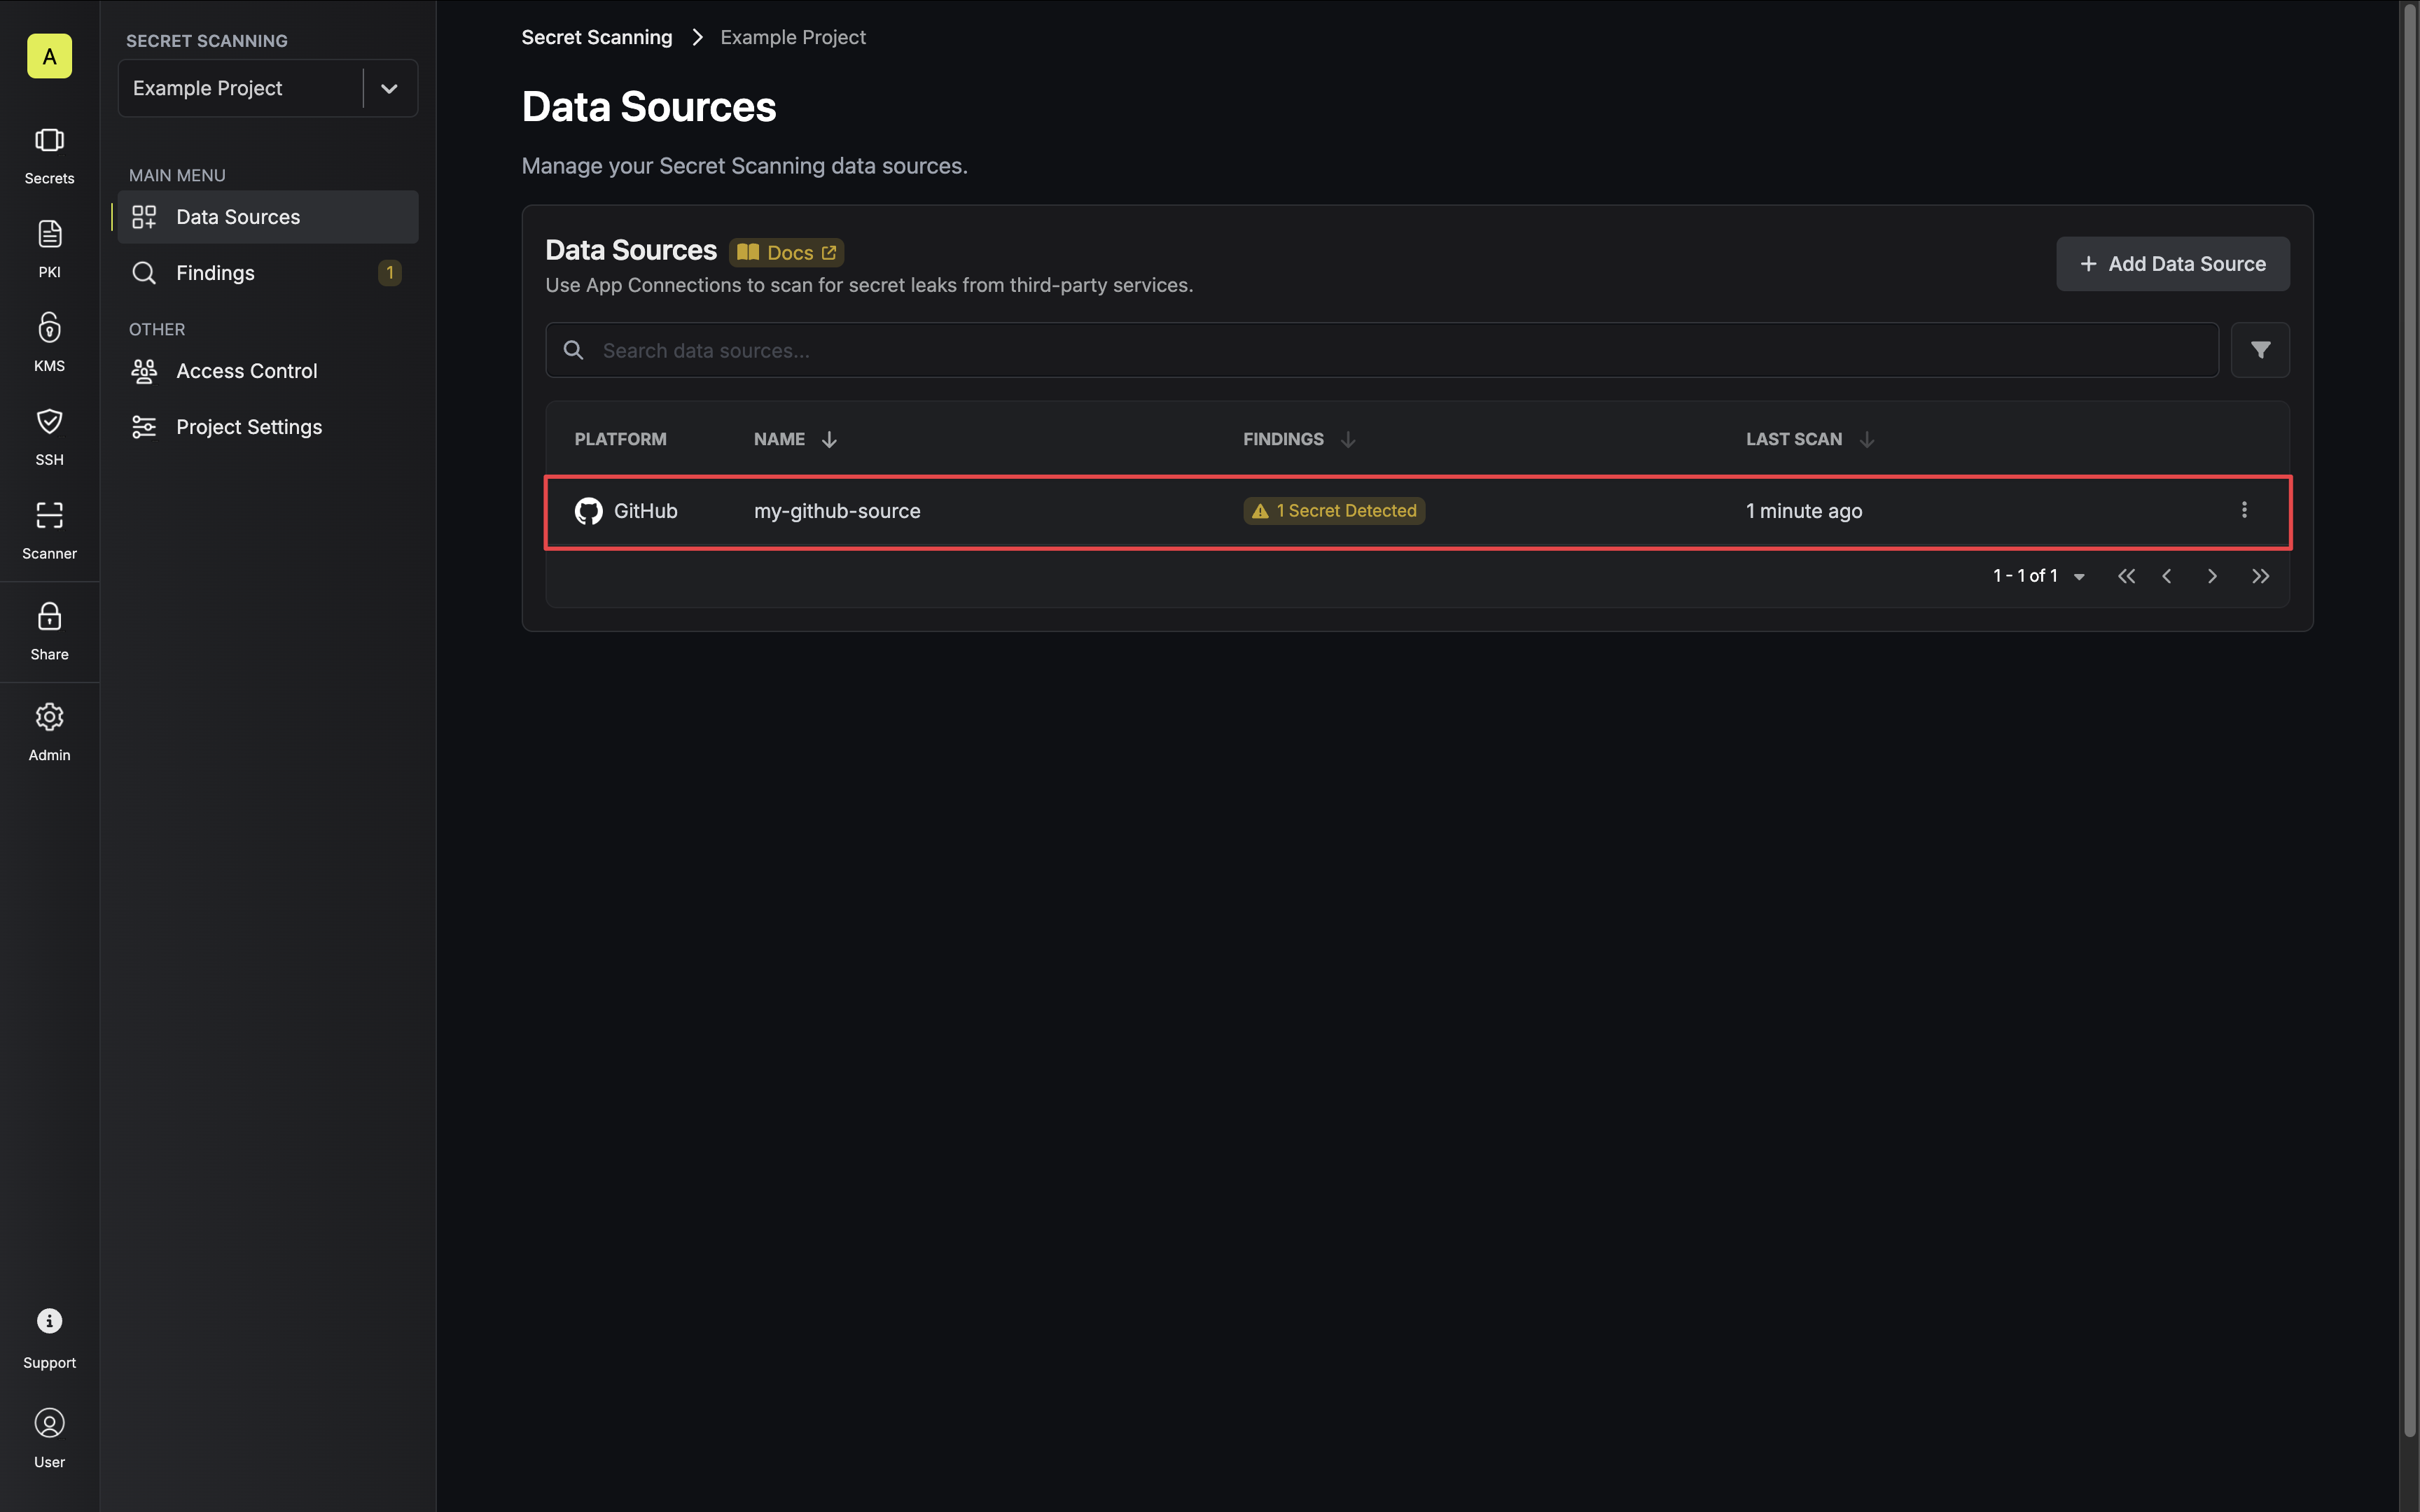
Your GitHub Data Source is now available and will begin a full scan if Auto-Scan is enabled.
-
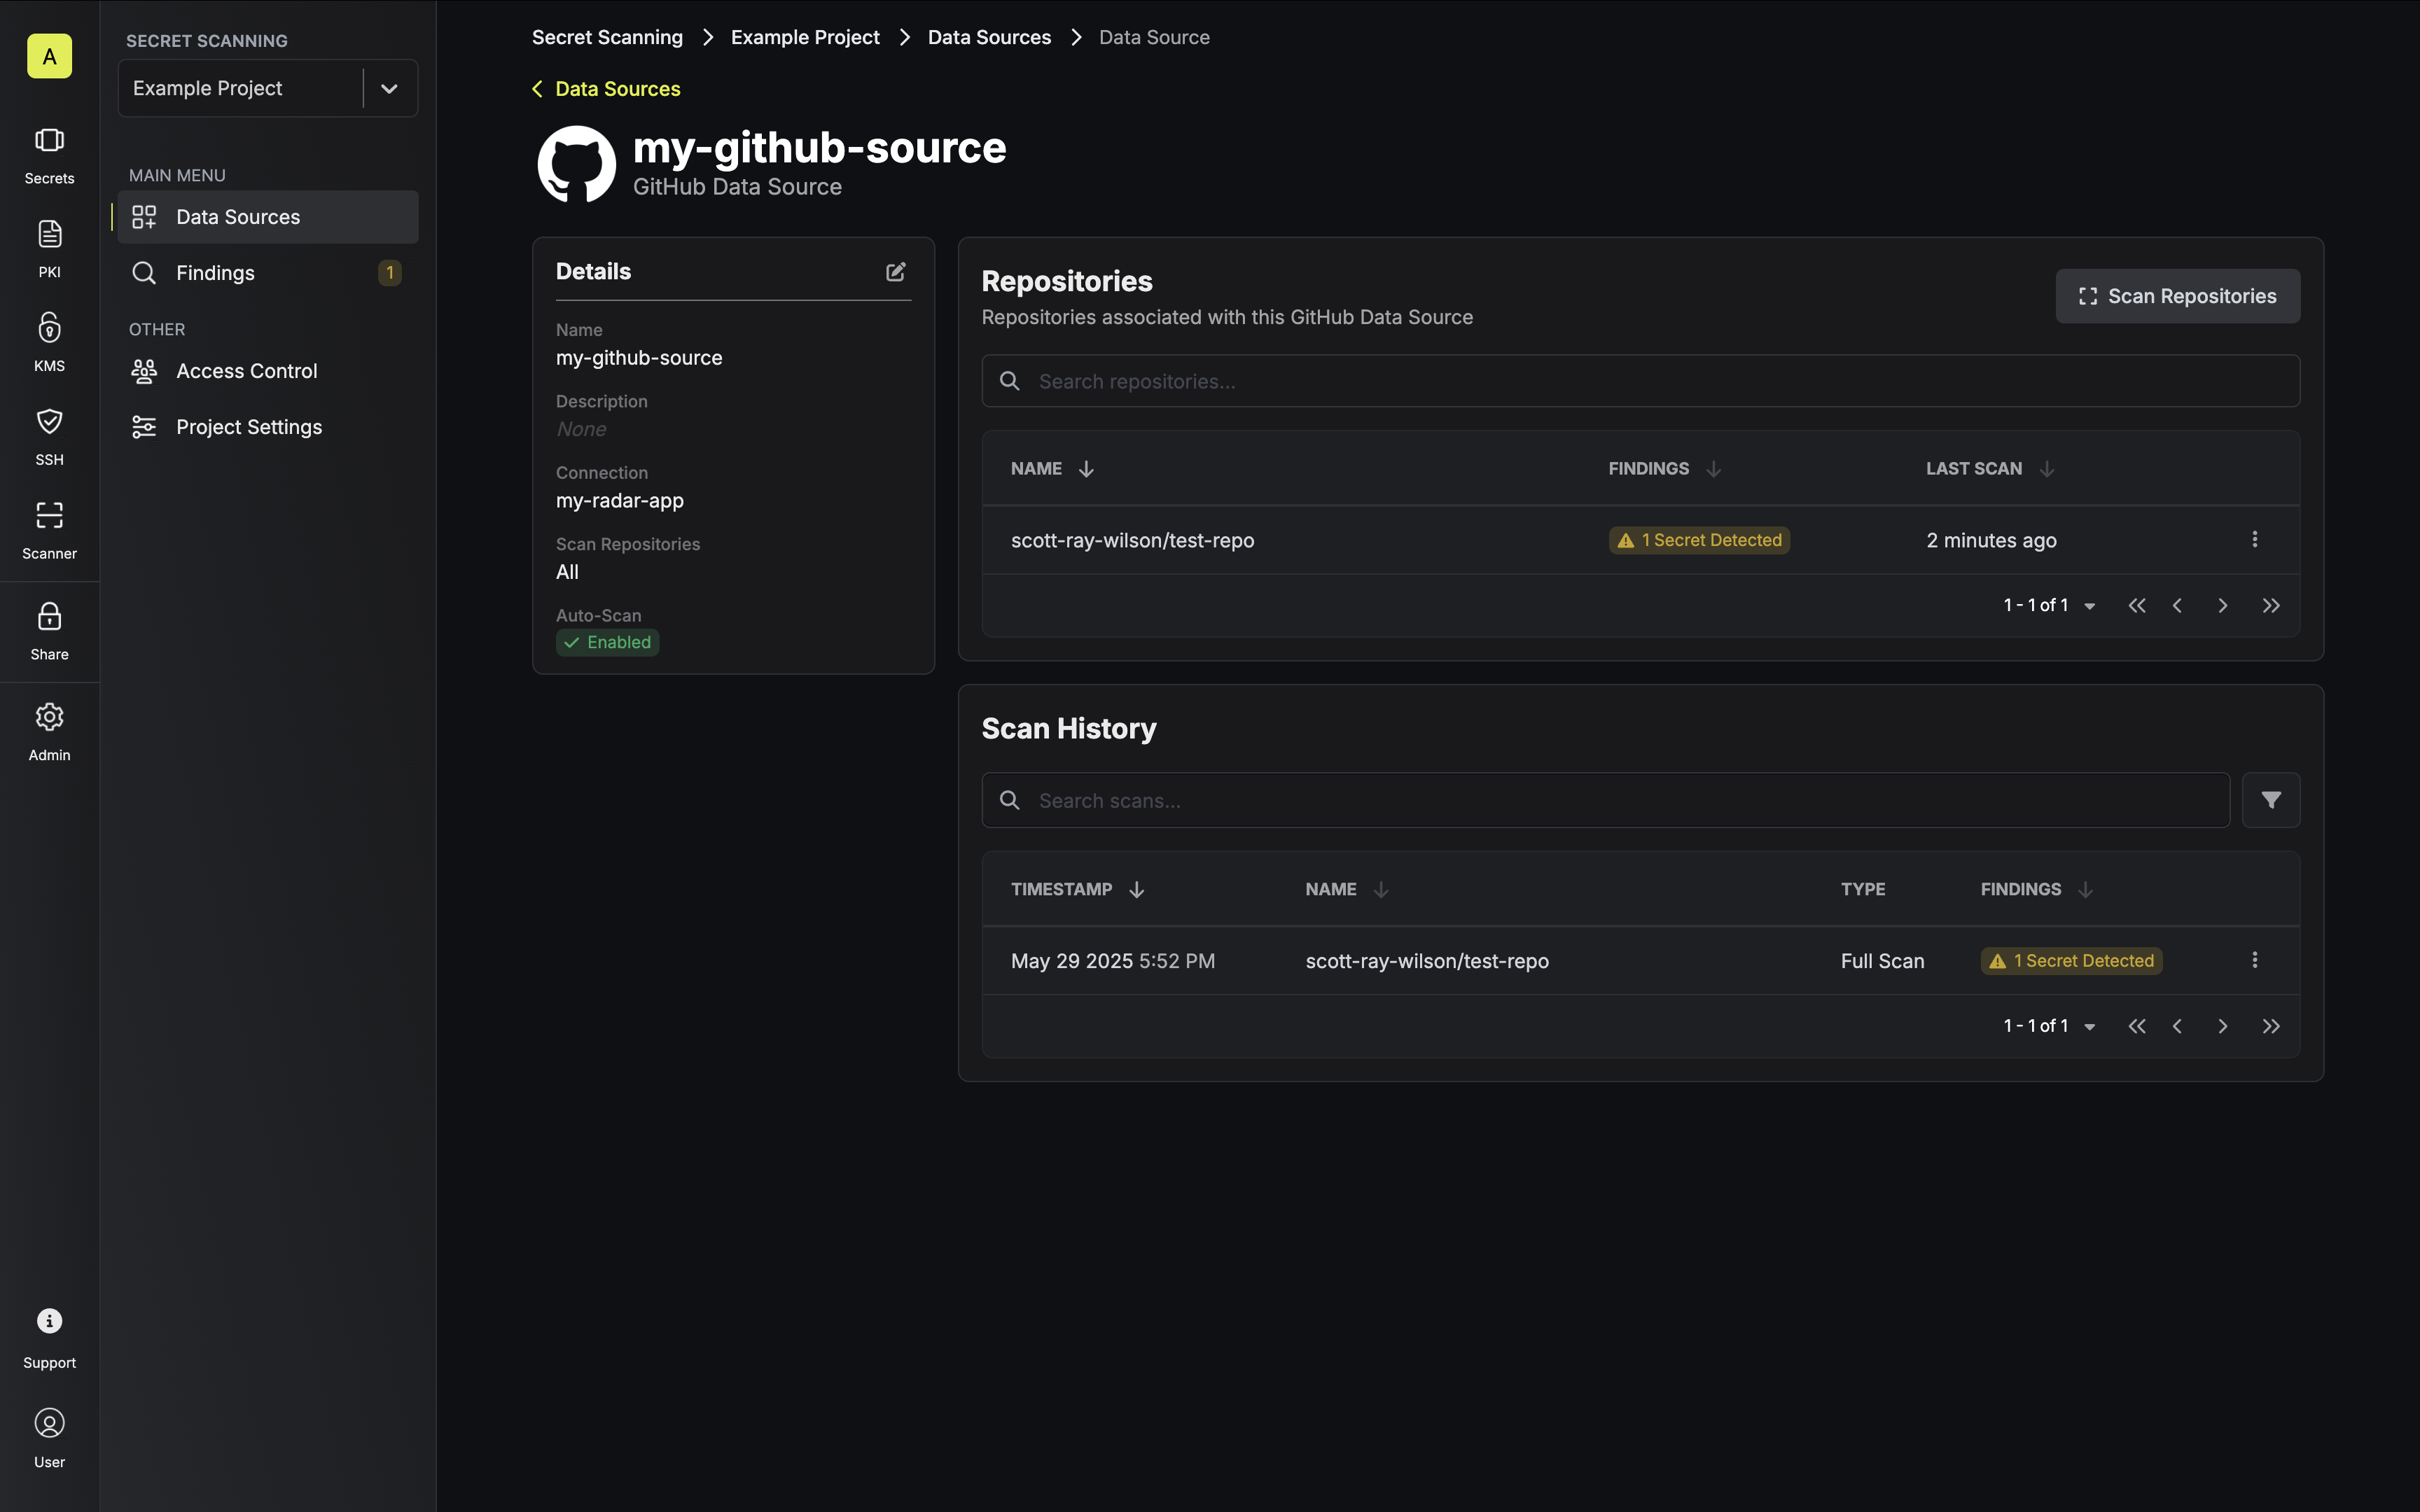
You can view repositories and scan results by clicking on your data source.
-
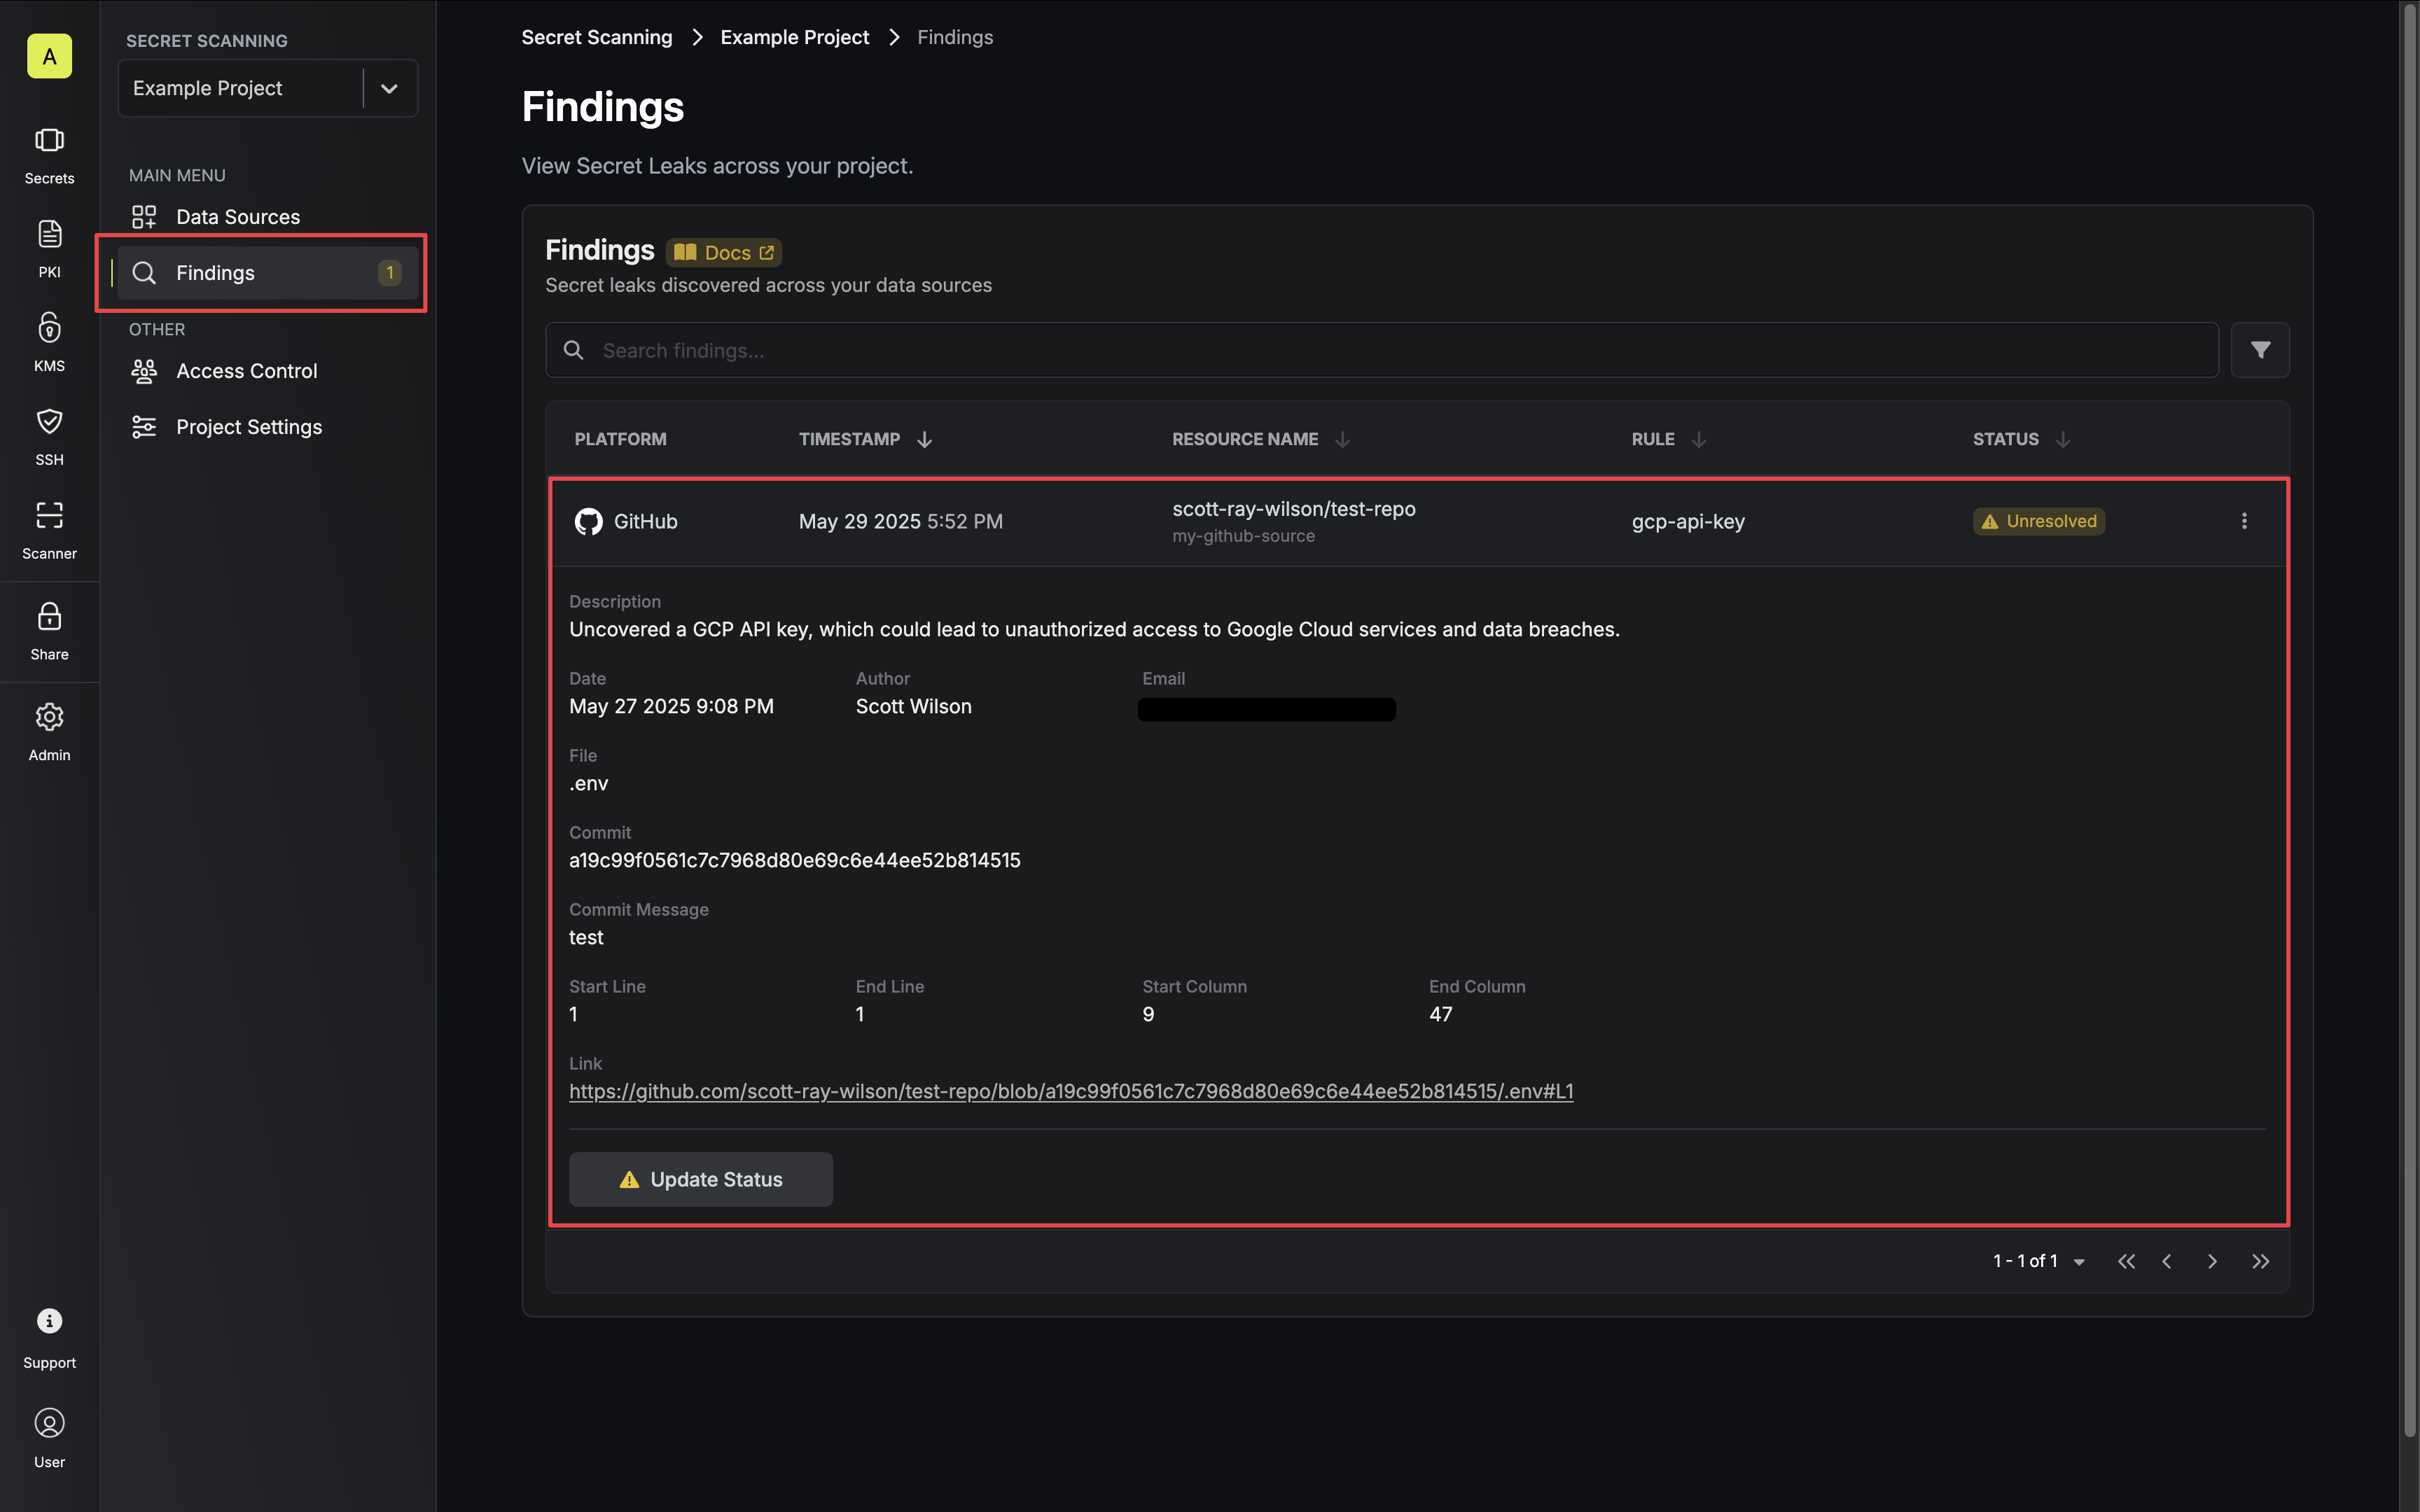
In addition, you can review any findings from the Findings Page.