

External storage is a paid feature.If you’re using Infisical Cloud, it’s available under the Enterprise Tier. If you’re self-hosting Infisical, contact [email protected] to purchase an enterprise license to use it.
Prerequisites
- The Admin role in your Agent Vault project
- An Amazon S3 bucket to store the records in
- Permission in AWS to edit the bucket’s CORS configuration, create IAM roles, and attach policies to them
Step 1: Start in Infisical
1
In your Agent Vault project, go to Administration > Settings > Session Logs and select Configure or Set Up Session Logs.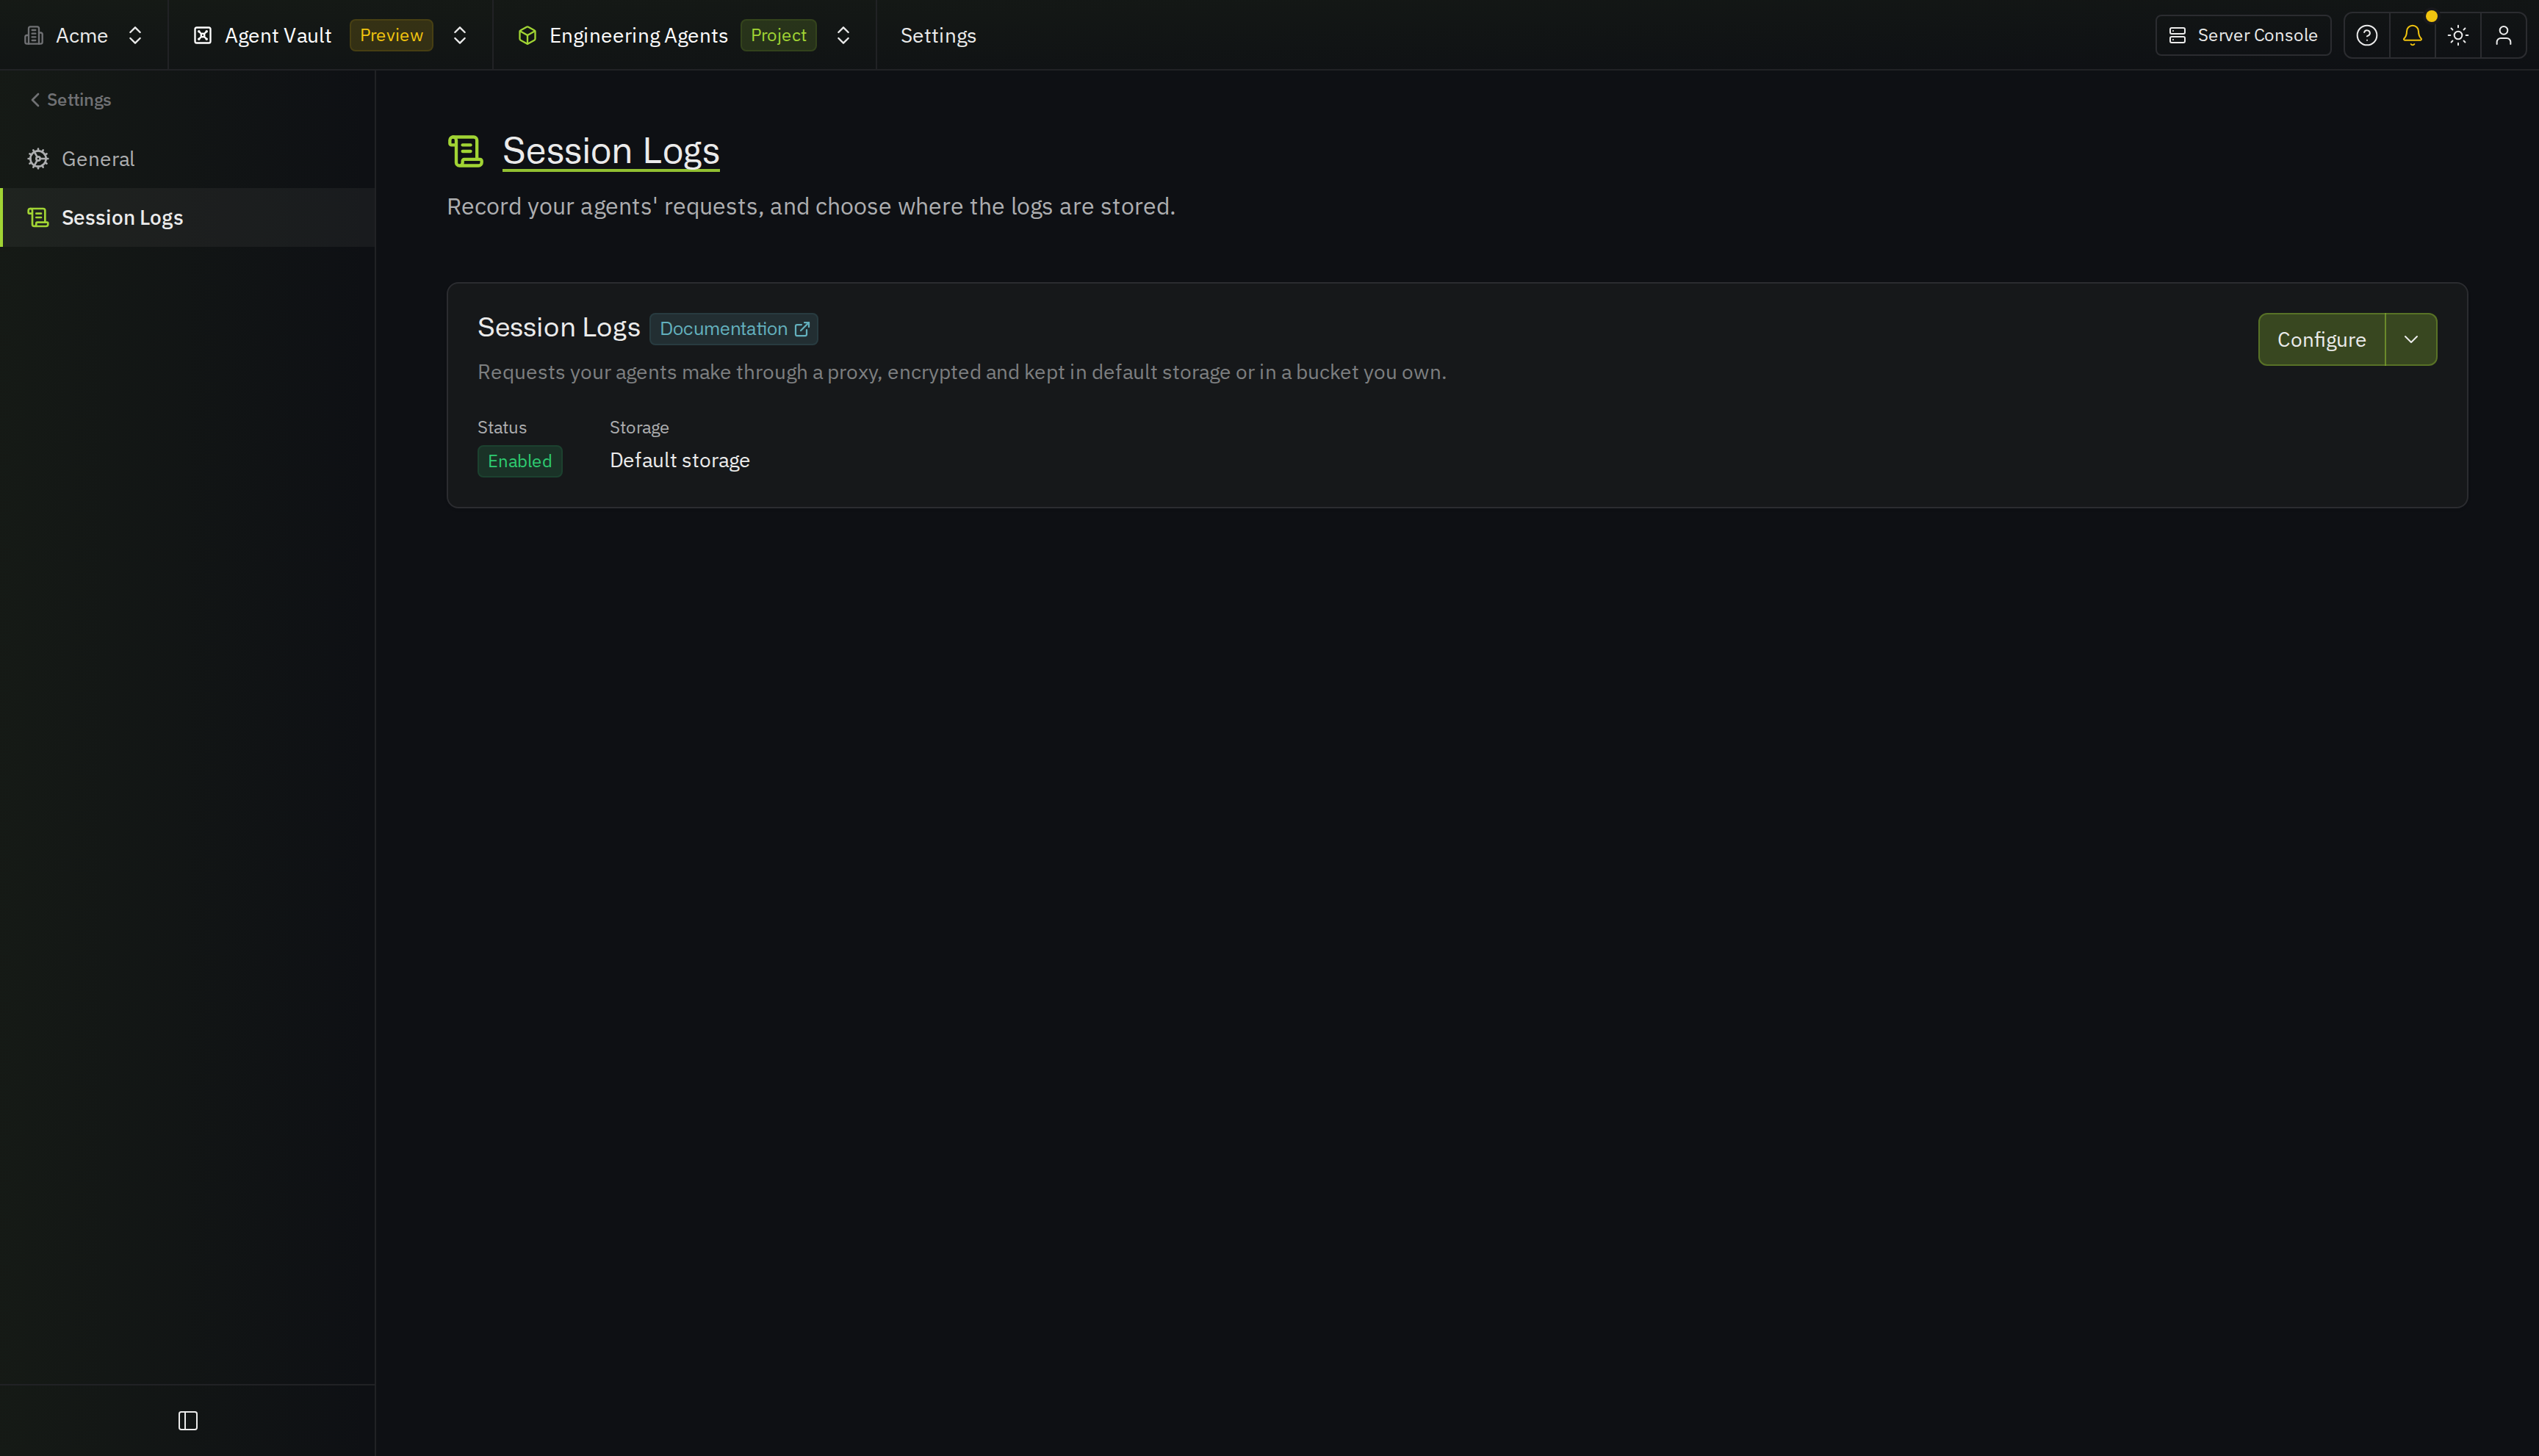
2
Turn on Enable, then under Storage, select External storage.
3
Enter the Region and Bucket of your S3 bucket.
4
Optionally, enter a Key Prefix to store session logs under one path in a bucket you also use for other data.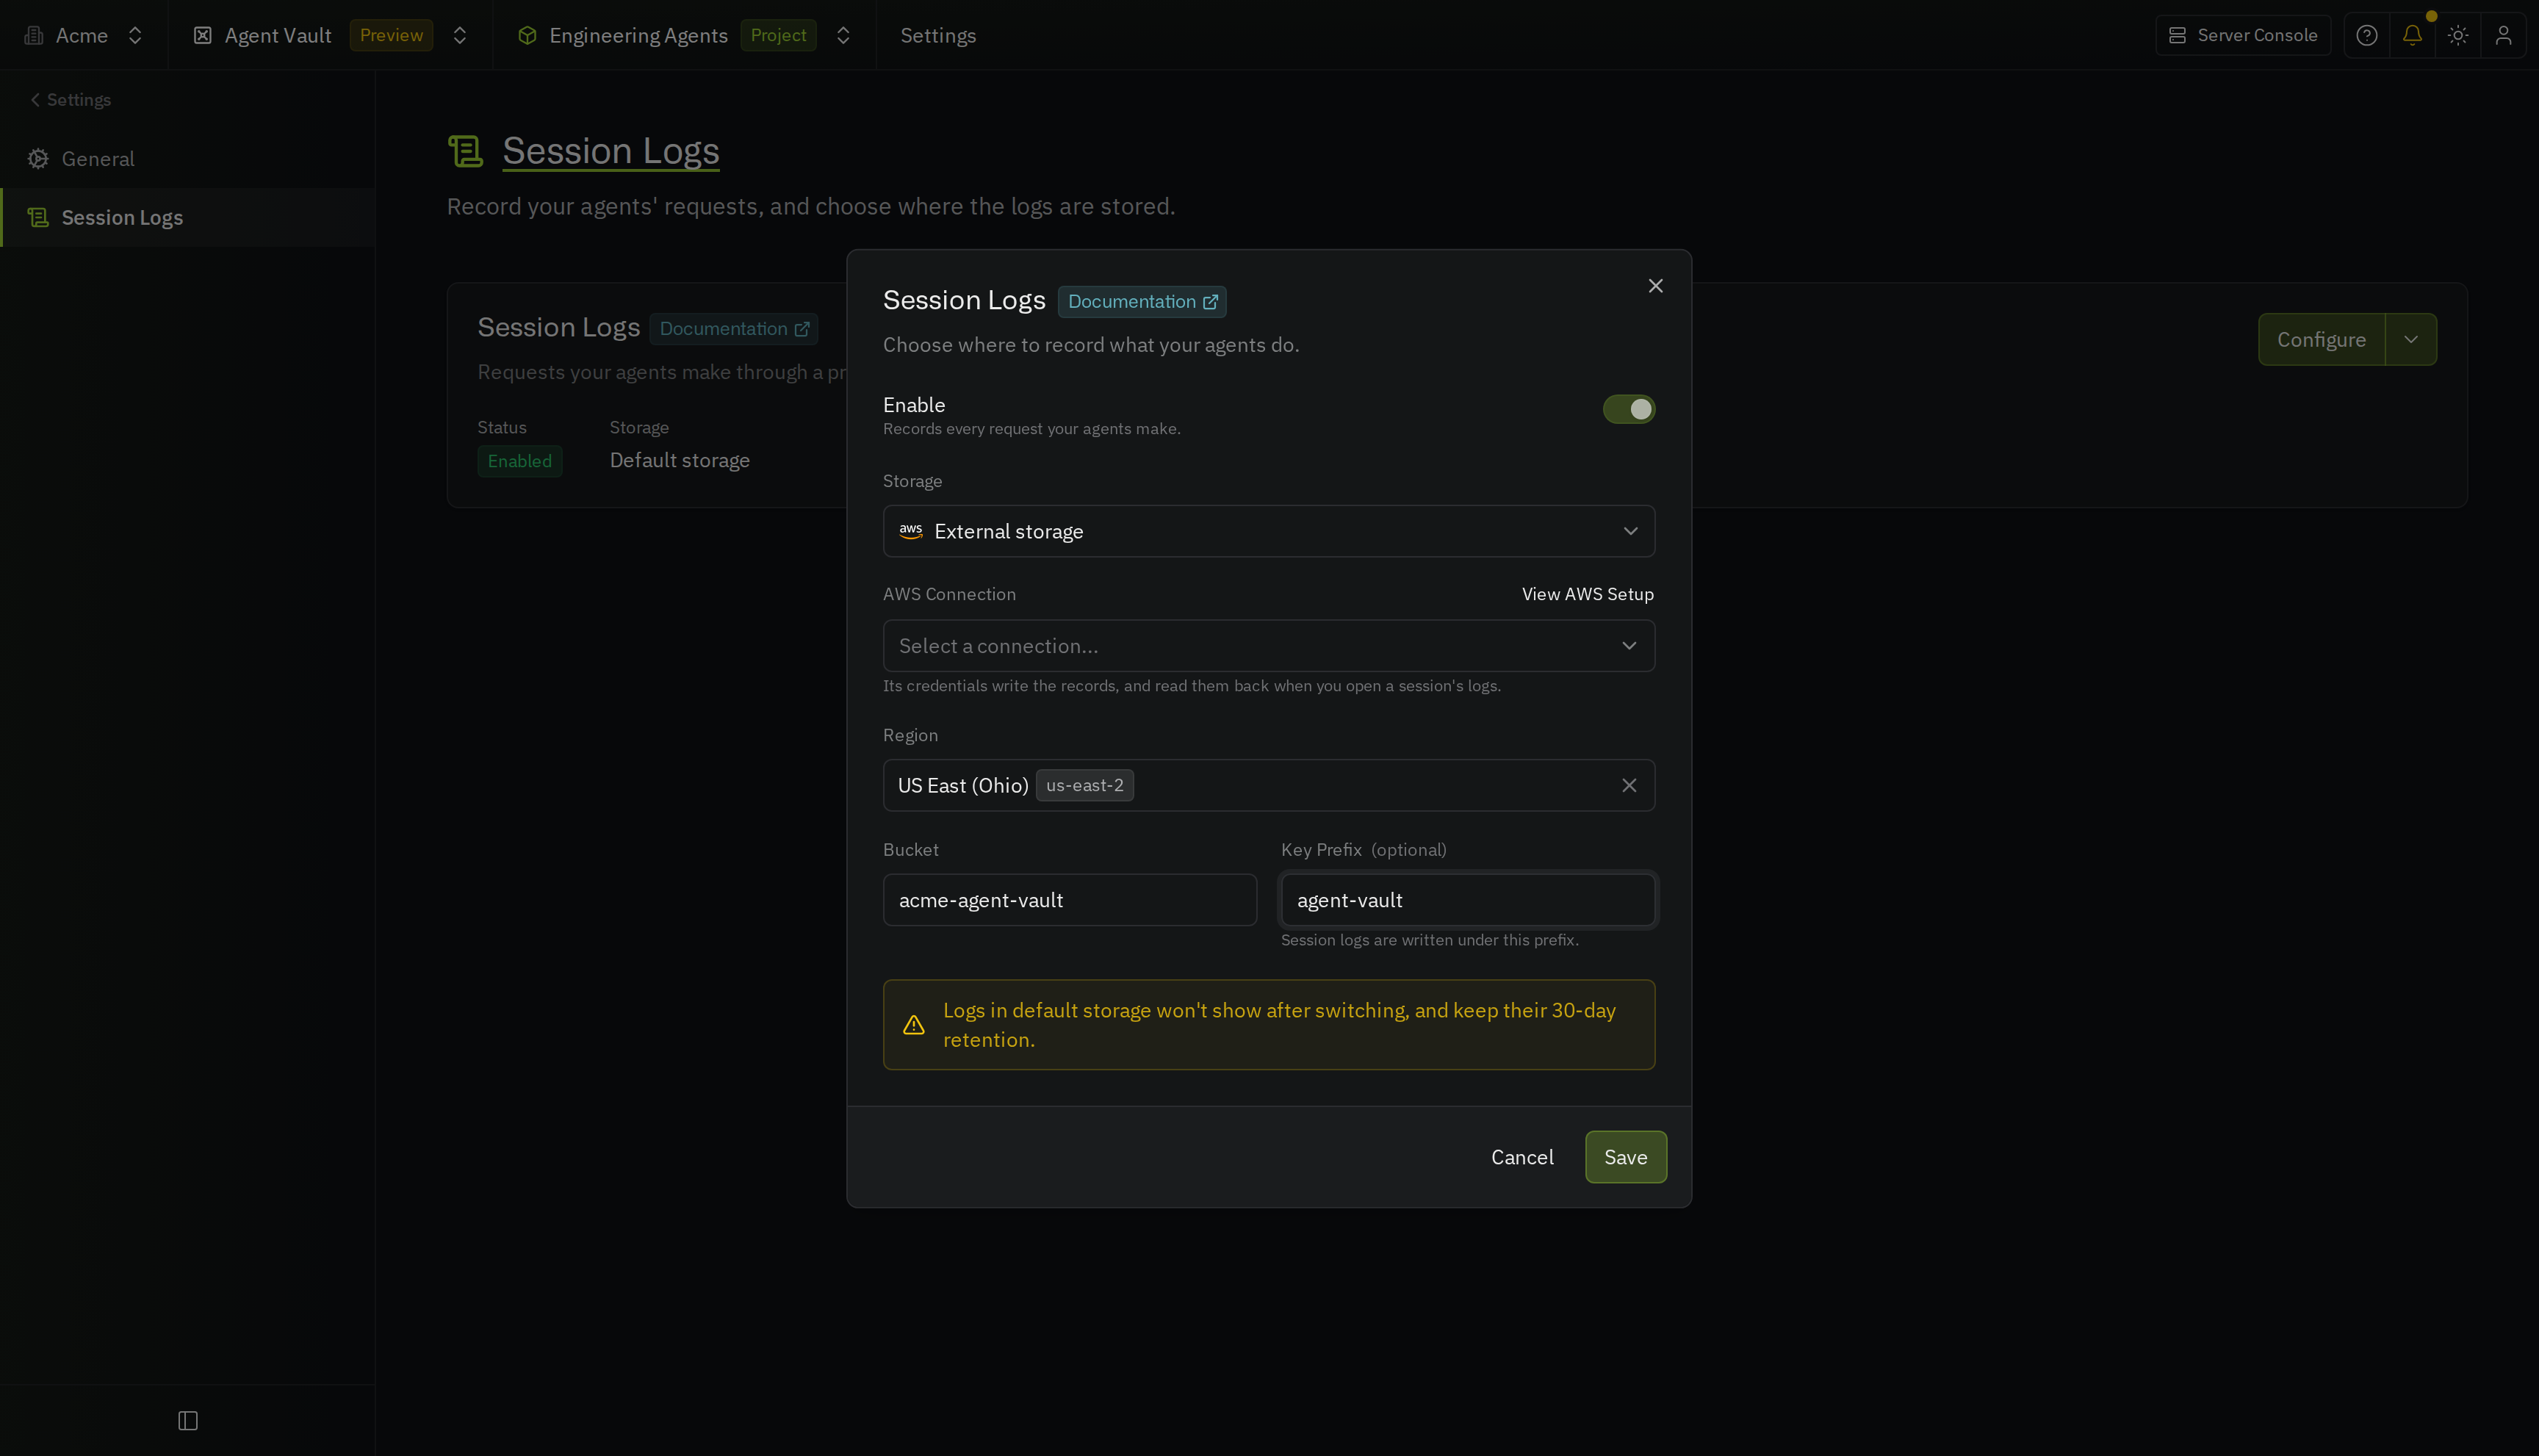
5
Select View AWS Setup. Infisical shows an IAM policy with your bucket and key prefix already filled in, so you can paste it into AWS as it is.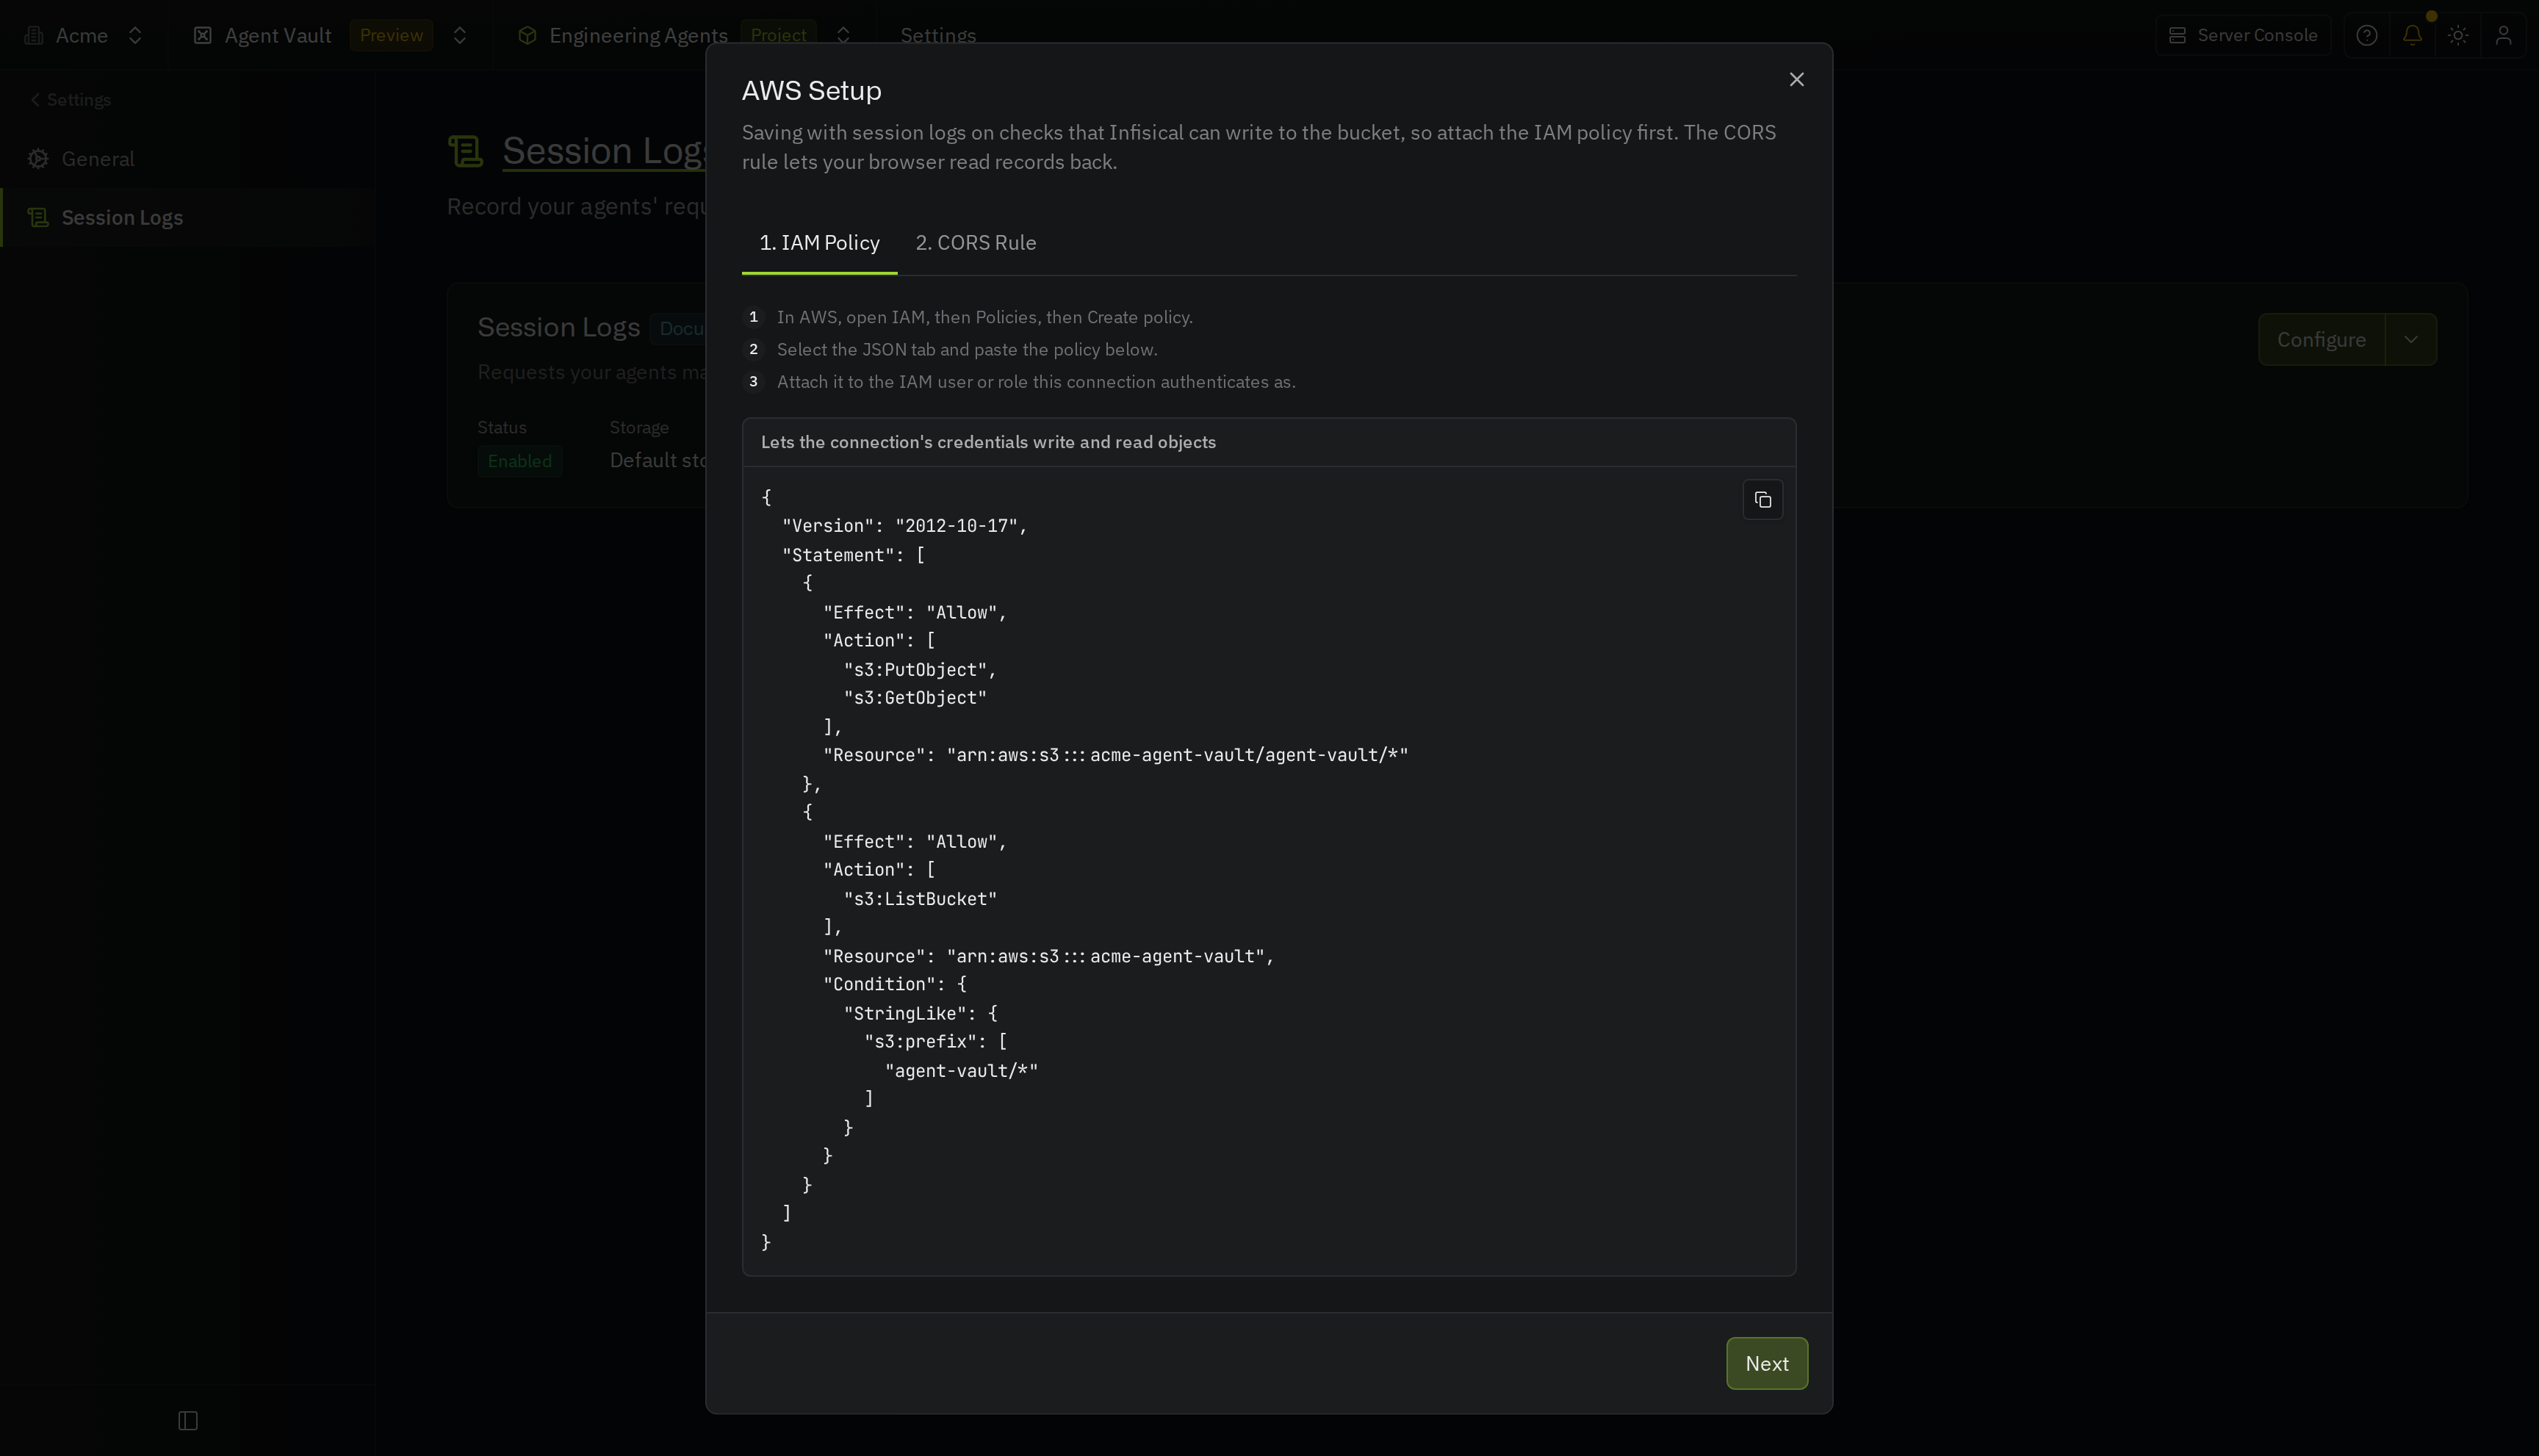
Step 2: Set up in AWS
Add a CORS rule to the bucket
Your browser downloads session logs directly from your bucket, so the bucket has to accept requests from Infisical. Add a CORS rule for Infisical to the bucket.1
In the Amazon S3 console, open the session logs bucket, go to Permissions, and select Edit under Cross-origin resource sharing (CORS).
2
Paste this rule, then select Save changes. If the bucket already has CORS rules, add this rule’s object to the existing array instead of replacing it, so other applications that use the bucket keep working:If you self-host Infisical or use a dedicated instance, replace
AllowedOrigins with your instance’s URL.Create an IAM role for Infisical
If you already have an AWS app connection you want to use, skip to Attach the IAM policy.
If you self-host Infisical
If you self-host Infisical
To assume a role, your Infisical instance needs AWS credentials of its own.If your instance runs on AWS (for example on EC2, ECS, or EKS), leave When you create the role’s trust policy, enter the AWS account ID of this IAM user or instance role, not an Infisical Cloud account ID.
INF_APP_CONNECTION_AWS_ACCESS_KEY_ID and INF_APP_CONNECTION_AWS_SECRET_ACCESS_KEY unset. Infisical then uses the credentials of the instance profile, task role, or IAM role for service accounts (IRSA), and that role needs the sts:AssumeRole policy below.If your instance doesn’t run on AWS, give it an IAM user:1
In the IAM console, create an IAM user for your Infisical instance.
2
Attach this inline policy to the user, so it can assume the roles your connections use:
3
Open the user’s Security credentials tab and create an access key.


4
Set the access key ID as
INF_APP_CONNECTION_AWS_ACCESS_KEY_ID and the secret access key as INF_APP_CONNECTION_AWS_SECRET_ACCESS_KEY in your instance’s environment, then restart the instance.1
In the IAM console, go to Create role. Under Trusted entity type, select AWS account.
2
Select Another AWS account, and enter the AWS account ID that Infisical assumes the role from:
- Infisical Cloud (US):
381492033652 - Infisical Cloud (EU):
345594589636 - Dedicated instance: contact Infisical support for your account ID
- Self-hosted: the account ID of your instance’s credentials (see If you self-host Infisical)
3
Select Next to go to the Add permissions page. Then, select Next again without choosing a policy. You’ll add the permissions as an inline policy after the role exists.
4
Enter a Role name that includes Infisical and what the connection is for, such as
infisical-payments-prod, then select Create role. CloudTrail logs every action Infisical takes under this role’s name, so a descriptive name shows anyone reading the logs where those actions came from.Attach the IAM policy
Attach the IAM policy from Step 1 to the IAM role, or to the role or user your existing connection signs in as.1
In the IAM console, open the role or user. On the Permissions tab, select Add permissions > Create inline policy, switch to the JSON editor, and paste the policy.
2
Select Next, enter a Policy name, then select Create policy.
3
If you created a new role, copy its ARN from the Summary section.
Step 3: Finish in Infisical
Go back to the Session Logs dialog.1
Under AWS Connection, select Create New Connection.
If you already have an AWS app connection you want to use, select it here instead. Then, select Save and skip the remaining steps.
2
Enter a Name, keep the Assume Role (Recommended) method, paste the role’s ARN into Role ARN, and select Connect to AWS. Infisical creates the connection in your Agent Vault project and selects it.
3
Select Save.
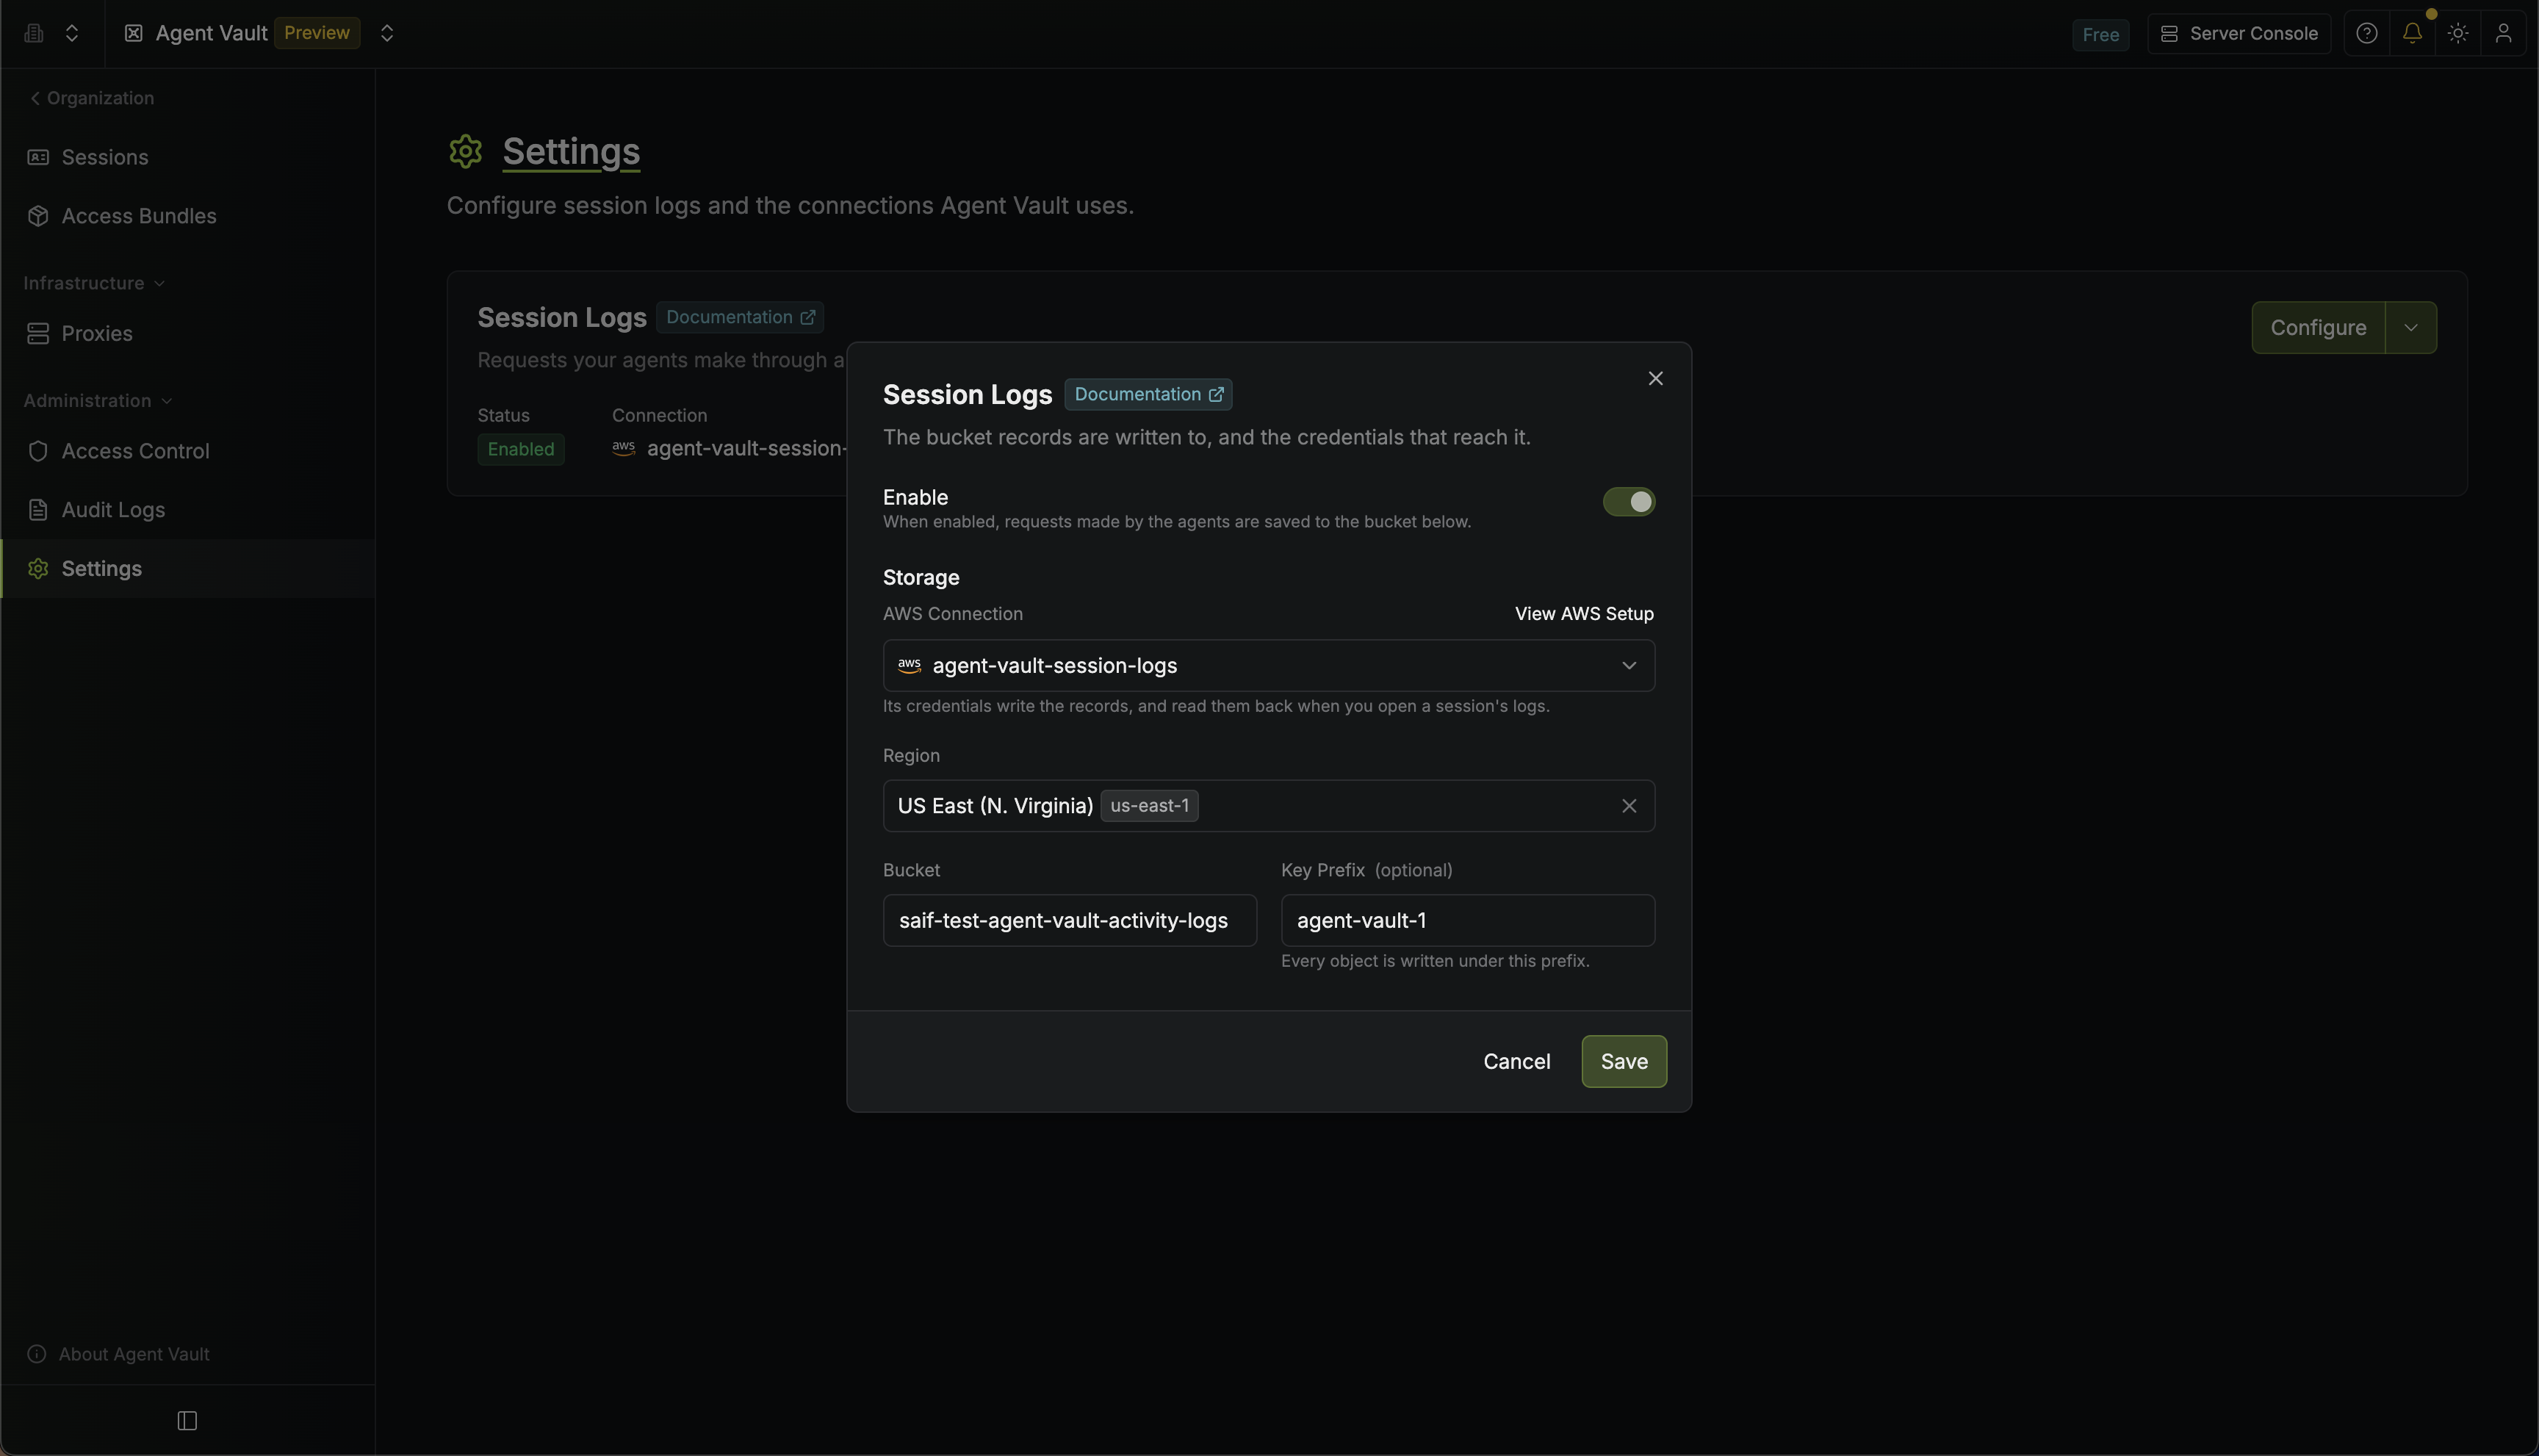
You’ve successfully set up external storage for session logs.
Connections
If you use external storage, session logs use one AWS connection at a time, which you select in the Session Logs dialog. To update the connection’s AWS credentials, open the menu next to Configure on the Session Logs card and select Edit AWS Credentials. If the connection belongs to your organization, update its credentials under Integrations in your organization instead. To add or delete the project’s AWS connections, select Manage Connections from the same menu: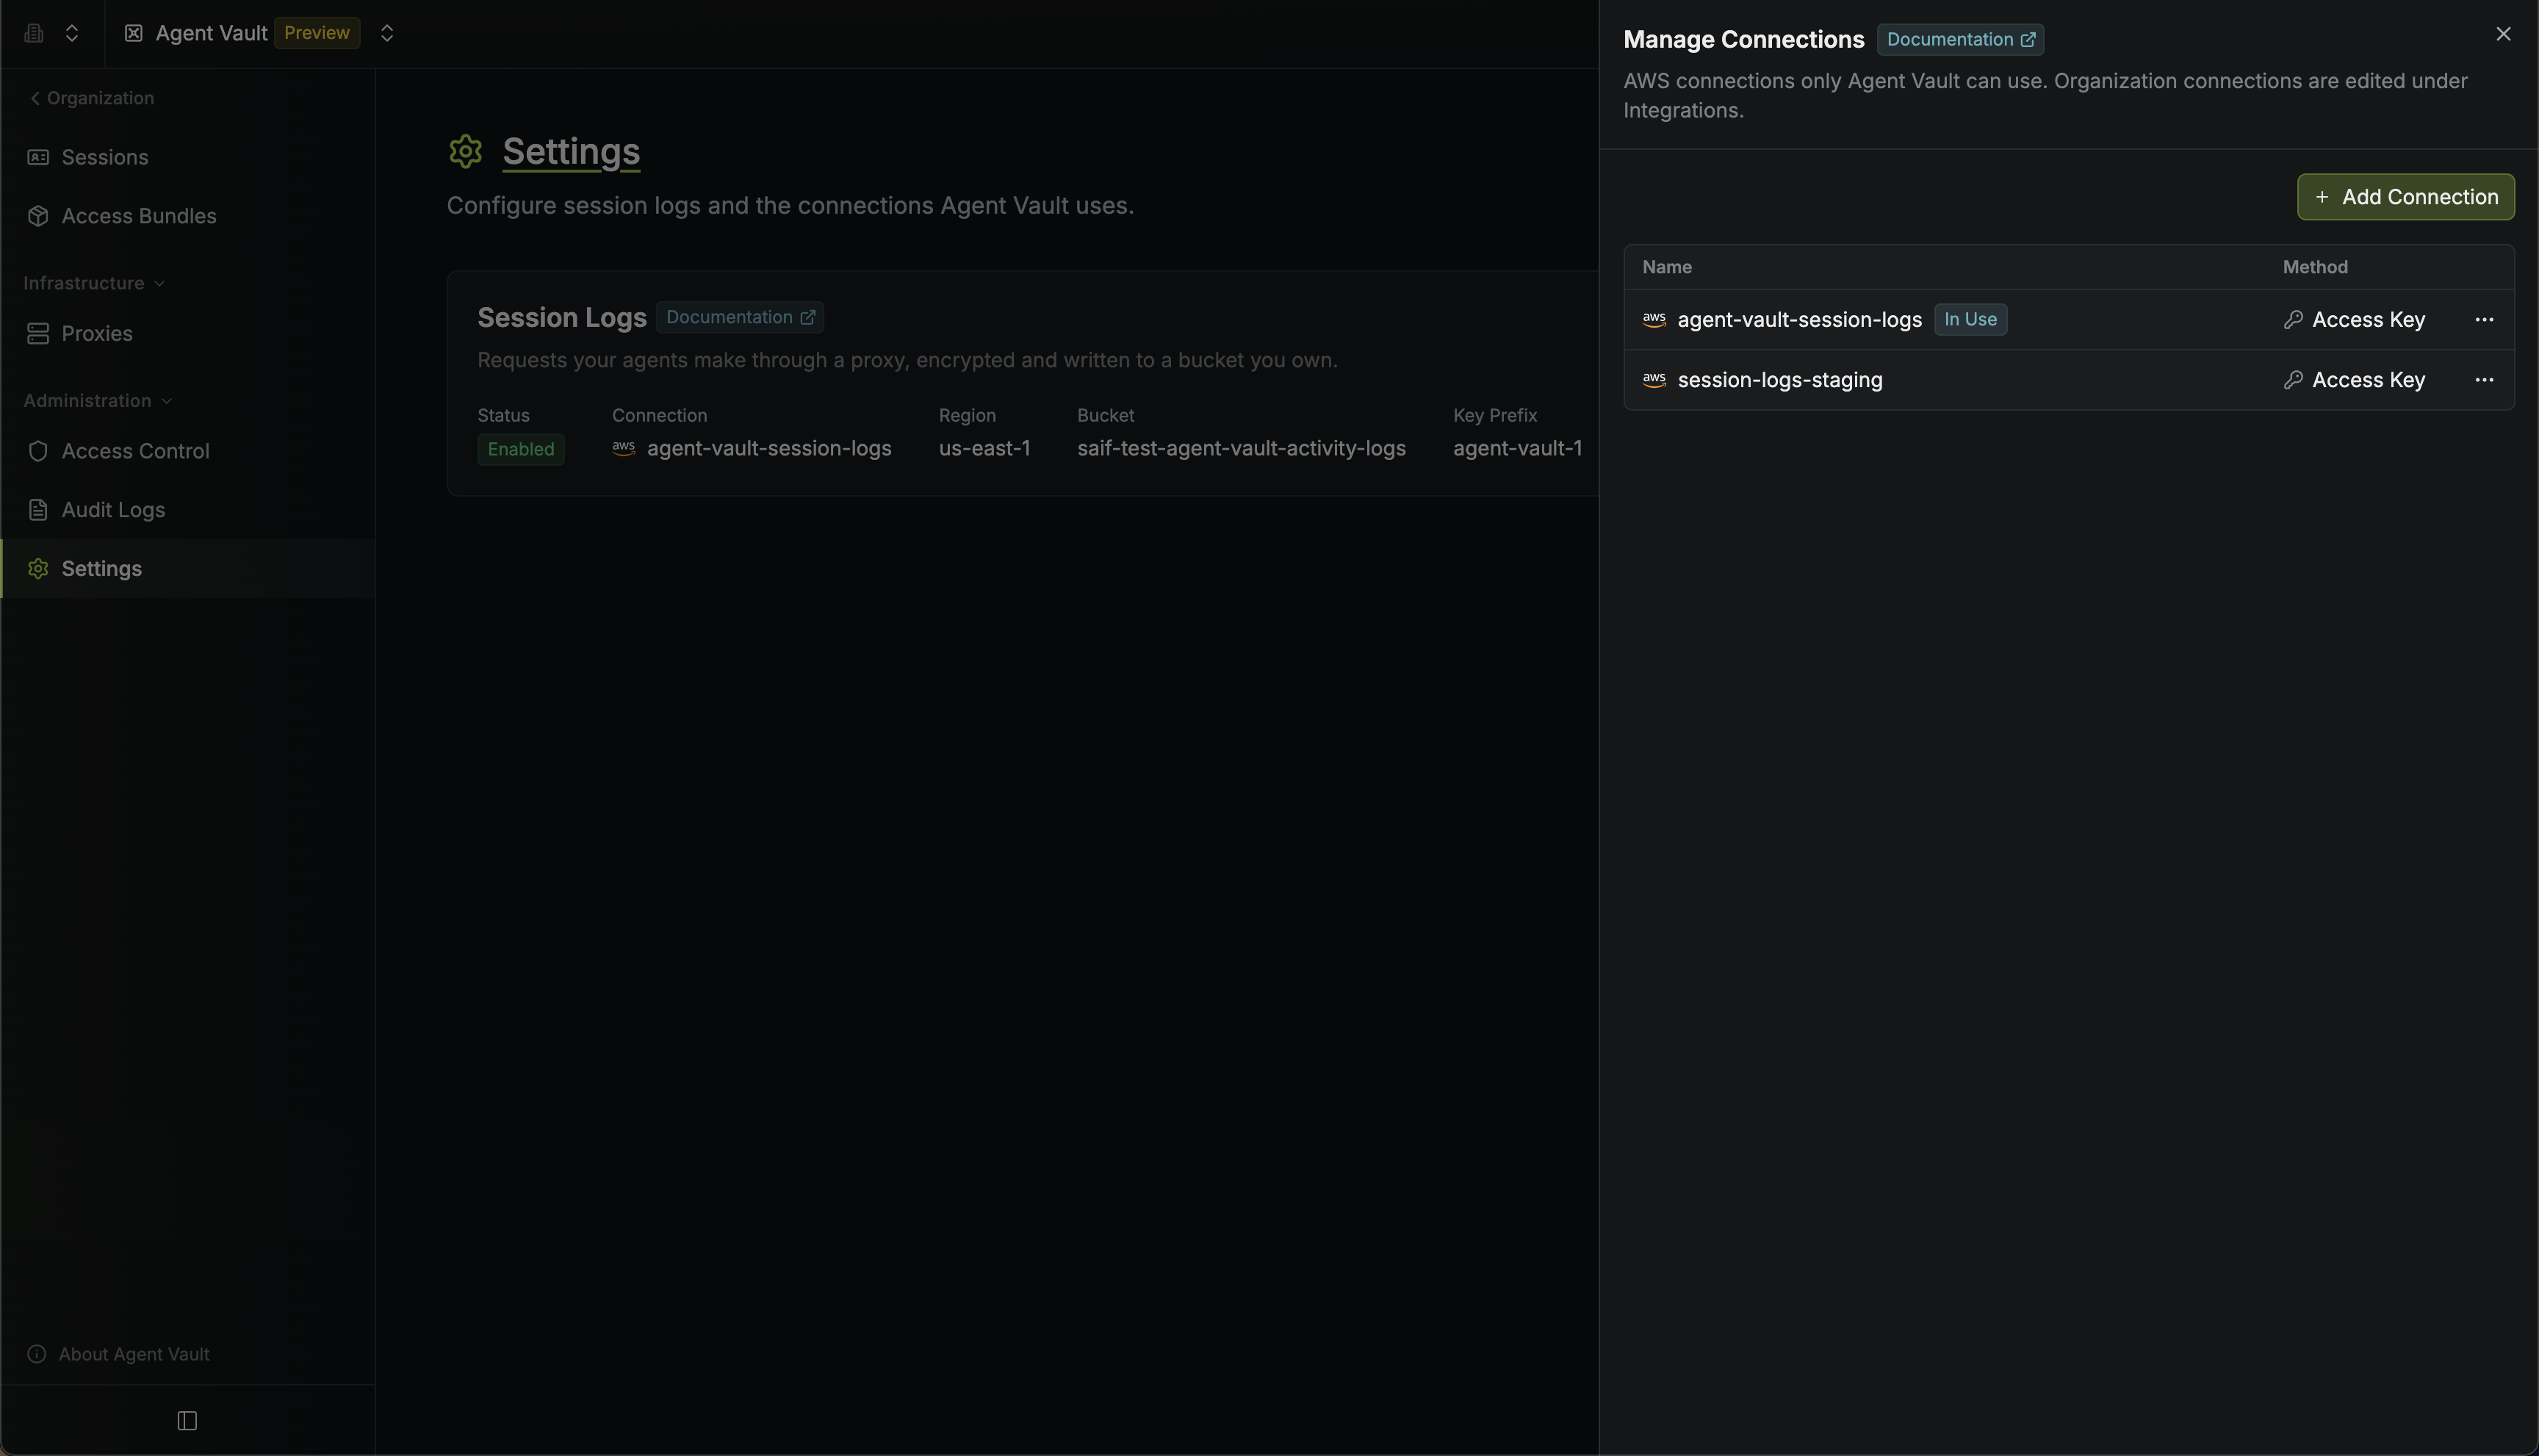
Troubleshooting
If the AWS connection returns an error, a red alert icon appears next to Settings in the project’s sidebar, and Settings > Session Logs shows the error. If you set up external storage before your organization had Agent Vault projects, the IAM role’s trust policy may require your Organization ID as the External ID. Infisical now sends the ID of the Agent Vault project instead, so it can’t assume the role. In AWS, change thests:ExternalId value in the role’s trust policy to the project’s ID (see Find the project ID).