> ## Documentation Index
> Fetch the complete documentation index at: https://infisical.com/docs/llms.txt
> Use this file to discover all available pages before exploring further.
# Snowflake Connection
> Learn how to configure a Snowflake Connection for Infisical.
Infisical supports connecting to Snowflake using a **Username** and a **Programmatic Access Token (PAT)**. PATs are scoped, revocable credentials that authenticate as a Snowflake user without exposing the user's password.
## Prerequisites
* A [Snowflake account](https://app.snowflake.com/) with permission to create Programmatic Access Tokens.
* The **account identifier** for your Snowflake instance, which combines your organization name and account name. You can find it in your Snowflake login URL (`https://app.snowflake.com/orgName/accountName/#/account/users`) or under **Account Details** in Snowsight.
Create a dedicated Snowflake user (or role) for Infisical rather than reusing a personal account. This keeps the connection's blast radius small and makes it easy to rotate or revoke access independently.
## Create a Snowflake Programmatic Access Token
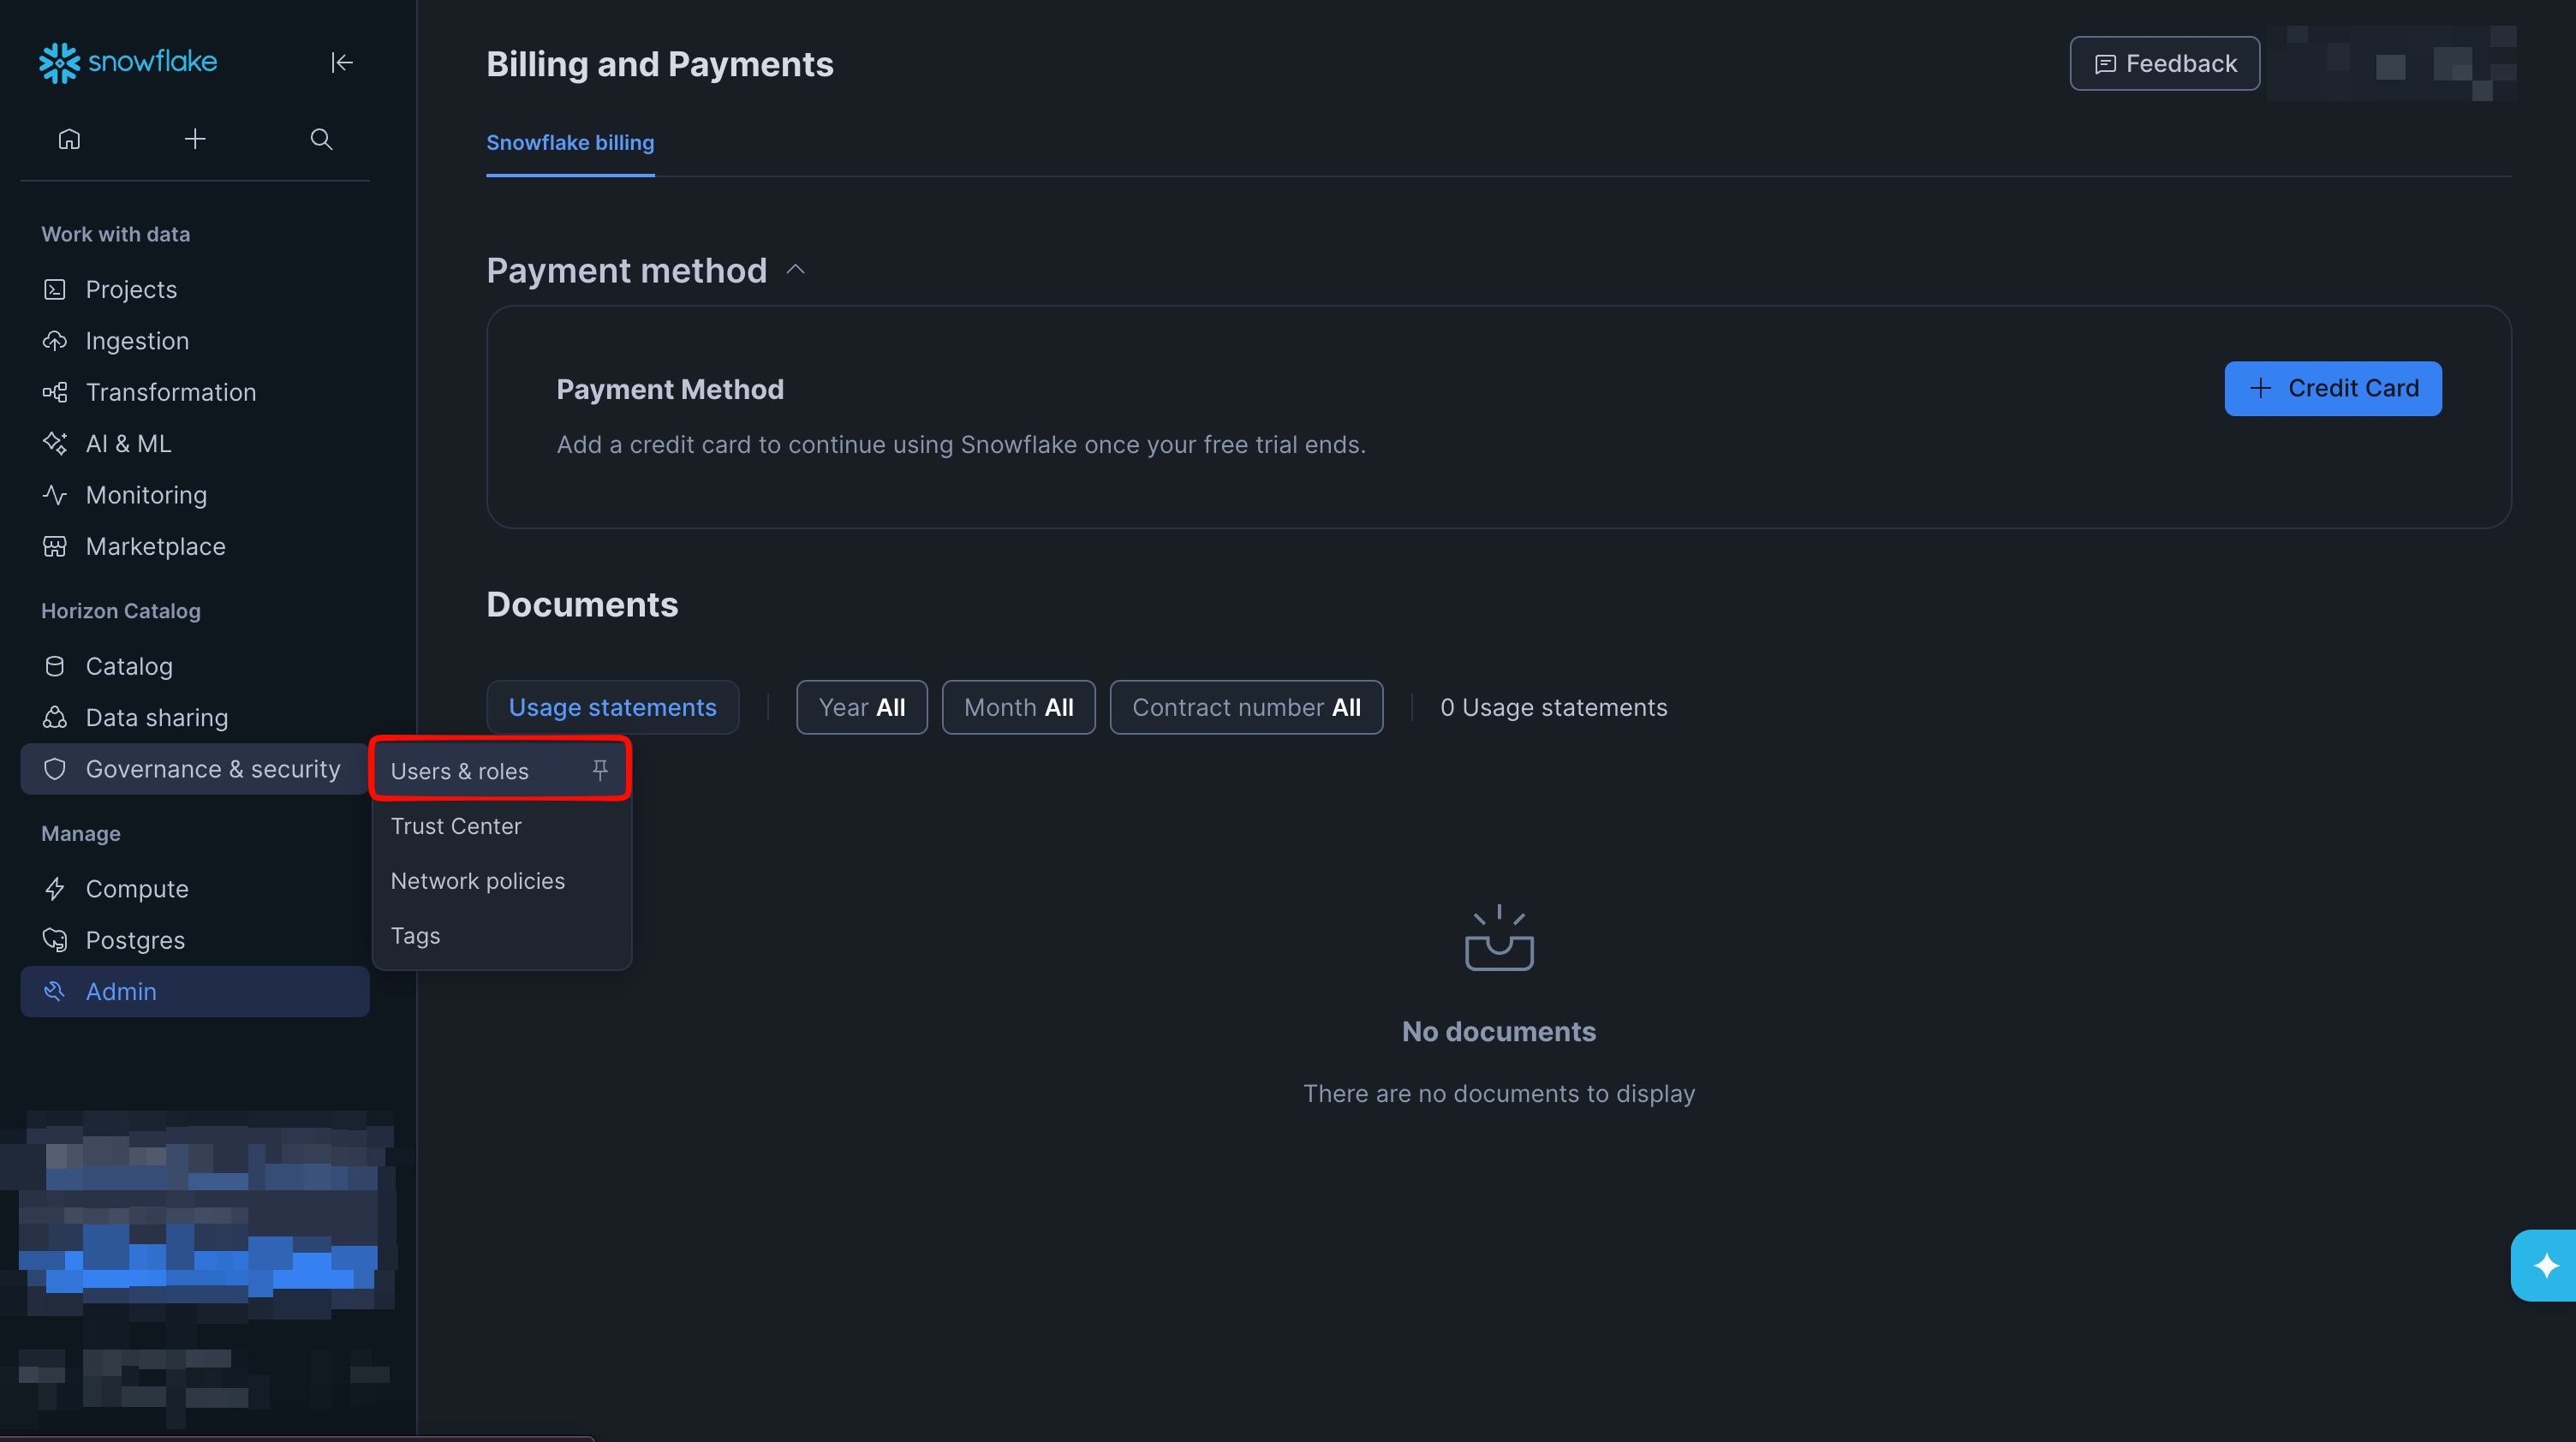
In [Snowsight](https://app.snowflake.com/), open the side bar menu and select **User & Roles** under **Governance & Security**.
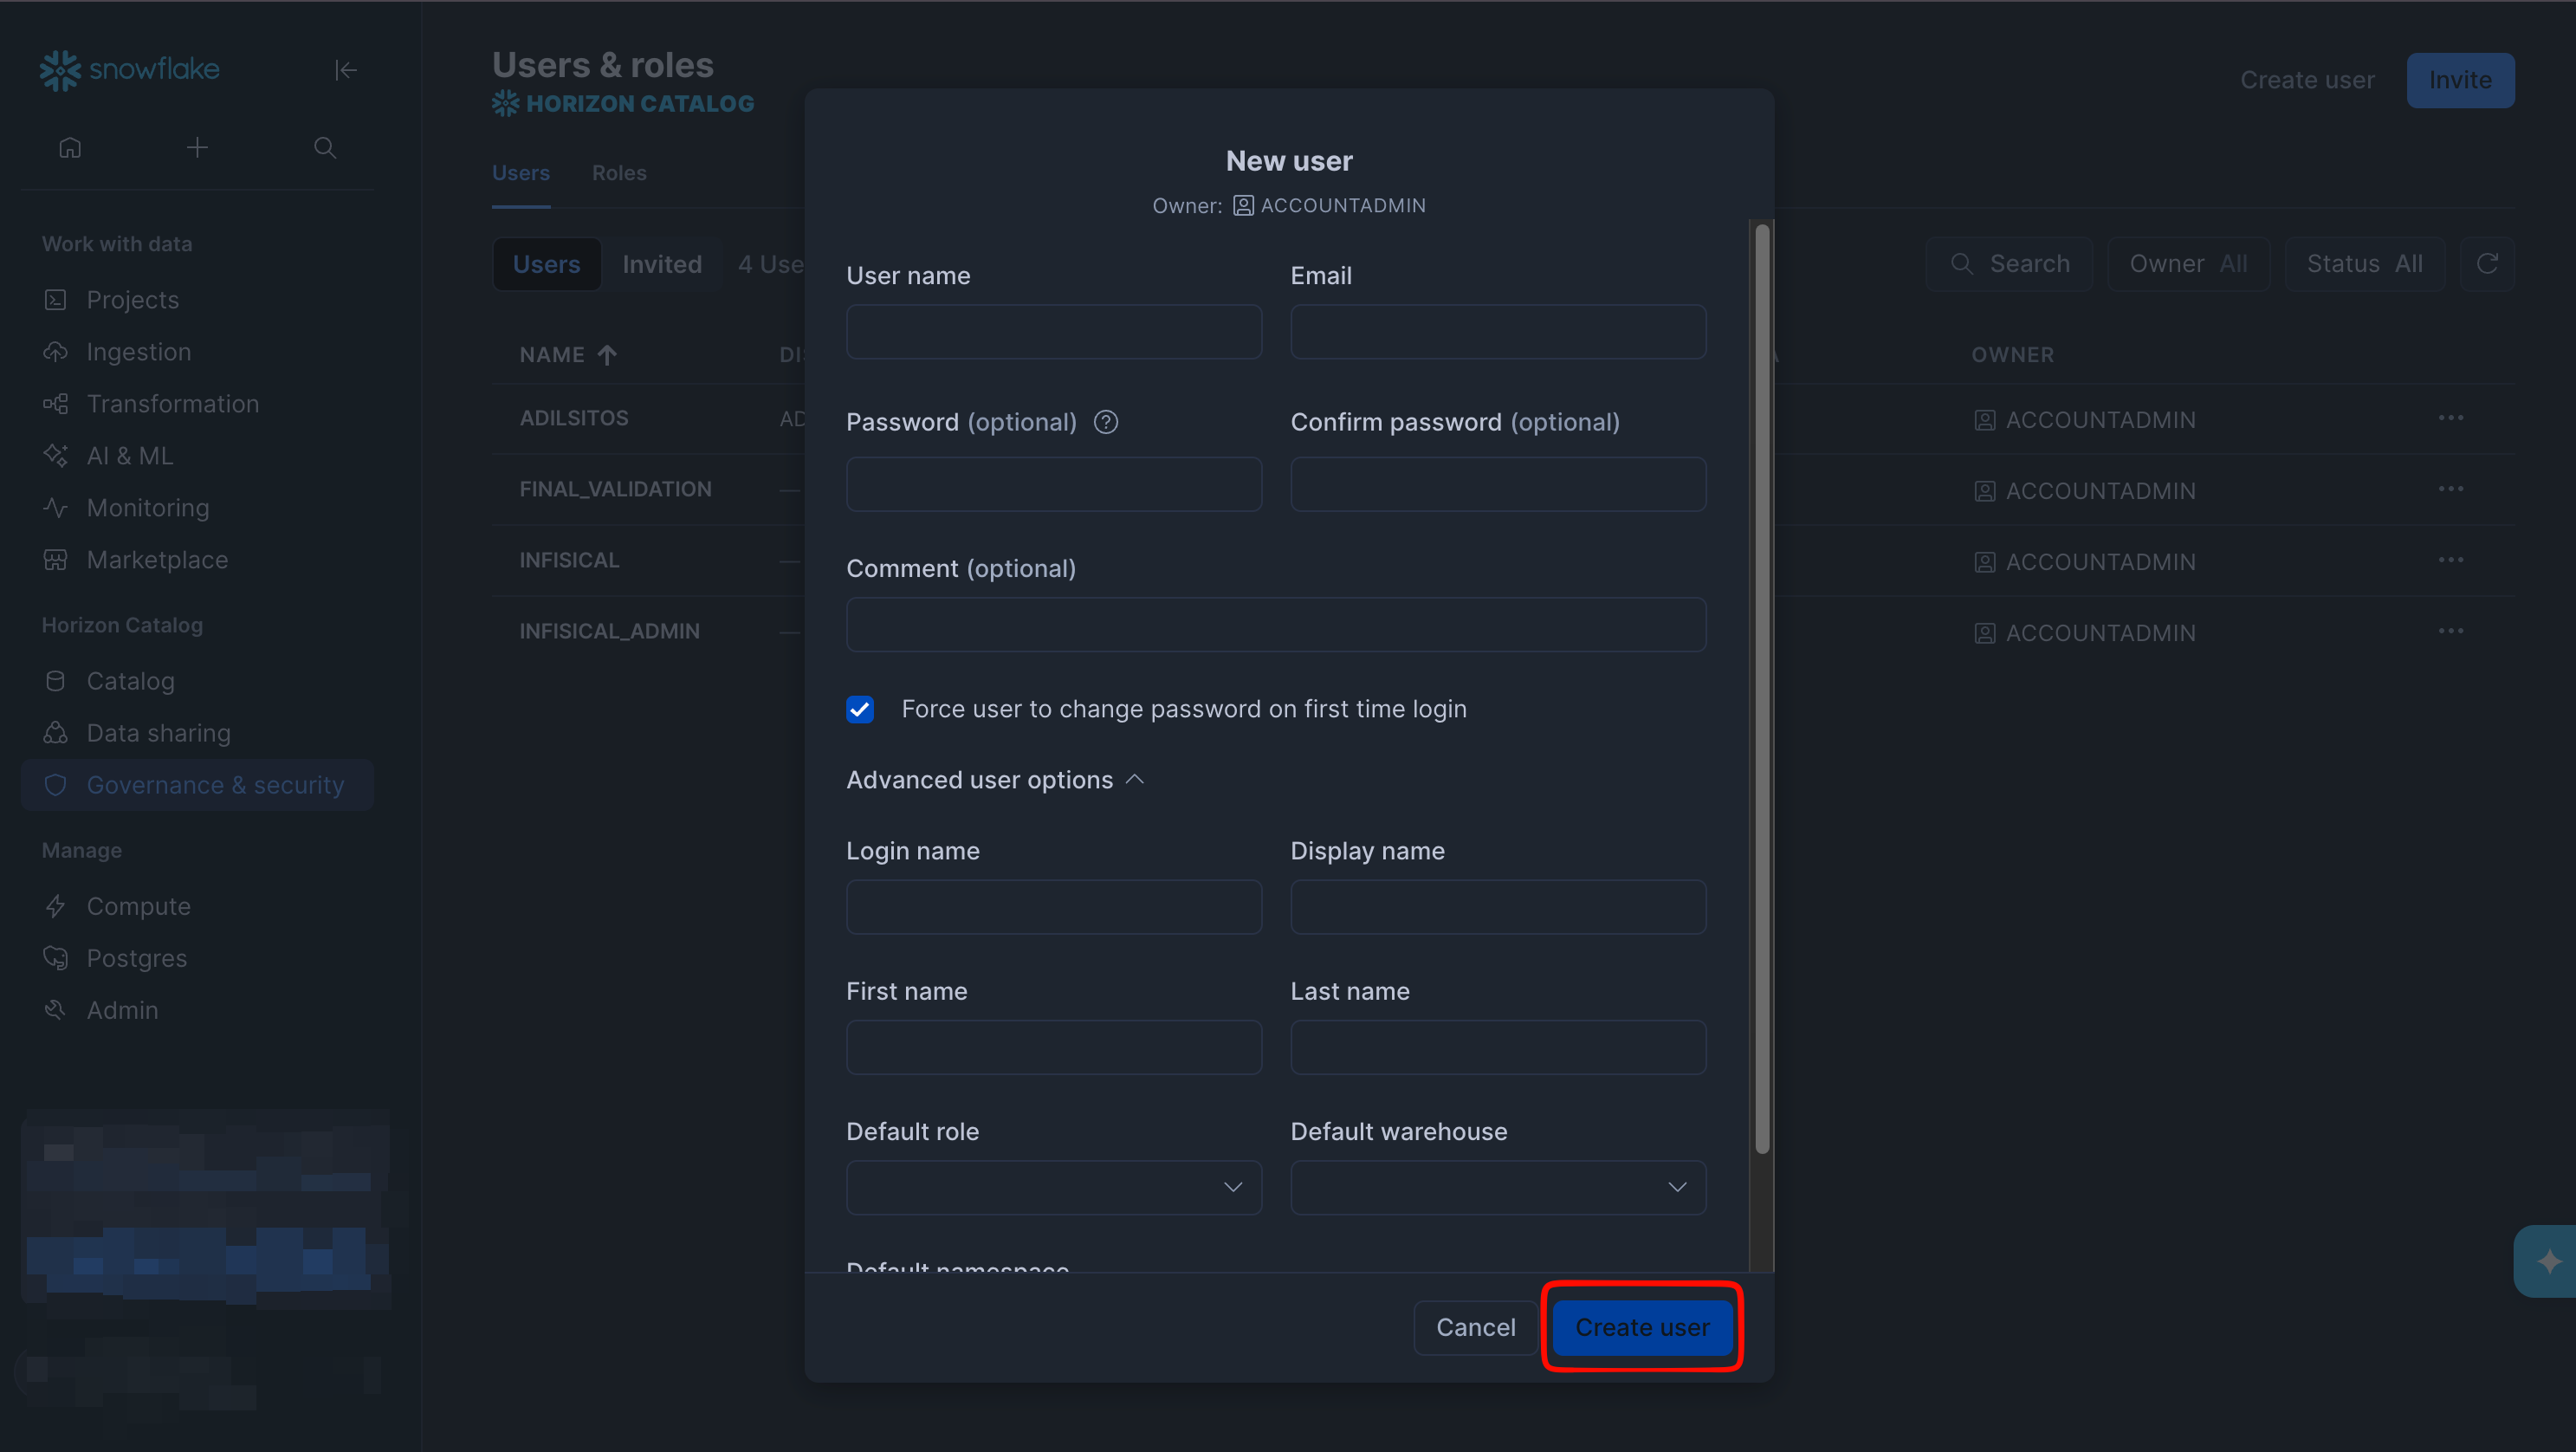
 Click **Create user** in the top-right corner.
 Provide a **Username** and assign a role. The role must have permission to create and manage secrets in the target database. The snippet below grants the minimum required privileges (alternatively, assign the **ACCOUNTADMIN** role).
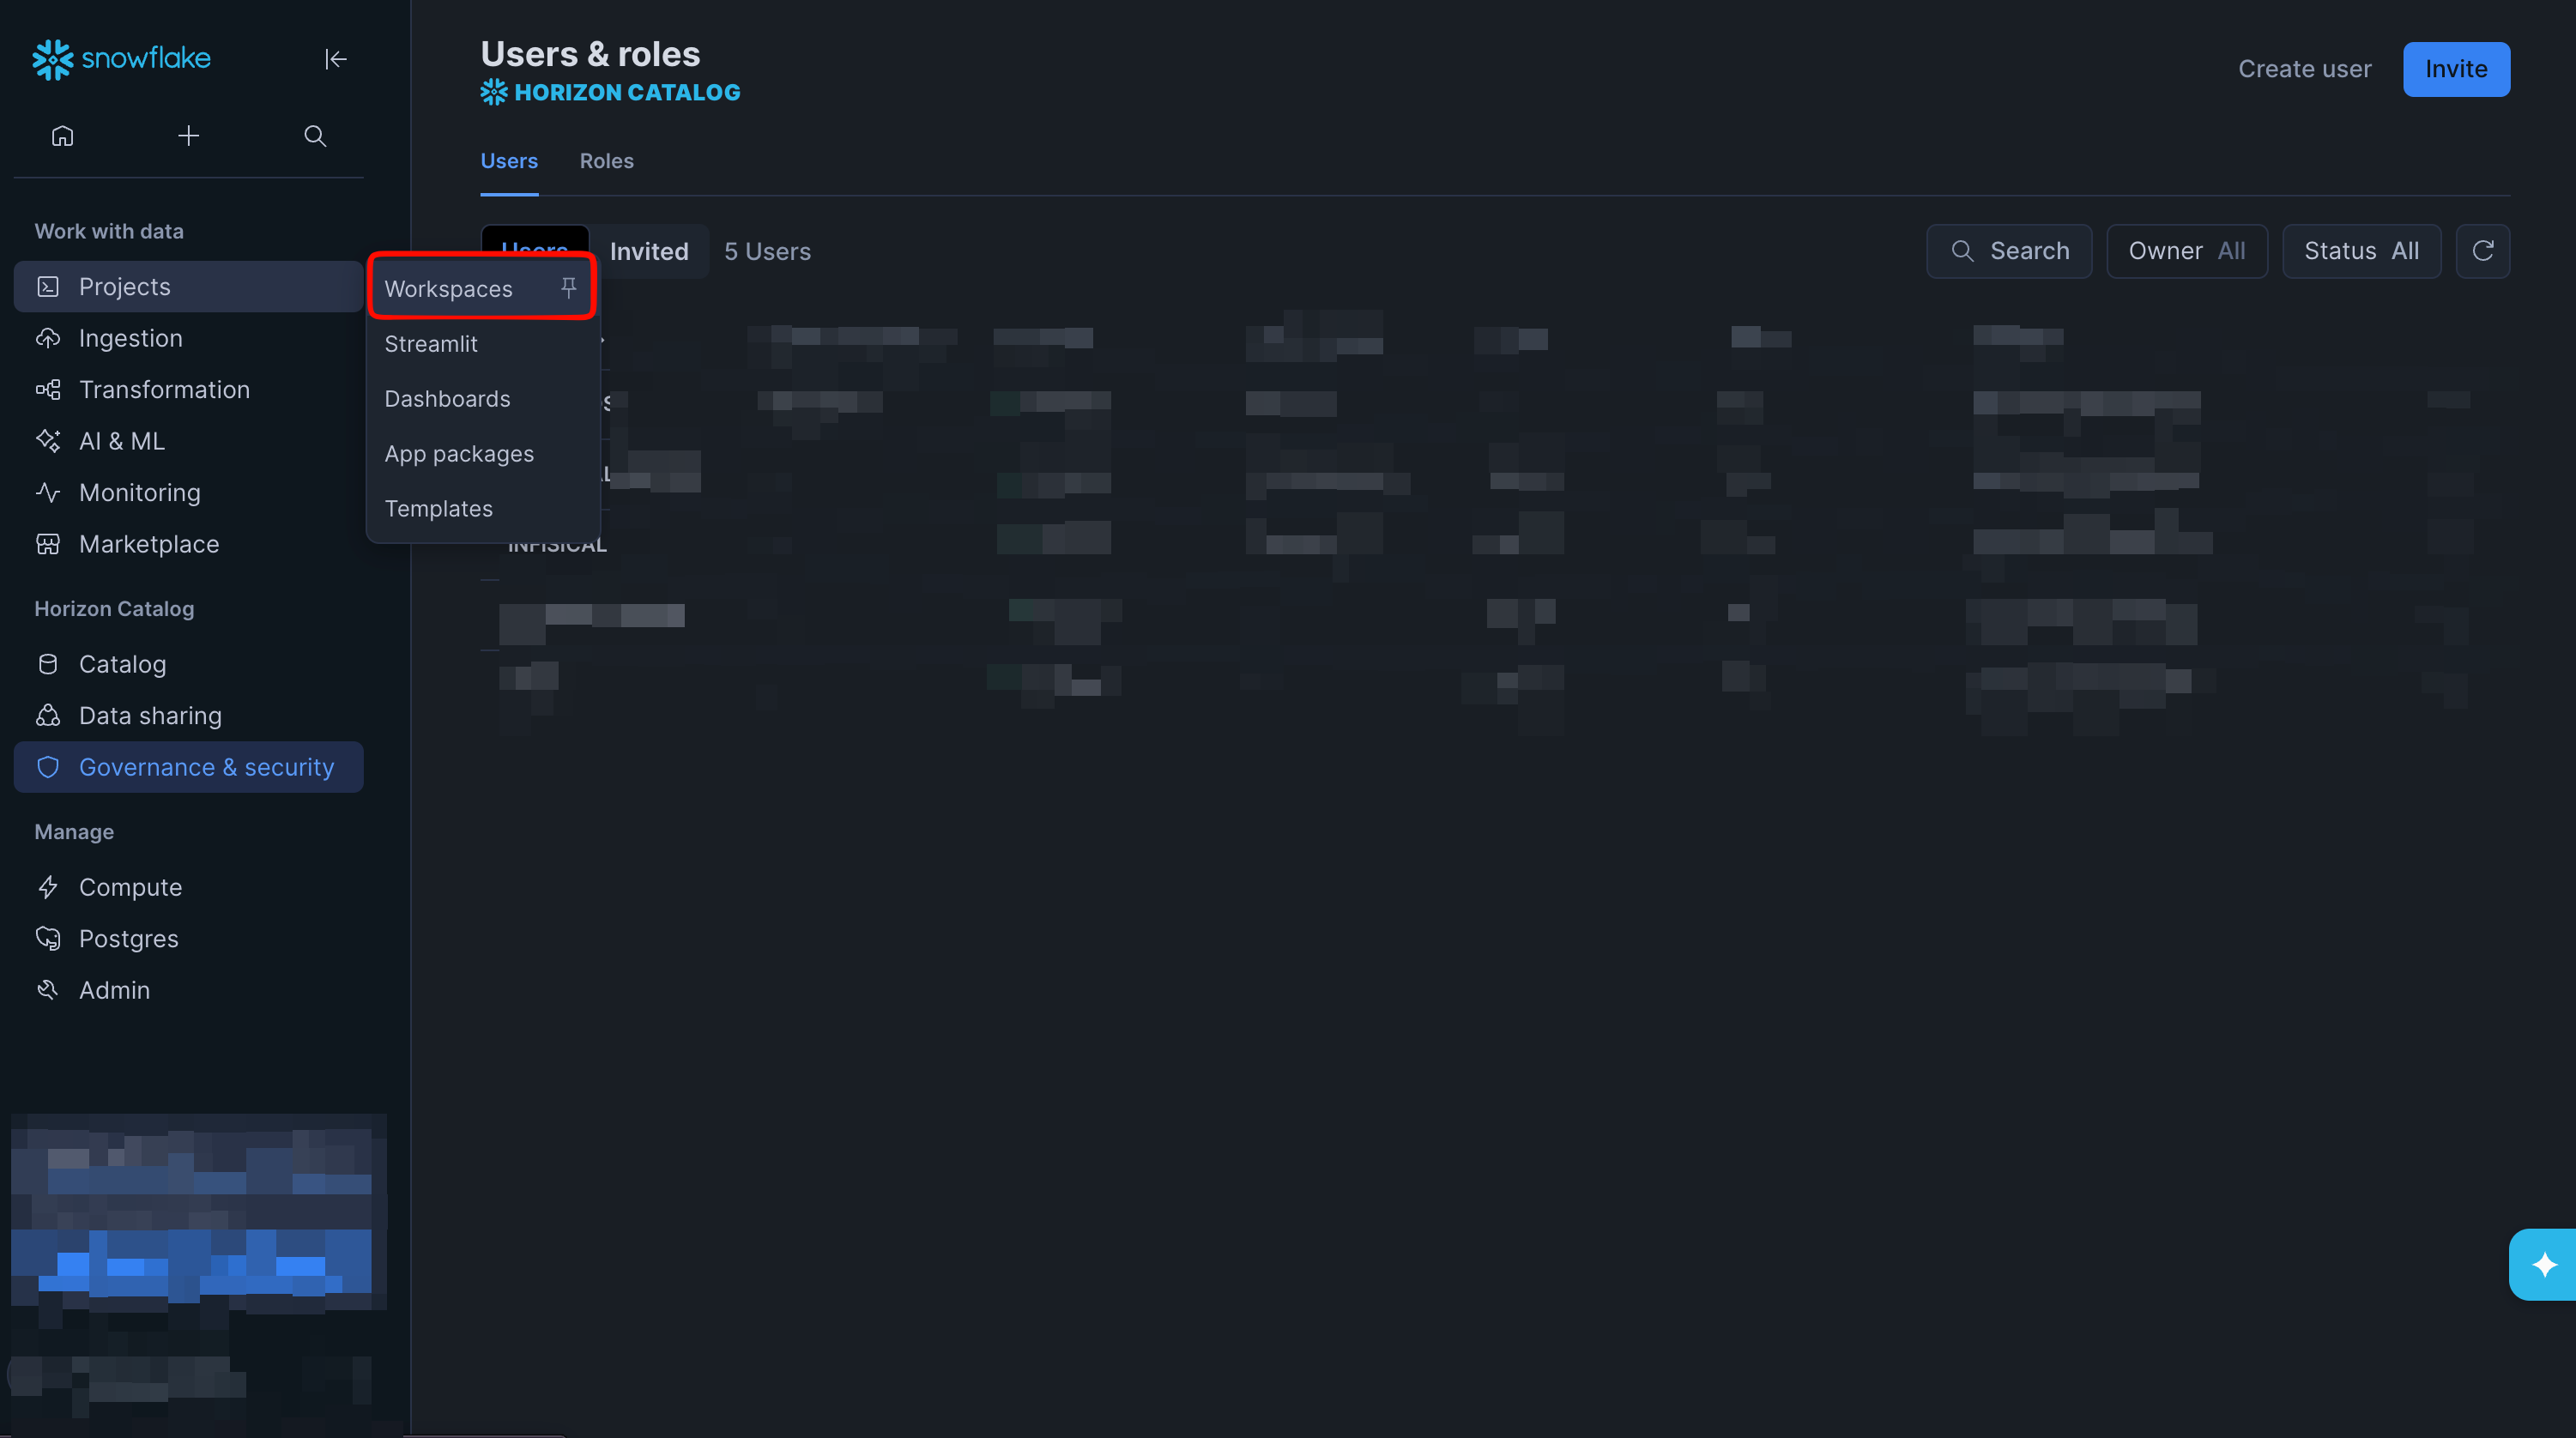
 If you decide to go with a custom role, you just need to run the following snippet. To do this, select the **Projects** tab and click on **Workspaces** to open the query editor.
 ```SQL theme={"dark"}
-- Grant INFISICAL user access to SECRET_SYNC_TEST
CREATE ROLE IF NOT EXISTS INFISICAL_ROLE;
GRANT ROLE INFISICAL_ROLE TO USER INFISICAL; -- Change INFISICAL to be your user
GRANT ALL PRIVILEGES ON DATABASE SECRET_SYNC_TEST TO ROLE INFISICAL_ROLE;
GRANT ALL PRIVILEGES ON SCHEMA SECRET_SYNC_TEST.PUBLIC TO ROLE INFISICAL_ROLE;
GRANT OWNERSHIP ON ALL SECRETS IN SCHEMA SECRET_SYNC_TEST.PUBLIC TO ROLE INFISICAL_ROLE REVOKE CURRENT GRANTS; -- Transfers ownership
GRANT OWNERSHIP ON FUTURE SECRETS IN SCHEMA SECRET_SYNC_TEST.PUBLIC TO ROLE INFISICAL_ROLE REVOKE CURRENT GRANTS; -- Transfers ownership
```
If you select a custom role, note that **secret ownership is enforced per object**. Existing secrets in the target schema remain owned by their creator unless you transfer ownership. Infisical must use a role that **owns every secret it manages** (required for `CREATE OR REPLACE SECRET` and `DROP SECRET`). If the schema already has secrets, run the `GRANT OWNERSHIP ON ALL SECRETS ...` statement; always keep the `GRANT OWNERSHIP ON FUTURE SECRETS ...` statement.
Programmatic Access Tokens require an attached network policy that defines the IPs allowed to authenticate as this user.
```SQL theme={"dark"}
CREATE NETWORK POLICY INFISICAL_SYNC_POLICY
ALLOWED_IP_LIST = ('0.0.0.0/0')
COMMENT = 'Allow access from any IP';
ALTER USER INFISICAL set NETWORK_POLICY = 'INFISICAL_SYNC_POLICY';
```
Be careful with the IPs you allow in your network policy. Using `0.0.0.0/0` allows access from **any IP address**, which can be dangerous in production. Prefer restricting the list to only the IP ranges that should be allowed to authenticate (for example, your corporate NAT(s) and/or Infisical's outbound IPs if you have them).
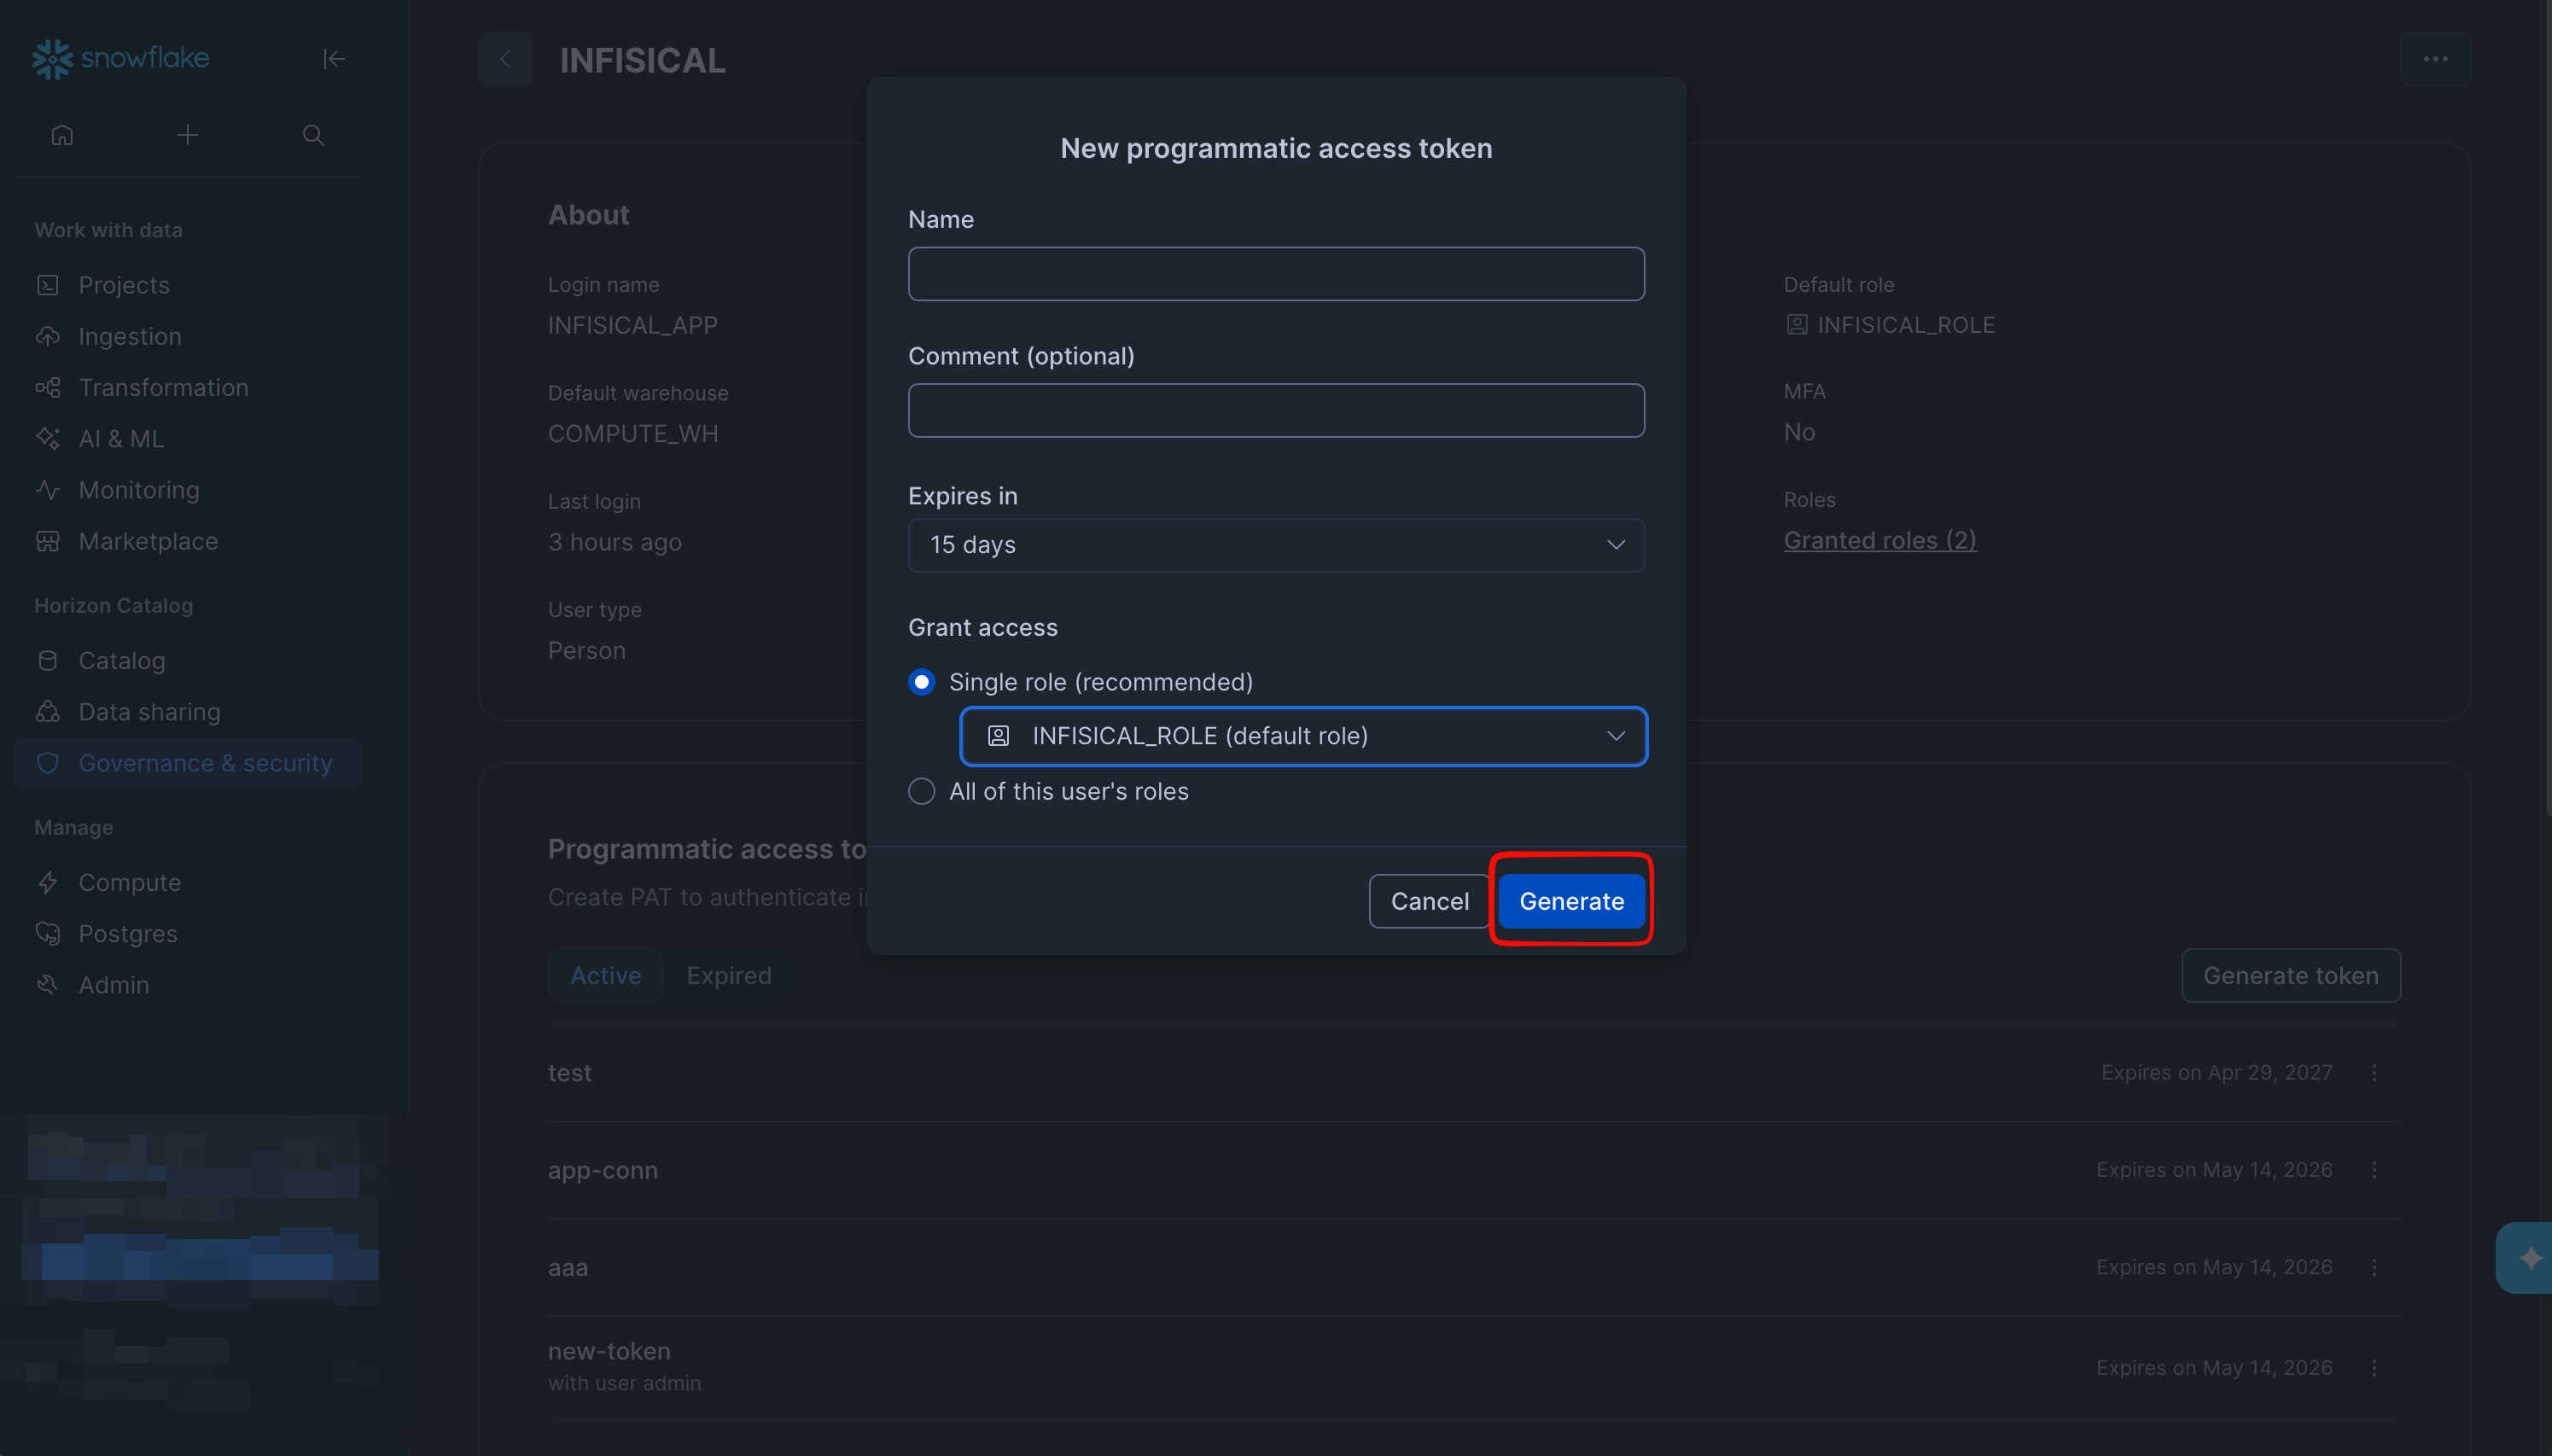
Open the **Programmatic access tokens** tab and click **Generate new token**. Give the token a descriptive name (e.g. `infisical`) and configure its expiration and role restrictions according to your security policy.
```SQL theme={"dark"}
-- Grant INFISICAL user access to SECRET_SYNC_TEST
CREATE ROLE IF NOT EXISTS INFISICAL_ROLE;
GRANT ROLE INFISICAL_ROLE TO USER INFISICAL; -- Change INFISICAL to be your user
GRANT ALL PRIVILEGES ON DATABASE SECRET_SYNC_TEST TO ROLE INFISICAL_ROLE;
GRANT ALL PRIVILEGES ON SCHEMA SECRET_SYNC_TEST.PUBLIC TO ROLE INFISICAL_ROLE;
GRANT OWNERSHIP ON ALL SECRETS IN SCHEMA SECRET_SYNC_TEST.PUBLIC TO ROLE INFISICAL_ROLE REVOKE CURRENT GRANTS; -- Transfers ownership
GRANT OWNERSHIP ON FUTURE SECRETS IN SCHEMA SECRET_SYNC_TEST.PUBLIC TO ROLE INFISICAL_ROLE REVOKE CURRENT GRANTS; -- Transfers ownership
```
If you select a custom role, note that **secret ownership is enforced per object**. Existing secrets in the target schema remain owned by their creator unless you transfer ownership. Infisical must use a role that **owns every secret it manages** (required for `CREATE OR REPLACE SECRET` and `DROP SECRET`). If the schema already has secrets, run the `GRANT OWNERSHIP ON ALL SECRETS ...` statement; always keep the `GRANT OWNERSHIP ON FUTURE SECRETS ...` statement.
Programmatic Access Tokens require an attached network policy that defines the IPs allowed to authenticate as this user.
```SQL theme={"dark"}
CREATE NETWORK POLICY INFISICAL_SYNC_POLICY
ALLOWED_IP_LIST = ('0.0.0.0/0')
COMMENT = 'Allow access from any IP';
ALTER USER INFISICAL set NETWORK_POLICY = 'INFISICAL_SYNC_POLICY';
```
Be careful with the IPs you allow in your network policy. Using `0.0.0.0/0` allows access from **any IP address**, which can be dangerous in production. Prefer restricting the list to only the IP ranges that should be allowed to authenticate (for example, your corporate NAT(s) and/or Infisical's outbound IPs if you have them).
Open the **Programmatic access tokens** tab and click **Generate new token**. Give the token a descriptive name (e.g. `infisical`) and configure its expiration and role restrictions according to your security policy.
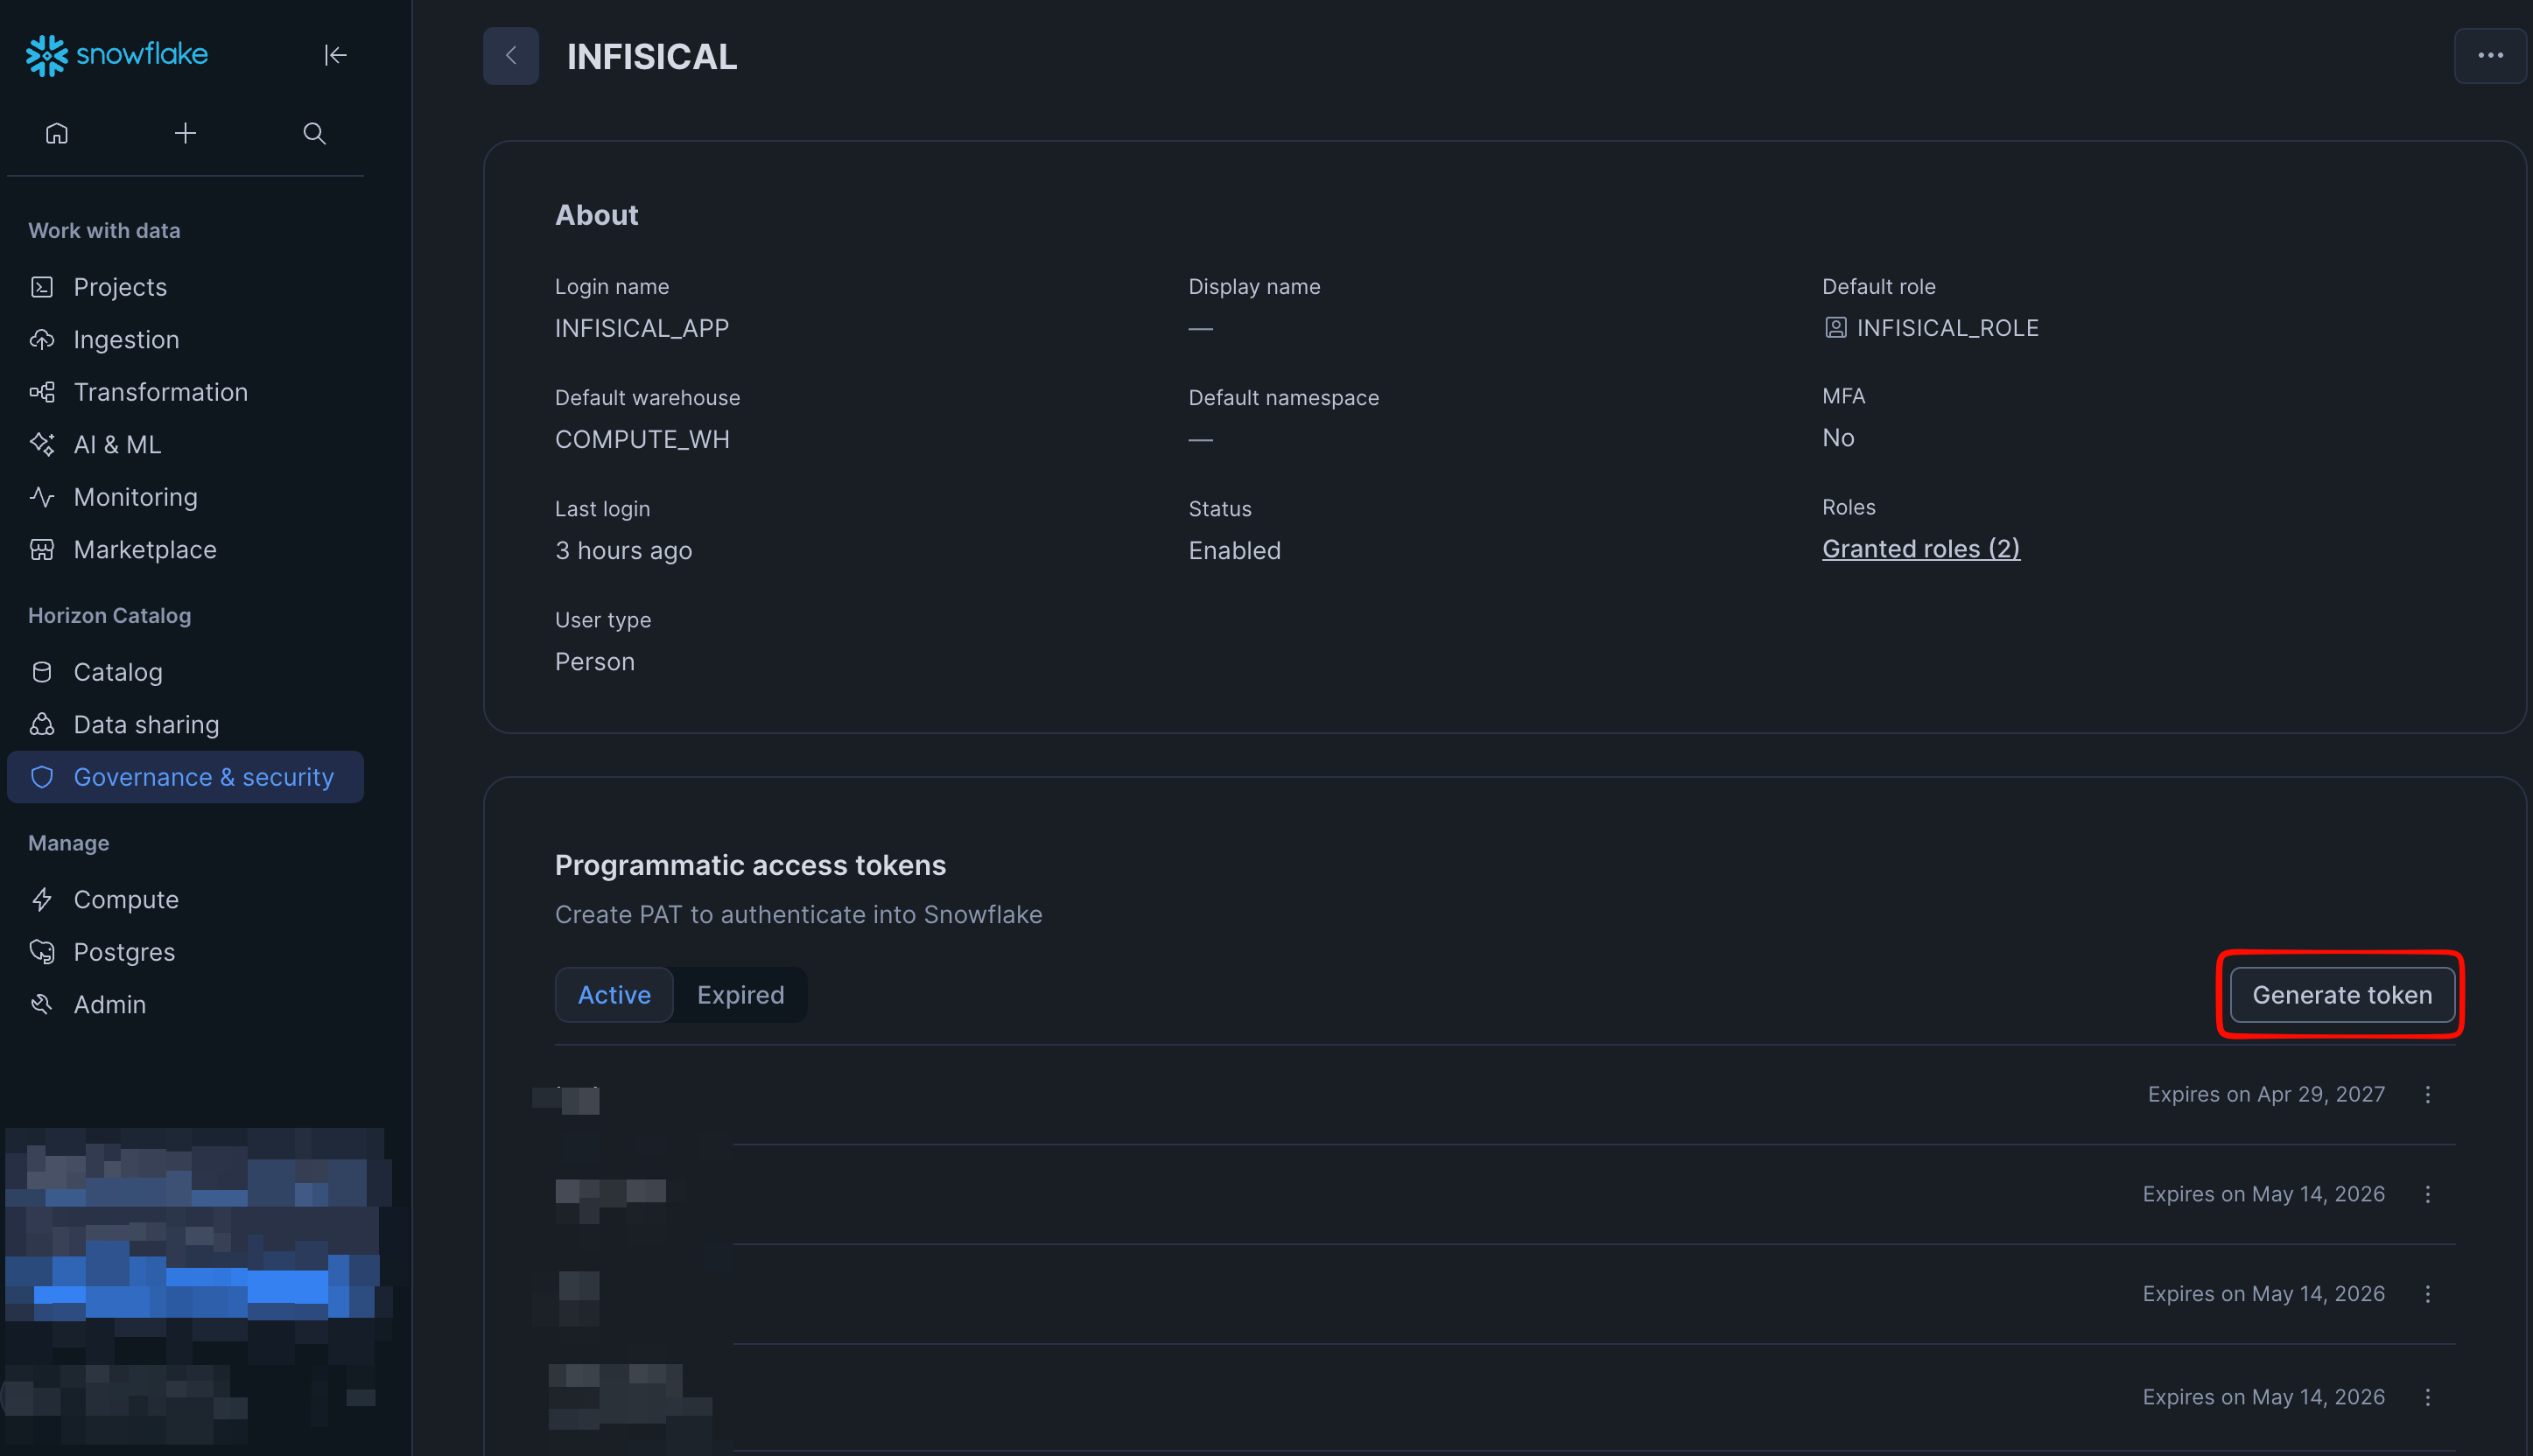
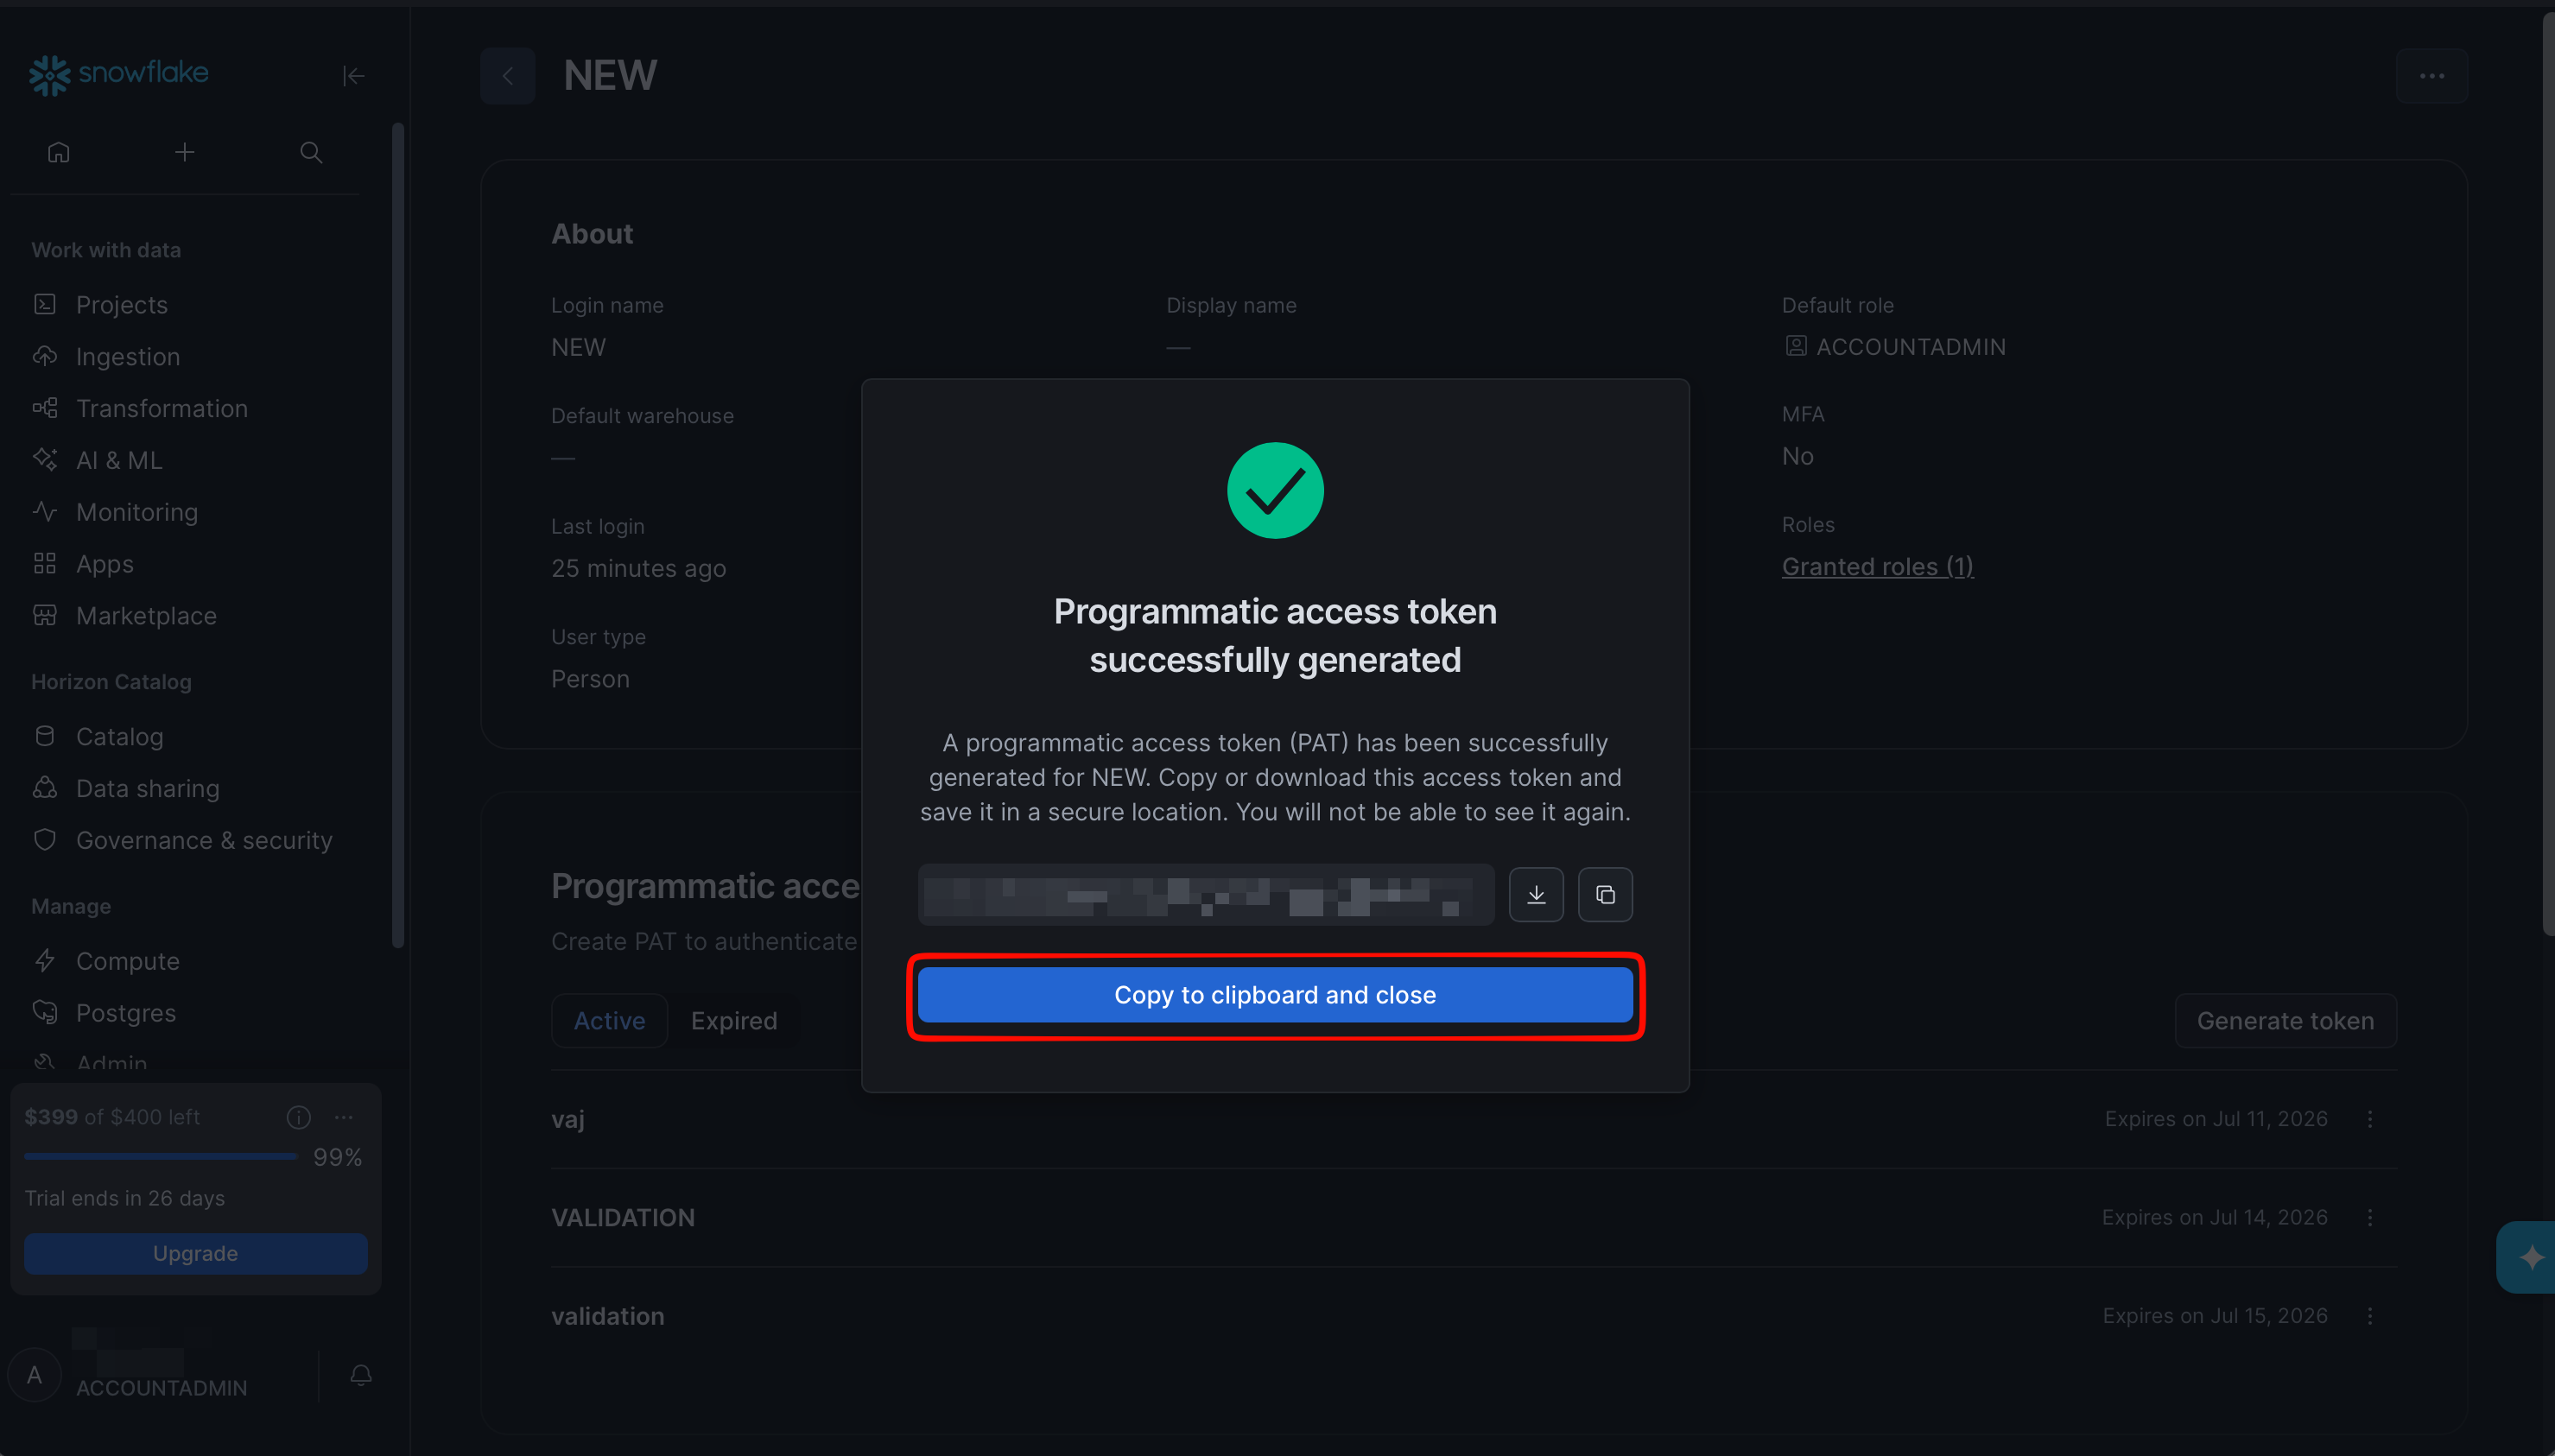
 Copy the generated token. Snowflake only displays it once — store it somewhere secure for the next step.
 Copy the **Account identifier**. The fastest way is to read it from your Snowsight URL (`https://app.snowflake.com/orgName/accountName/#/account/users`), where the identifier is `orgName-accountName`.
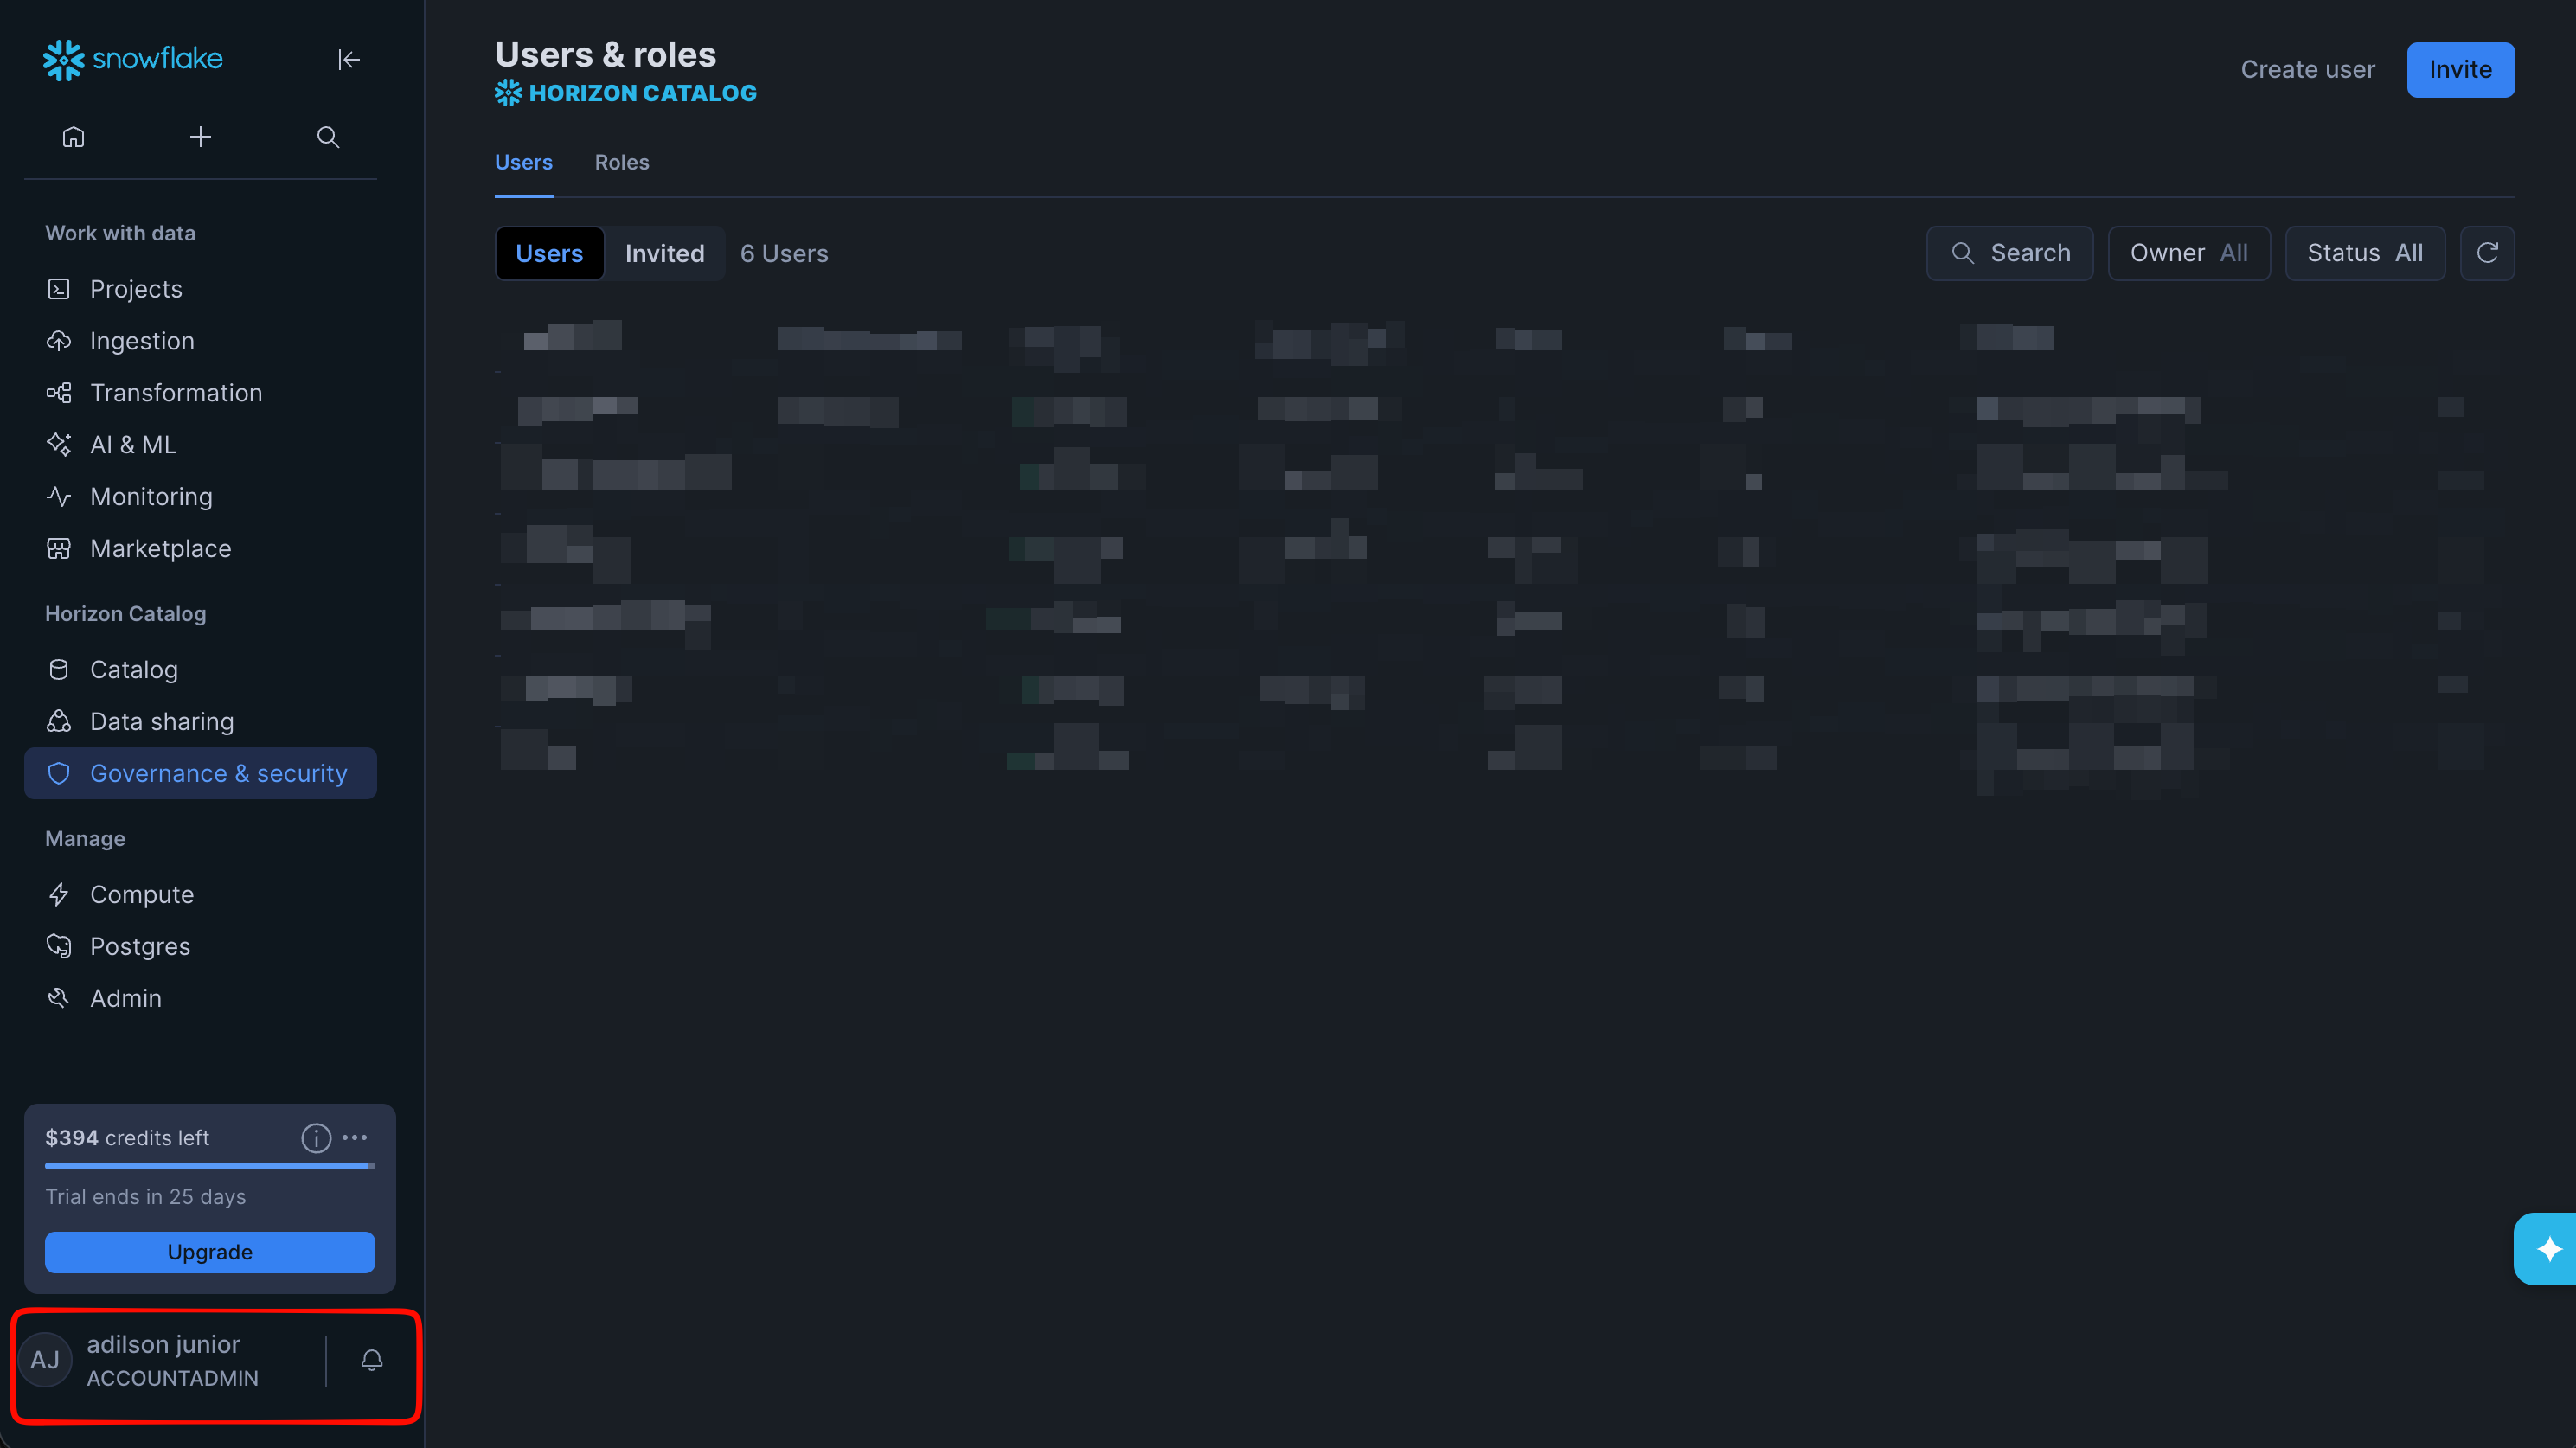
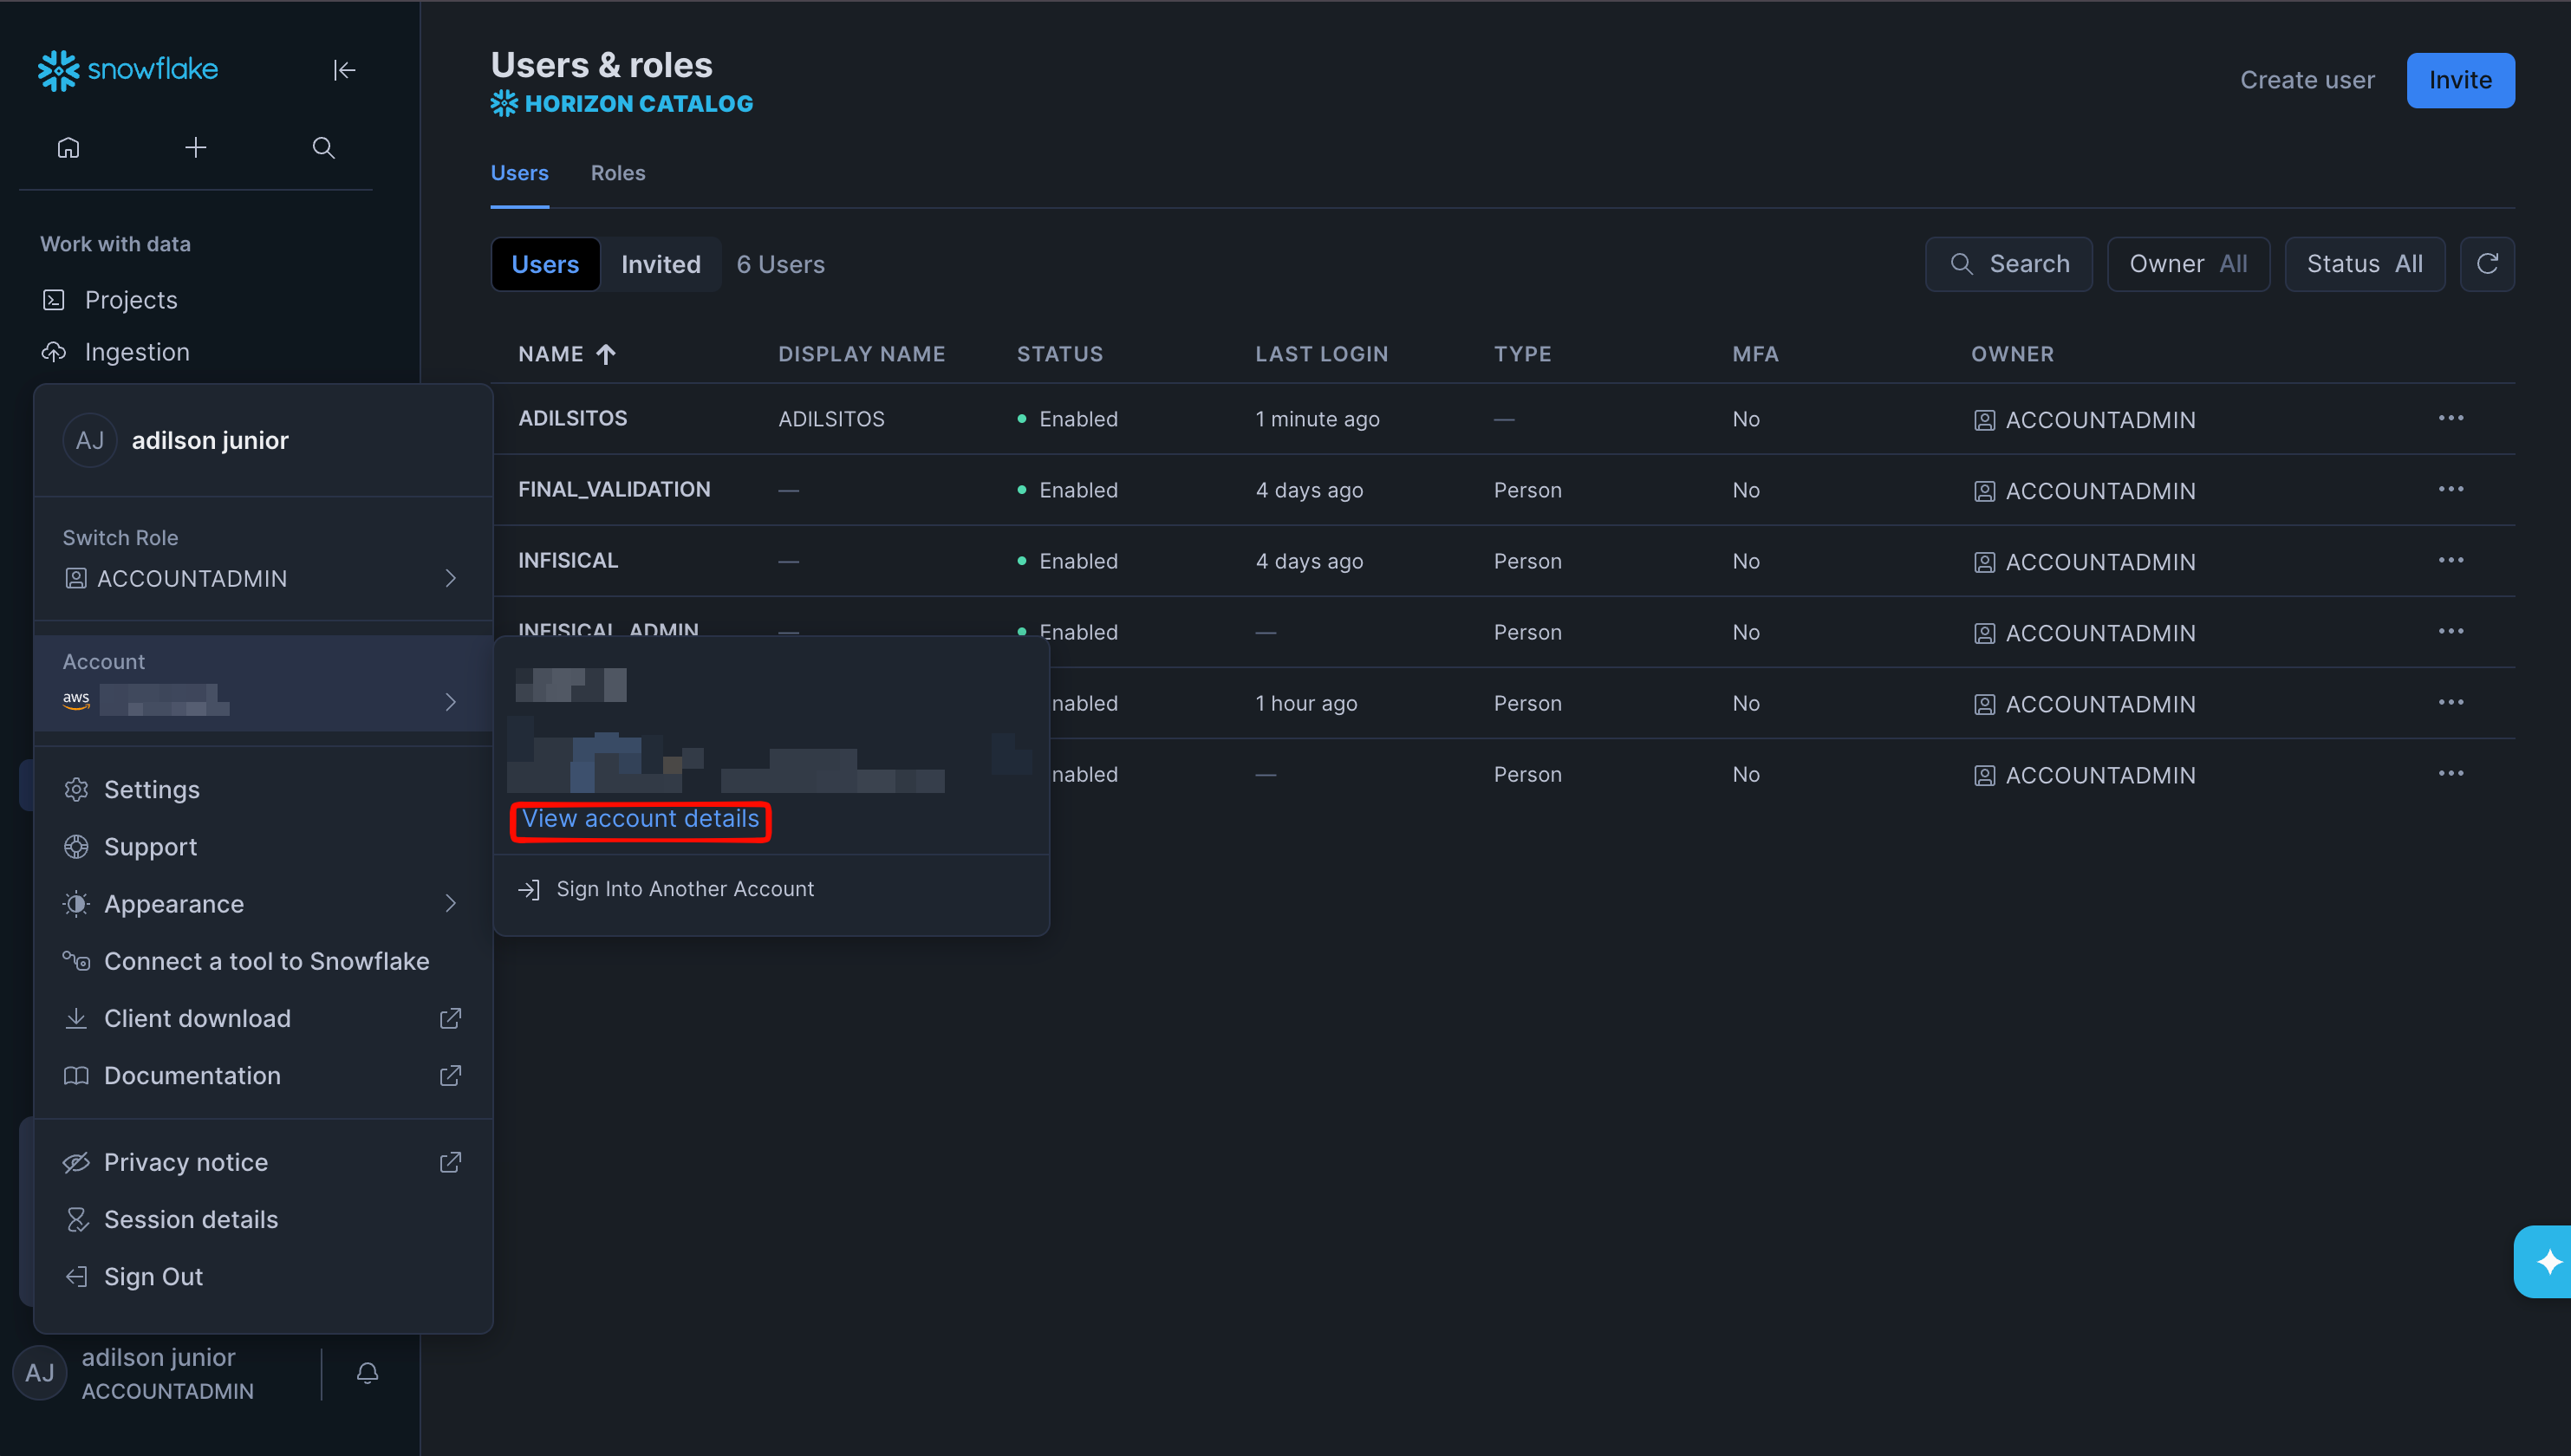
Alternatively, click your username in the bottom-left corner, open **Account details**, and copy the **Account** value from the **Config File** tab.
Copy the **Account identifier**. The fastest way is to read it from your Snowsight URL (`https://app.snowflake.com/orgName/accountName/#/account/users`), where the identifier is `orgName-accountName`.
Alternatively, click your username in the bottom-left corner, open **Account details**, and copy the **Account** value from the **Config File** tab.
 ## Create Snowflake Connection in Infisical
In your Infisical dashboard, go to **Organization Settings** → **App Connections**.
## Create Snowflake Connection in Infisical
In your Infisical dashboard, go to **Organization Settings** → **App Connections**.
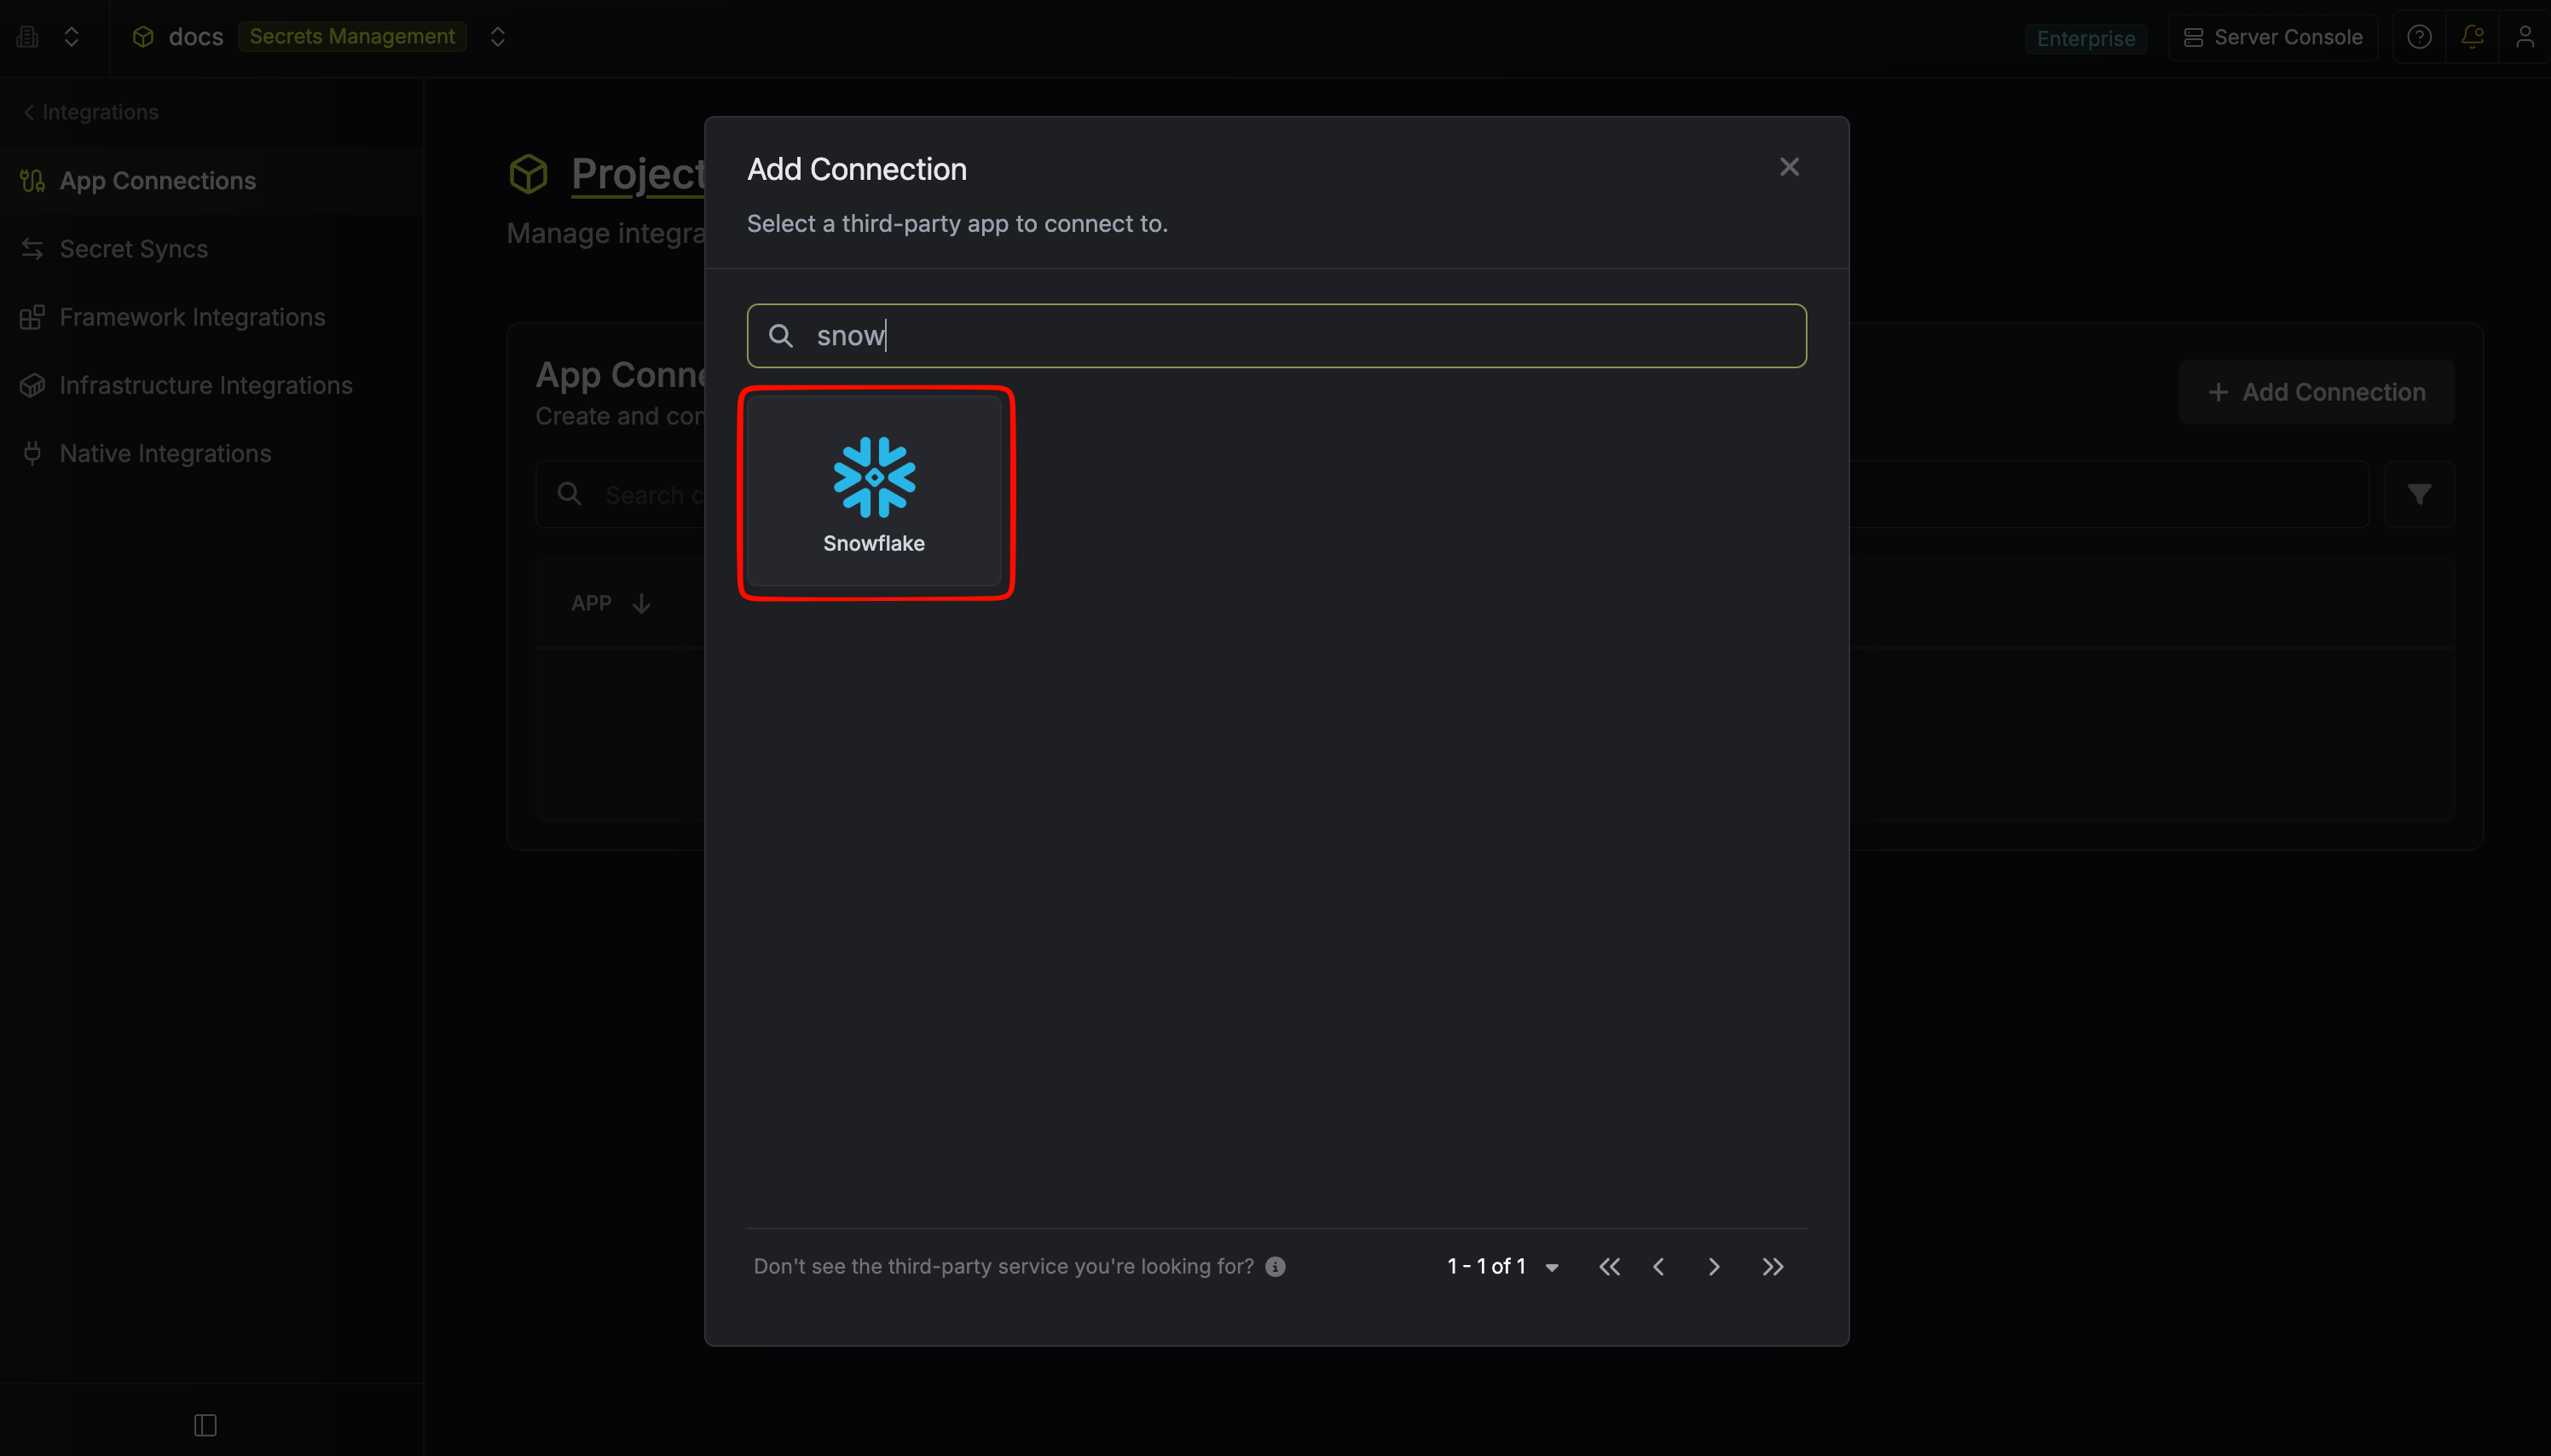
 Click **Add Connection** and choose **Snowflake** from the list of available connections.
 Complete the form with:
* A **name** for the connection (e.g. `snowflake-prod`)
* An optional **description**
* The Snowflake **Account** identifier (e.g. `orgName-accountName`)
* The Snowflake **Username** (The name of the user that was created)
* The **Programmatic Access Token** generated in the previous section
Complete the form with:
* A **name** for the connection (e.g. `snowflake-prod`)
* An optional **description**
* The Snowflake **Account** identifier (e.g. `orgName-accountName`)
* The Snowflake **Username** (The name of the user that was created)
* The **Programmatic Access Token** generated in the previous section
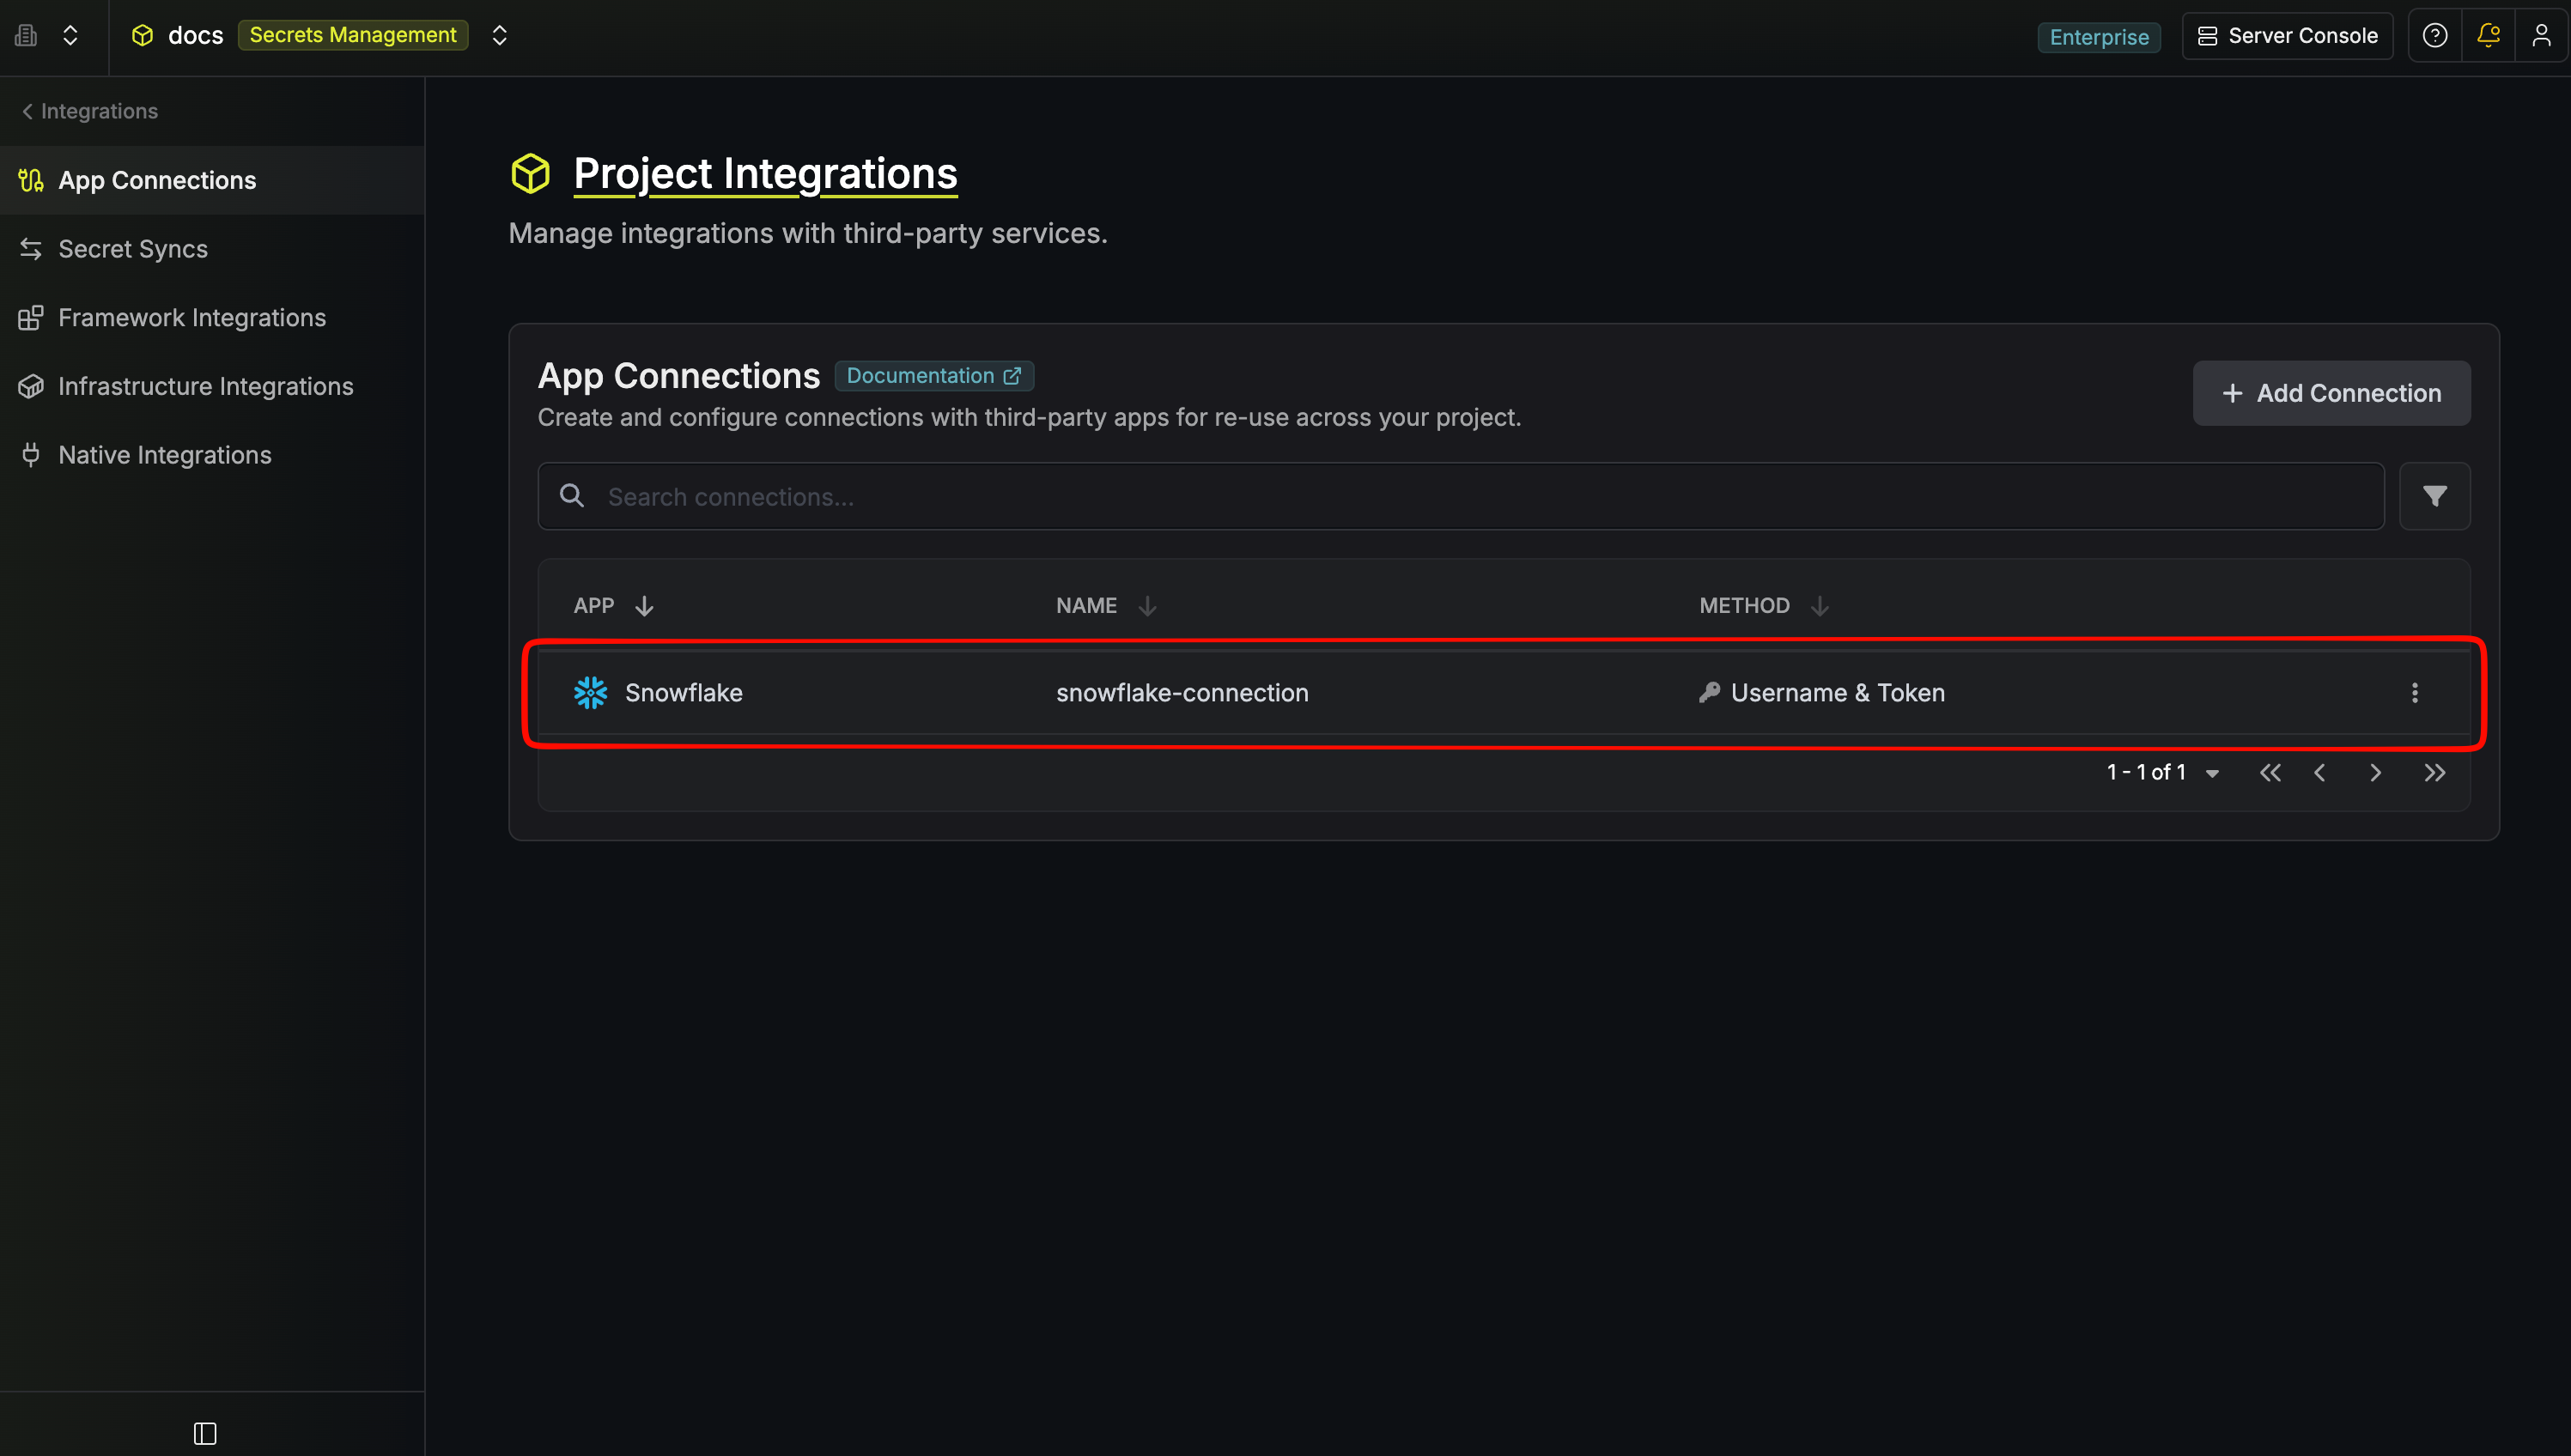
 After clicking **Create**, Infisical validates the credentials by opening a connection to your Snowflake account. Once validated, your **Snowflake Connection** is ready to use.
 Create a Snowflake connection via the API.
### Sample request
```bash Request theme={"dark"}
curl --request POST \
--url https://app.infisical.com/api/v1/app-connections/snowflake \
--header 'Content-Type: application/json' \
--data '{
"name": "my-snowflake-connection",
"method": "username-and-token",
"credentials": {
"account": "xy12345.us-east-1",
"username": "",
"password": ""
}
}'
```
### Sample response
```bash Response theme={"dark"}
{
"appConnection": {
"id": "e5d18aca-86f7-4026-a95e-efb8aeb0d8e6",
"name": "my-snowflake-connection",
"description": null,
"version": 1,
"orgId": "6f03caa1-a5de-43ce-b127-95a145d3464c",
"createdAt": "2025-04-23T19:46:34.831Z",
"updatedAt": "2025-04-23T19:46:34.831Z",
"isPlatformManagedCredentials": false,
"app": "snowflake",
"method": "username-and-token",
"credentials": {
"account": "xy12345.us-east-1",
"username": ""
}
}
}
```
Create a Snowflake connection via the API.
### Sample request
```bash Request theme={"dark"}
curl --request POST \
--url https://app.infisical.com/api/v1/app-connections/snowflake \
--header 'Content-Type: application/json' \
--data '{
"name": "my-snowflake-connection",
"method": "username-and-token",
"credentials": {
"account": "xy12345.us-east-1",
"username": "",
"password": ""
}
}'
```
### Sample response
```bash Response theme={"dark"}
{
"appConnection": {
"id": "e5d18aca-86f7-4026-a95e-efb8aeb0d8e6",
"name": "my-snowflake-connection",
"description": null,
"version": 1,
"orgId": "6f03caa1-a5de-43ce-b127-95a145d3464c",
"createdAt": "2025-04-23T19:46:34.831Z",
"updatedAt": "2025-04-23T19:46:34.831Z",
"isPlatformManagedCredentials": false,
"app": "snowflake",
"method": "username-and-token",
"credentials": {
"account": "xy12345.us-east-1",
"username": ""
}
}
}
```